
Recover Lost Data Which Is Erased by Disk Utility
Mac data recovery software is able to deeply scan the Mac HDD/SSD and find all deleted/erased files.
Follow these steps to factory reset a Mac which is running OS X 10.9 Mavericks, reinstall OS X, permanently wipe all data from the internal HDD/SSD. DoYourData Super Eraser for Mac is a powerful data erasure program which supports to securely and permanently erase data from Mac internal HDD/SSD, external hard drive, memory card, digital camera, USB drive, etc. It is fully compatible with Mac OS X 10.9 Mavericks.
![]() Updated by Shirly Chen on August 9, 2024
Updated by Shirly Chen on August 9, 2024
Quick Navigation:
These days, keeping your private data safe is more important than ever. Ensure that all your data is safely erased from your Mac, whether you're getting a new device, selling your old one, or want to start over. If you have Mac OS X 10.9 Mavericks, you may wonder how to delete your files quickly and safely.
This detailed guide will show you how to do everything, ensuring your private data is deleted and your Mac is ready for the next stage. By the end of this article, you'll feel confident about doing this job like a pro. It will keep your info safe and your mind at ease. Let us begin your path to a fresh start!

A few things must be done before starting the data wipe process. It will help ensure everything goes easily and no important data is lost.
The first and most important step is to back up your information. If you wipe your Mac, all of your information will be lost, so it's important to have a full backup.
Sign out of all services connected to your Mac to avoid any problems with licenses and sync.
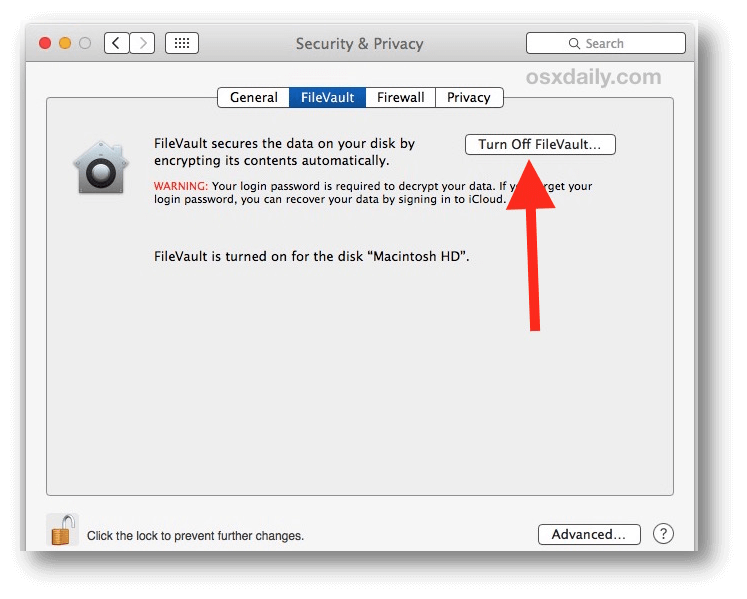
It's possible to protect your whole drive with FileVault. If it's turned on, you should turn it off before you do the wipe. Launch System Preferences, select Security & Privacy and click on FileVault. Then, click "Turn Off FileVault."
Before sell, donate or dispose of an old Mac which is running OS X 10.9 Mavericks, you should wipe everything from the internal HDD or SSD and make all deleted/lost data become unrecoverable!
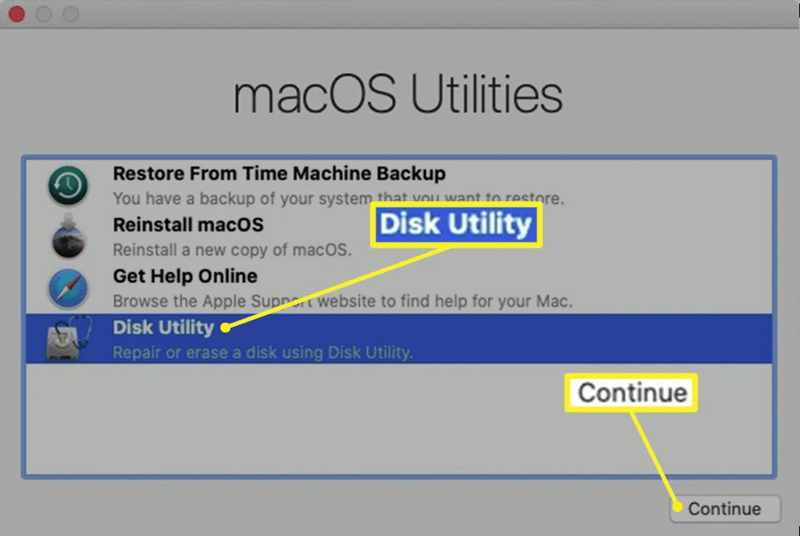
Step 1. Restart the Mac, then press and hold Command+R keys until it boots into Recovery mode.
Step 2. Select Disk Utility, click on Continue button.
Step 3. Select the internal drive (such as Macintosh HD), click Erase.
Step 4. Select a file system, then click Erase again. It will securely erase everything from the internal HDD/SSD.
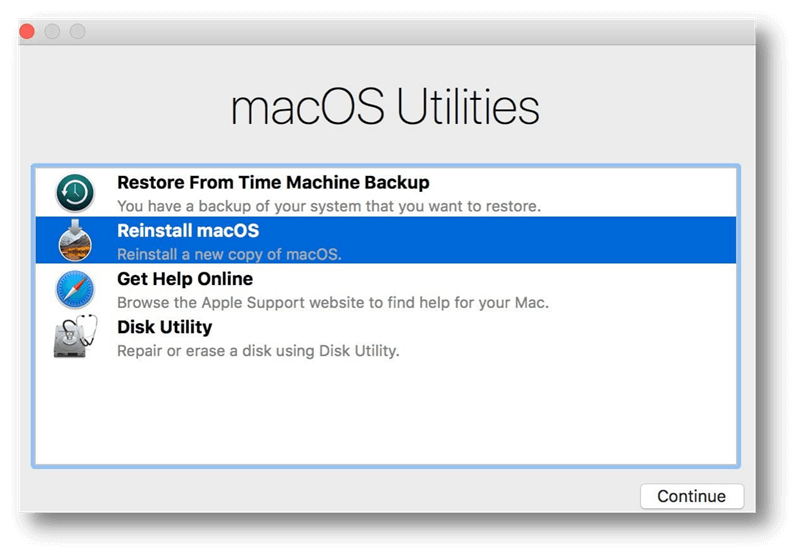
Note: the data which is lost due to erasing startup disk & reinstalling OS X is not lost for good and can be recovered by data recovery software.
Recover Lost Data Which Is Erased by Disk Utility
Mac data recovery software is able to deeply scan the Mac HDD/SSD and find all deleted/erased files.
To prevent the deleted/lost data from being recovered by data recovery software, you can use Mac disk wipe software to wipe free disk space of the internal HDD/SSD and permanently erase all deleted/formatted/lost data, making data recovery be impossible.
Step 1. Download and install one of the best Mac disk wipe software - DoYourData Super Eraser for Mac.
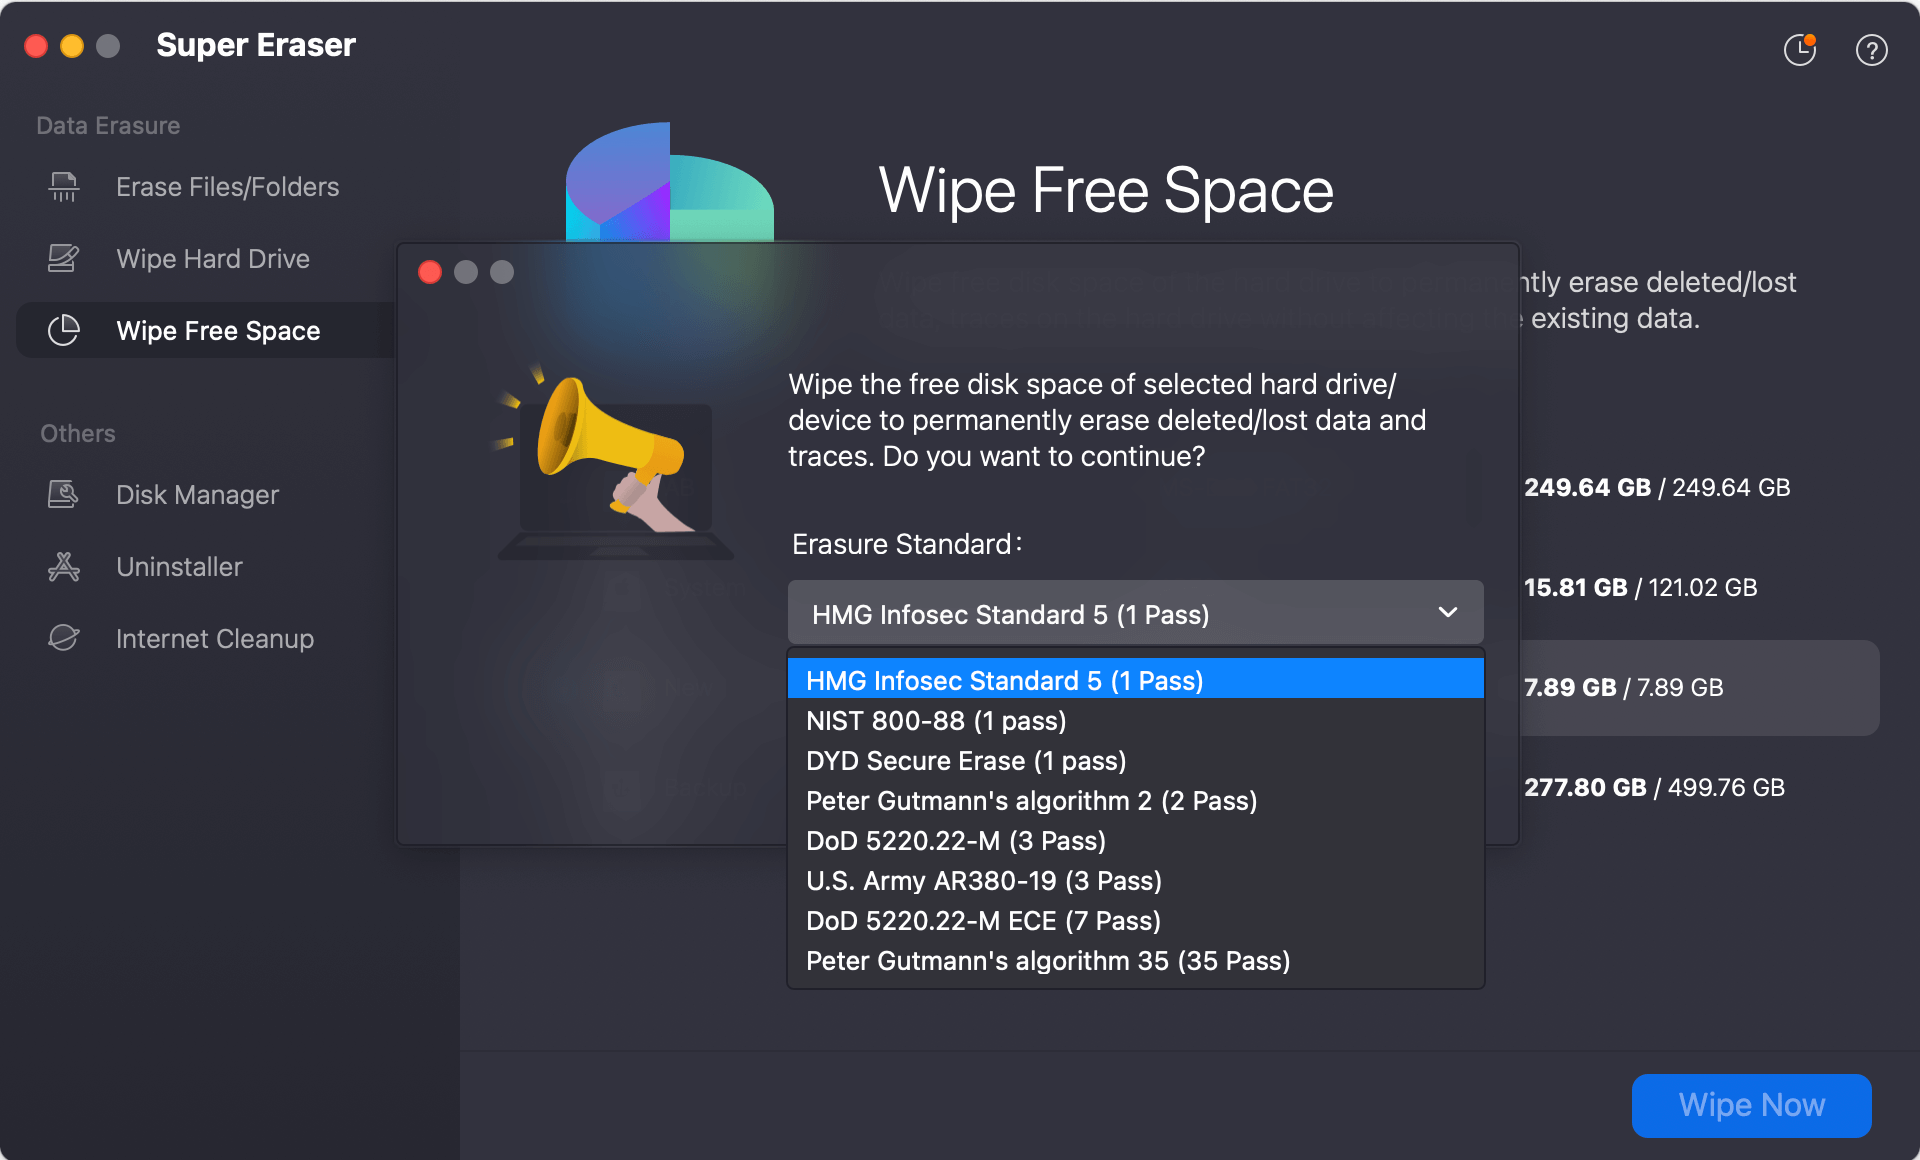
Step 2. Open DoYourData Super Eraser for Mac and select the internal drive (Macintosh HD), then click on Wipe Now button.
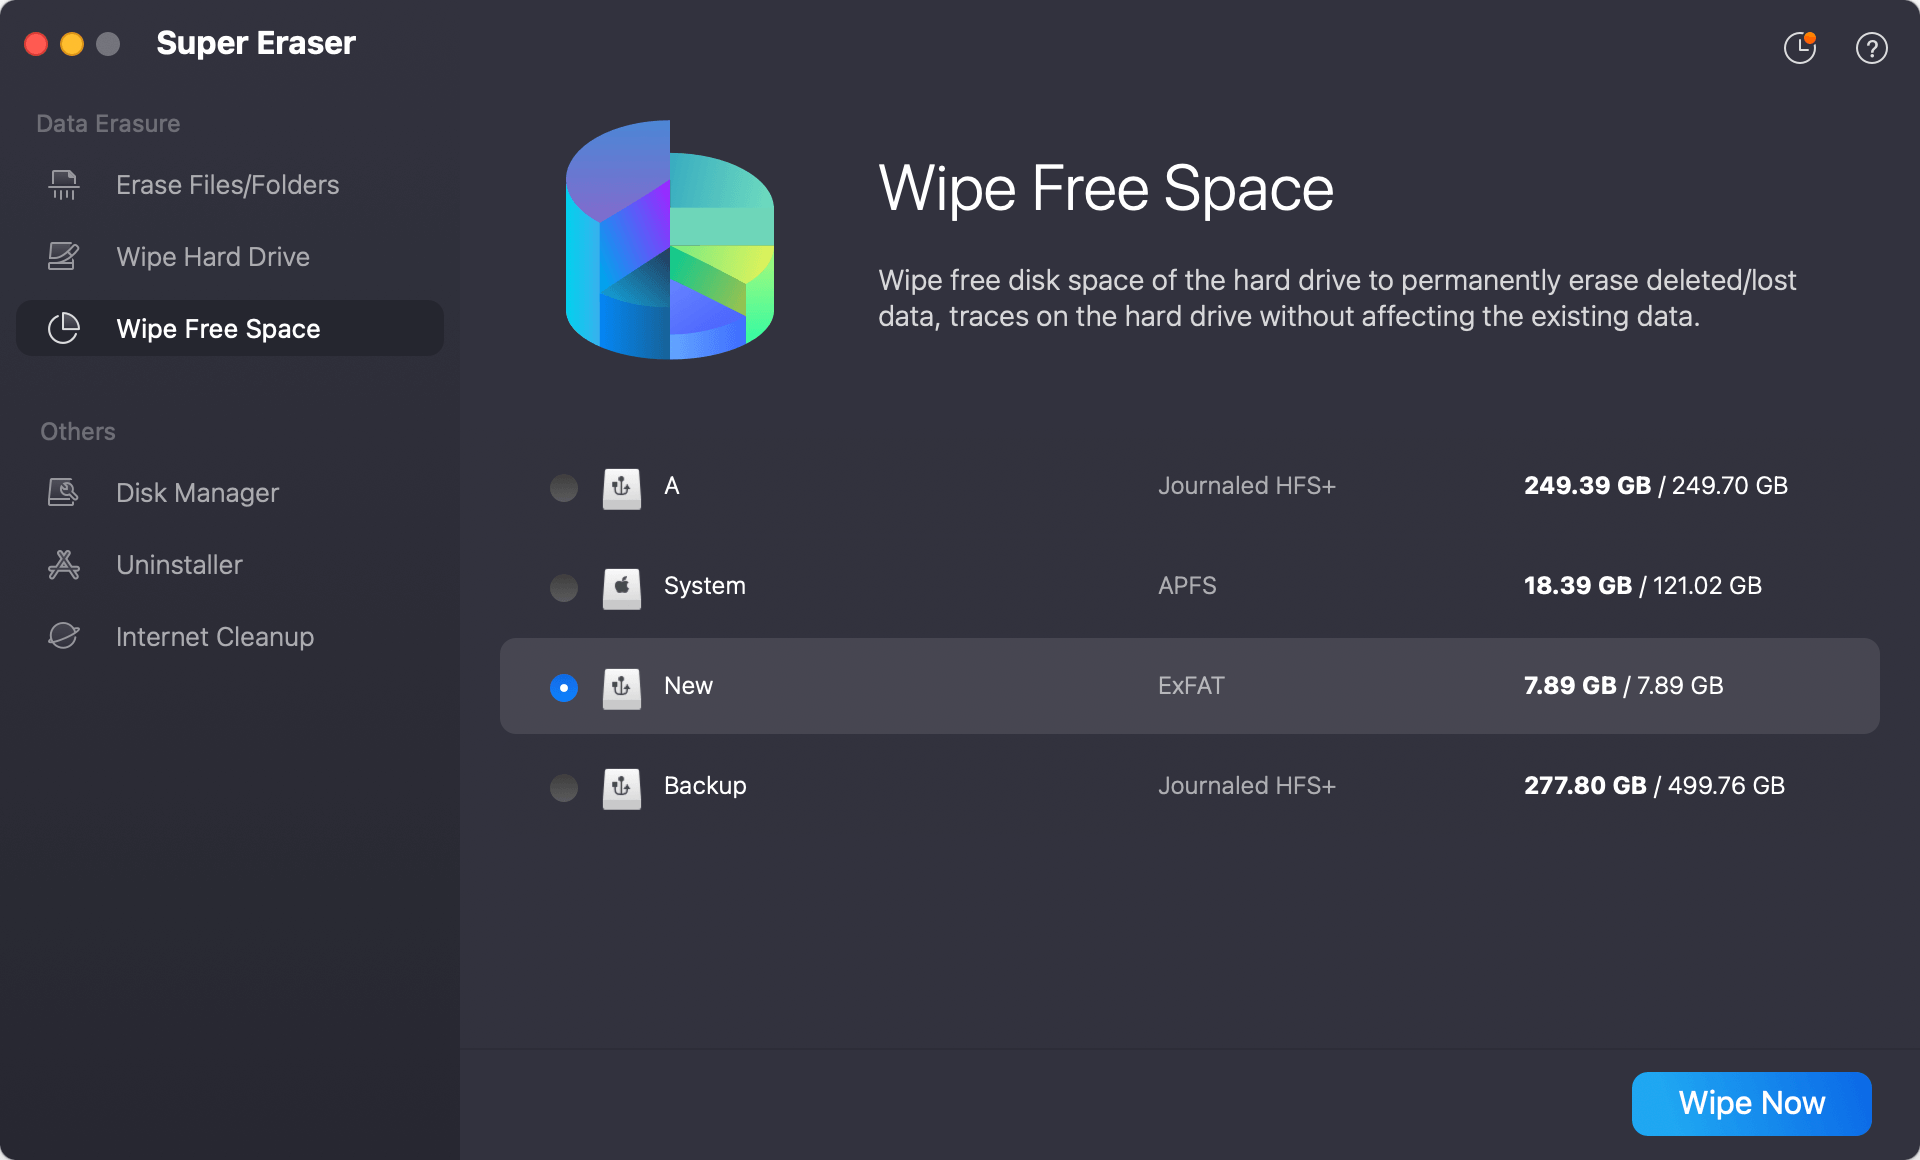
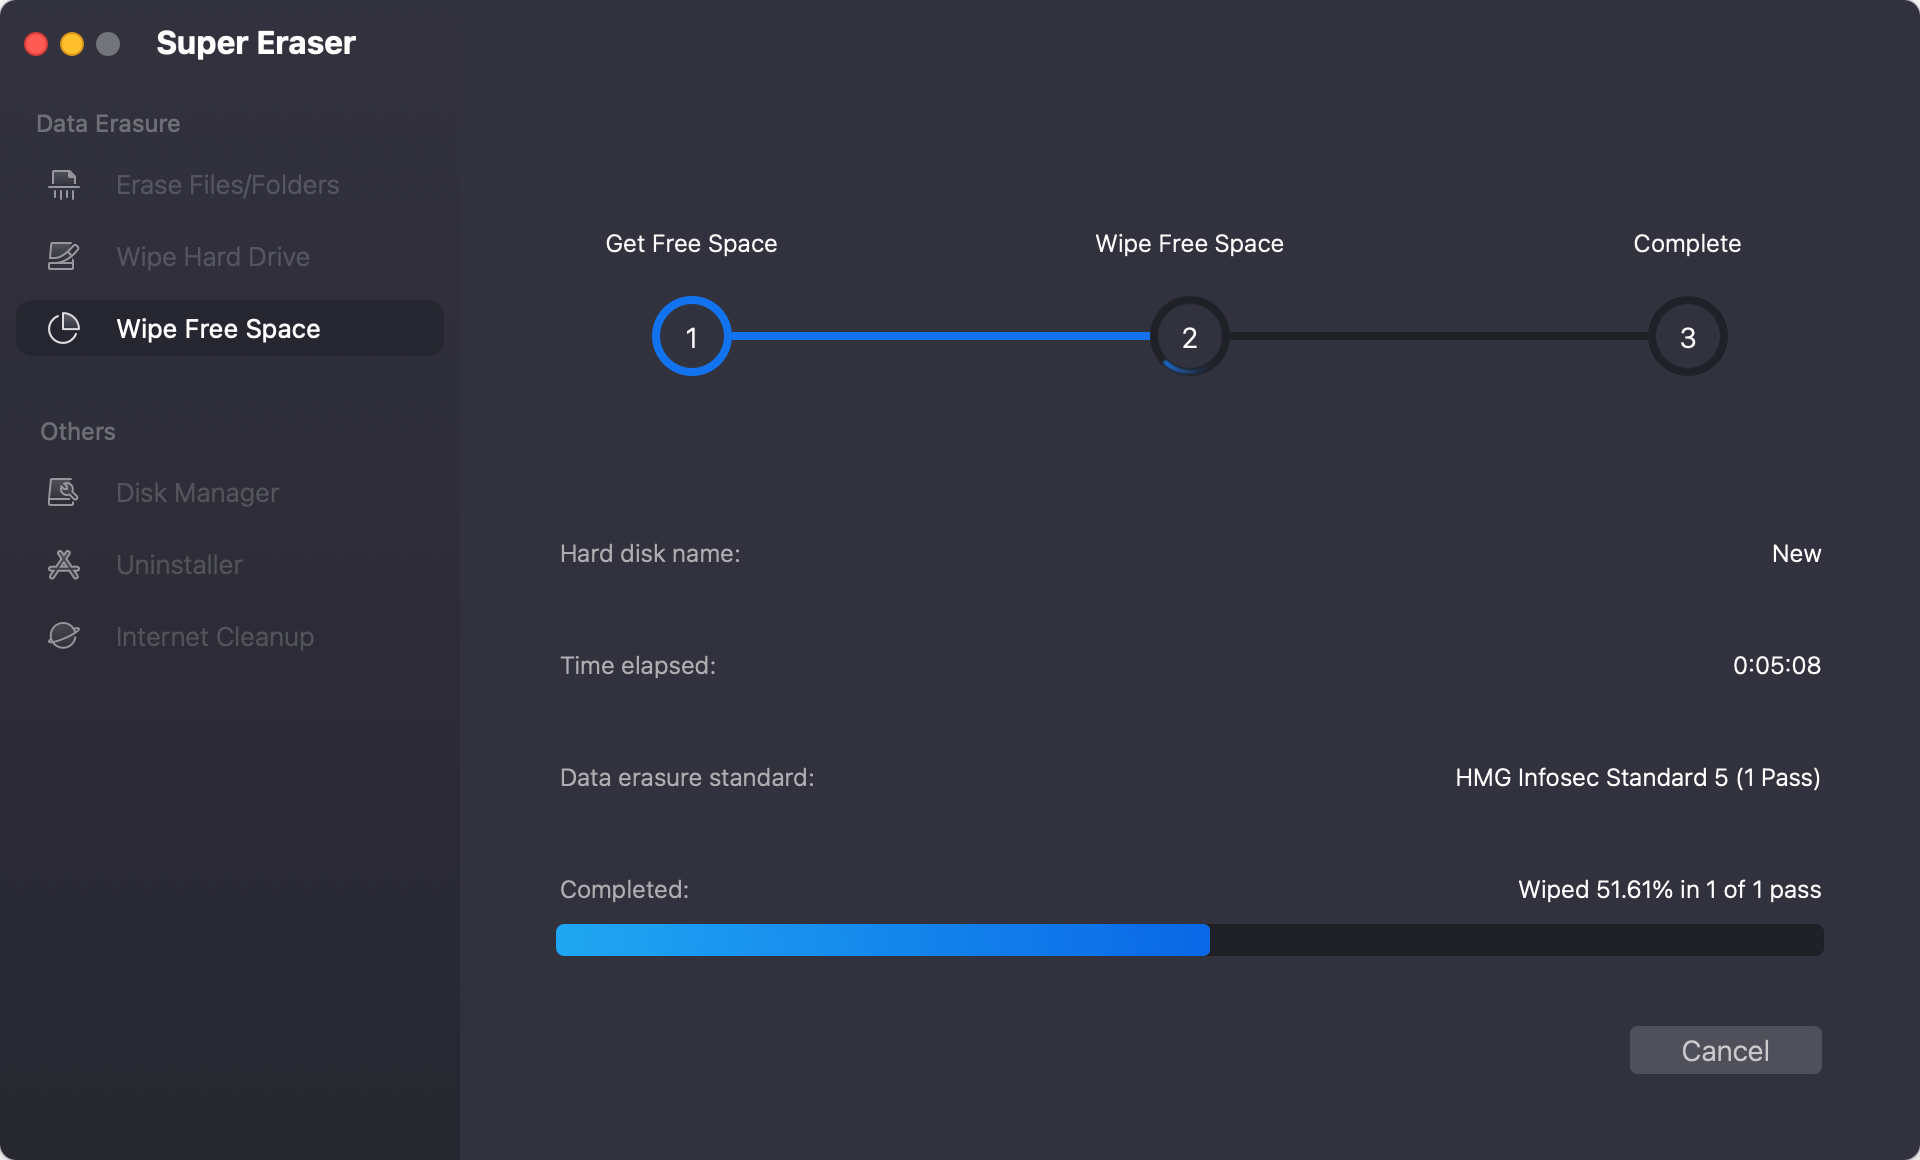
Step 3. Select a data erasure standard, such as HMG Infosec, NIST 800-88, Peter Gutmann's algorithm, DoD 5220.22-M, U.S. Army AR380-19, then click on Continue button to start wiping free disk space of the Mac.
It will securely and permanently erase all deleted/erased/lost data from your Mac, no way to recover the erased data.
If you want to wipe an external hard drive, USB flash drive, SD card on Mac OS X 10.9 Mavericks, just choose Wipe Hard Drive mode. Select the target drive, click on Wipe Now button to permanently erase all data from the drive.

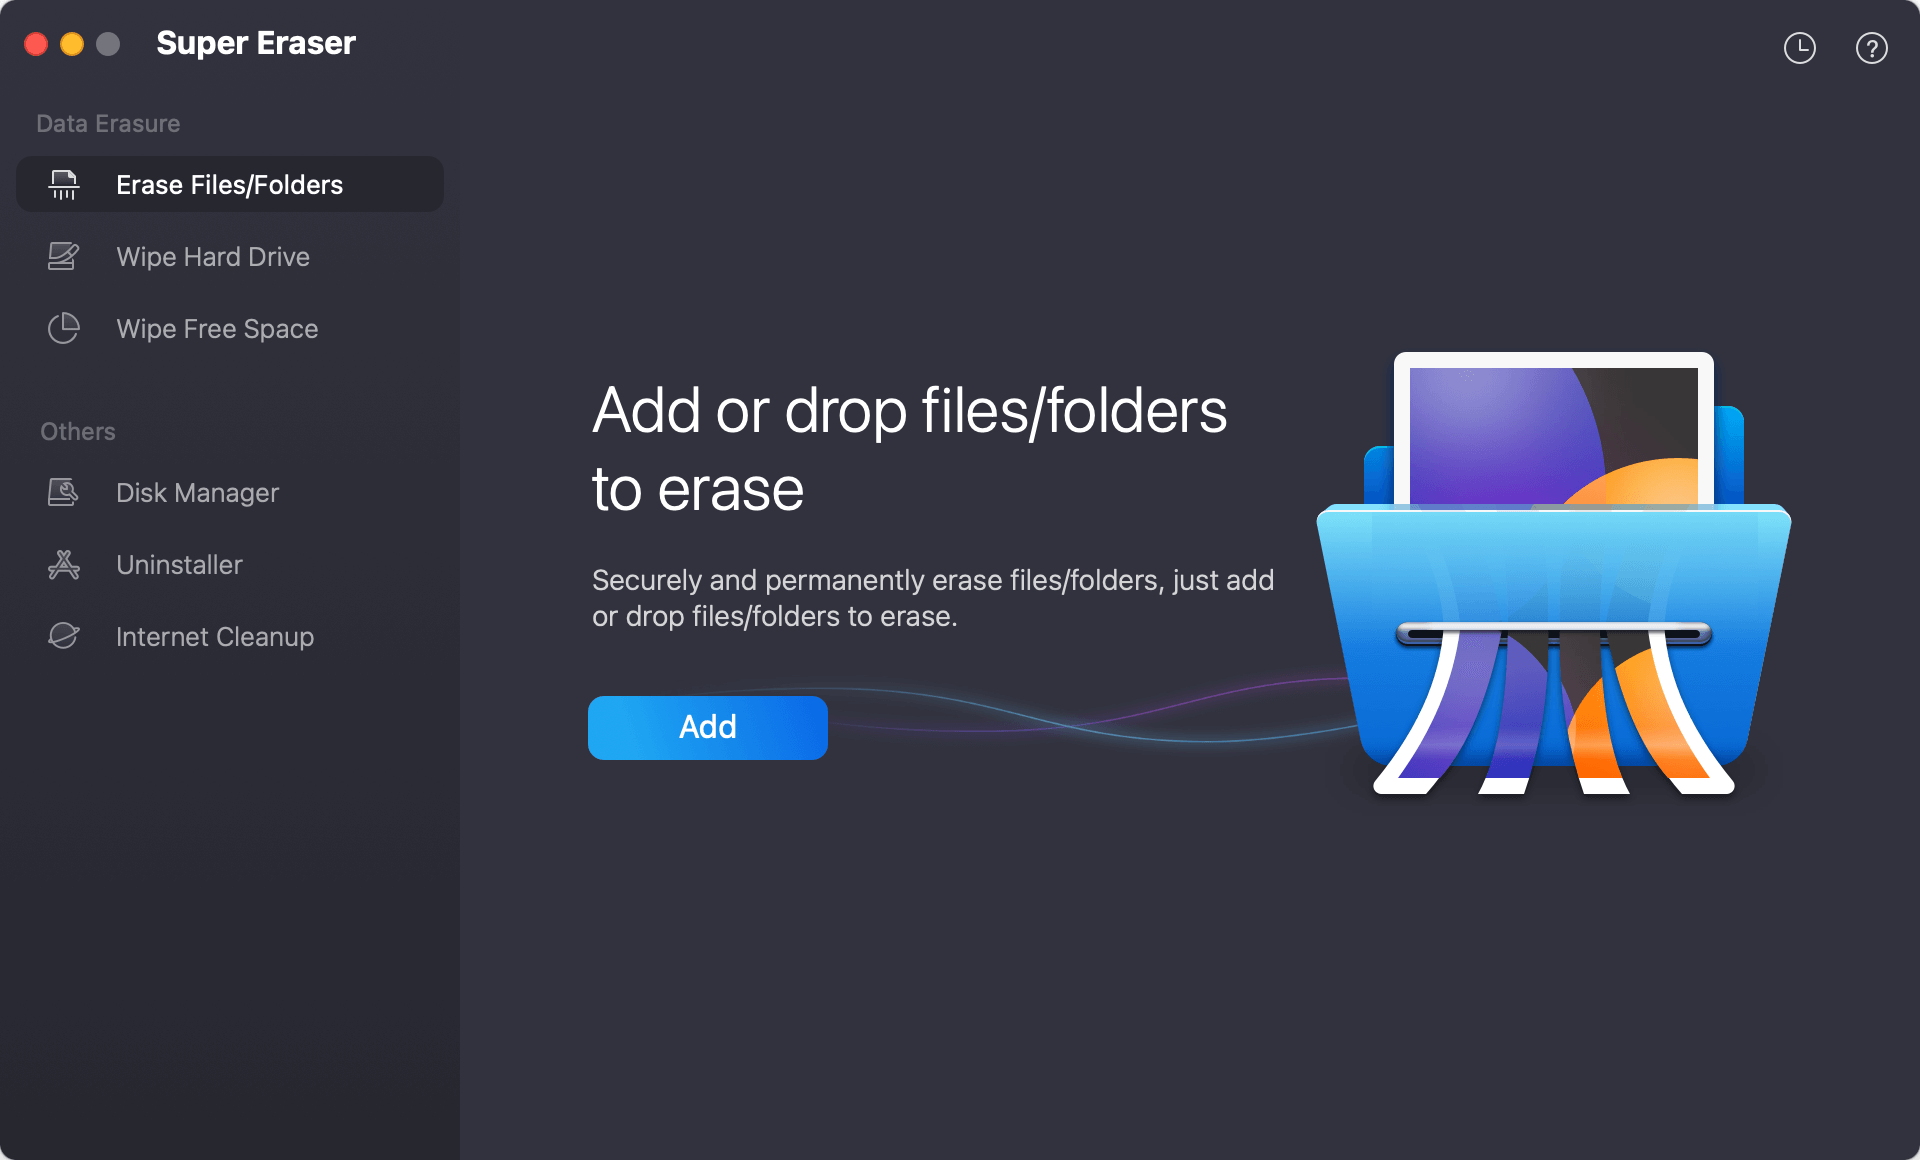
If you want to shred files and folders on Mac OS X 10.9 Mavericks, choose Erase Files/Folders mode, click Add to add files/folders, then click on Erase Now button.
You must follow these tips to ensure complete data security and prevent unauthorized access.
Wiping your data on Mac OS X 10.9 Mavericks is important to keep your personal information safe, especially if you sell or give your device to someone else. You can be sure your Mac is ready for its new owner if you back up your data, log out of your accounts, turn off FileVault, and use Disk Utility in macOS Recovery to clean securely.
Your data will also be safer if you follow safe practices, such as ensuring the deletion was successful and considering using professional data-wiping software (such as DoYourData Super Eraser for Mac). Now that these steps have been taken, you can start over without worrying about putting your private information at risk.
1. How to factory reset Mac OS X 10.9 Mavericks?
2. How to permanently erase data on Mac OS X 10.9 Mavericks?
DoYourData Super Eraser for Mac a reliable data erasure program, is fully compatible with OS X 10.9 Mavericks and other Mac OS versions. It can securely and permanently erase data from Mac computer, hard drive, USB drive, external hard disk, memory card, digital camera, etc.
Data erasure is not simply deleting files or formatting hard drive. It requires advanced technology to shred, erase the original data and overwrite the disk space so that the data becomes unrecoverable. DoYourData Super Eraser for Mac offers certified data erasure algorithms that can permanently erase data under OS X 10.9 Mavericks, leaving no chance for data recovery. When the data stored on your Mac hard drive is erased by DoYourData Super Eraser for Mac, it is lost for good and can't be recovered by any data recovery method.
It offers three modes for erasing data on Mac OS X 10.9 Mavericks:
3. How to format a hard drive on Mac OS X 10.9 Mavericks?
Disk Utility can help you format a hard drive on Mac OS X 10.9 Mavericks:

DoYourData Super Eraser for Mac
DoYourData Super Eraser for Mac is a 100% safe, powerful and easy-to-use data erasure program. It offers certified data erasure standards including Peter Gutmann, U.S. Army AR380-19, DoD 5220.22-M ECE to permanently erase data from Macs and external devices, making data recovery be impossible.
Written & Updated by Shirly Chen
Shirly Chen has been writing data recovery, data erasure articles for DoYourData over 4 years. She has been working as a professional website content writer & editor for quite a long time. She also writes articles about disk clone, Mac optimization, disk backup, etc.