Recover deleted files after emptying Trash
The deleted files can be easily recovered with recovery software even after emptying the Trash.
Quick Navigation:
Microsoft Excel is a must-have for keeping records and analyzing data, but there may come a time when you need to delete an Excel file from your Mac. It is very important to delete these files safely, whether you want to protect your privacy, free up room, or eliminate unnecessary files.

This detailed guide examines several ways to ensure the Excel files are deleted permanently on Mac, keeping your data safe from being accidentally recovered. You'll learn the best ways to keep your data safe and handle your files efficiently, including using the Trash and third-party data erasure software and safe erasure methods. Follow these steps to protect your private data and keep your Mac system running smoothly.
You can delete things from your computer in some situations. If you want to sell your Mac, you should eliminate any private or sensitive things you don't need.
You can sometimes delete files so they don't get into the hands of bad people, your partner, or even other users. Some files are unimportant; you can eliminate them to make more room or speed up your Mac.
Can files be permanently deleted from the computer?
You can still get back the things you deleted. When you delete files for good, the process doesn't end when you empty the trash bin. That's not all. You move your files to a new directory when emptying the trash bin. If you do this, your data will be erased from the trash bin but still on the hard drive so that you can get it back.
Many data recovery tools can retrieve lost or deleted files from the trash bin. However, if you shred the files, these programs won't be able to retrieve them.
You can delete files from your computer permanently in several different ways. Normally, you won't empty the Trash bin immediately because you know you can get the files back. If you want to remove files permanently, you need to empty the Trash bin after deleting the Excel files.

Or you can select the deleted files or folders in Trash and choose Delete Immediately to remove them permanently.
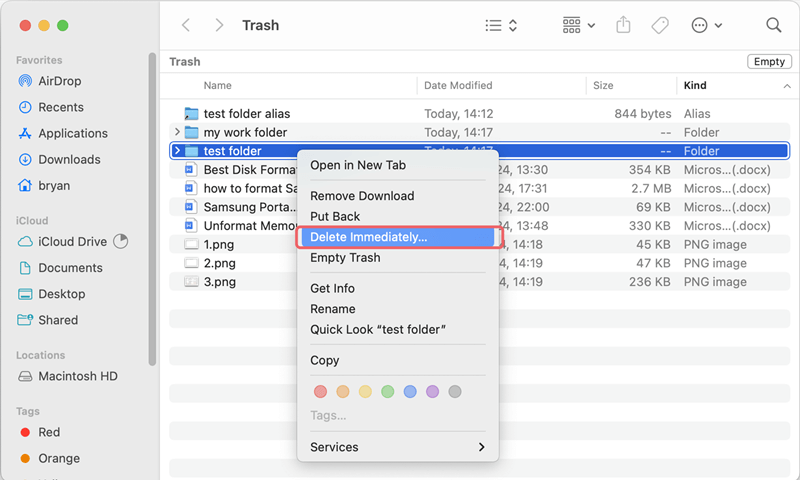
You can also press Command + Option + Delete keys to remove files permanently without putting them into Trash.
However, in this way, the deleted Excel document are not gone forever from your Mac. The deleted files are just marked as "deleted" and the system cannot access them. The data area of the files are still on the drive before the data is overwritten and damaged by new data. So there is a chance to recover the deleted files with professional Mac data recovery software.
Recover deleted files after emptying Trash
The deleted files can be easily recovered with recovery software even after emptying the Trash.
To ensure the deleted Excel files will not be recovered in any way, you can then erase the free space of the Mac drive to wipe the deleted and lost data on the drive. Here are the steps:
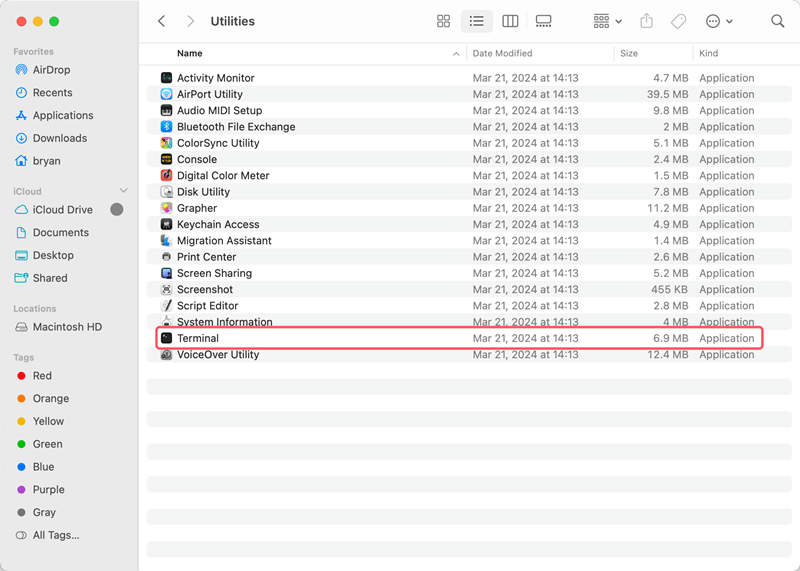
Step 1. Open Finder and get into Applications, then Utilities folder, start Terminal.
Step 2. Enter the command diskutil list and you will see all the connected drives on the Mac. Check and locate the information, especially the disk number, for the drive where you deleted the Excel documents.
Step 3. To erase the free space of the drive and ensure the deleted Excel documents will not be recovered, using the command diskutil secureErase freespace 4 /dev/disk0
You can change 4 to 0, 1, 2, 3 if you don't need the most secure data wiping. /dev/disk0 should be replaced with the correct drive number on your Mac.
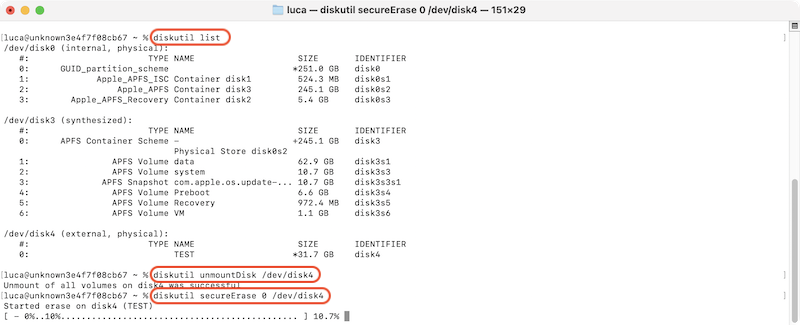
In this way, the Excel documents can be permanently removed from Mac. However, it would be a little complex and will take a long time if the drive is big. Also, for the users who are not familiar command.
If you want to shred Excel documents easily on Mac with advanced features, you may need to use a professional tool which is good at data erasure. We will introduce such a reliable software below, please keep on reading.
With the macOS built-in tools, you can remove Excel documents or other files permanently on Mac. However, if you want advanced data erasure algorithms, more features, flexible data wiping methods, you need to find an alternative.
Data wiping software is the solution for data wiping. Mostly, these tools can overwrite to wipe data permanently with advanced data sanitation standards, which can ensure the data permanently wiped and no recovery method can get back the wiped data.
DoYourData Super Eraser for Mac is the best one among the data erasure software. The software offers intuitive interface which make it very easy-to-use. Any user can easily handle the software to wipe data step by step.
The software offers 3 different modes to wipe data from memory card, USB flash drive, hard drive, SSD, etc. You can use the software to shred certain files or folder, wipe all data from a drive, or wipe free space of drive to erase deleted data.
Here we will show you how to shred specified Excel documents on Mac with the software DoYourData Super Erasure.
Step 1. Download and install DoYourData Super Eraser for mac
First, download the data wiping tool to remove files from your hard drives. After getting the program, you need to install it on your Mac computer.
Step 2. Select the erasure mode
Run the software on the Mac. If you will shred files from an external drive, ensure to connect the drive to your Mac and make it recognized. Change to the Erase Files/Folders mode which is for file shredding.
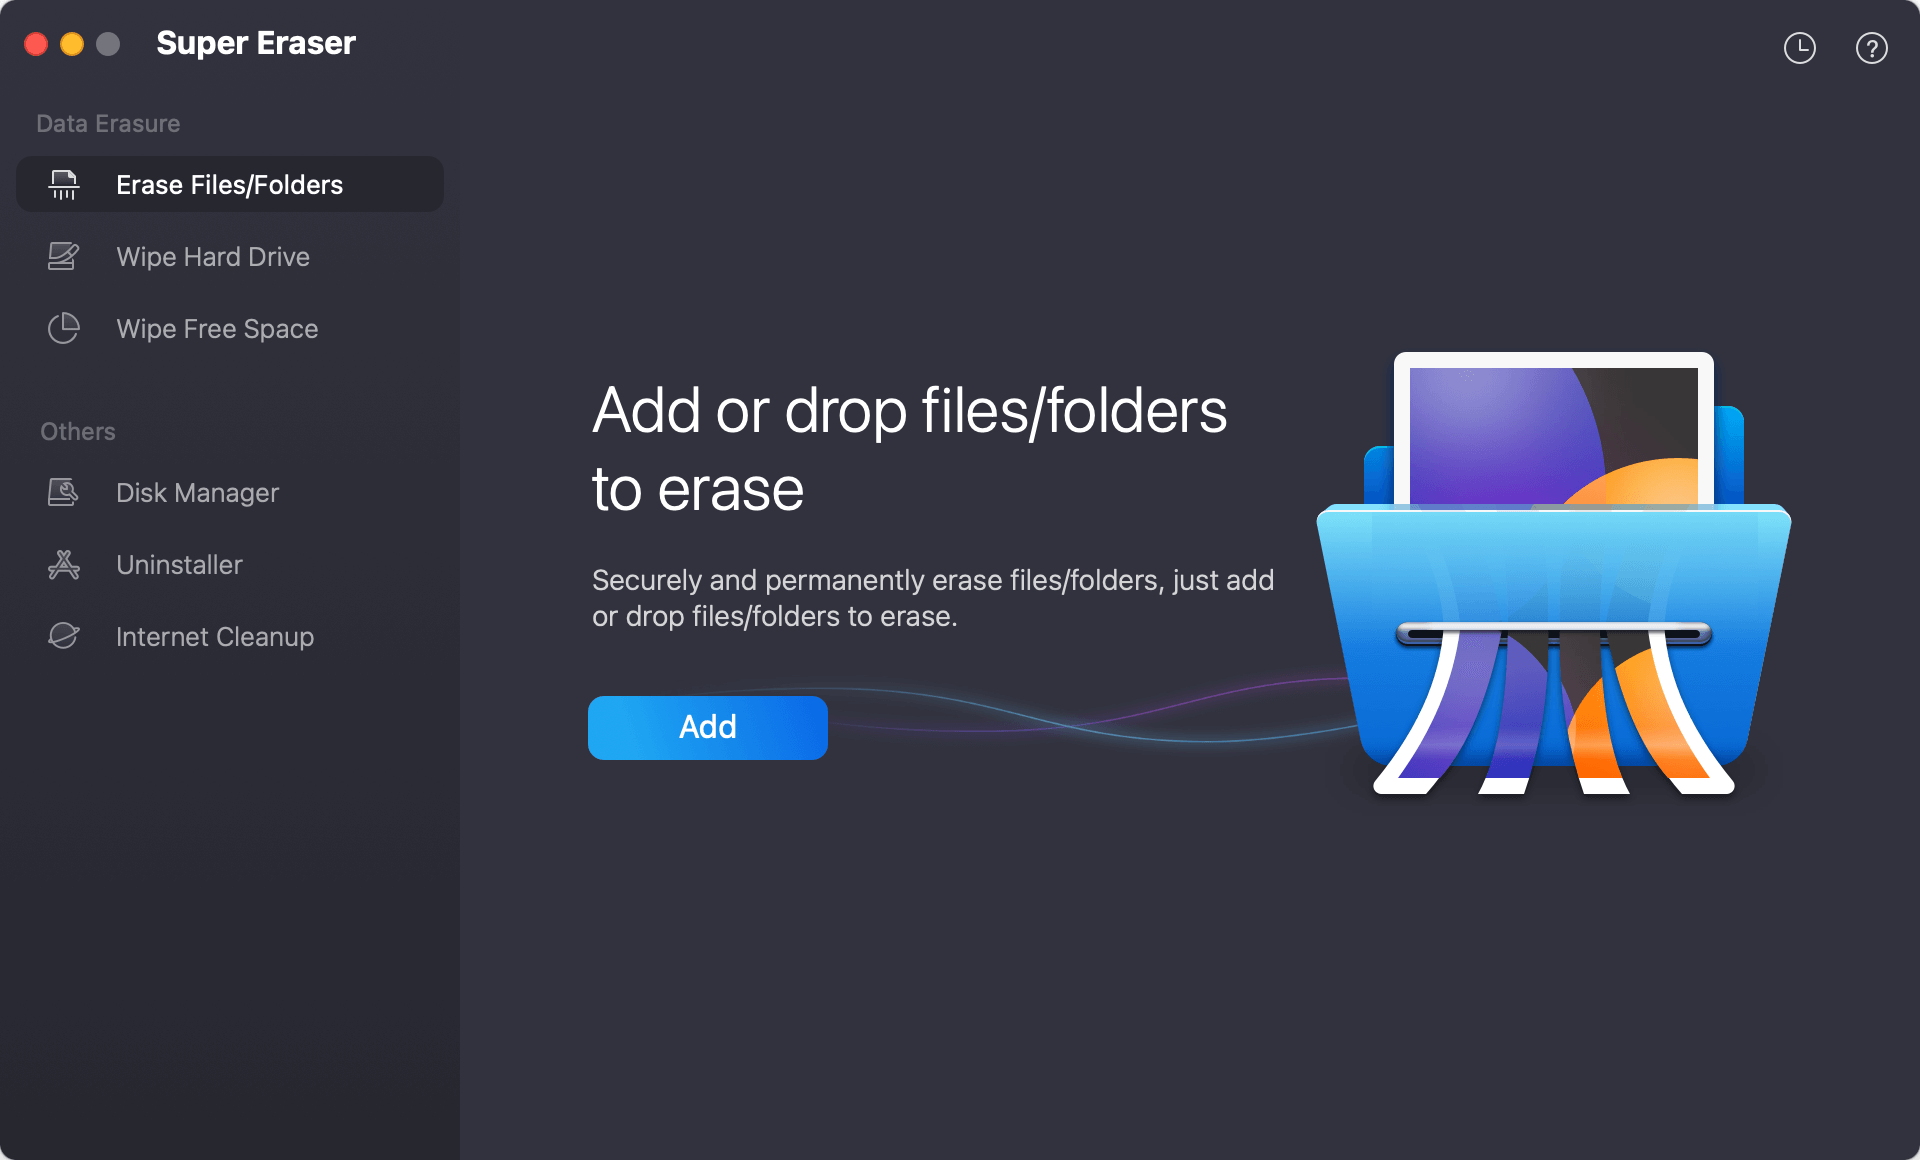
Step 3. Select Excel Documents you want to erase
To fully delete Excel files or folders, click the Add button to select the specified files or folder. You can also drag the files or folders to the software directly. When it's done, a list will show the files and folders you want to shred permanently. Before you erasing the files, you can check and remove the unwanted files from the list or add more files to shred.
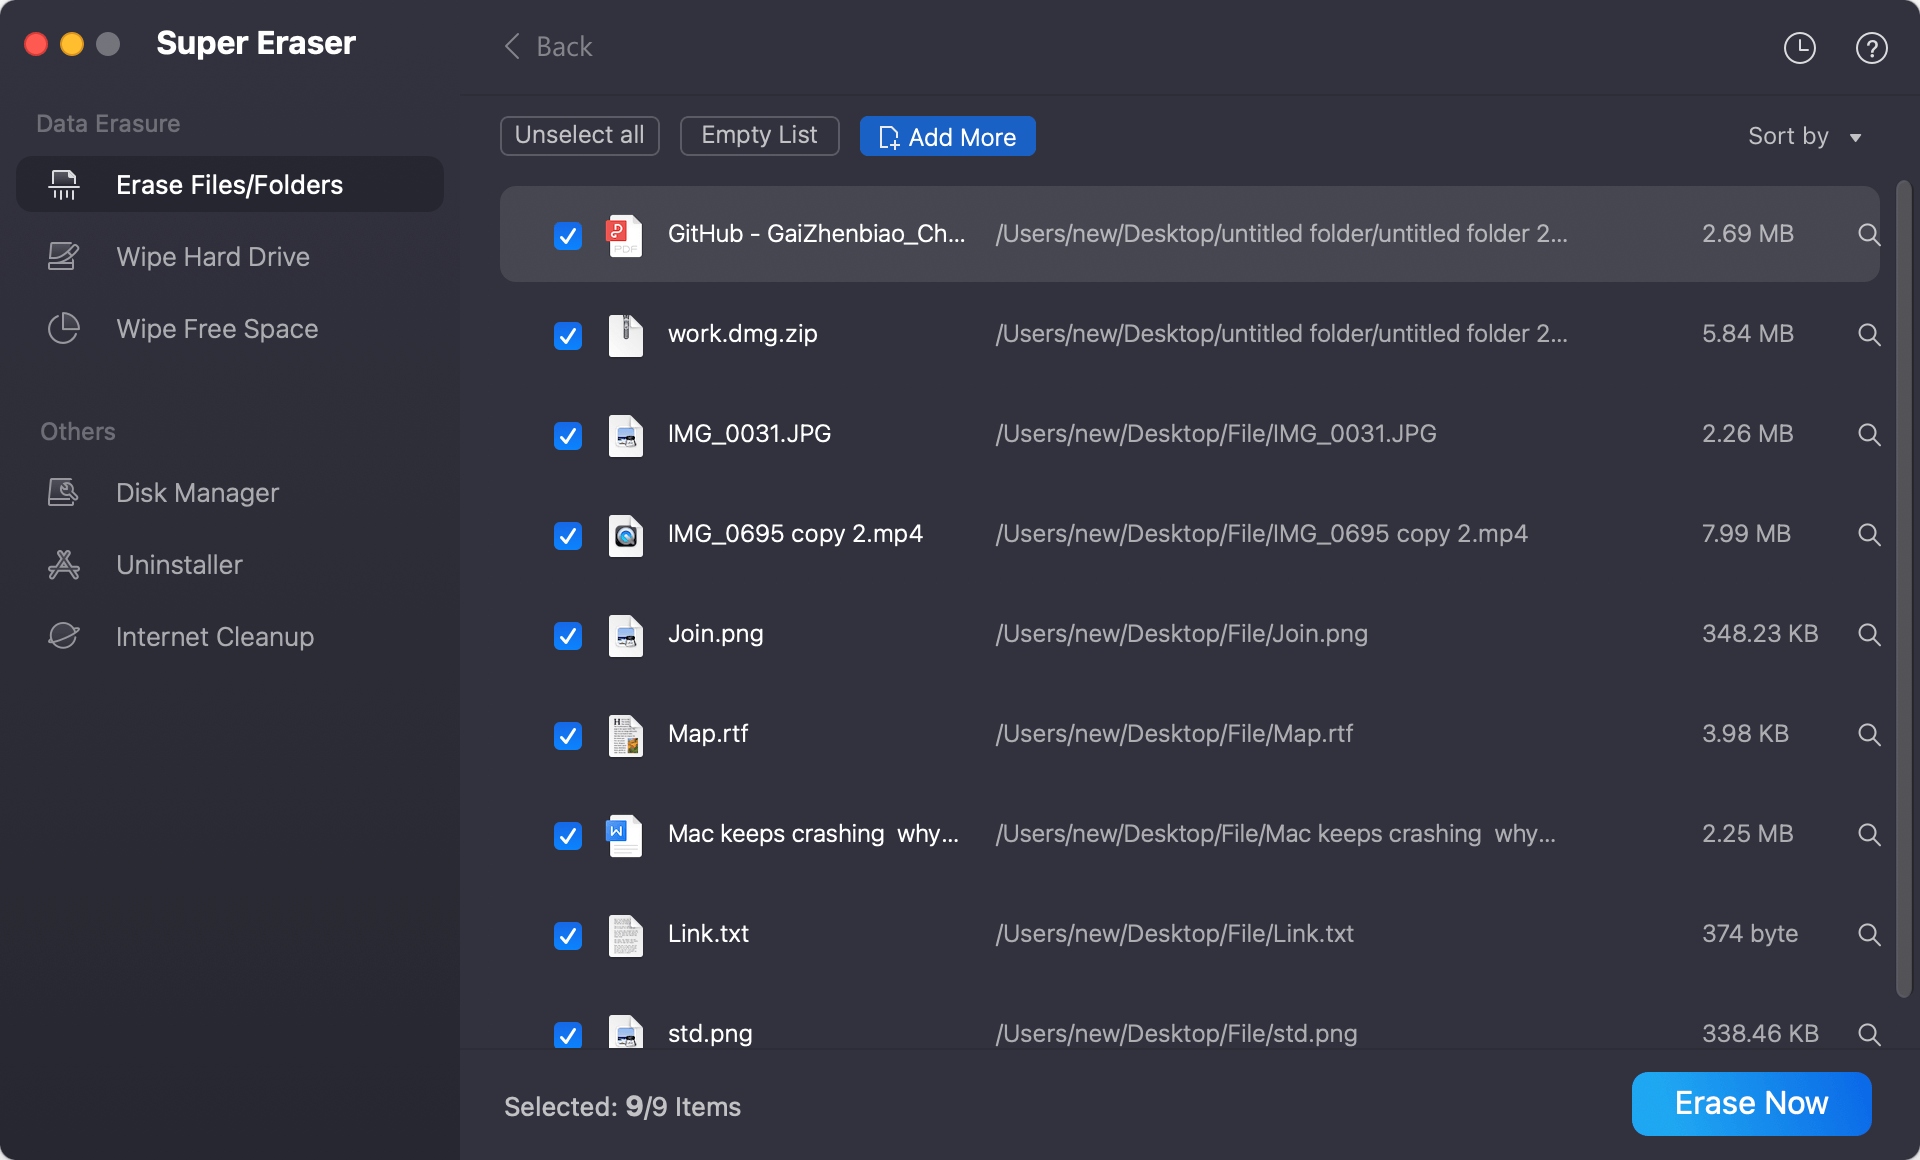
Step 4. Choose the data erasure standard
After selecting the files, click Erase Now button to continue and select a data erasure algorithms from the drop-down list. If you want to guarantee not even a piece of data of the documents will be recovered, you can choose a higher security level with multiple data overwriting passes, which will of course take more time.
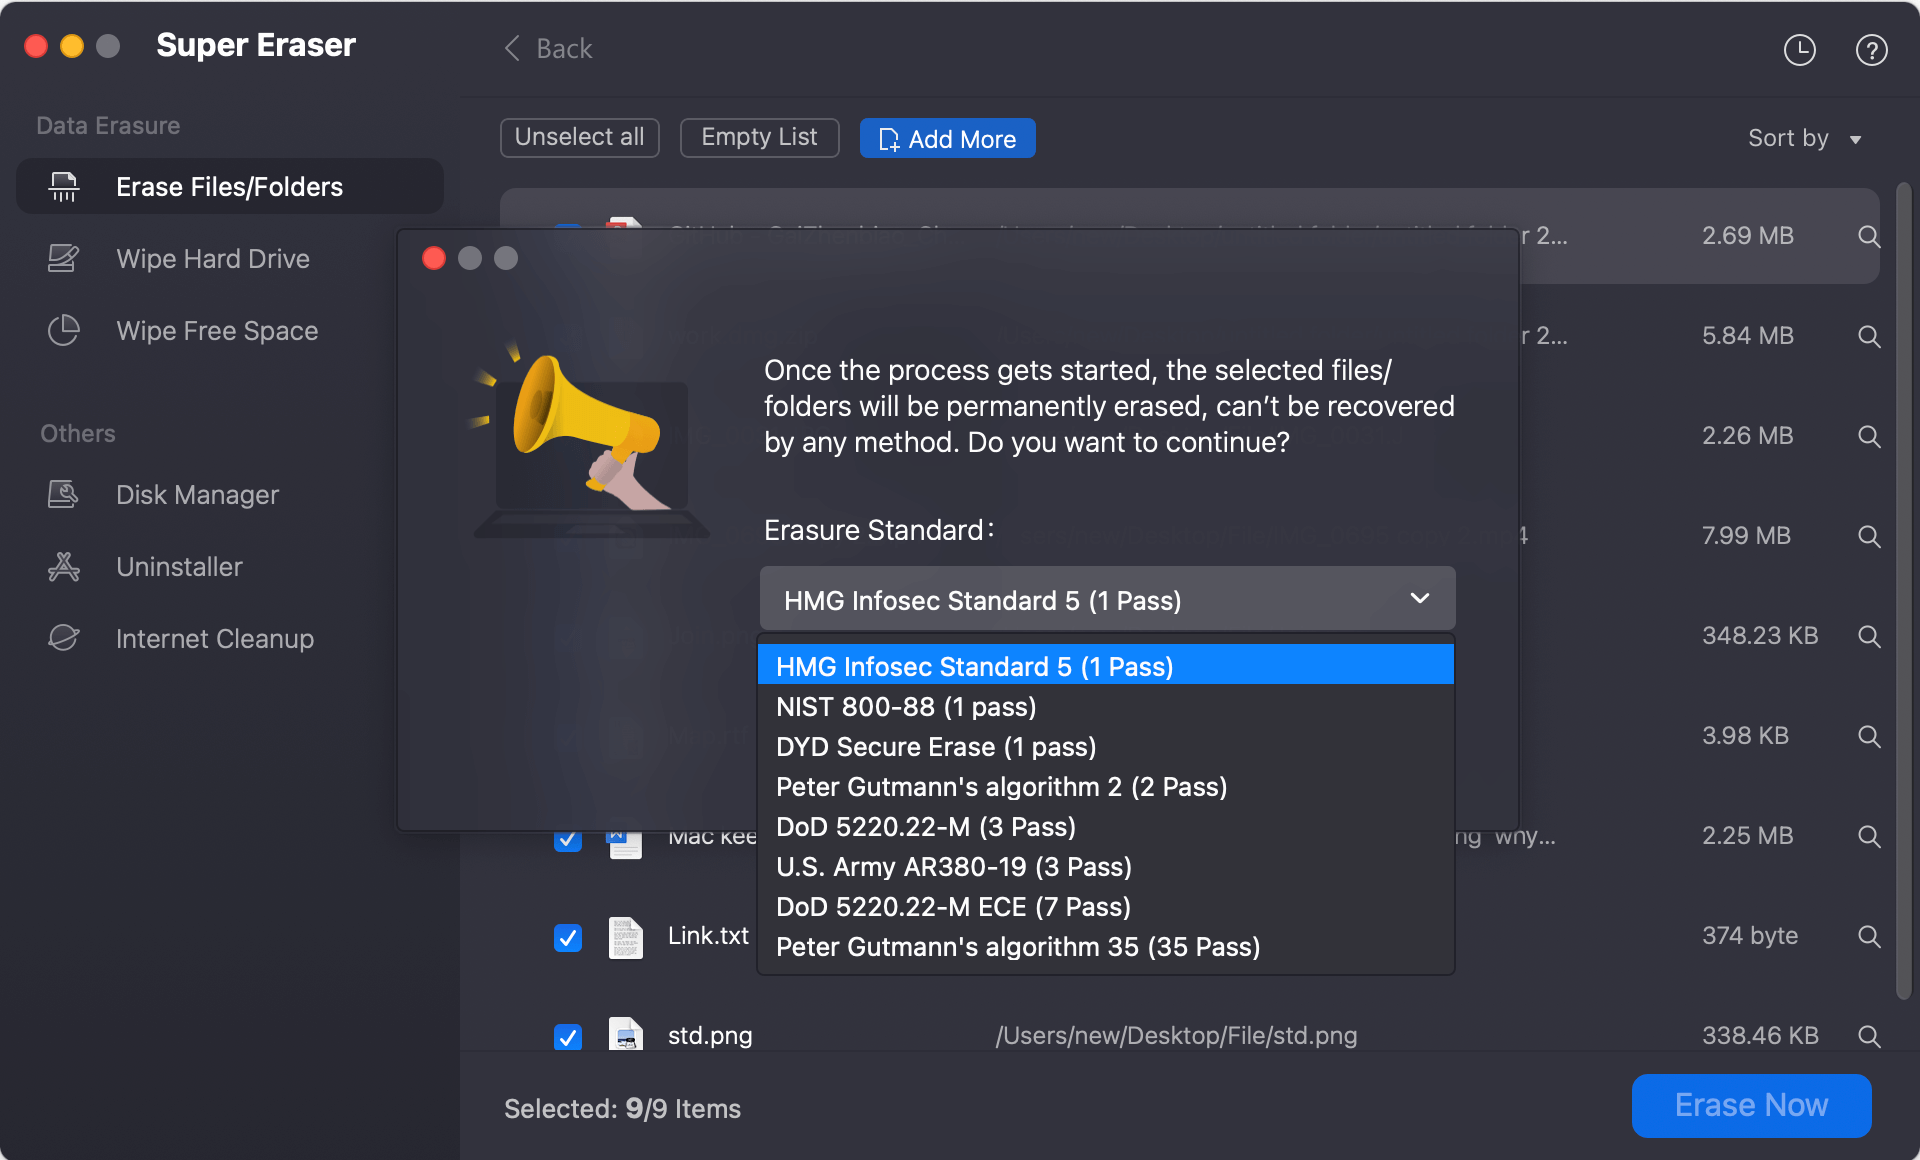
Step 5. Start the file shredding process
To start the file shredding, just click on Continue button. All the selected Excel documents, other selected folders/files will be removed permanently and wiped from the drive.
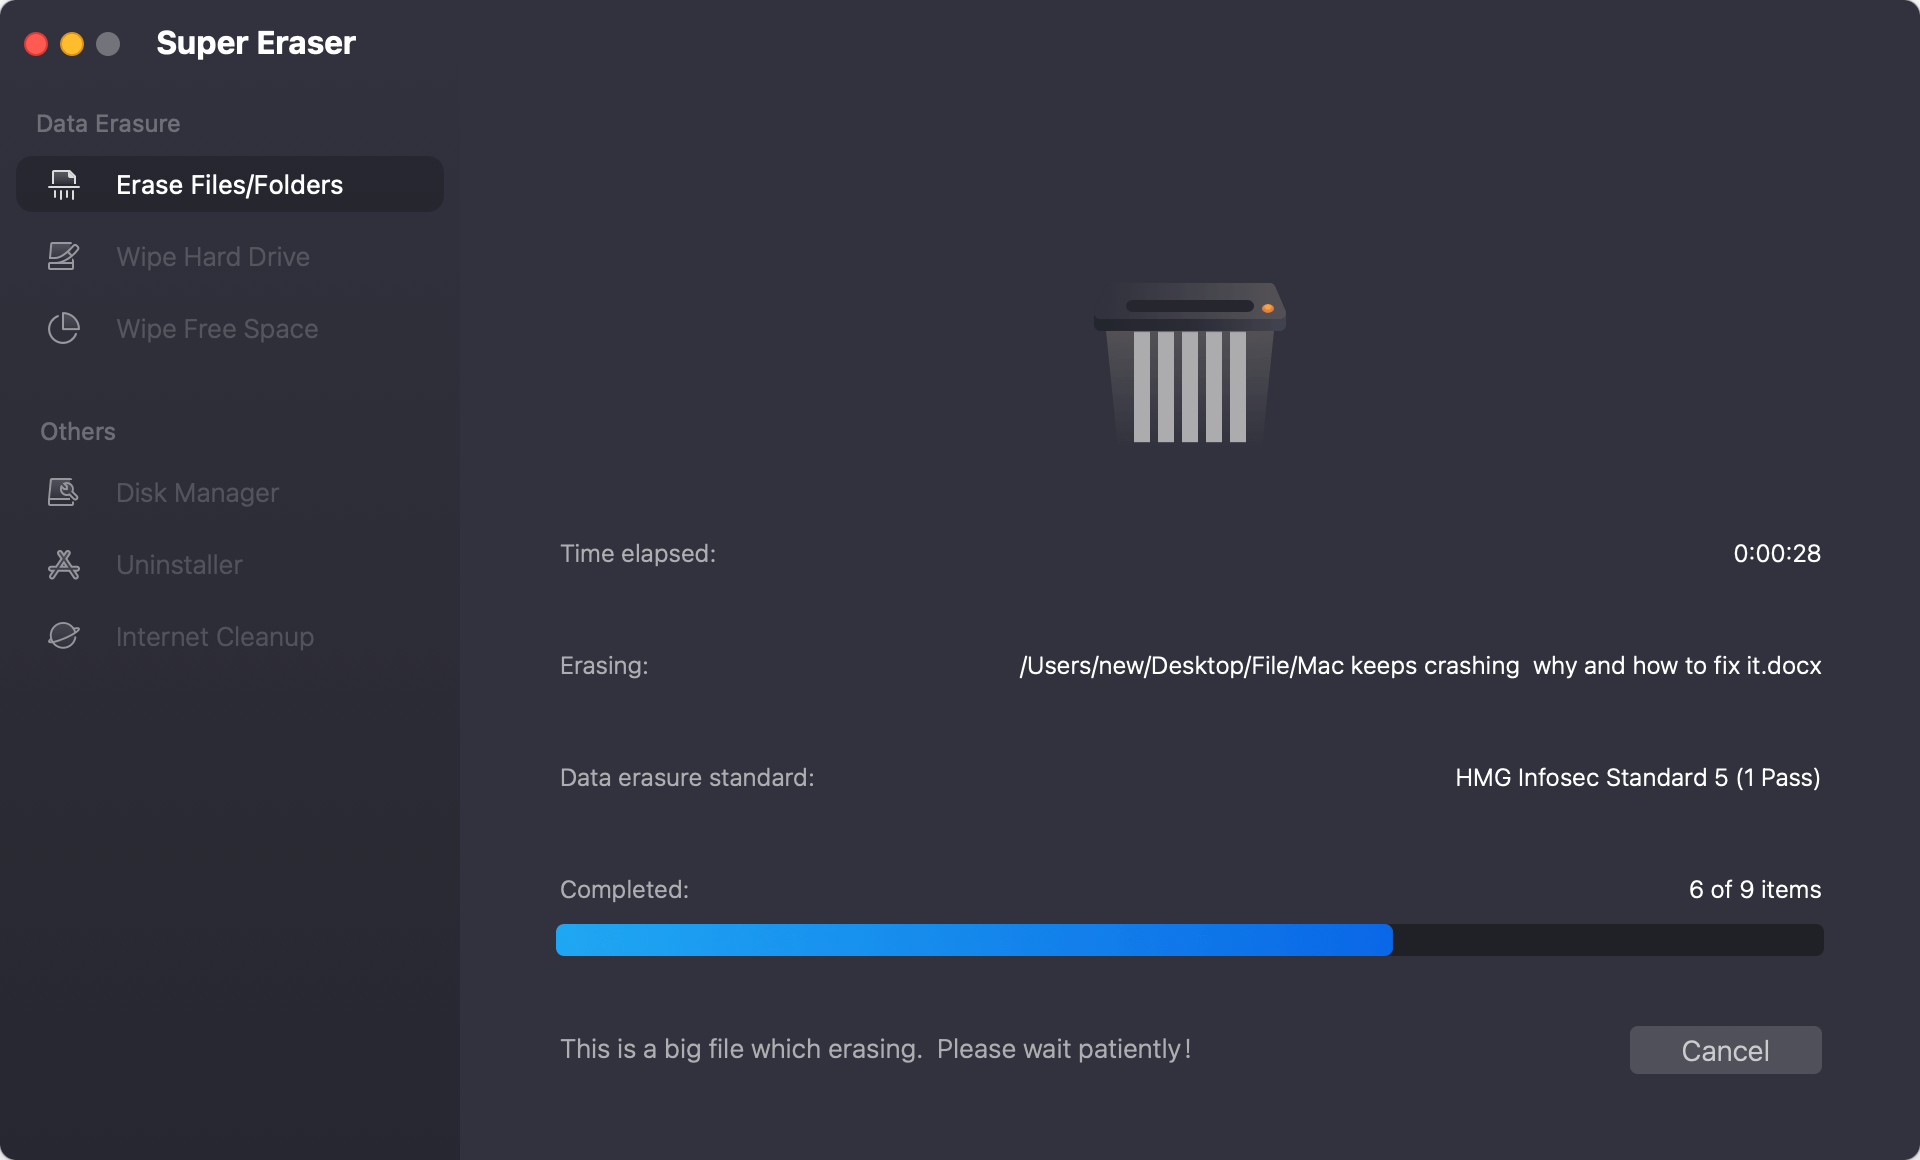
After the process is done, the data was gone forever from the drive. You can verify it by scanning the drive with professional data recovery software to confirm if the shredded files could be recovered successfully.
✨ Tips for data erasure ✨
To keep your data safe and ensure the data erasure process run smoothly and successfully, please ensure to check and note the following tips:
1. Back up data if needed: If some files are important and you only want to shred them on one drive, you should back up the files to another drive for data security.
2. Be careful when wiping data: Ensure to select the right files or folders to shred. If you select the wrong files, you will lose them forever.
3. Confirm if the data erasure is successful: Verify the data erasure result after the wiping process. There might be some issues that cause the data erasure failure.
To keep your system organized and protect private data, you must permanently delete Excel files on a Mac. Using methods like emptying the Trash and wipe free space, and third-party Mac data wiping software ensures that everything is deleted permanently. Safely erasing free rooms and taking care of Time Machine backups are also extra security measures.
By following these steps and best practices, you can keep your Mac running smoothly, prevent accidental data recovery, and free up space on your hard drive. Make regular file management and safe deletion a priority to improve the security of your data and the speed of your system as a whole.

DoYourData Super Eraser for Mac
DoYourData Super Eraser for Mac is a 100% safe, powerful and easy-to-use data erasure program. It offers certified data erasure standards including Peter Gutmann, U.S. Army AR380-19, DoD 5220.22-M ECE to permanently erase data from Macs and external devices, making data recovery be impossible.
