Recover deleted photos on Mac
With the best Mac data recovery software, you can easily retrieve the deleted photos on Mac.
With the macOS system built-in features and tools, you can deleted photos from iPhoto or Photos app on Mac. However, these methods cannot remove photos permanently and the deleted photos could be recovered with specified recovery tools. To keep the privacy safe and ensure the deleted photos will not be recovered, you can use data erasure software DoYourData Super Eraser to shred the files permanently.
![]() Updated by Shirly Chen on January 20, 2025
Updated by Shirly Chen on January 20, 2025
Quick Navigation:
It's important to manage your Mac's photo library to keep it organized and running smoothly. Sometimes, you must delete photos forever to make room or remove pictures you don't want. This can happen in both the older iPhoto and the newer Photos app. This guide gives detailed instructions on permanently deleting pictures from iPhoto and the Photos app on Mac.

We'll review important steps to get ready, like backing up your files, and then show you how to delete something in each app. We'll also talk about how advanced users manage pictures in iCloud. By following these steps, you can keep your photo library clean and your Mac running quickly, which will help you keep your digital memories safe.
First, there are some ways you can use to remove photos on Mac with the macOS built-in options. Here we will introduce the methods to delete the photos on Mac.
You can get rid of one or more pictures using the Trash Bin. Do these things:
Step 1: To open a new window, click the Finder button in the Dock.
Step 2: Pick the area where you want to get rid of the pictures.
Step 3: Pick out the pictures and drag and drop them into the Trash in the Dock.
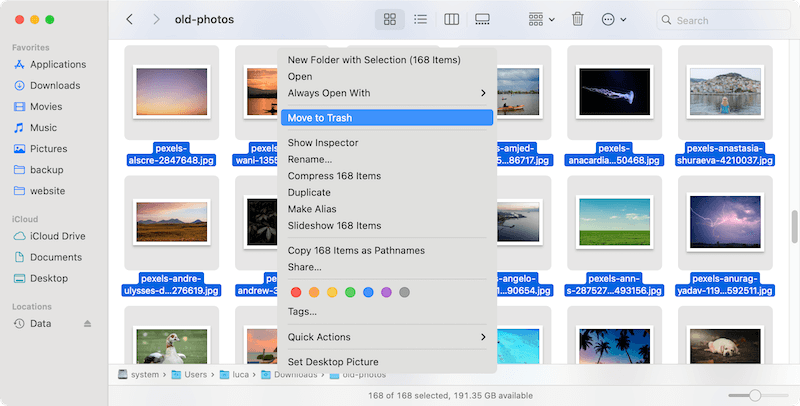
Step 4: Click the trash button and choose "Empty."

Step 5: In the box that comes up, click "Empty Trash."

Your pictures and everything else in the trash are gone permanently.
Another quick way to get rid of pictures is to use shortcuts. On your Mac, you can delete pictures you no longer need with a shortcut if you know how to use one.
1. Push the Command and Delete keys on your computer together to delete the photos you want to delete.
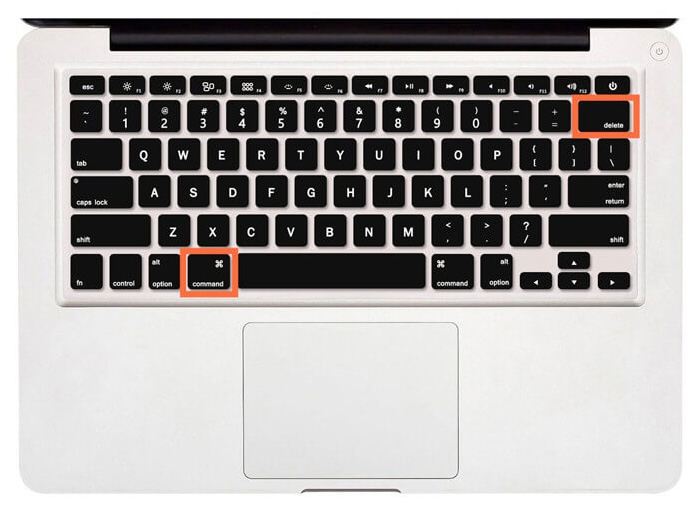
2. The pictures will then be moved to the "Recently Deleted" album. You can delete them permanently from there, or they will be deleted by themselves after 30 days.
3. Press the Option, Command, and Delete keys to remove the pictures, skipping the Trash folder.

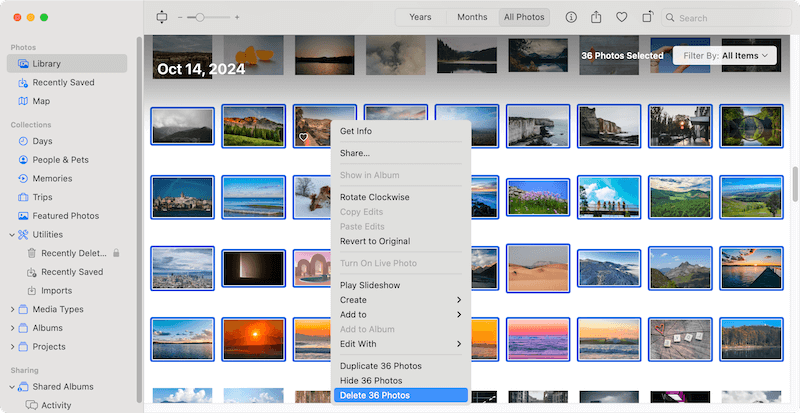
The pictures app on a Mac can also be used to get rid of pictures. If your photos are synced with iCloud, deleting a picture on your Mac would also delete it from other linked devices. To get rid of photos in the Photos app, follow these steps:
Step 1: Click the "Launch Pad" button in the Dock. Open the "Photos" app by choosing it. Or you may find the Photos icon in the Dock directly.
Step 2: Select the images to get rid of.
🎈 Note: To remove more than one picture, click the one picture, hold down the "Shift" key, and press the "Left," "Right," "Up," or "Down" keys to choose other pictures. You can also choose multiple pictures by pressing the "Command" key.
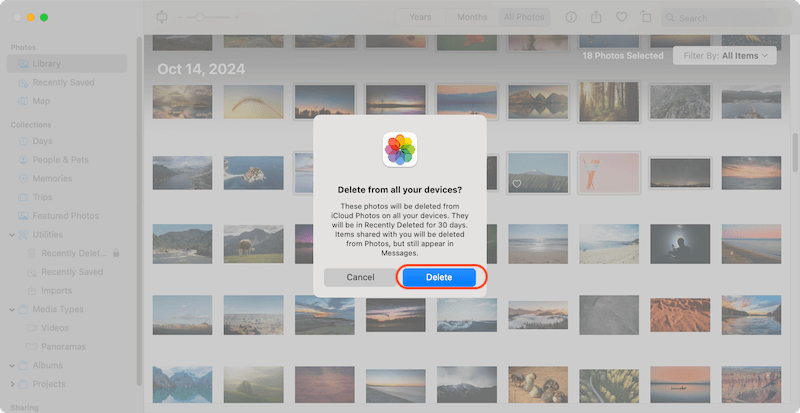
Step 3: Right-click and choose "Delete" from the menu, or press "Delete" on your keyboard.
Step 4: To confirm deletion, click "Delete" in the "Delete from all your devices" box.
Step 5: Delete the photos from your Mac by clicking "Deleted A" button in "Recemntly Deleted" and starting over.
You can use the pictures App to delete all of the pictures at once if you want to. Do what's written below:
Step 1: Open the Photos app.
Step 2: Click on all the photos in the left pane and press "Command + A."
Step 3: Press "Delete" on your keyboard or right-click and choose "Delete" from the menu.
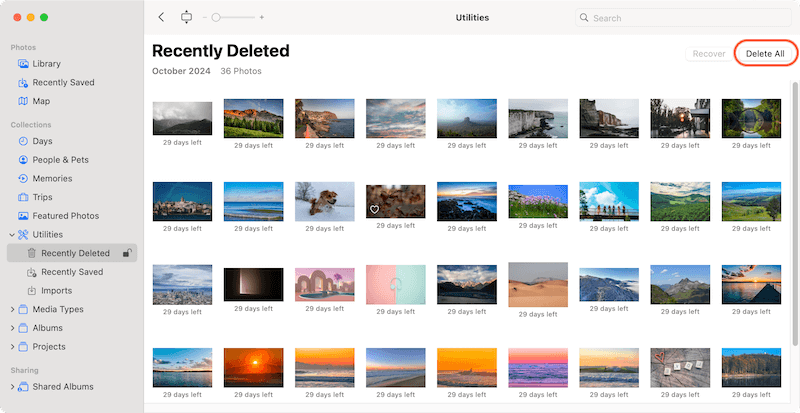
Step 4: Click "Recently Deleted" in the left pane of the present window.
Step 5: In the upper right area, click "Delete All." Then, click "Delete" to confirm in the box that appears.
You have deleted all the pictures from Photos app on your Mac.
Apple instantly links the Photos app and iCloud storage. If you delete pictures from the Photos app, it will also be deleted from iCloud. On the other hand, the answer is easy to see.
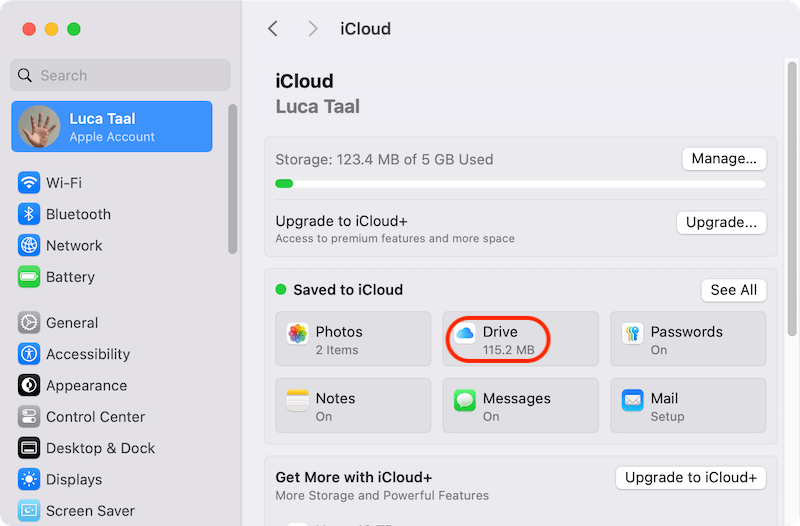
Step 1: Click on Apple in your Mac's menu bar to open "System Settings". Select "iCloud" after clicking on your account.

Step 2: Then click on the "Drive" option to go to the iCloud sync settings.
Step 3: There will be a popup window. Click on the option "Apps syncing to iCloud Drive".

Step 4: Uncheck the box next to "Photos" to disable syncing the pictures to iCloud.
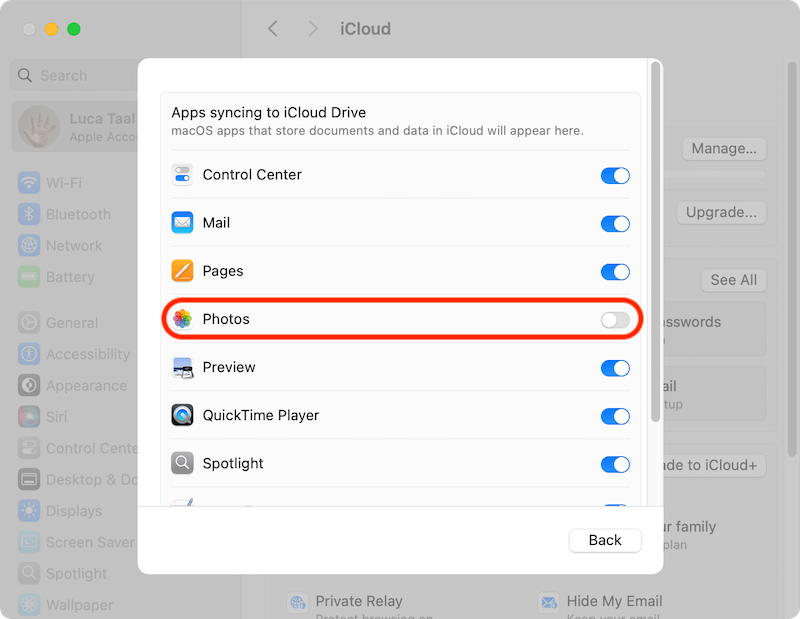
Step 5: You might be asked to enter your password again to ensure it's correct. Once this is done, you'll delete the pictures on your Mac without deleting them in iCloud.
Step 6: Now that your Photos app and iCloud are completely separate, you can delete pictures from your Photos app without losing them in iCloud.
Please note that if you deleted the photos with all the above methods, the photos are not gone forever. With specified data recovery software, it's easy to get back the deleted photos.
Recover deleted photos on Mac
With the best Mac data recovery software, you can easily retrieve the deleted photos on Mac.
If you want to remove some photos which are sensitive and private, you would like to ensure the deleted photos unrecoverable in any way. In such a case, you should use a reliable and trusted file shredder software.
To ensure the photos or other files be removed permanently, a professional file shredder app is required. With the file shredder, the files will be deleted and overwritten with data erasure algorithms which will guarantee the files can't be recovered.
Using a file eraser program like DoYourData Super Eraser for Mac is the fastest and easiest way to get rid of all your photos on a Mac for good. The software can help you shred certain files or folder, wipe deleted data, or wipe all data from a hard drive.
Also, the software is very easy-to-use with easy understanding interface. With this software, you can get rid of files other than pictures easily. Follow these steps to use the software to get rid of all the pictures on your Mac:
Step 1: Download DoYourData Super Eraser and install it on your Mac by following the installing wizard.
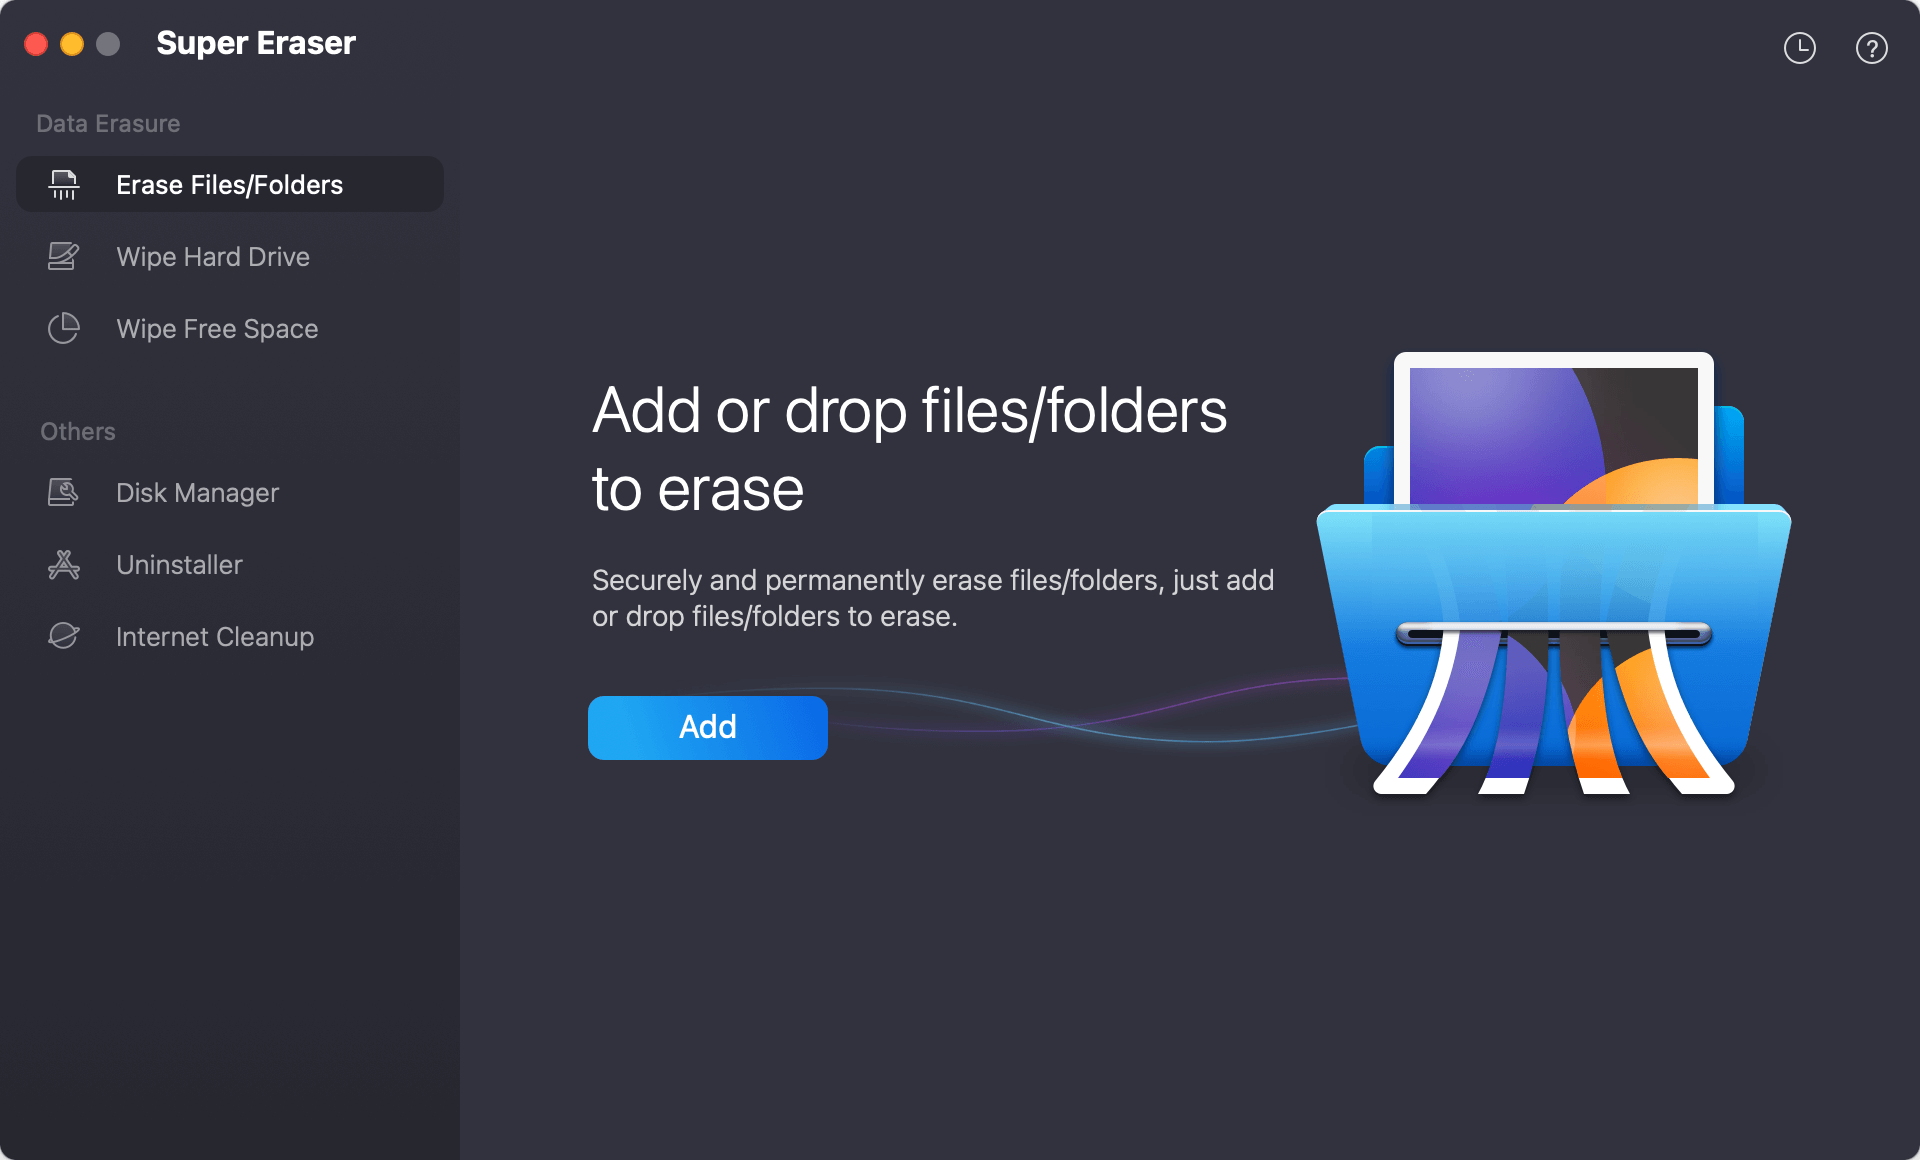
Step 2: Start the software and choose "Erase Files/Folders" mode in the program's main window. You can permanently shred individual files or folders with this mode.
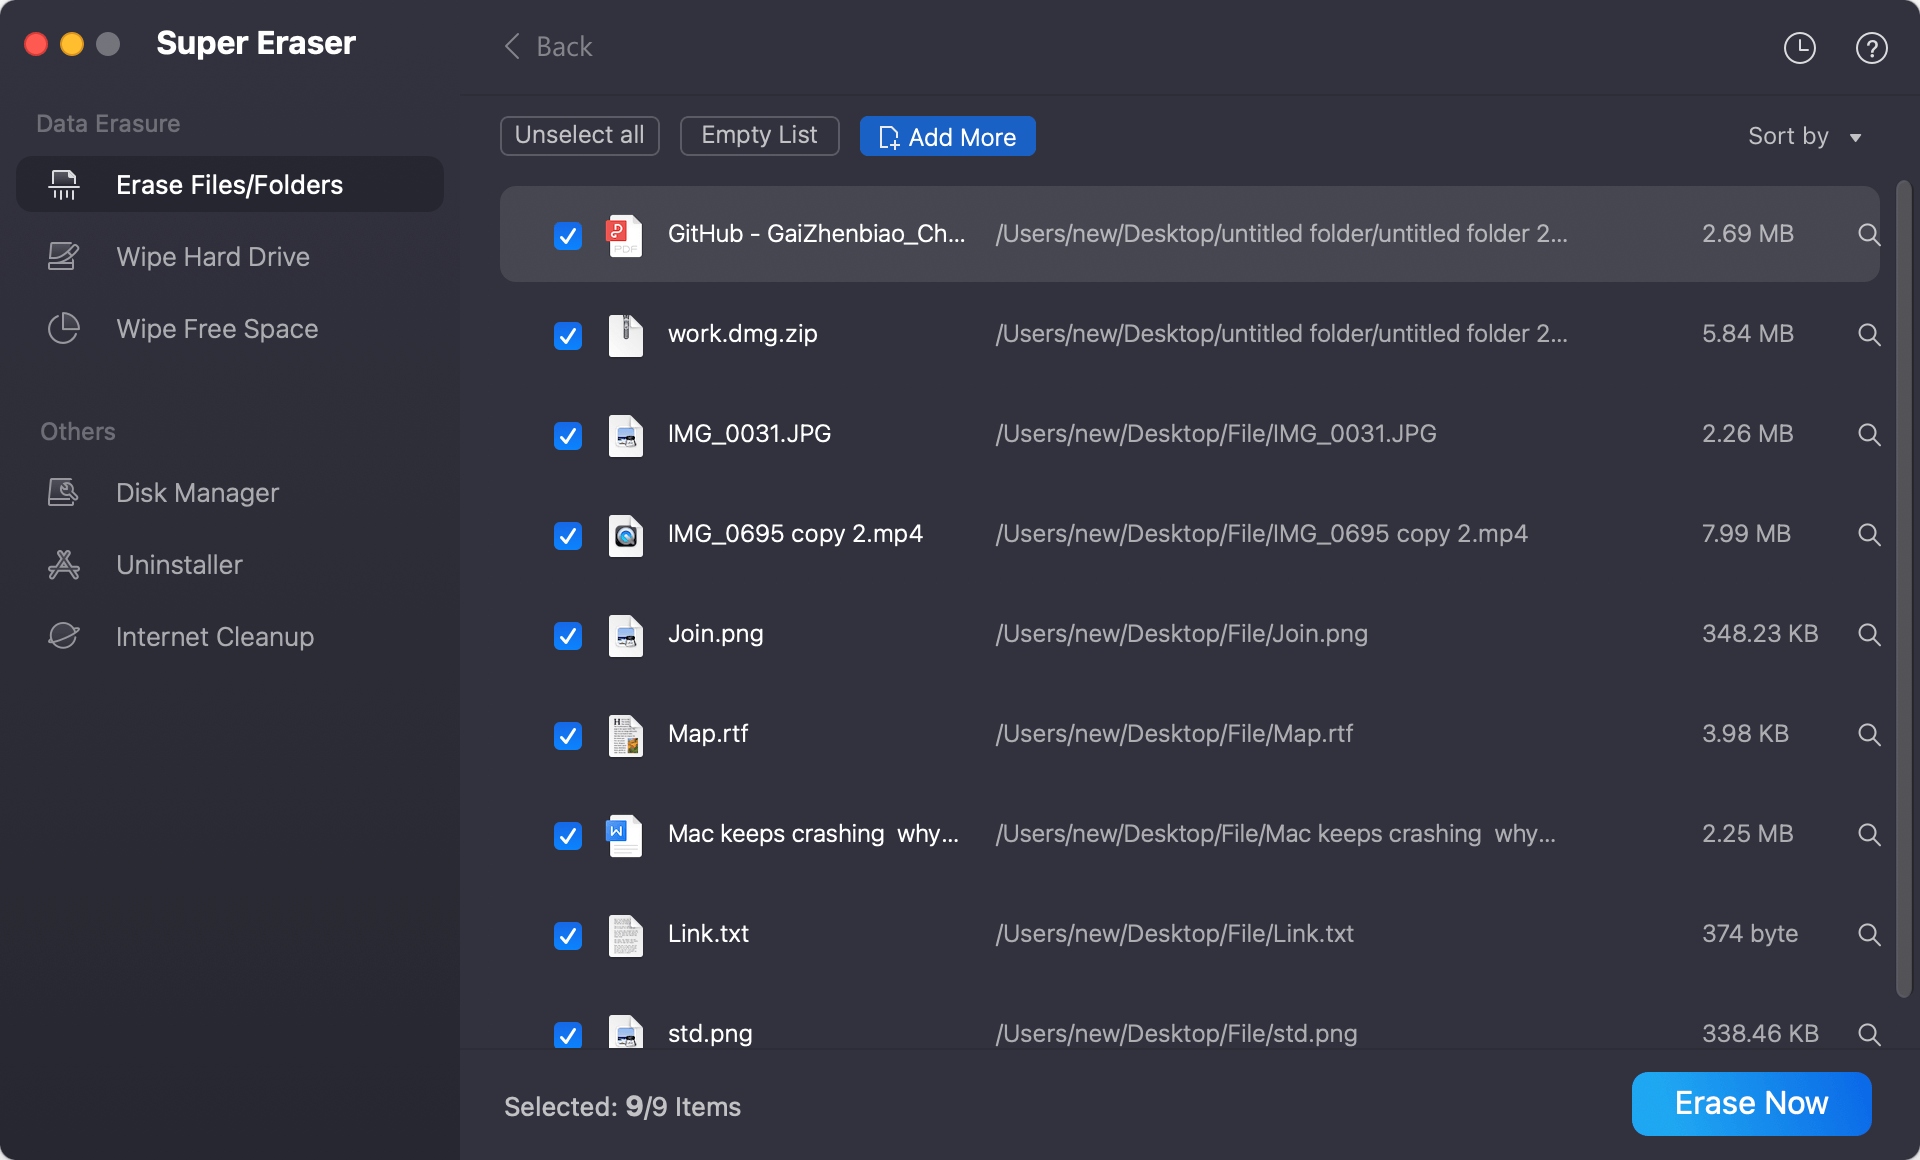
Step 3: Click the "Add" button to select the photos you want to deleted permanently. Or you can drag the photos to the software directly. All the added photos will be listed in the software. You can view and confirm if the right photos are added.
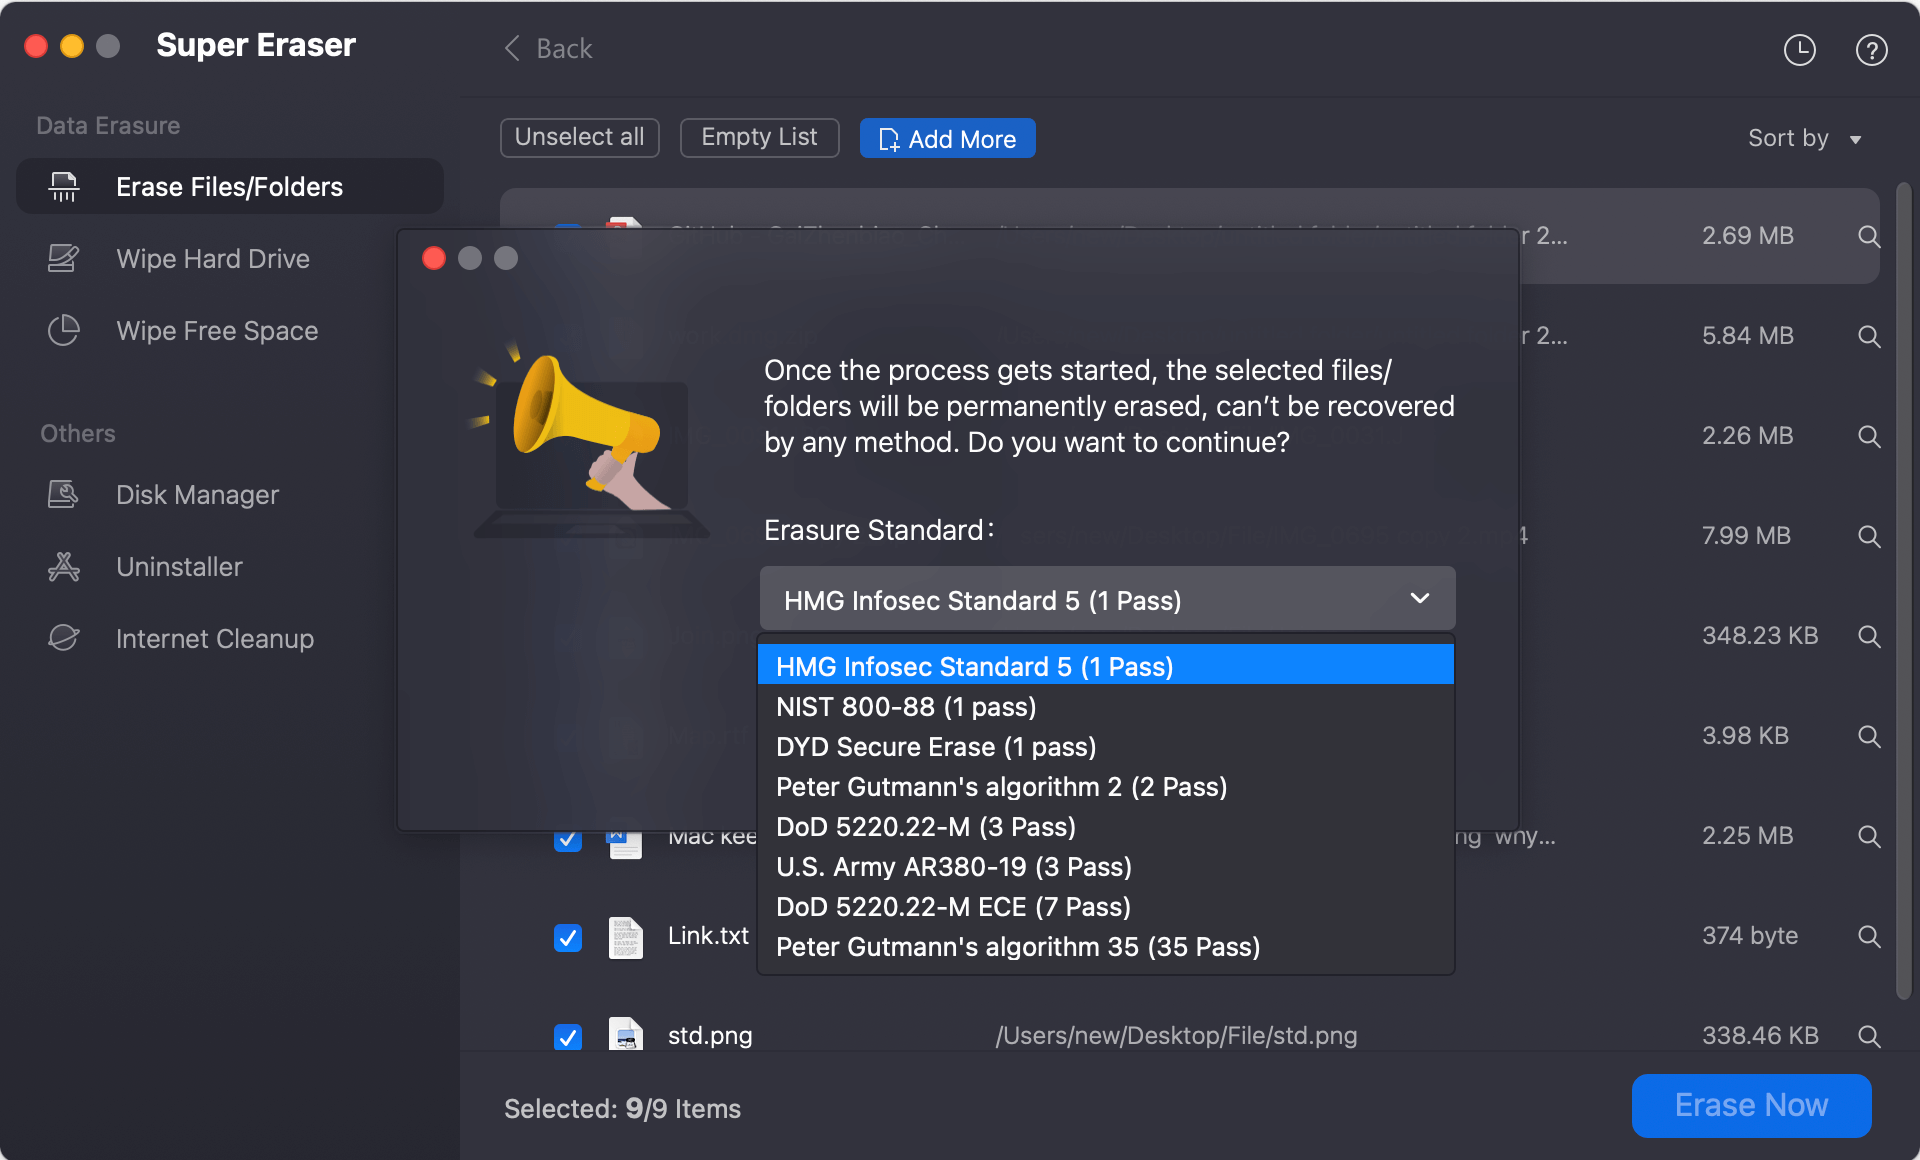
Step 4: After confirming all the photos you want to remove are added, you can click "Erase Now" button and then select a data erasure standard for file shredding. If you want to wipe the photos more completely, just choose an algorithms with more passes and of course it will take more time.
Step 5: After clicking the "Continue" button, the software will start to shred the selected photos permanently from your Mac. It will take a while depending on the size of the selected files and the data sanitation standard you selected.
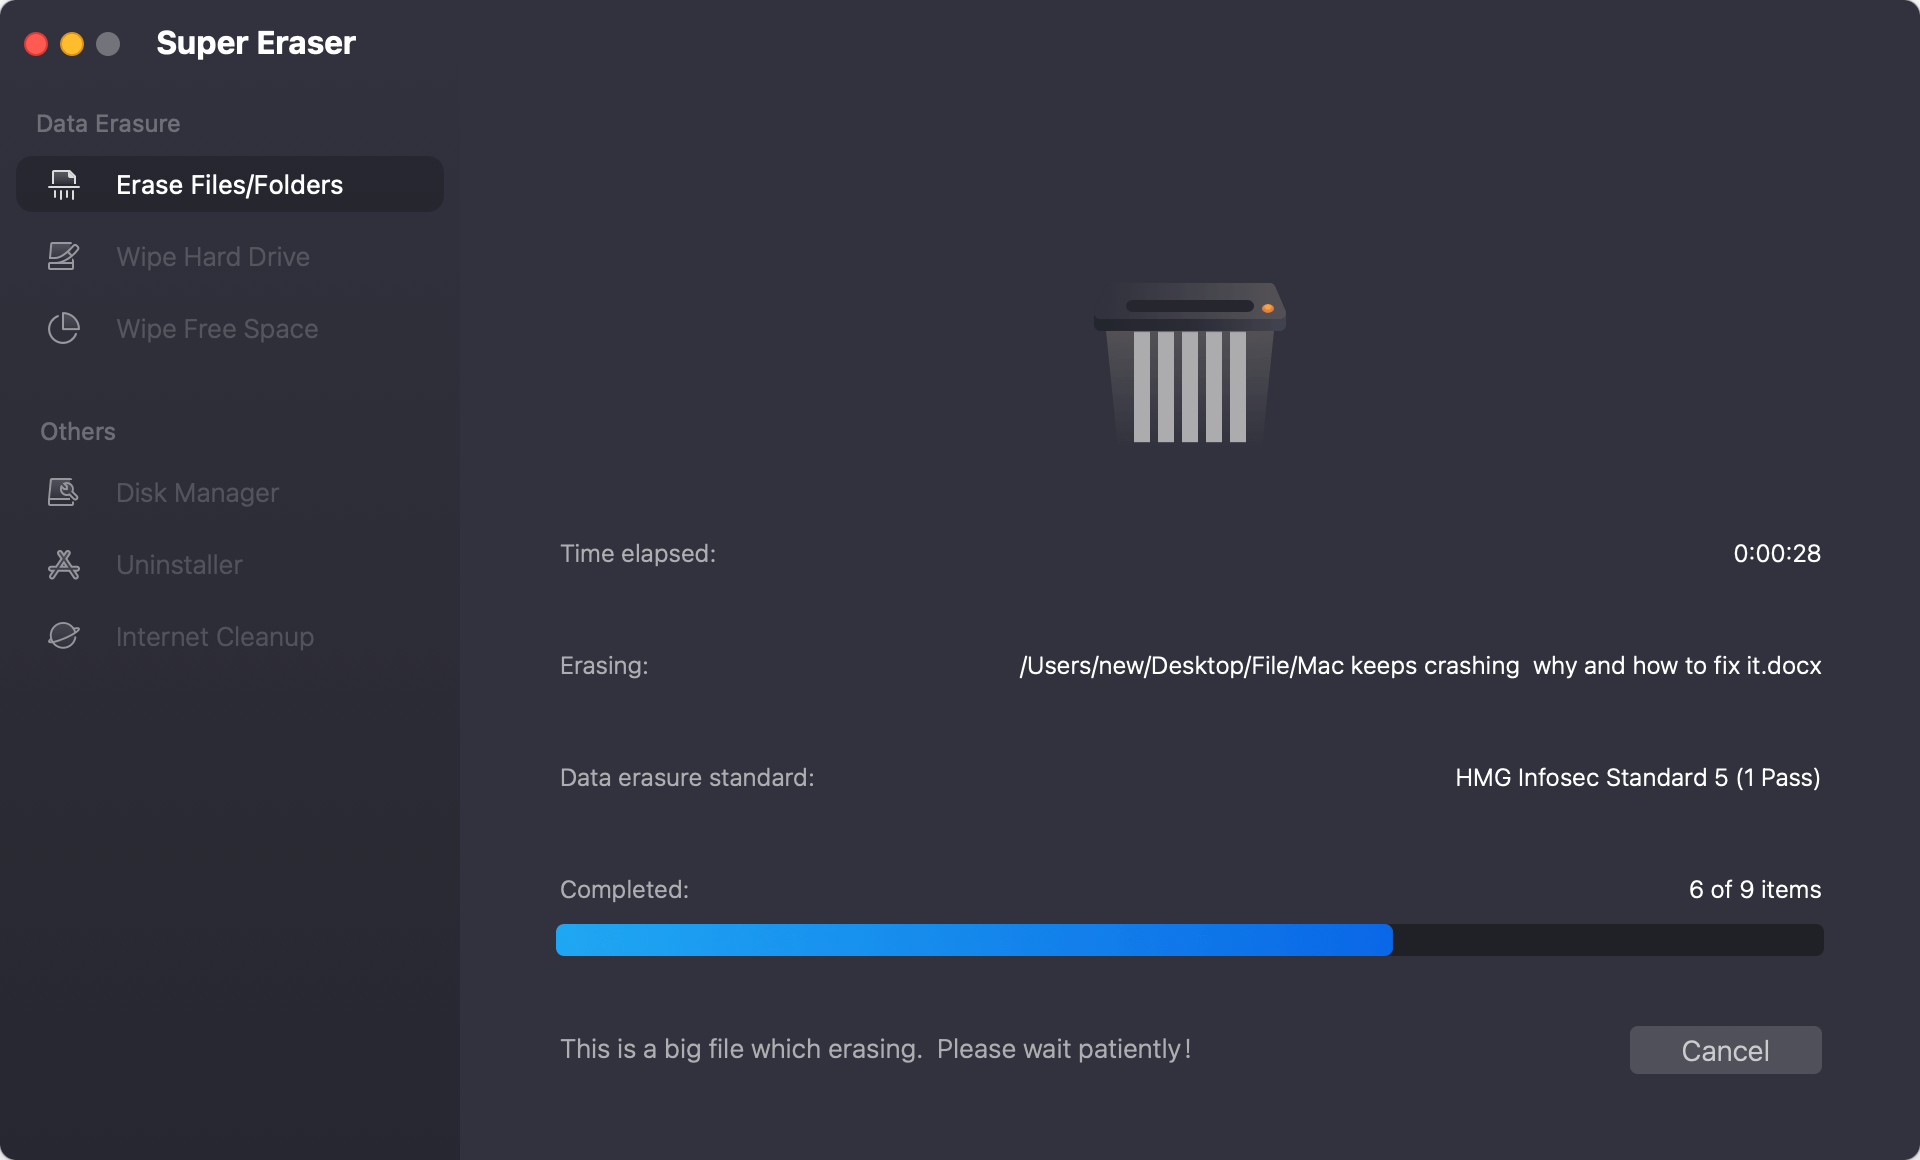
When the process of erasing is finished, a message confirms that the file has been deleted. Now all the selected photos are permanently removed from your Mac and no recovery software can retrieve the photos successfully.
🎈 Note: As the shredded files will not be recoverable in any way, ensure to choose the right files to shred and back up the important files if necessary.
Deleting pictures permanently from iPhoto or the Photos app on your Mac is easy and necessary to keep your library organized and useful. To wipe the photos and ensure no recovery possible, you can shred the photos with data wiping tool. If you do what it says, like backing up your library and being careful about which files you delete, you can free up room on your computer without losing any important pictures.
These tips will help your photo library be neat whether you use iPhoto or the Photos app. Making regular copies and organizing your digital photos will help you keep them safe and easy to find.

DoYourData Super Eraser for Mac
DoYourData Super Eraser for Mac is a 100% safe, powerful and easy-to-use data erasure program. It offers certified data erasure standards including Peter Gutmann, U.S. Army AR380-19, DoD 5220.22-M ECE to permanently erase data from Macs and external devices, making data recovery be impossible.
Written & Updated by Shirly Chen
Shirly Chen has been writing data recovery, data erasure articles for DoYourData over 4 years. She has been working as a professional website content writer & editor for quite a long time. She also writes articles about disk clone, Mac optimization, disk backup, etc.