How to create a full backup of Mac?
With DoYourClone for Mac, you can easily create a bootable and complete backup for mac.
Quick Navigation:
Some older Mac operating systems, like Mac OS X 10.6 Snow Leopard, make it look like a difficult job to erase a hard drive. You need to know how to properly erase your hard drive to sell your Mac, give it to someone else, or start over. At the same time, this ensures that all your personal information is safely erased and gets your Mac ready for a new OS update.
This guide will walk you through the process from making a copy of your important files to using software to wipe the hard drive data on Mac OS X 10.6 Snow Leopard. Once you're done, you'll know how to delete everything on your hard drive and start over safely. Let's start writing the next story for your Mac!
It is very important to back up any important data you want to keep before you erase your hard drive. This step ensures you don't lose anything important because the erase process will delete all the data on the drive.
Time Machine Backup
Time Machine is the built-in backup tool in macOS that lets you back up your system automatically. Connect an external hard drive, go to System Preferences, and open Time Machine. Then, choose your backup disk and begin the backup process. It will make a full copy of your files, apps, and settings to recover everything easily.
Manual Backup
Connect a USB or portable drive to your Mac if you'd rather do things manually. Find important files, like those in Documents, Desktop, Downloads, Pictures, Music, and Movies. You can also drag/drop these files to the USB drive. With this method, you can be sure to have a backup of your important data before you delete it.
How to create a full backup of Mac?
With DoYourClone for Mac, you can easily create a bootable and complete backup for mac.
To avoid problems during the process, you must properly prepare your Mac before removing the hard drive.
Disconnect External Devices
Disconnect all your external devices to your Mac, such as printers, scanners, and hard drives. This will prevent outside influence and ensure that the erasure process only affects the internal hard drive.
Ensure Power Supply
Make sure your Mac has power. Removing something can take a while, and you don't want your Mac to die in the middle of it. A stable power link ensures the process goes smoothly and without any breaks.
You should start your Mac in Recovery Mode to erase the hard drive. This mode gives you the tools to fix and maintain your machine.
Restart Your Mac
Choose "Restart" from the Apple menu. Hold the Command + R keys while your Mac resets. Hold them still until you see the Apple logo or a globe spinning. This puts your Mac into Recovery Mode, which lets you access Disk Utility.
Access Disk Utility
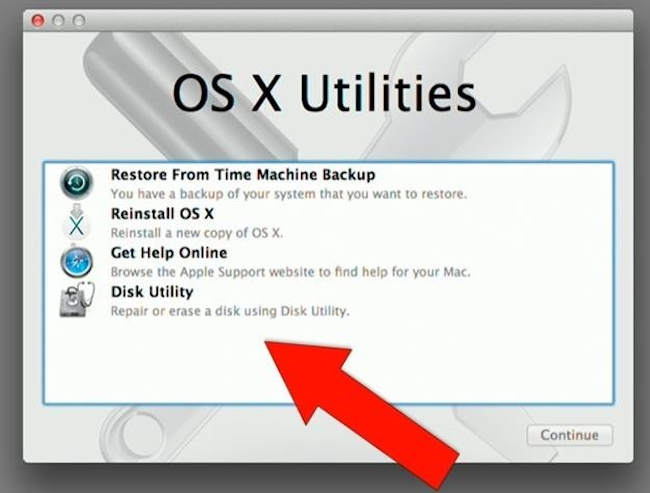
Once you are in Recovery Mode, the macOS Utilities window will appear. Choose "Disk Utility" from the list and click "Continue." This tool will clean the hard drive so that it can be used to install the operating system again.
Erase the Hard Drive
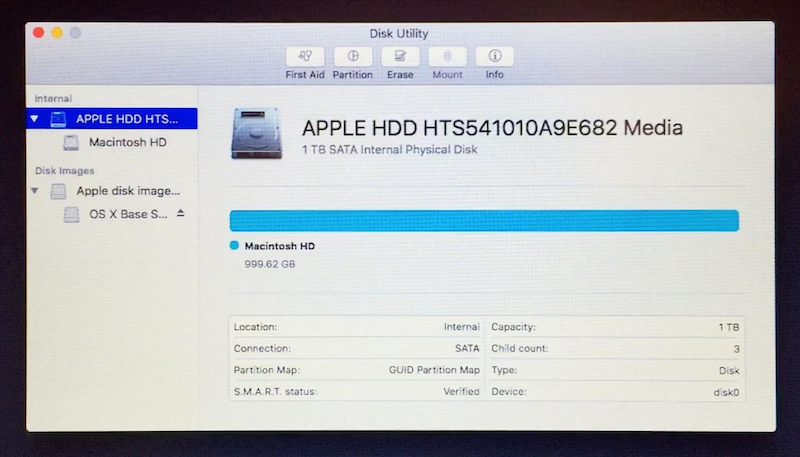
Now that Disk Utility is open, you can delete the hard drive. Carefully follow these steps to make sure that everything is erased.
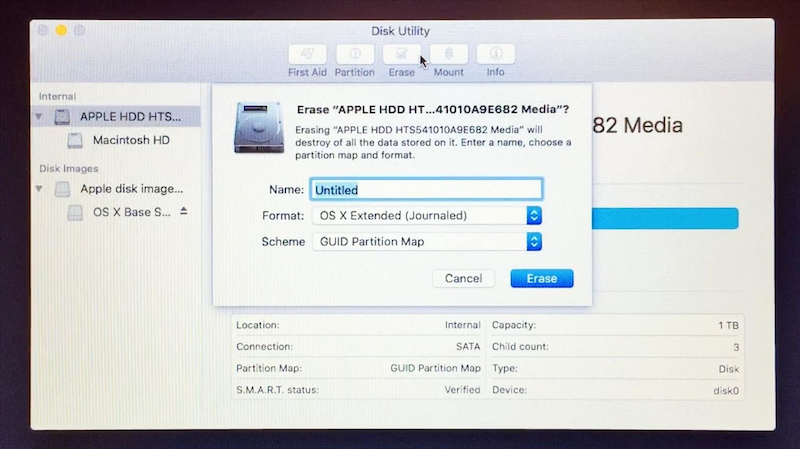
The next step is to restart the operating system after the hard drive has been erased. It ensures your Mac works perfectly and is ready to be used.
Insert the Installation Disk
Put the startup disc for OS X 10.6 Snow Leopard into the optical drive on your Mac. Hold down the "C" key and restart your Mac to start from the installation disk. This will bring up the screen for installation.
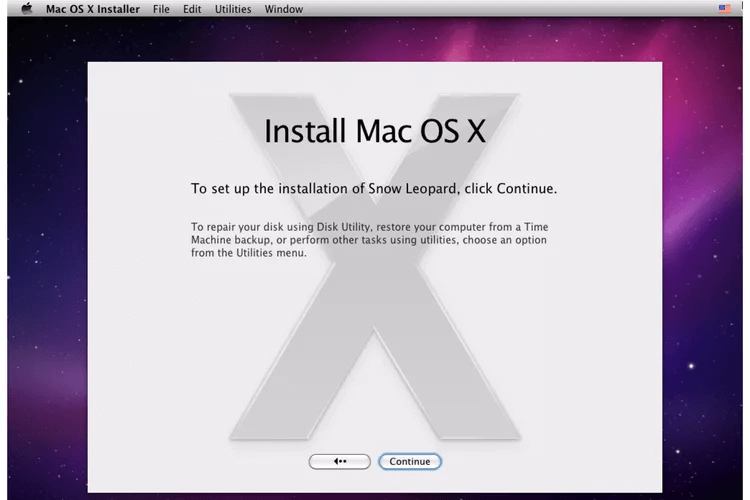
Follow Installation Steps
Pick the language you want to use and click "Continue." Read and agree to the software license agreement. Then, choose the hard drive that you just deleted as the installation location. To start the process, click "Install." After that, follow the steps shown on the screen to finish setting up.
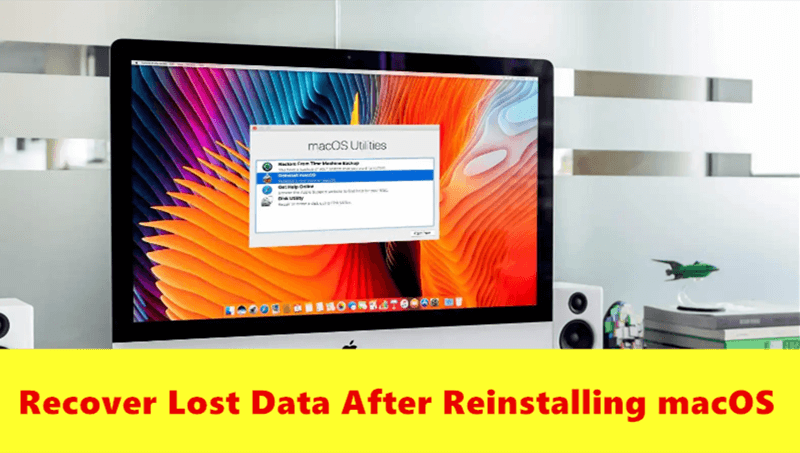
If the Mac will not be sold or donated, reinstall the macOS is not enough. Even you have erased the disk with Disk Utility in Recovery Mode and reinstall the system, the previous personal data on the drive would still be recoverable. With professional data recovery software, it's able to recover the data from a reinstalled Mac.
Is it possible to recover data from reinstalled macOS?
With professional Mac data recovery software, there is a great chance to recover the lost data even after reinstalling the macOS.
Why the data is still recoverable after reinstalling the macOS? The old data on the drive would be removed and overwritten while reinstalling macOS, but some data would still be left especially when there was a large amount of data on the disk before. To ensure the data will not be recoverable, it's necessary to wipe all the removed data permanently.
To wipe the removed data from a drive, it's essential to overwrite and wipe the free space of the drive. You can manually add a lot of useless files to full use of the drive space and then remove the files. However, it will take a long time and not 100% secure. To do the job easily, we suggest you use the professional data recovery software DoYourData Super Eraser for Mac.
The software can automatically wipe the free space of a drive and ensure the removed files will be gone forever. With international data sanitation algorithms, the software can guarantee the wiped data unrecoverable.
You can follow the guide below to wipe the free space of Mac OS X 10.6 Snow Leopard step by step:
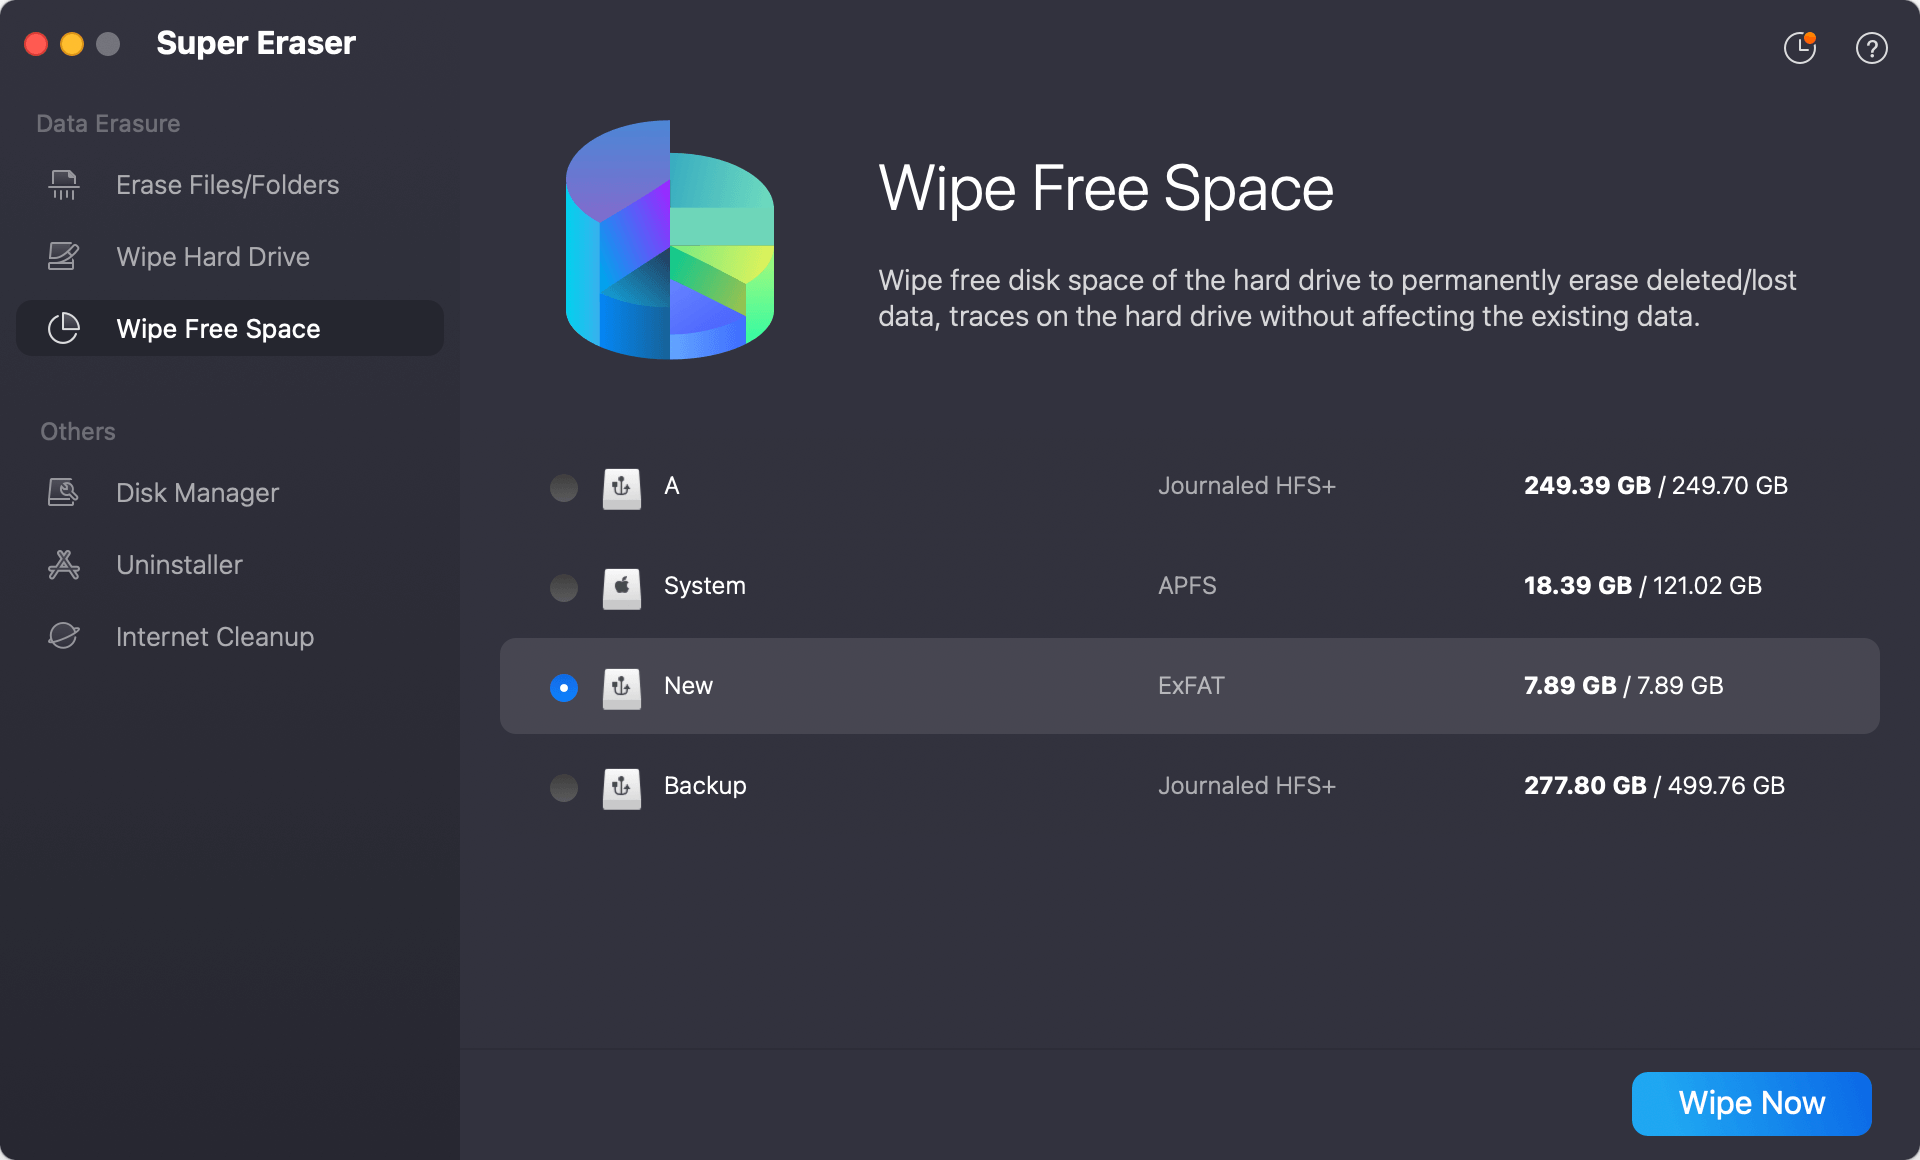
Step 1. Start the application from launchpad and select Wipe Free Space mode, choose the Mac drive from the list. Click on the button Wipe Now to continue.
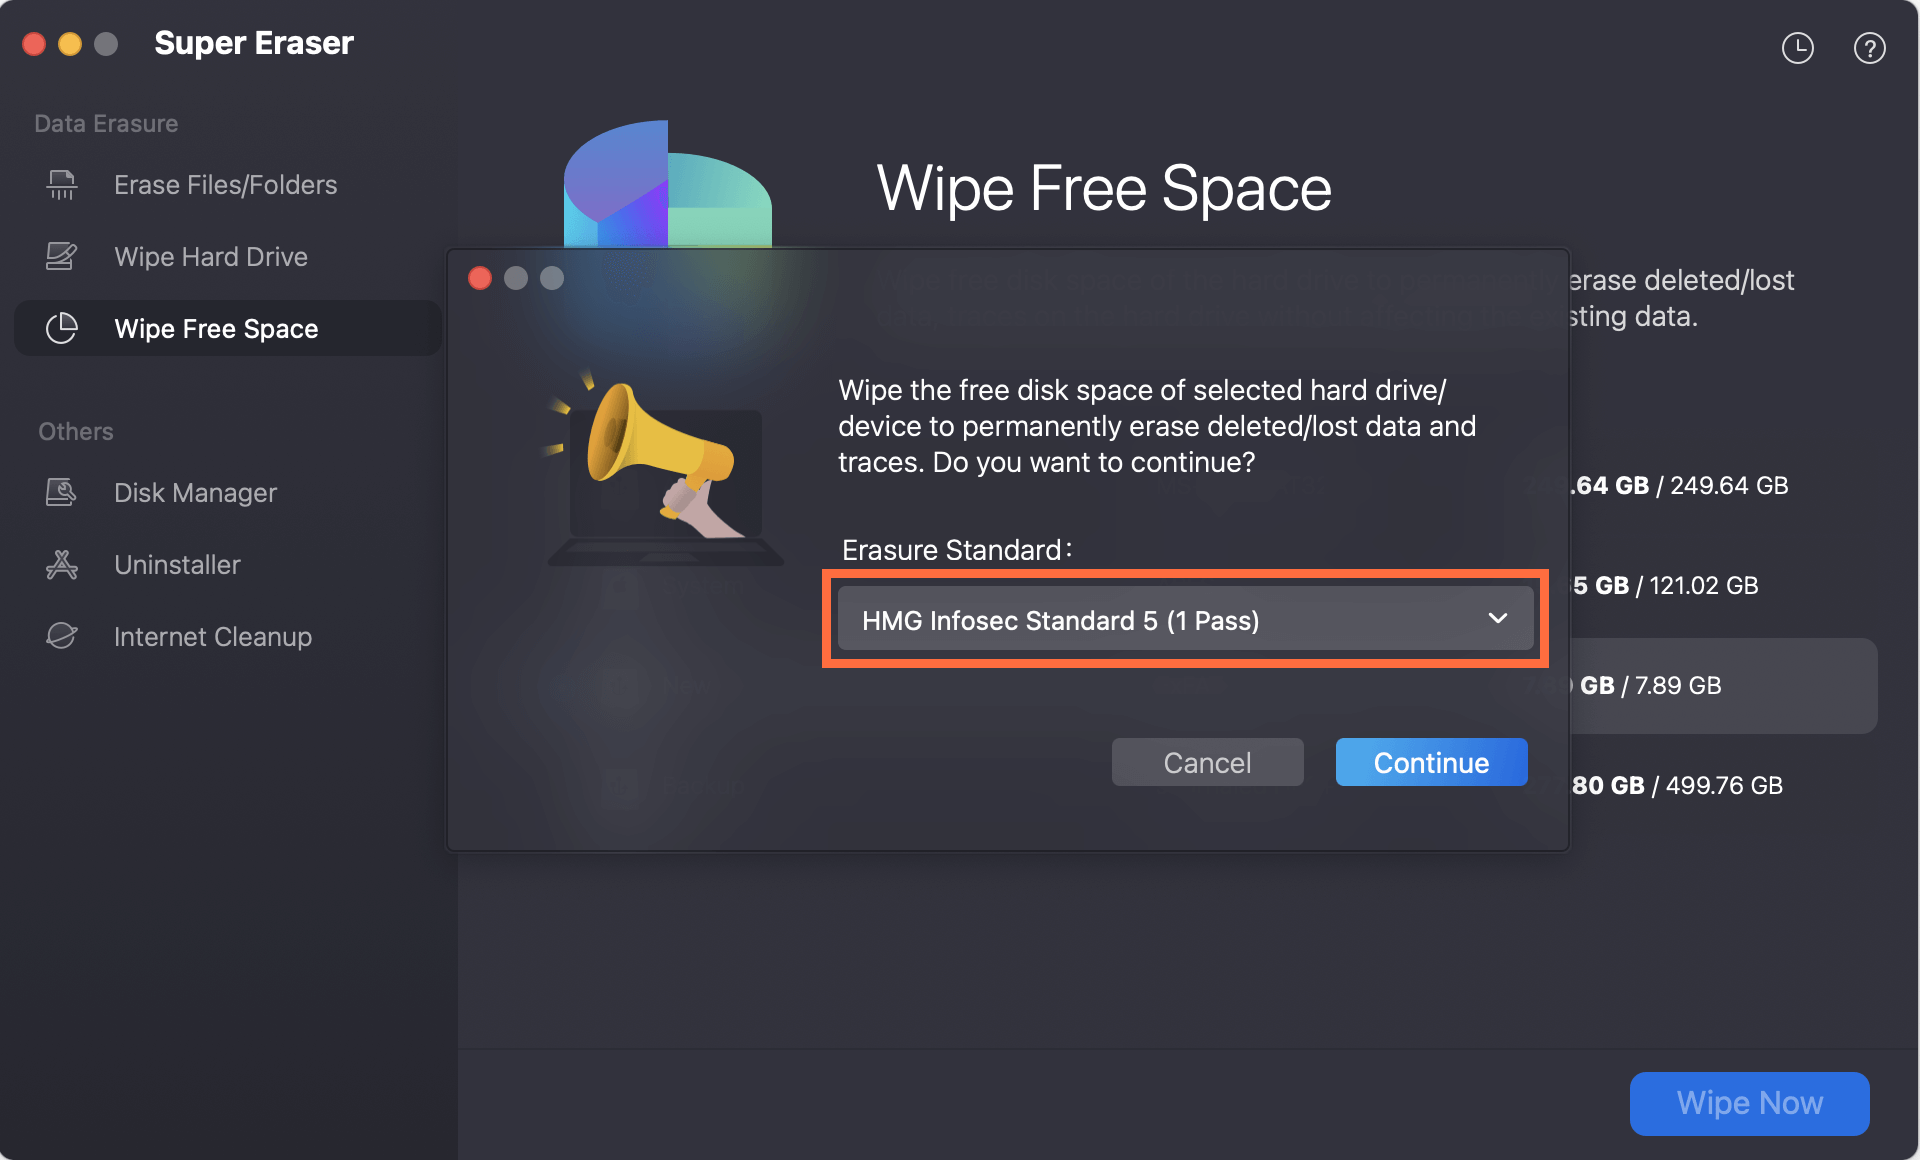
Step 2. You need to select a data wiping algorithm at this step. If you want to ensure a higher security level, you can choose a algorithm which will wipe data with more passes.
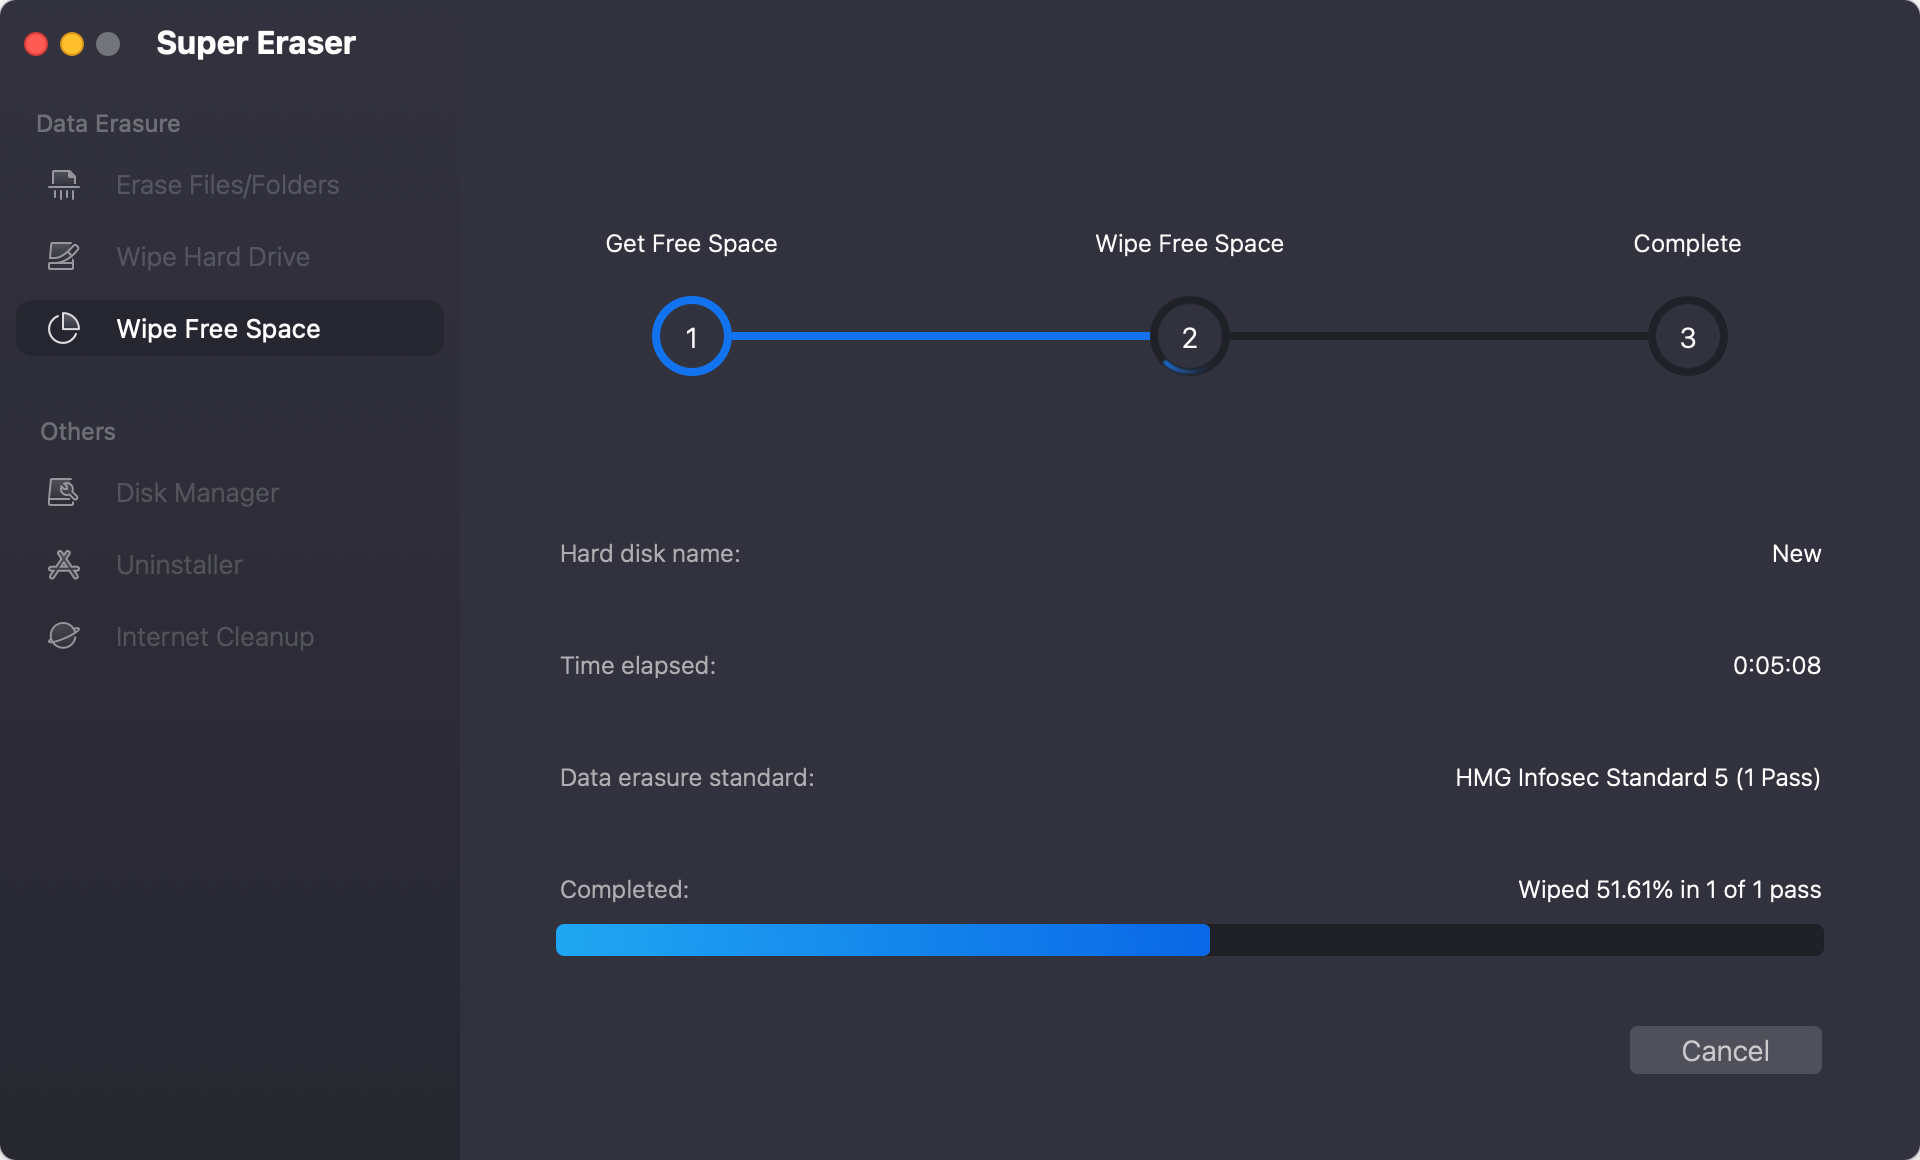
Step 3. At last, you can process the data wiping. It will wipe all the data on the free space of the Mac drive and ensure the data impossible to be recovered in any way.
After the installation, your Mac will restart and walk you through setting it up. This includes setting up your network preferences, creating a user account, and, if you want, moving files from a backup. If you will sell or donate the Mac, you can skip it and just turn off the machine.
Create User Account
Enter your name, account name, and password to create an account. You will use this account to log in to your Mac and manage it.
Network Setup
Install an Ethernet wire or use Wi-Fi to connect your Mac to the internet. You need to do this step to download changes and use online services.
Enable FileVault
After setting it up, it is important to ensure your Mac is safe and ready to use. FileVault is a built-in encryption tool that locks down your whole hard drive to protect your data. To make it work, do this:
Erasing your hard drive on OS X 10.6 Snow Leopard is the only safe way to get rid of personal files before selling or reusing your Mac. If you follow this guide, you can back up your important files, get your Mac ready, erase the hard drive with Disk Utility, restart the operating system, permanently wipe data with DoYourData Super Eraser for Mac, and set up your Mac safely.
These steps are good because they will keep your information safe and prepare your Mac for the next part. Now that you've cleaned and refreshed your Mac, you're ready for a new start or a smooth gift to someone else.

DoYourData Super Eraser for Mac
DoYourData Super Eraser for Mac is a 100% safe, powerful and easy-to-use data erasure program. It offers certified data erasure standards including Peter Gutmann, U.S. Army AR380-19, DoD 5220.22-M ECE to permanently erase data from Macs and external devices, making data recovery be impossible.

