How to Clone A Hard Drive?
Clone one hard drive to another hard drive to make a full backup with powerful disk cloning software.
Quick Navigation:
Have trouble erasing a drive on your Mac? You might not know what to do when you get the feared "Couldn't Open Device -69877" error. Don't worry, though! This guide gives you all the necessary information to fix this problem and correctly format your storage device.
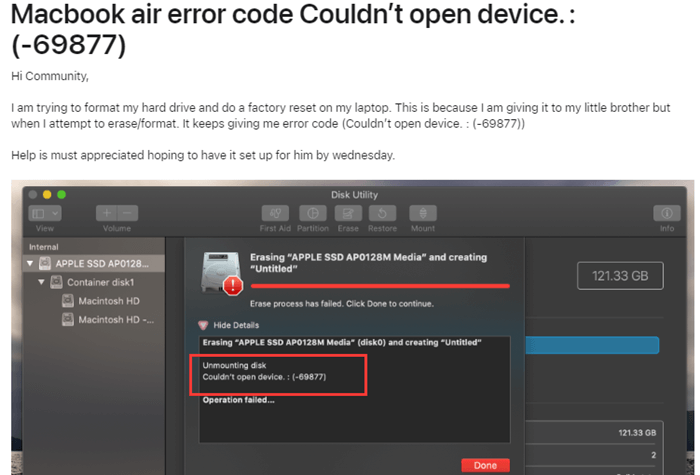
We'll investigate the possible causes of this message, which could be anything from temporary software bugs to problems with permissions. Now that we know what to do, we'll look at a step-by-step way to fix the mistake. We'll begin with easy changes, like restarting your Mac, and move on to more complex ones that use Terminal commands while ensuring your important data stays safe.
Let's fix this problem and get your Mac back to erase drives!
The error number -69877 doesn't give a clear reason, but it usually means that your Mac and the drive are having trouble talking. Some possible reasons are:
How to Clone A Hard Drive?
Clone one hard drive to another hard drive to make a full backup with powerful disk cloning software.
We'll look at several approaches, going from the easiest to the most complex. It is suggested that you try them in this order:
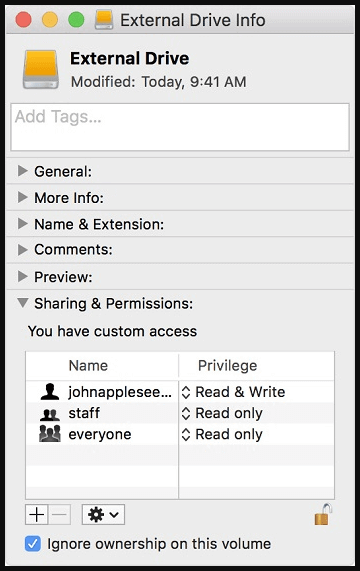
Find the drive in question and check its rights. Make sure that your user account has the right to view and change the drive.
To change rights, choose the drive, go to the File menu, and click "Get Info." Then, change permissions under "Sharing & Permissions."
To prove your identity, pick the drive and click the lock icon to take ownership of it if needed. Then, give your user account the right powers.
A simple restart is often all it takes to fix short-term program problems. You may only need to do this to allow Disk Utility to view the drive and communicate with it.
The link between the drive and Mac may not always work properly. To fix this, safely remove the drive, then put it back in and try to erase it again.
If the rights are wrong, Disk Utility might be unable to change the drive. How to deal with this:
Hardware settings at the low level are controlled by the Parameter RAM (PRAM) or NVRAM (Newer Macs). Resetting them can sometimes fix problems with communication:
Resetting PRAM/NVRAM:
You can access a different macOS version with Disk Utility when you start in Recovery Mode. It can help get around short-term problems with the main macOS installation:
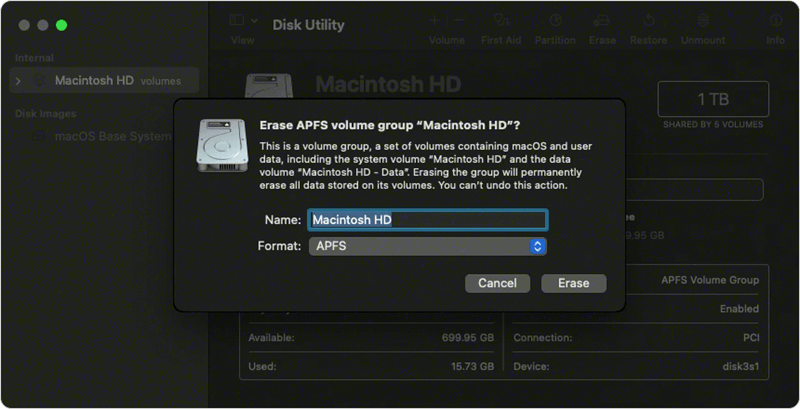
This mode gets a new copy of macOS from Apple's computers, which might fix software conflicts that are stopping Disk Utility from working:
You have more control over the formatting process this way, but be careful because any mistakes can cause data loss:
If you have lost data due to erasing hard drive on Mac, just use Mac data recovery app to scan the drive and get all lost data back.
Recover Erased Hard Drive on Mac
Do Your Data Recovery for Mac can help you recover lost data from a HDD/SSD which is erased by Disk Utility.
If you're working with an external drive, ensure it's tied to your Mac safely. If you still have trouble connecting, try using a different USB port or cord.
Check if the drive or the wires that connect it are broken. If you need to, replace any broken parts.
If you can not erase the hard drive by using Disk Utility, you can try third-party disk formatting tool - such as DoYourData Super Eraser for Mac. It can help you wipe NTFS/APFS/HFS/ExFAT/FAT32 or RAW drive on mac.
Step 1. Download and install DoYourData Super Eraser for Mac on your Mac, then open it.
Step 2. Open DoYourData Super Eraser for Mac and choose Wipe Hard Drive mode, this mode will format and wipe the selected drive and permanently erase all data from it.

Step 3. Select the drive and then click on Wipe Now button.
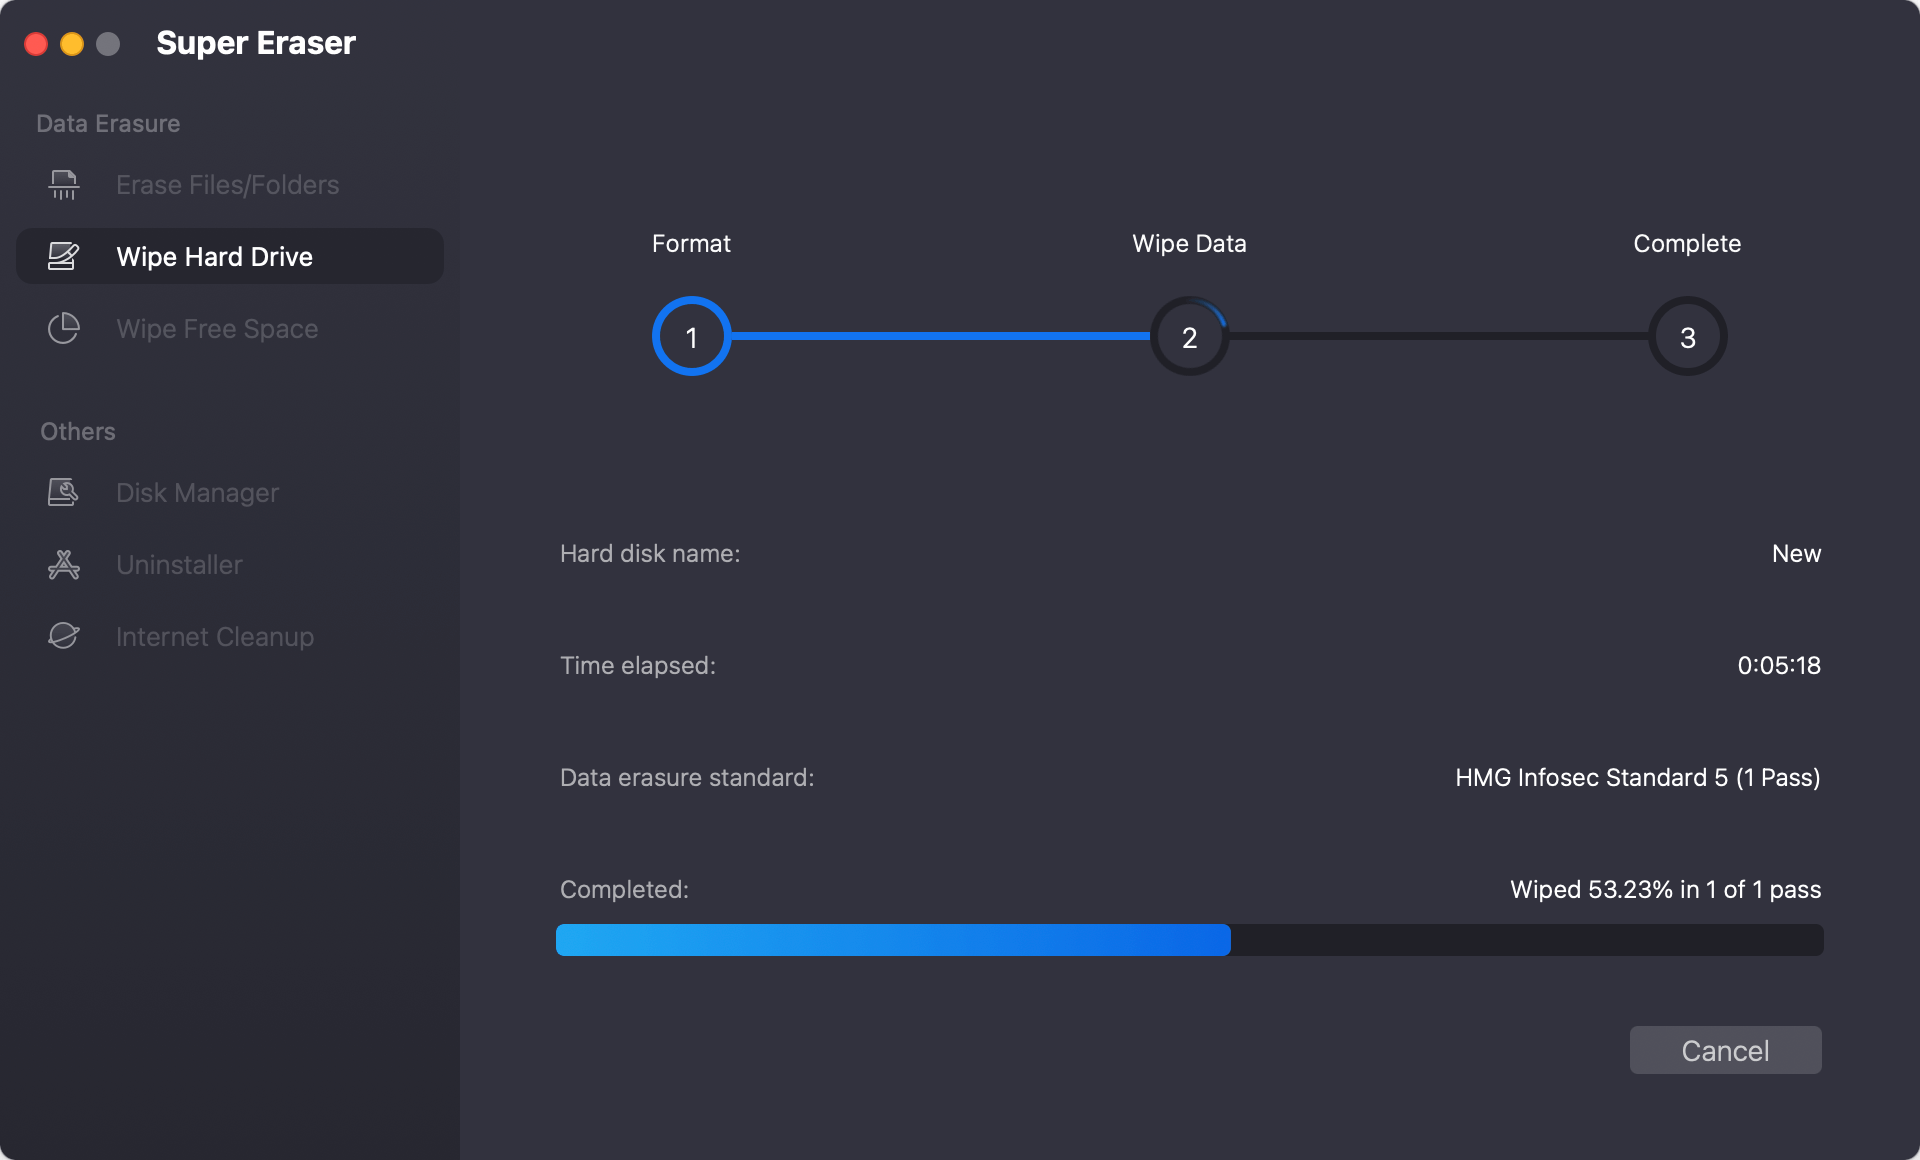
Note: Once the data is erased by DoYourData Super Eraser for Mac, the data is lost for good, can not be recovered by any method.
When trying to erase drives on a Mac, getting errors like "Couldn't Open Device 69877" can be annoying, but most of the time, the problem can be fixed by following the right steps. By knowing what might have caused the error and using the solutions described in this article, users can easily get past this problem and continue their drive maintenance tasks. Remember to be careful when working with drives to keep your data safe and the security of your storage devices.
Hot Articles

