Quick Navigation:
- How to Use Apple Diagnostics on Mac?
- Advanced Tips for Using Apple Diagnostics
- Optimize macOS Using MacClean360
- Conclusion
Computers have become like best friends to us these days; they help us with everything from work to fun. But sometimes our trusty Macs do not work right. That's where Apple Diagnostics comes in. It checks your computer like a doctor, ensuring everything is fine inside. There is a way to tell if your Mac is healthy or if something is wrong. You have come to the right place.
You can learn everything you need about Apple Diagnostics, from how to use it to what it says in our simple guide. Now that you have your Mac, let's learn how to keep it going well!
How to Use Apple Diagnostics on Mac?
Apple Diagnostics is a built-in tool on Mac computers that runs diagnostic tests to help users figure out what's wrong with their hardware. These tests look for problems in memory, storage, the battery, and other system parts. It's important to know that Apple Diagnostics only checks hardware. It doesn't look for problems with software or third-party accessories.
Access Apple Diagnostics:
Getting to Apple Diagnostics is a simple process. Do these things:
Step 1. Turn off your Mac: Make sure your Mac is off before you start the diagnosis process.
Step 2. Disconnect all external devices. Take out any extras, like printers, USB drives, and external hard drives.
Step 3. Start up your Mac: Press and hold the Power button to turn on your Mac until you see Loading startup options. Then release the Power button.
Step 4. Press and hold the 'D' key: Hold the D key on your keyboard until you hear the starting chime or see the Apple logo on a newer Mac. Hold down the button until you see the Apple Diagnostics screen.
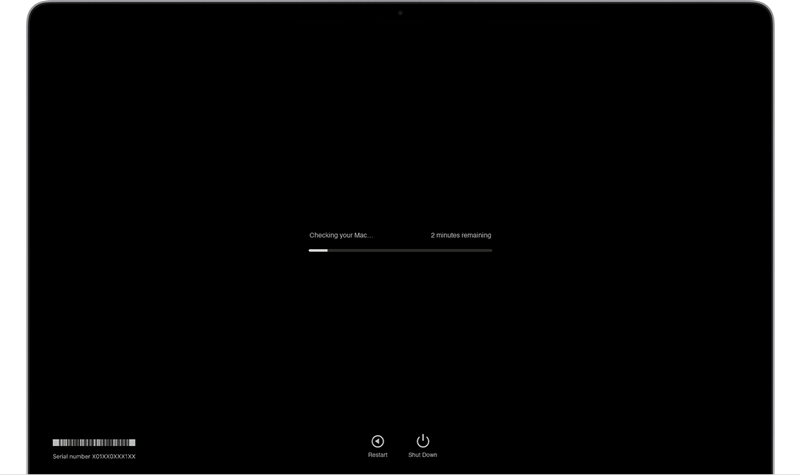
Step 5. Please wait for the diagnostic tests to be completed. It could take a few minutes to finish the testing process. During this time, your Mac will show you any problems it finds and progress bars.

Step 6. Review the diagnostic results: When the tests are over, Apple Diagnostics will show any problems found, along with reference numbers and short descriptions.
Note: If you are using an Intel-based Mac, turn on your Mac, press and hold the D key on your keyboard as your Mac starts up. Release when you see a progress bar or you're asked to choose a language. If using the D key doesn't work, press and hold Option+D keys at startup instead.
How to Read the Apple Diagnostics Results:
You need to understand the diagnostic data to figure out how healthy your Mac is. Here's how to understand the given details:
- No Issues Found: If Apple Diagnostics finds no problems, it will show a message that says "no problems found." Based on this finding, your hardware is working fine.
- Problems Detected: If Apple Diagnostics finds a problem, it will show a short explanation and a reference code. You can use these reference codes to find the exact piece of hardware that isn't working right.
- Contact Apple Support: If you have a problem and don't know what to do next, Apple Support can help you figure it out based on the test results.
Standard Reference Codes and Their Meanings:
The reference numbers Apple Diagnostics gives you might not make sense initially, but they can help you figure out the problem. These are some standard reference codes and what they mean:
- ADP000: This code indicates a problem with the power adapter, such as a broken charging wire or adapter.
- NDD001: This code means there is a problem with the built-in display, like a broken screen or graphics problem.
- VDH005: There is a problem with the built-in hard drive or recording device, like a disk drive that isn't working right or data that isn't being saved correctly.
- PPF001: This means the battery is faulty, such as being low on power or needing to be replaced.
- TEM001: This means the temperature monitor is having a problem, such as getting too hot or not working properly.
Advanced Tips for Using Apple Diagnostics:
Even though Apple Diagnostics is meant to be easy to use, here are some expert tips that will help you get the most out of it:
- Do Diagnostics Often: Doing diagnostic tests can help find tech problems before they worsen.
- Update Your Mac: Make sure that the operating system and software on your Mac are always up to date. Newer versions may fix and improve problems with hardware.
- Record Reference Codes: Write down any reference codes you see during diagnostic tests. It can help when you contact Apple Support or an approved service provider.
- Check out Apple Support Communities: If you're having trouble with a reference code or an issue and don't know how to fix it, Apple Support Communities can be a great place to get help and tips from other Mac users.
Optimize macOS Using MacClean360
MacClean360 is a comprehensive Mac optimization tool. It can help you clean up all junk data from macOS operating system, remove old files, fix damaged disk drive, uninstall unwanted programs, etc. You can choose it to optimize your Mac:
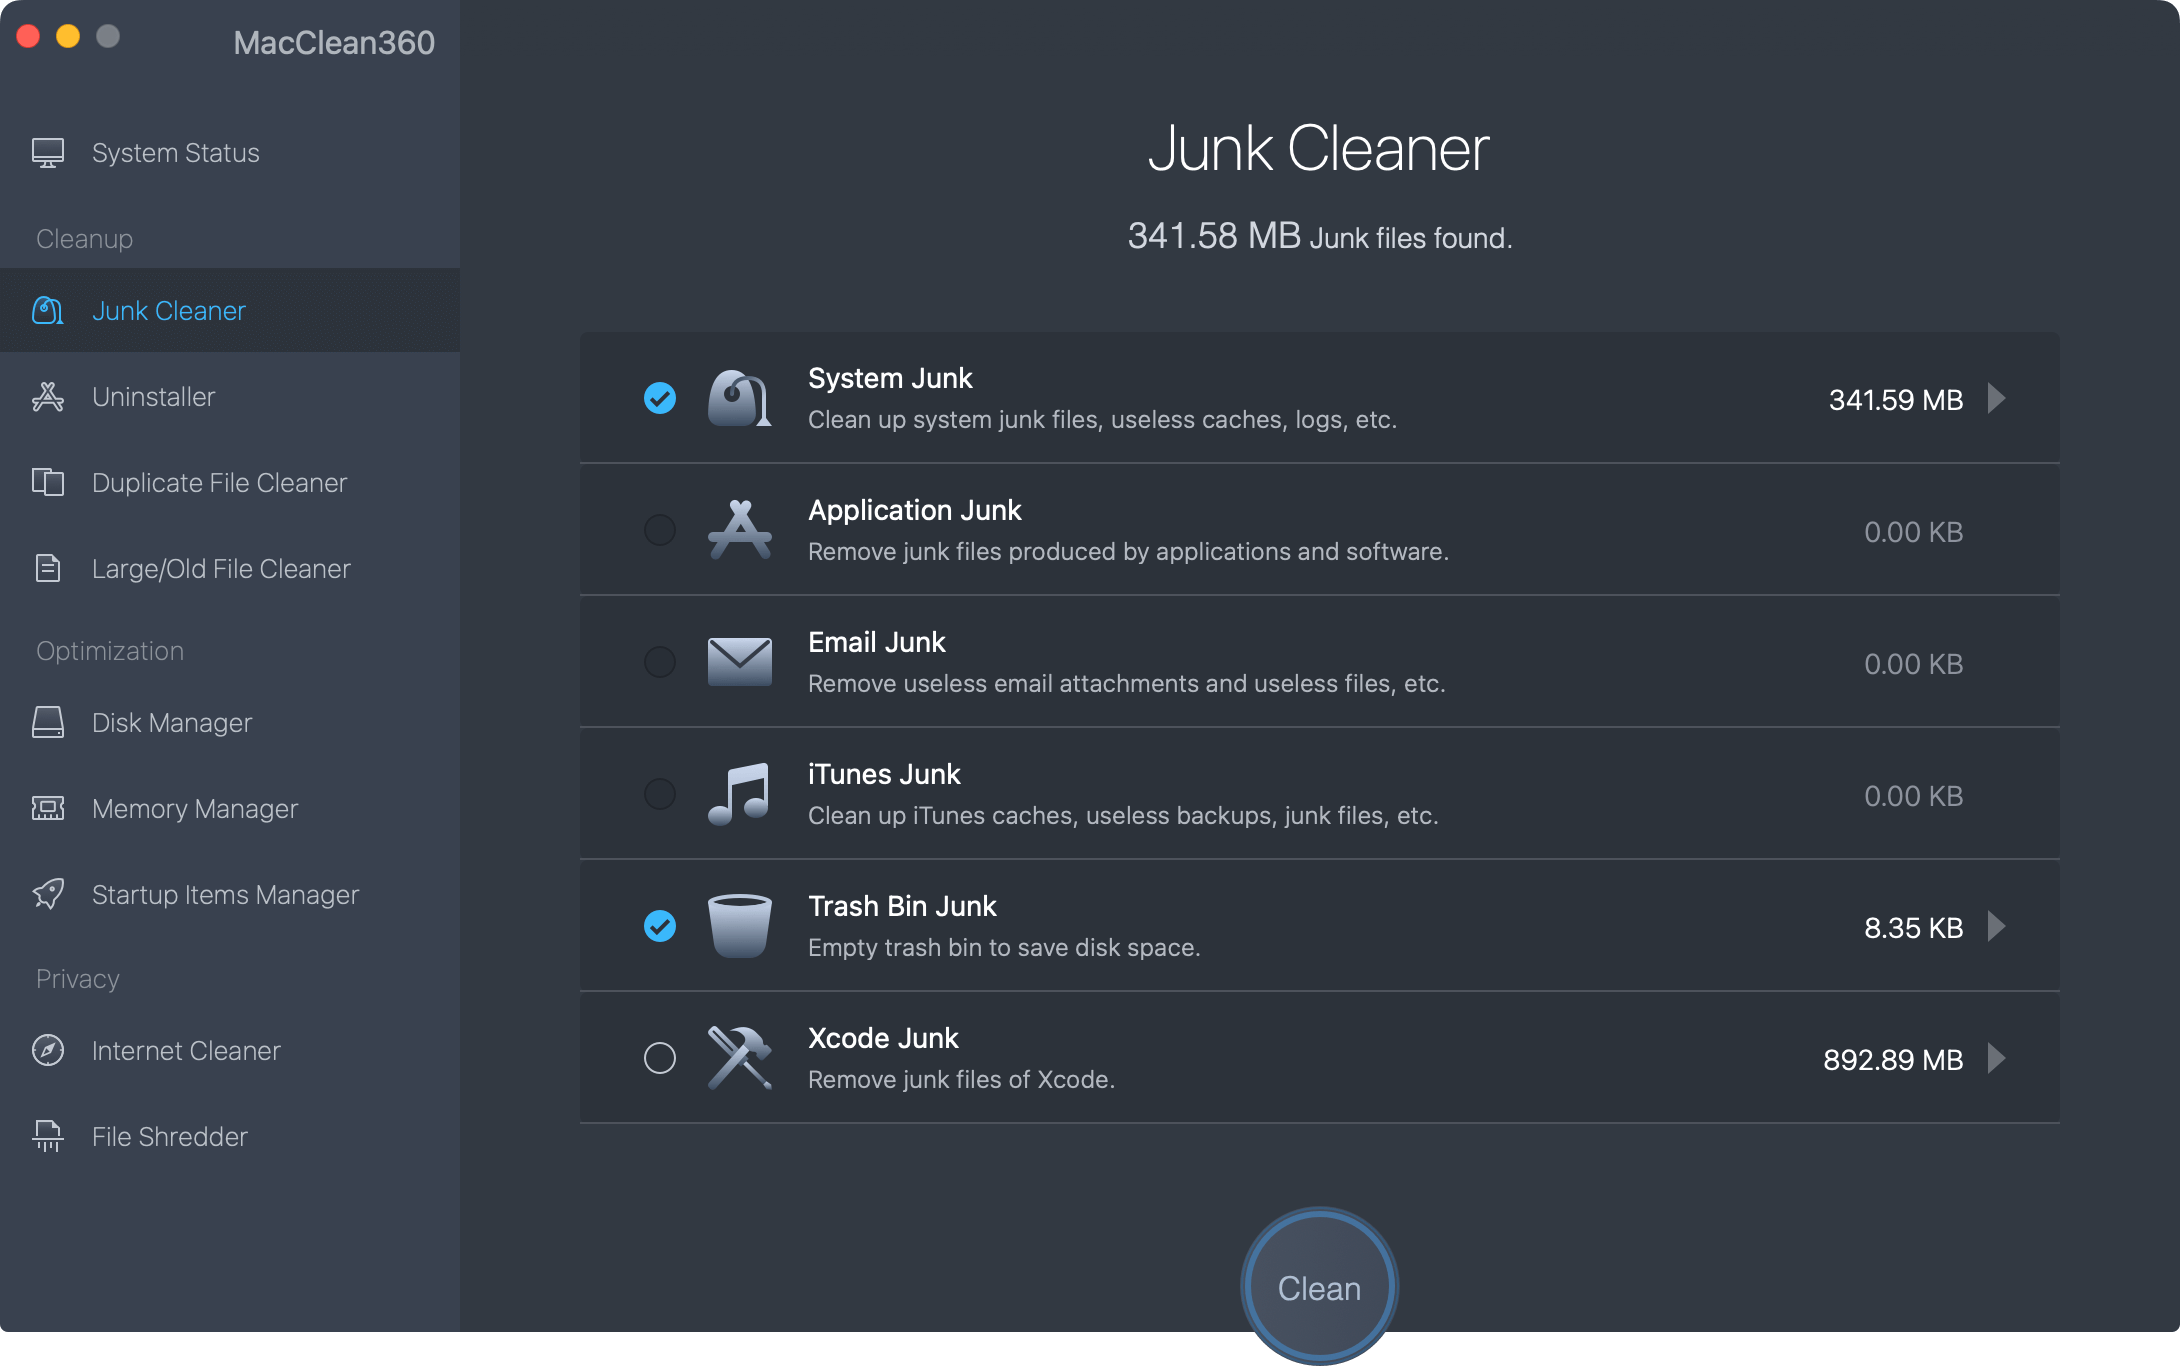
- Junk cleaner: find and clean up all junk data including system junk, app junk, trash bin junk, email, junk, caches, logs, etc.
- Uninstaller: Uninstall unwanted apps and delete all associated files.
- Internet cleaner: Clean up browsers’ cookies, histories, caches, passwords, etc.
- File shredder: Permanently delete sensitive data on Mac.
Conclusion:
The Apple Diagnostics tool is handy for Mac users because it makes it easy to find and fix hardware problems. If you know how to access and understand the diagnostic data, you can take steps to ensure your Mac works well and lasts as long as possible. Apple Diagnostics lets you keep your Mac going smoothly, whether you're having issues or want to perform regular maintenance. If you have a hardware problem again, don't worry - Apple Diagnostics will help you find an answer.
If you lose data due to fixing issues on your Mac, just download and install a data recovery app on your Mac, run it to scan the startup disk. Data recovery app will find all erased or lost files, then you just need to select the wanted files and save them.
MacClean360
All-in-one Mac maintenance tool to clean up all types of junk data by 1 click, remove old/duplicate files, uninstall unwanted apps, clean up browser junk data, manage disk, permanently shred files, speed up slow Mac, manage startup items on Mac.
Hot Articles
- Fix External Hard Drive Read-Only Issue on Mac
- How to Wipe Trash Bin on Mac?
- Recover Lost Data from WD (Western Digital) External Hard Drive on Mac
- Fix External Hard Drive Not Showing Up on Mac
- How to Wipe SD Card on Mac?
- Mount and Unmount the External Hard Drive on the Mac
- Run First Aid on Mac to Repair Disks
- Fix Can't Save Files to An External Hard Drive on Mac
- (Solved) External SSD Not Detected in Disk Utility on Mac
- Why Can't Format A Hard Drive To NTFS on Mac? Can We Fix It?