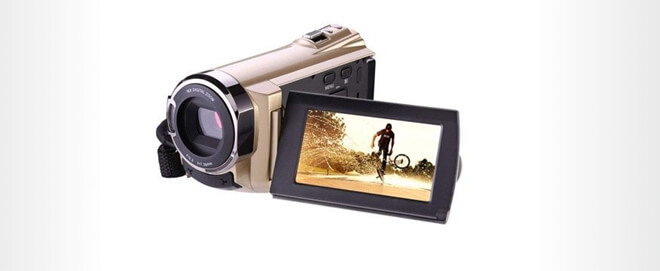
Are deleted/formatted videos recoverable from camcorder?
You can easily recover deleted or formatted videos from camcorder with professional data recovery software.
Quick Navigation:
In the age of digital media, managing and securing your personal videos has become increasingly important. If you own a Sony Handycam camcorder, you might find yourself needing to permanently delete or erase videos for various reasons—whether to free up storage space, protect sensitive content, or prepare your device for resale. While deleting videos from your Handycam might seem straightforward, simply removing them from the camcorder does not guarantee they are completely erased. This article provides a comprehensive guide on how to ensure your videos are permanently deleted from your Sony Handycam camcorder.

With the increasing need to manage digital content securely, understanding the difference between regular deletion and permanent erasure is crucial. Regularly deleting videos from your Sony Handycam only removes the reference to the files, not the data itself. The files remain on the storage media and can potentially be recovered using data recovery tools. This guide will explore methods for permanently deleting videos to ensure they are irretrievable.
Sony Handycam camcorders come equipped with both internal memory and the option to use external SD cards. Videos recorded on the camcorder can be stored in either of these locations. Understanding how each storage type handles data is essential for permanent deletion:
Sony Handycams typically record videos in formats such as AVCHD or MP4. These formats impact how videos are stored and deleted:
Understanding these formats helps in choosing the right method for deletion and ensures that files are removed effectively.
Deleting videos directly from your Handycam is the most straightforward method but does not guarantee permanent deletion. Here's a step-by-step guide:
Step 1. To begin the deletion process, you first need to access the video library on your Sony Handycam camcorder. Here's how to do it:
Step 2. Once you've accessed the video library, you can delete individual videos. This method is ideal if you only want to remove a few specific videos.
Step 3. If you need to delete several videos at once, most Sony Handycam camcorders allow you to do so efficiently:
This method moves the video to a temporary delete folder or marks it as deleted, but the data remains on the storage medium.
If you want to remove all videos on your Sony Handycam camcorder, the most efficient method is to format the storage device. However, formatting will delete all data, not just the videos. Formatting the storage media on your Handycam is a more thorough way to delete all files, but it may not guarantee that data is permanently erased.

Formatting removes the file system's reference to the data, making it appear as empty space. However, the actual data might still be recoverable using specialized software.
Recoverability of Deleted Videos
Deleted videos can often be recovered because the data remains on the storage medium until overwritten by new data. Data recovery tools can scan the storage device for remnants of deleted files and reconstruct them, making it possible to recover seemingly erased videos.
Data Persistence on Storage Media
Even after deleting or formatting, residual data might remain accessible on the storage medium. Without specialized methods to overwrite or securely erase the data, it remains vulnerable to recovery.
Are deleted/formatted videos recoverable from camcorder?
You can easily recover deleted or formatted videos from camcorder with professional data recovery software.
In some special cases, you may want to not only remove the videos from Sony Handycam, but also make sure the removed files are gone forever and not recoverable. Then the standard deletion or formatting methods are not enough.
To permanently deleted and shred videos from Sony Handycam, you need to wipe the storage of the device with professional data erasure software. This method is particularly useful when you're preparing to sell or donate your camcorder.
The best data wiping tool we suggest is DoYourData Super Eraser, which is professional at data erasure with international data sanitation algorithms. It can guarantee the data wiped permanently and not recoverable with any recovery method.
With the software DoYourData Super Eraser, you can only only permanently remove videos, but also photos or any other data on the device. To wipe the data from the Sony Handycam with the software, you can do as follows:
Step 1. Connect the memory card of the camcorder to the computer with a proper card reader. Start the software and choose the Erase Files/Folders mode. Select the card from the list.
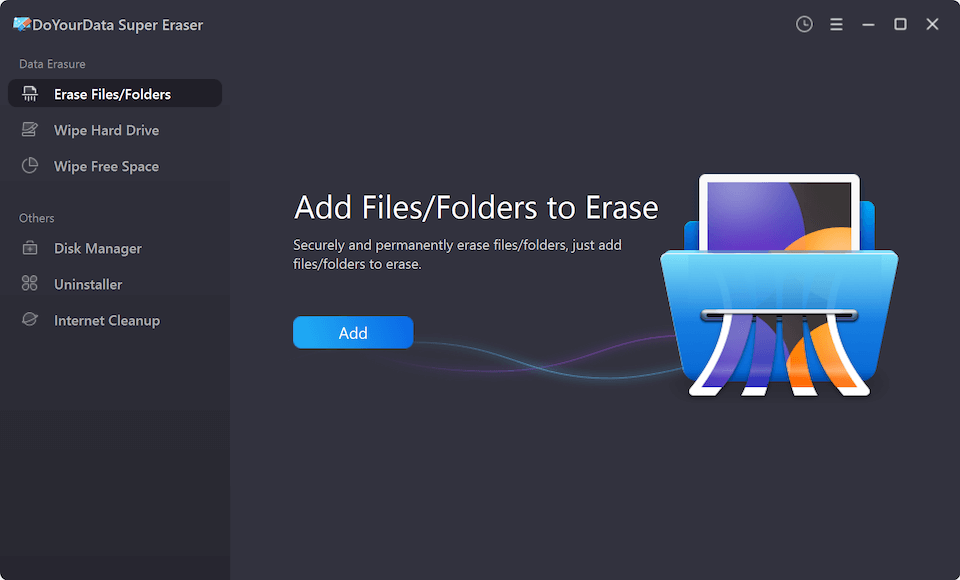
Step 2. Add the videos which you want to remove permanently. The software will show all the added videos in the list, you can add more or exclude some unwanted videos.
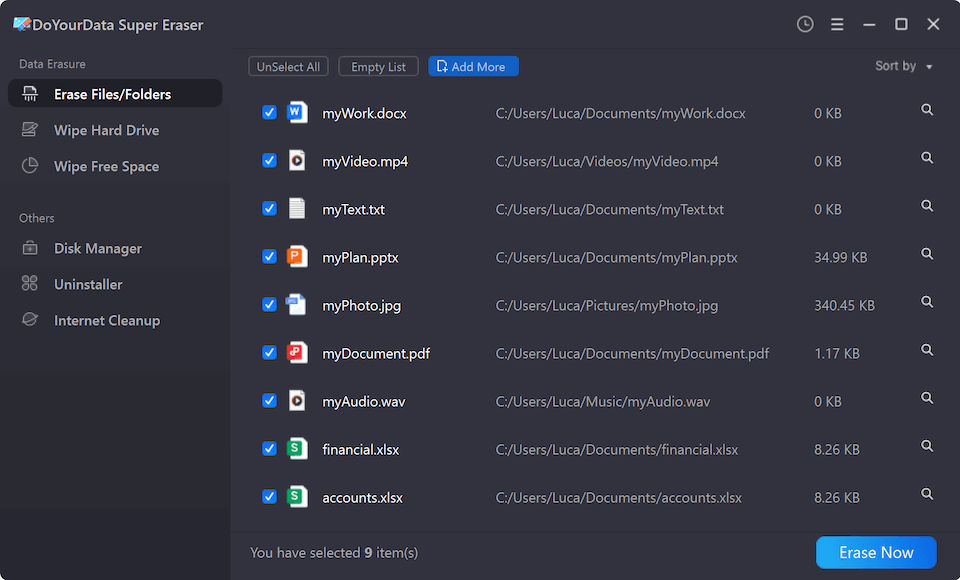
Step 3. After confirming the correct videos are selected, click Erase Now button to continue and then you can select the data erasure standard to wipe the videos.
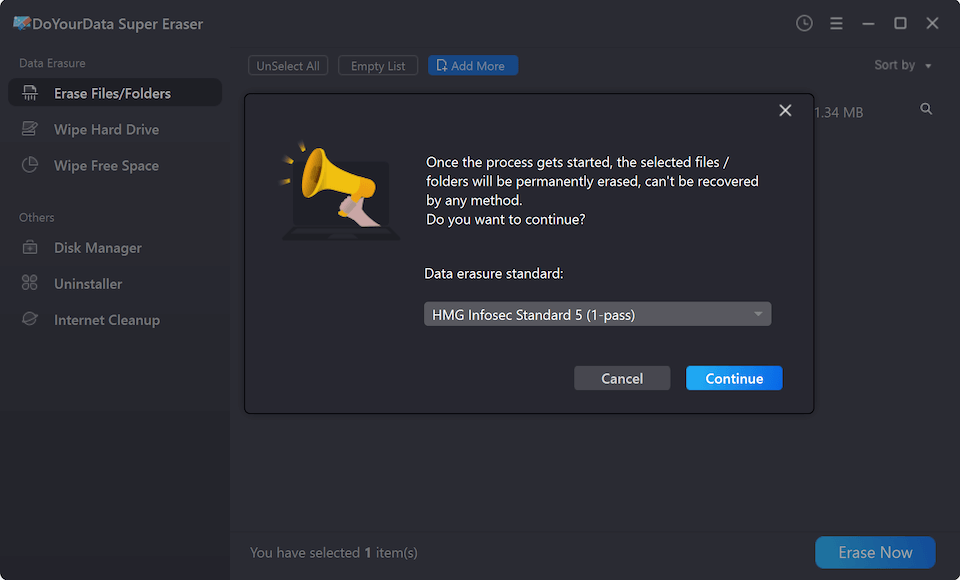
Step 4. At last, start the erasure process and the software will shred all the selected videos from the card.
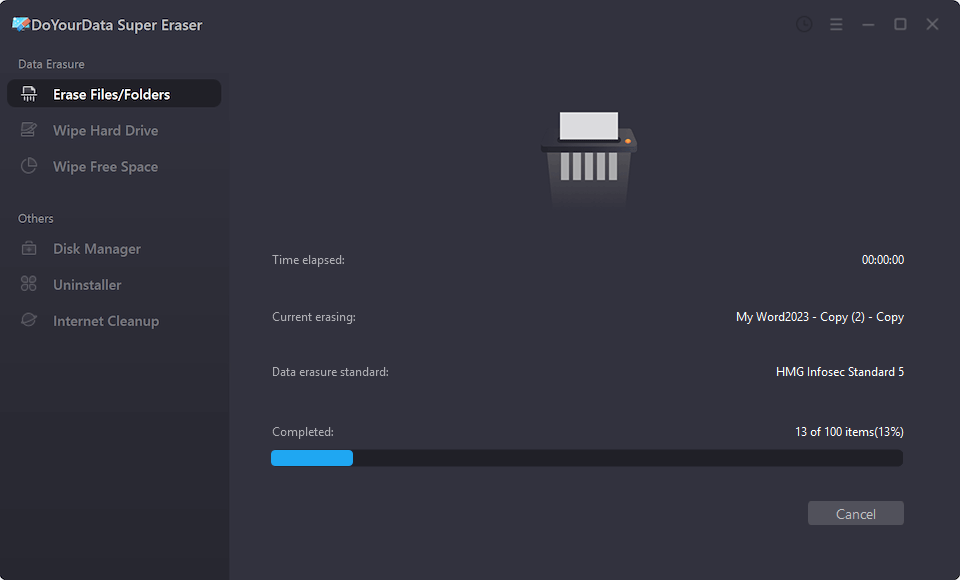
If you have deleted the videos from the card on the Sony Handycam, you can also use the "Wipe Free Space" to make sure the removed videos unrecoverable. Also, if you want to remove all the files on the card or you have formatted the card in the camcorder, the mode "Wipe Hard Drive" can help you wipe the entire device to guarantee all data on the device is gone for good.
Permanently deleting videos from your Sony Handycam camcorder involves more than just pressing the delete button. Understanding the limitations of standard deletion methods and employing secure deletion techniques is crucial for protecting your personal content and managing your device's storage effectively.
By using built-in features (if available), transferring videos to a computer for secure erasure, and utilizing specialized data erasure software for SD cards, you can ensure that your videos are permanently deleted and irretrievable. Following best practices for regular maintenance and verification further enhances your data security, providing peace of mind and ensuring that your content remains private and secure.

DoYourData Super Eraser
DoYourData Super Eraser, the award-winning data erasure software, offers certified data erasure standards including U.S. Army AR380-19, DoD 5220.22-M ECE to help you securely and permanently erase data from PC, Mac, HDD, SSD, USB drive, memory card or other device, make data be lost forever, unrecoverable!
