
Recover Lost Data Which Is Erased by Disk Utility
Data recovery software can deeply scan the erased drive including HDD/SSD and find all recoverable files.
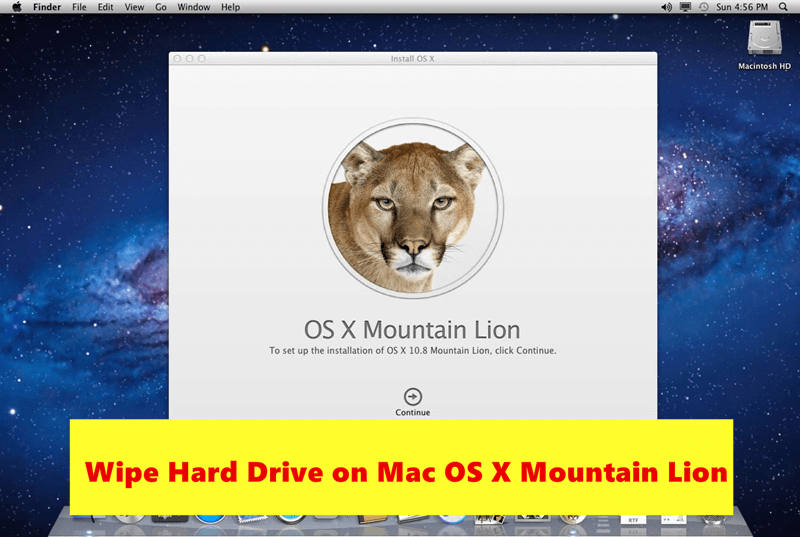
Follow these steps to wipe internal drive and external hard drive on Mac OS X Mountain Lion(OS X 10.8.x). If you will sell, donate or dispose of an old Mac which runs Mac OS X Mountain Lion, you also can use DoYourData Super Eraser for Mac to securely and permanently wipe all your private data from the internal SSD/HDD, ensure no data recovery software can recover your private data.
![]() Updated by Shirly Chen on March 12, 2025
Updated by Shirly Chen on March 12, 2025
Quick Navigation:
In an age where data security is paramount, knowing how to properly wipe your Mac computer's data is essential. Whether you’re preparing to sell your Mac, give it away, or just want a fresh start, securely erasing all data ensures that sensitive information remains private and inaccessible. This guide will walk you through the steps necessary to wipe data on a Mac running OS X 10.8 Mountain Lion, ensuring that all personal information is thoroughly removed.
The need to wipe data from a computer can arise for various reasons. Perhaps you're planning to sell or donate your Mac, or maybe you're just looking to start fresh with a clean slate. In either case, simply deleting files or even formatting the hard drive might not be enough to protect your privacy. For users of OS X 10.8 Mountain Lion, knowing how to perform a thorough data wipe is crucial to ensure that no residual information remains accessible. This guide provides a detailed walkthrough on how to prepare for and execute a complete data wipe on your Mac.
Before you begin the process of wiping your data, it's essential to prepare adequately. Proper preparation not only ensures that you don't lose any important information but also helps in maintaining the overall security of the data being wiped.
The first step is to back up your data. This ensures that you have copies of important files and settings that you may want to restore later. There are several methods to back up your data:
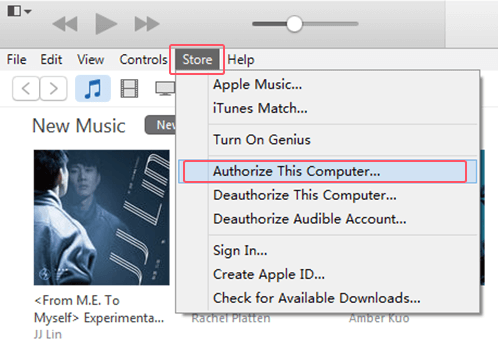
Before wiping your Mac, you should deauthorize any accounts linked to it. This step is crucial to prevent issues with account limits or activation restrictions later on.
With your data safely backed up and your accounts deauthorized, you're ready to start the process of wiping your Mac's hard drive. Disk Utility is the built-in tool that macOS provides for managing disks, including erasing data. This section will guide you through each step in detail, ensuring you understand the process thoroughly.
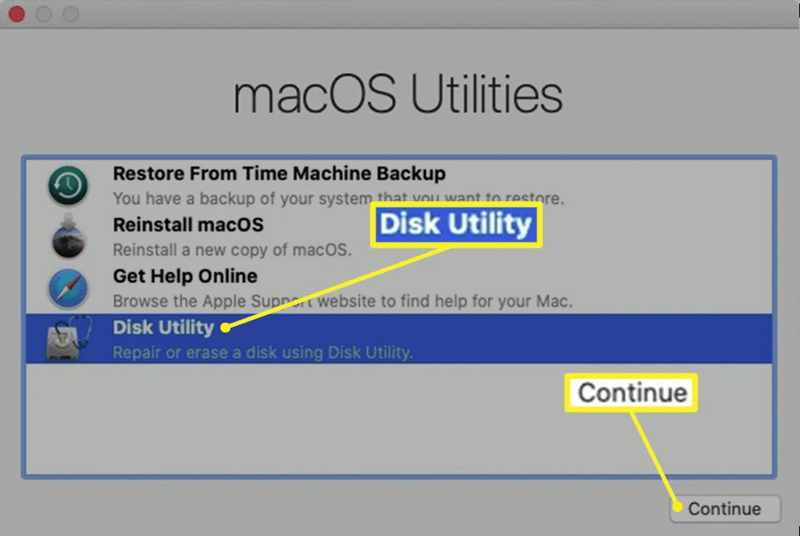
To begin, you need to access Disk Utility, which can be done through macOS Recovery or using the OS X Installation Disk. Here's how:
Recovery Mode
OS X Installation Disk
Once you've launched Disk Utility, you'll need to select the drive you wish to erase. Follow these steps to ensure you choose the correct drive:
Disk Utility provides several options for erasing a drive. Here's how to choose the right one:
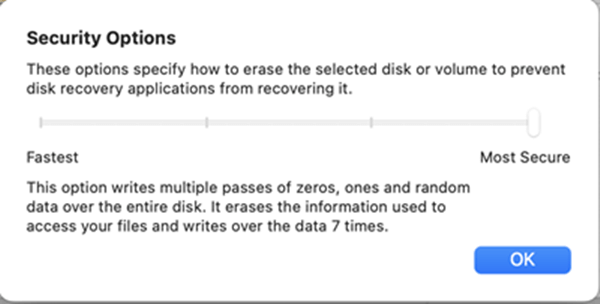
After selecting the desired erasure option, click the Erase button. Disk Utility will start the process of wiping the drive. Depending on the size of the drive and the chosen security level, this can take some time. Be patient and ensure that the process completes without interruption.
With your drive wiped, the next step is to reinstall macOS. This can be done through macOS Recovery or using the OS X Installation Disk.
Accessing macOS Recovery
macOS Recovery is a built-in recovery system that allows you to reinstall macOS:
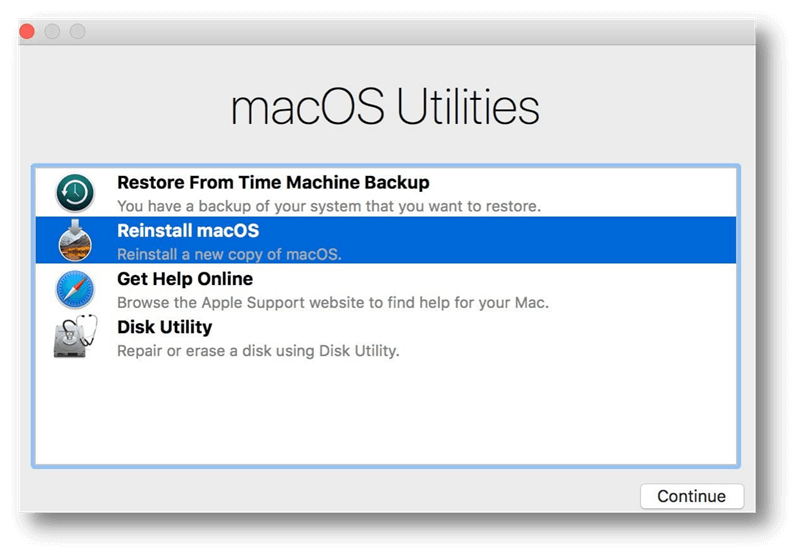
Reinstalling OS X 10.8 Mountain Lion
Follow the prompts to reinstall OS X 10.8 Mountain Lion:
Once the installation is complete, you'll need to go through the initial setup process:
After wiping and reinstalling macOS, consider the following steps to ensure everything is set up properly:
Restoring Data from Backups (optional)
If you used Time Machine or another backup method, you can now restore your files. For Time Machine, follow the on-screen instructions to transfer your data back to your Mac.
Setting Up Accounts and Preferences
Reconfigure any accounts and preferences that were previously set up. This includes email accounts, application settings, and system preferences.
Ensuring the System is Up-to-Date
Check for any available macOS updates to ensure that your system has the latest security patches and features.
Note:
Recover Lost Data Which Is Erased by Disk Utility
Data recovery software can deeply scan the erased drive including HDD/SSD and find all recoverable files.
To prevent data recovery on your Mac which is running Mac OS X Mountain Lion, you can use a data erasure tool to wipe free disk space of your Mac after erasing the startup disk & reinstalling OS X in Recovery mode.
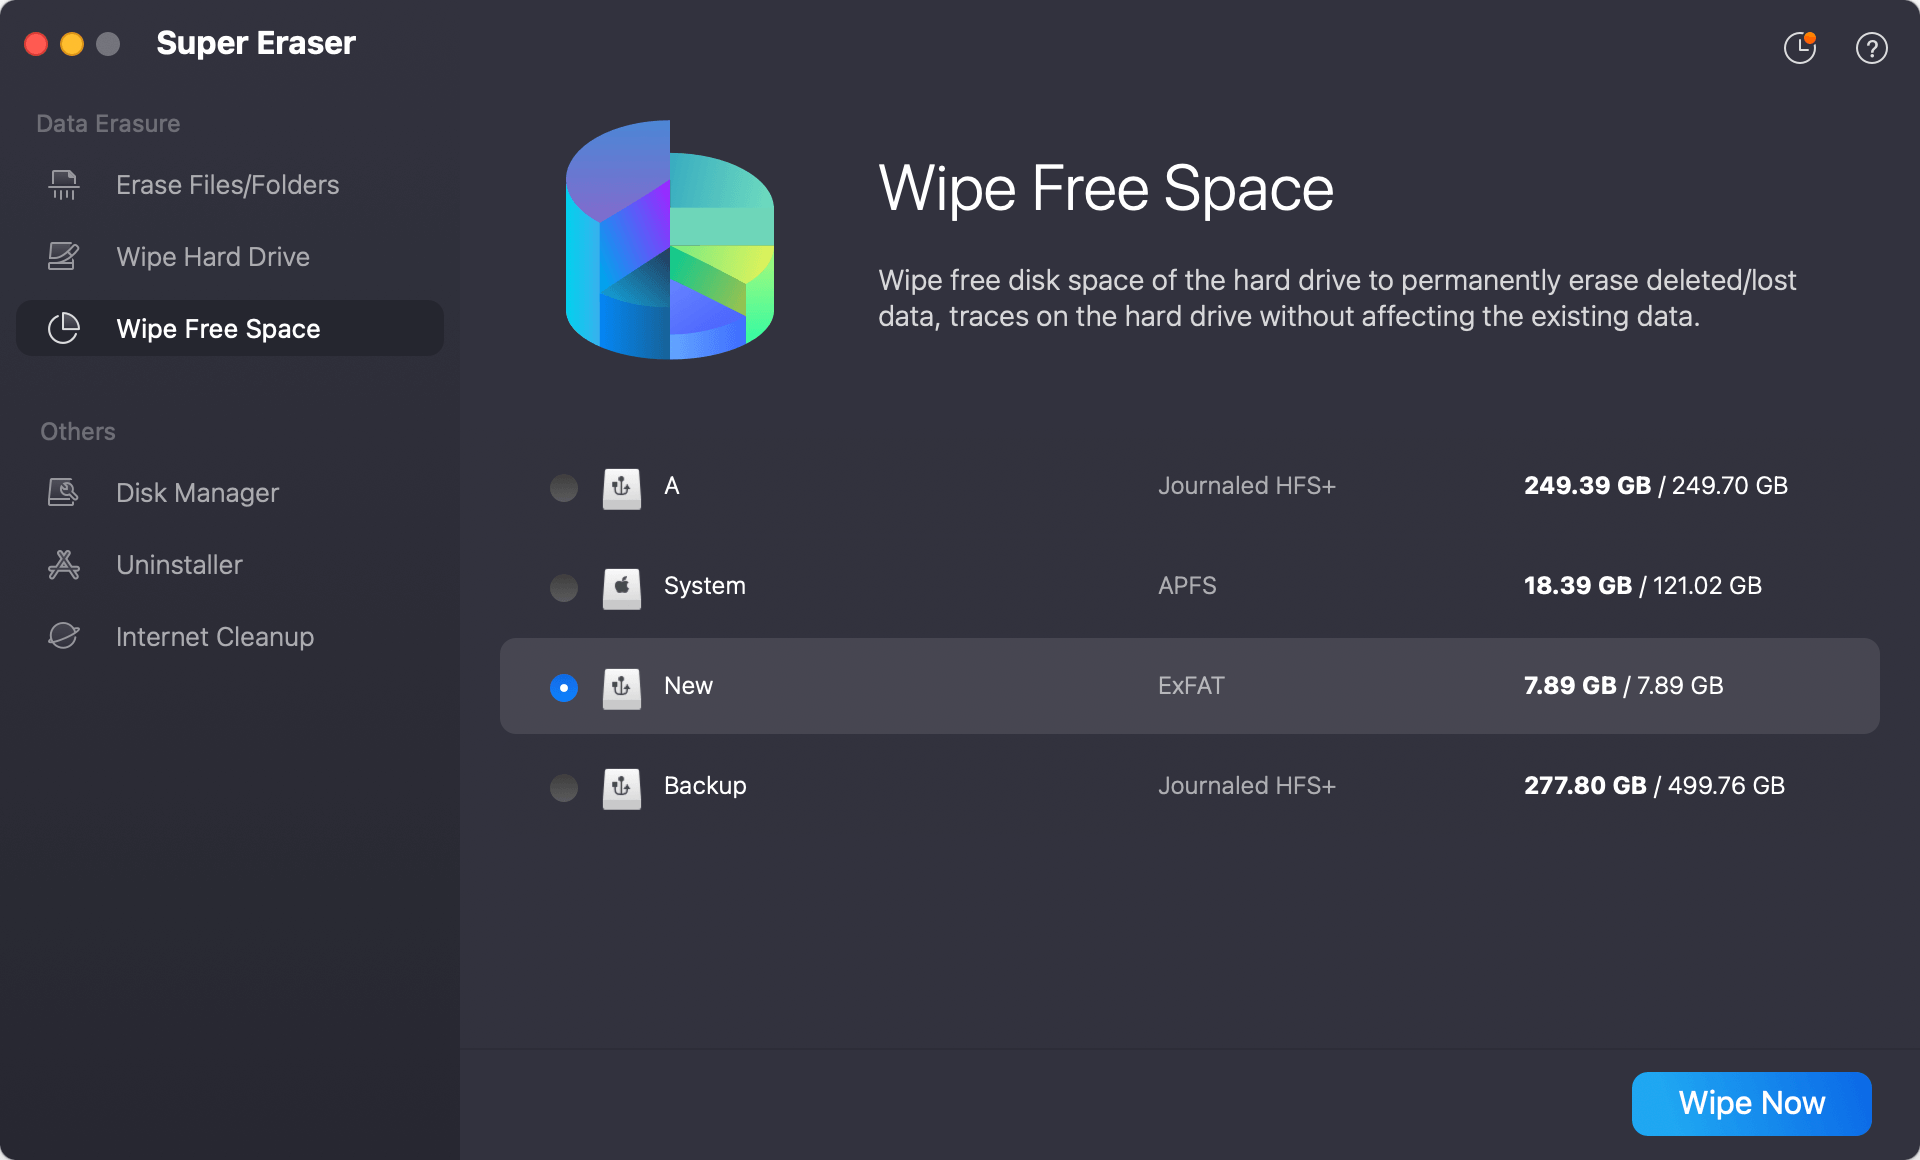
Step 1. Download and install DoYourData Super Eraser for Mac, then open it on your Mac.
Step 2. Choose Wipe Free Space mode, then select the internal drive, click on Wipe Now button.
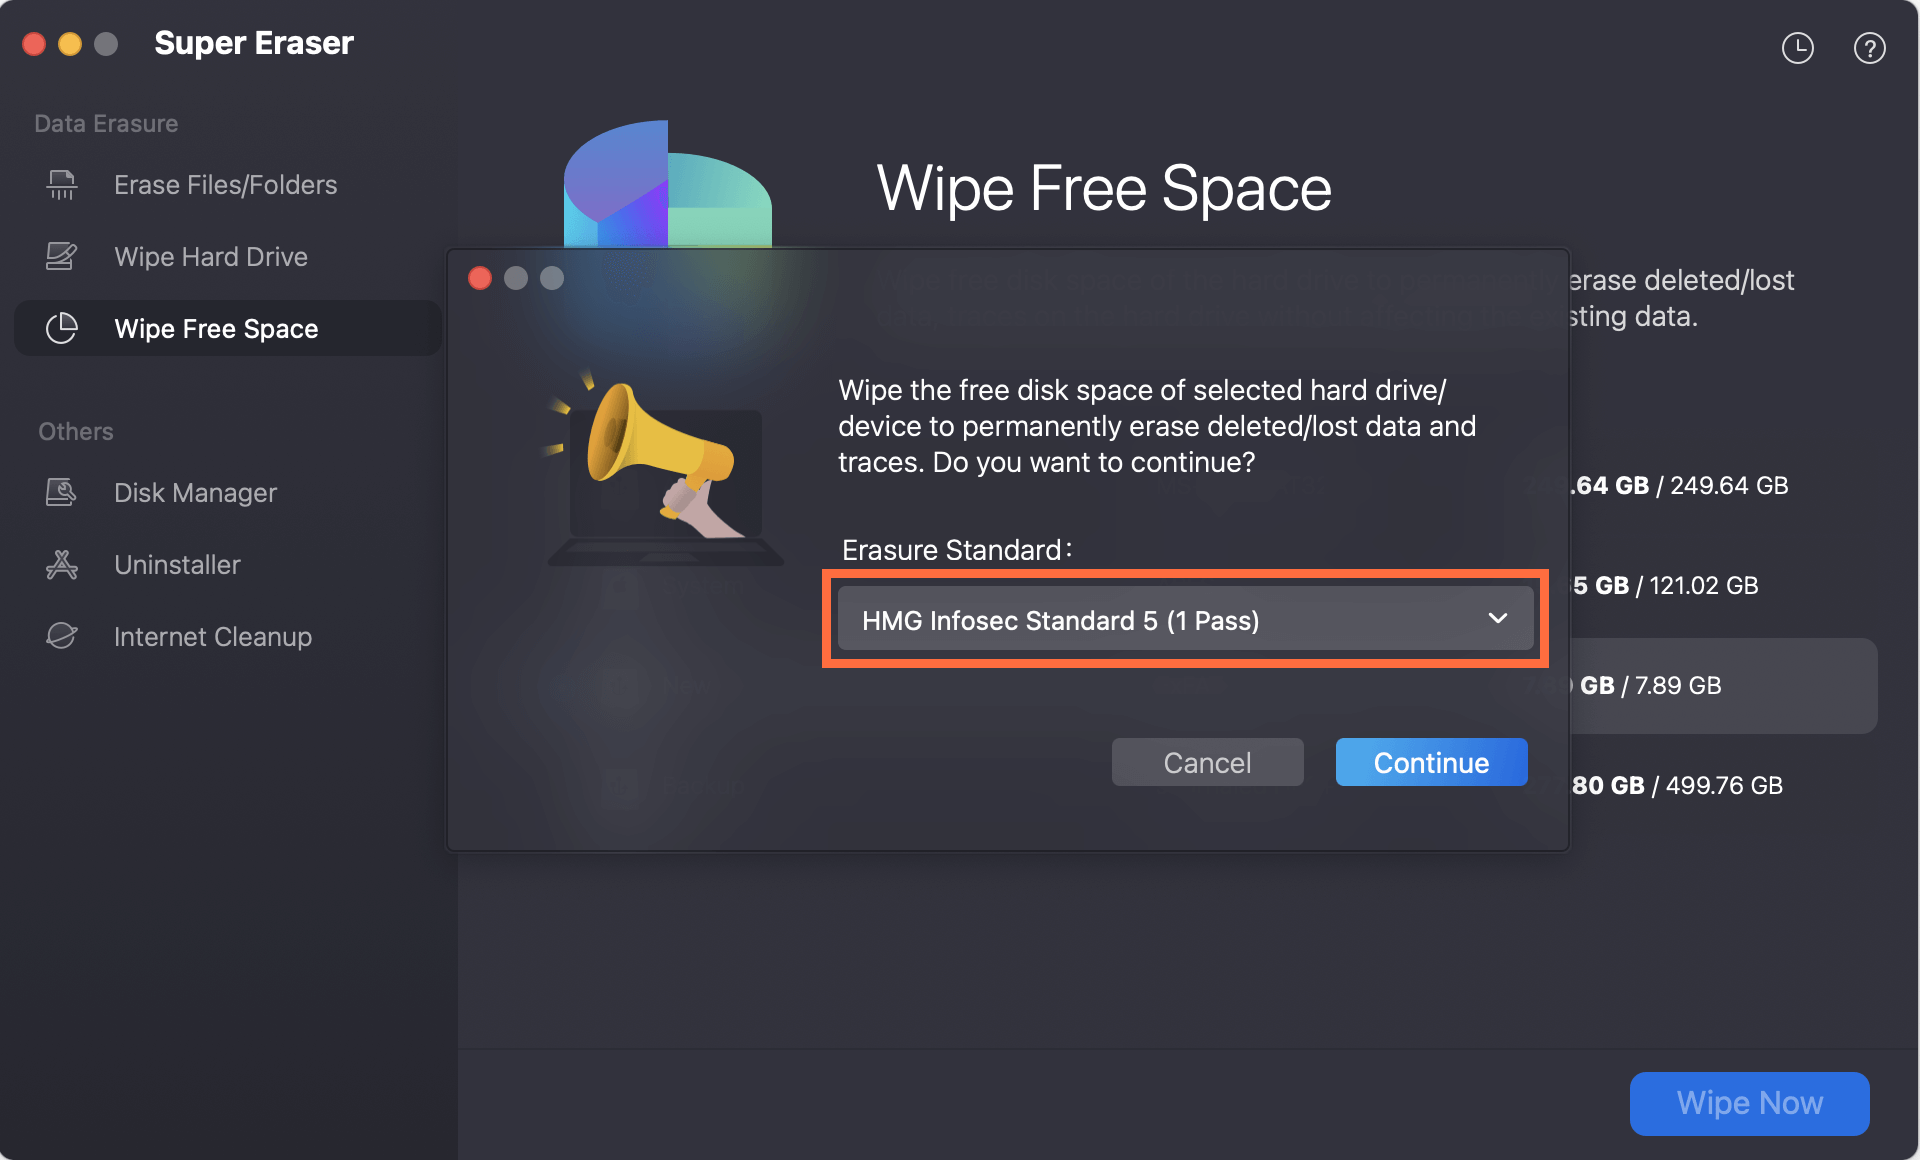
Step 3. Select a data erasure standard, click on Continue button to wipe free disk space of the drive and permanently erase all deleted/erased/lost data, leaving no trace for data recovery.
It also offers other modes for erasing data permanently on Mac OS X Mountain Lion:
Wipe Hard Drive: Wipe external hard drive, USB flash drive, memory card, and other storage devices on Mac.

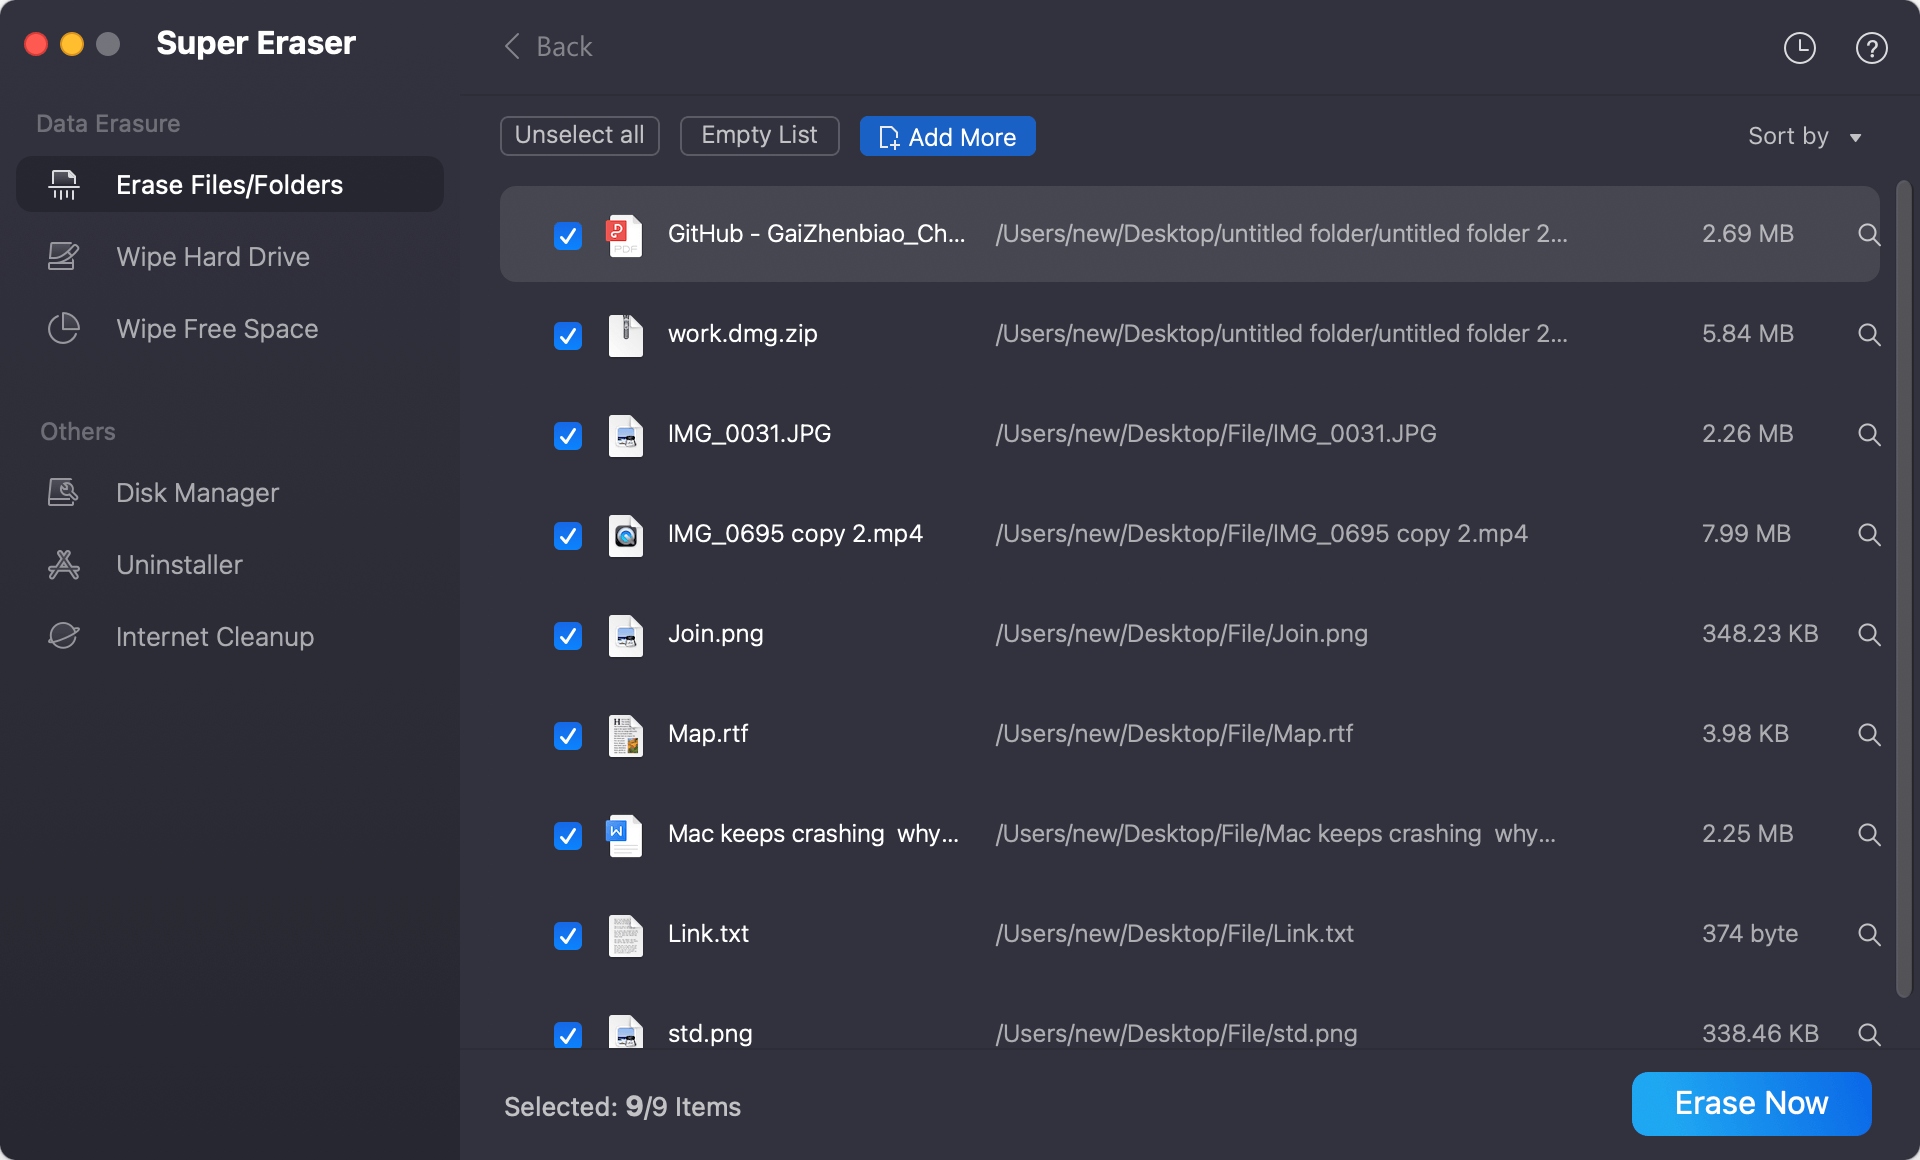
Erase Files/Folders: Permanently erase files and folders from Mac-based drives and external storage devices.
Note: Once the data stored on your Mac which is running OS X Mountain Lion is erased by DoYourData Super Eraser for Mac, the data is lost for good, cannot be recovered by any method.
Wiping data from a Mac running OS X 10.8 Mountain Lion involves several crucial steps to ensure that your data is completely erased and the system is ready for a new user or a fresh start. By backing up your data, deauthorizing accounts, using Disk Utility, DoYourData Super Eraser for a secure wipe, and reinstalling macOS, you can confidently prepare your Mac for its next chapter. Properly executing these steps not only protects your privacy but also ensures that your Mac continues to function smoothly for its new owner or for your own renewed use.

DoYourData Super Eraser for Mac
DoYourData Super Eraser for Mac is a 100% safe, powerful and easy-to-use data erasure program. It offers certified data erasure standards including Peter Gutmann, U.S. Army AR380-19, DoD 5220.22-M ECE to permanently erase data from Macs and external devices, making data recovery be impossible.
Written & Updated by Shirly Chen
Shirly Chen has been writing data recovery, data erasure articles for DoYourData over 4 years. She has been working as a professional website content writer & editor for quite a long time. She also writes articles about disk clone, Mac optimization, disk backup, etc.