How to create full backup for your Mac?
Create bootable clone backup for Mac before doing any changes to your Mac.

Quick Navigation:
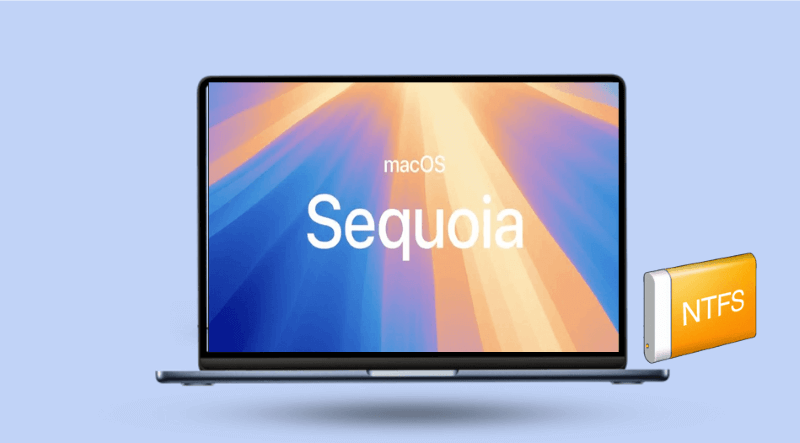
macOS is known for its sleek design, powerful performance, and a user-friendly interface. However, one of its persistent issues is the lack of native support for writing to NTFS (New Technology File System) drives. While macOS Sequoia allows users to read NTFS drives out of the box, it does not provide the ability to write to them, which can be a significant limitation for users who frequently work with external hard drives or USB drives formatted with NTFS.
In this article, we will explore how to overcome this limitation, enabling both reading and writing to NTFS drives on macOS Sequoia. We'll cover various methods, including built-in solutions, third-party software, and open-source options. Let's dive in!
NTFS is a proprietary file system developed by Microsoft, primarily used by Windows PCs. It has become one of the most popular formats for external drives because of its support for large files and robust file security. However, macOS has historically had limited support for NTFS, restricting users to read-only access without any native method to modify or write files.
macOS Sequoia continues this trend, offering out-of-the-box read capabilities for NTFS drives but restricting write access. This can be frustrating for macOS users who need to share files between different operating systems or use external storage devices formatted in NTFS.
Why does Apple not natively support NTFS write access? NTFS is proprietary, and integrating full read-write support would require a licensing agreement or reverse-engineering, something Apple has chosen not to do. Nevertheless, there are ways to gain write access on macOS Sequoia, both free and paid.
Despite the challenges with macOS, NTFS remains a widely used file system for various reasons:
Without any additional software, macOS Sequoia can still read NTFS drives. If you only need to access files without modifying them, this built-in functionality might suffice.
Once you plug in the NTFS external drive, it will appear on your desktop or in the Finder window, much like any other drive. Double-click on the drive icon to access the files. You can browse the folders, open documents, play media files, and copy them to your Mac's local storage.
However, for macOS Sequoia users who need to access, modify, and transfer files on an NTFS drive, this creates a dilemma. But fortunately, there are several methods available to enable NTFS write support on Mac.
One of the most common methods for enabling NTFS write access on macOS involves using the built-in Terminal. This method, however, is for advanced users who are comfortable with command-line operations, and it comes with some caveats.
macOS has a hidden, experimental feature that allows NTFS write support via the Terminal. However, this method is unstable and not recommended for everyday use. Here are the steps:
Step 1. Connect the NTFS drive. Launch Terminal (Applications > Utilities > Terminal).
Step 2. Run the following command to list all mounted drives:
sudo nano /etc/fstab
Step 3. Add the following line to specify write access for your NTFS drive:
LABEL=DRIVE_NAME none ntfs rw,auto,nobrowse
Replace DRIVE_NAME with the actual name of your NTFS drive.
Step 4. Save and exit the file by pressing Ctrl + X and "Y" to confirm the changes.
This method comes with risks, such as data corruption or instability, so it's essential to back up your files before using it.
How to create full backup for your Mac?
Create bootable clone backup for Mac before doing any changes to your Mac.
If you prefer a hassle-free and reliable solution, third-party software is the most popular option for enabling NTFS write support on macOS. Several third-party applications provide full NTFS read-write support, making them the preferred choice for users who need stable, fast, and convenient file transfers between macOS and Windows.
DoYourData NTFS for Mac offers a stable solution for NTFS write access. This method is also very safe without harm to your system and data on macOS Sequoia.
With this software, you can easily enable the NTFS writable access with only a few clicks. It's really user-friendly for new users. You can do as follows to enable write permission of NTFS with ease:
Step 1. Connect your NTFS drive to the Mac. Run the software from launchpad.
Step 2. Select the NTFS drive and click Enable Writable.

That's all the steps you need to do with the software. After that, the NTFS drive will be writable once you connect the NTFS drive to the Mac machine, you don't need to go through enabling NTFS write access process each time.
For those who prefer open-source solutions, macFUSE (formerly known as OSXFUSE) is a powerful tool that enables NTFS read-write support on macOS Sequoia. It works in conjunction with NTFS-3G, an open-source driver. Here is how to work with this solution:
Step 1. Download macFUSE from the official macFUSE website. Install macFUSE by following the installation wizard.
Step 2. Open Terminal from Finder > Applications > Utilities, running the following command to install Homebrew:
/bin/bash -c "$(curl -fsSL https://raw.githubusercontent.com/Homebrew/install/HEAD/install.sh)"
Step 3. Install NTFS-3G using with the command:
brew install ntfs-3g
Once installed, NTFS-3G will automatically mount NTFS drives with write access.
This is a free and open source solutions with regular updates from the open-source community. However, this method is more technical and may not be suitable for casual users who want a plug-and-play solution.
For users who require both macOS and Windows environments, using a virtual machine can be a practical workaround for accessing NTFS drives with full read and write capabilities. Virtualization software like Parallels Desktop or VMware Fusion allows you to run Windows on your Mac. In this scenario, the NTFS drive can be accessed directly by the virtual Windows machine, bypassing macOS limitations entirely.
Step 1. Install a virtual machine application (e.g., Parallels or VMware) on your Mac.
Step 2. Set up a Windows virtual machine within the application.
Step 3. Connect your NTFS drive to the Mac, and the virtual machine will recognize it as a Windows-compatible device.
Step 4. From within the Windows virtual machine, you can freely read and write to the NTFS drive without any restrictions.
This method is more resource-intensive, requiring significant RAM and CPU power to run both macOS and a Windows VM simultaneously. However, it's a versatile solution for users who frequently switch between macOS and Windows workflows. The downside is that setting up and running a virtual machine can be more complex and time-consuming compared to standalone NTFS software.
Another alternative for accessing NTFS drives on macOS is to use a network share. If you have a Windows computer on the same network, you can share the NTFS drive over the network and access it from your Mac. Steps for network sharing:
Step 1. Connect the NTFS drive to the Windows computer.
Step 2. Share the drive by right-clicking it, selecting "Properties," then navigating to the "Sharing" tab, and enabling sharing.
Step 3. On your Mac, open Finder, select "Go" in the menu bar, and then "Connect to Server."
Step 4. Enter the IP address of the Windows computer, and you'll be able to access the NTFS drive remotely.
While this method works, it's slower than direct access via USB, especially when dealing with large files. It's best used when you only occasionally need to access files on an NTFS drive from your Mac.
Accessing NTFS drives on macOS Sequoia may initially seem like a challenge, but with the right tools, it's entirely possible to read and write to NTFS drives. Whether you choose to use a free method like macFUSE and NTFS-3G or opt for a more user-friendly paid solution like DoYourData NTFS for Mac, you can overcome the native limitations of macOS.
For users who frequently work with Windows systems or external NTFS drives, these solutions are essential for a smooth workflow. Alternatively, switching to file systems like exFAT can simplify file transfers between macOS and Windows without the need for additional software.
Ultimately, the choice depends on your specific needs and technical comfort level. For seamless NTFS write support, third-party tools like DoYourData NTFS for Mac provide a hassle-free experience, while open-source solutions like macFUSE offer flexibility for advanced users.
1. Easy and free solutions for enabling NTFS write access on macOS Sequoia.
It's free to accomplish the task with terminal on macOS Sequoia:
2. Best software to enable NTFS write access on macOS Sequoia.
3. How to enable NTFS writ access on macOS Sequoia with DoYourData NTFS for Mac?
It's extremely simple to enable NTFS writable access. You can just do as follows:
4. Best practices for using NTFS drives on macOS Sequoia
When using NTFS drives on macOS, there are some best practices to ensure smooth performance and avoid data corruption:
5. Any way to enable read-write access for a drive on both Windows and Mac without additional tools?
Yes, it's able to achieve that goal by formatting the drive to exFAT. You can format it in Windows Disk Management or Mac Disk Utility. The exFAT drive can bot read and write on both Windows and Mac natively.

DoYourData NTFS for Mac
DoYourData NTFS for Mac is a safe, powerful and easy-to-use NTFS for Mac tool. It allows macOS to read & write files on NTFS drives without any limitation. It is also a comprehensive disk management tool for Mac to mount/unmount disk, format disk, repair disk, read-write disk...on Mac.
