Clone HDD to SSD on Mac
DoYourClone for Mac is reliable software to clone HDD to SSD securely on Mac.
Copy USB flash drive can create a full backup of all data on the drive. With different tools and methods, you can easily copy USB flash drive on Mac. Disk Utility, Terminal, or disk copy software DoYourClone for Mac, are reliable choices to clone USB flash drive on Mac.
![]() Updated by Darren on March 11, 2025
Updated by Darren on March 11, 2025
Quick Navigation:
Copying USB flash drive to Mac hard drive should be very easy if we choose a reliable data cloning software. There are diverse programs used for cloning files or hard drives and they usually have particular features, which can be very useful for us when choosing one of these alternatives.
But, why do people decide to clone their hard drives? Maybe, they have different reasons such as making a data backup, copying specific files, changing from one old hard drive to a new one, or any other reasons. Here, we will recommend using a reliable Mac disk cloning software in order to copy the files or drives we want.
Yes, if you want to copy an USB flash drive to your Mac hard drive, you can just copy all data from the USB flash drive to a folder on your Mac. But, it is slow and not safe. Here, we recommend DoYourClone for Mac, which is a powerful disk clone application for Mac OS. The software can clone any type of drives on Mac, including USB flash drive, hard drive, SSD, memory card, etc.
The software is designed easy-to-use. It's very simple to operate the software and clone your drive with only a few steps. The software is also professional at disk clone on Mac. It can create exact copy of data from one drive to another drive. In this way, you can create a complete and safe backup for all data of a drive. It offers two modes to help you copy USB flash drive to your Mac hard disk drive. Here we will introduce both modes and guide you clone the USB flash drive data with these modes step by step.
This mode will help you completely copy all data from the USB flash drive to your Mac hard drive or external hard drive. Here are the steps.
Step 1: Choose the source drive and destination drive.
Just choose the USB flash drive as the source drive and choose the Mac hard drive as the destination drive.
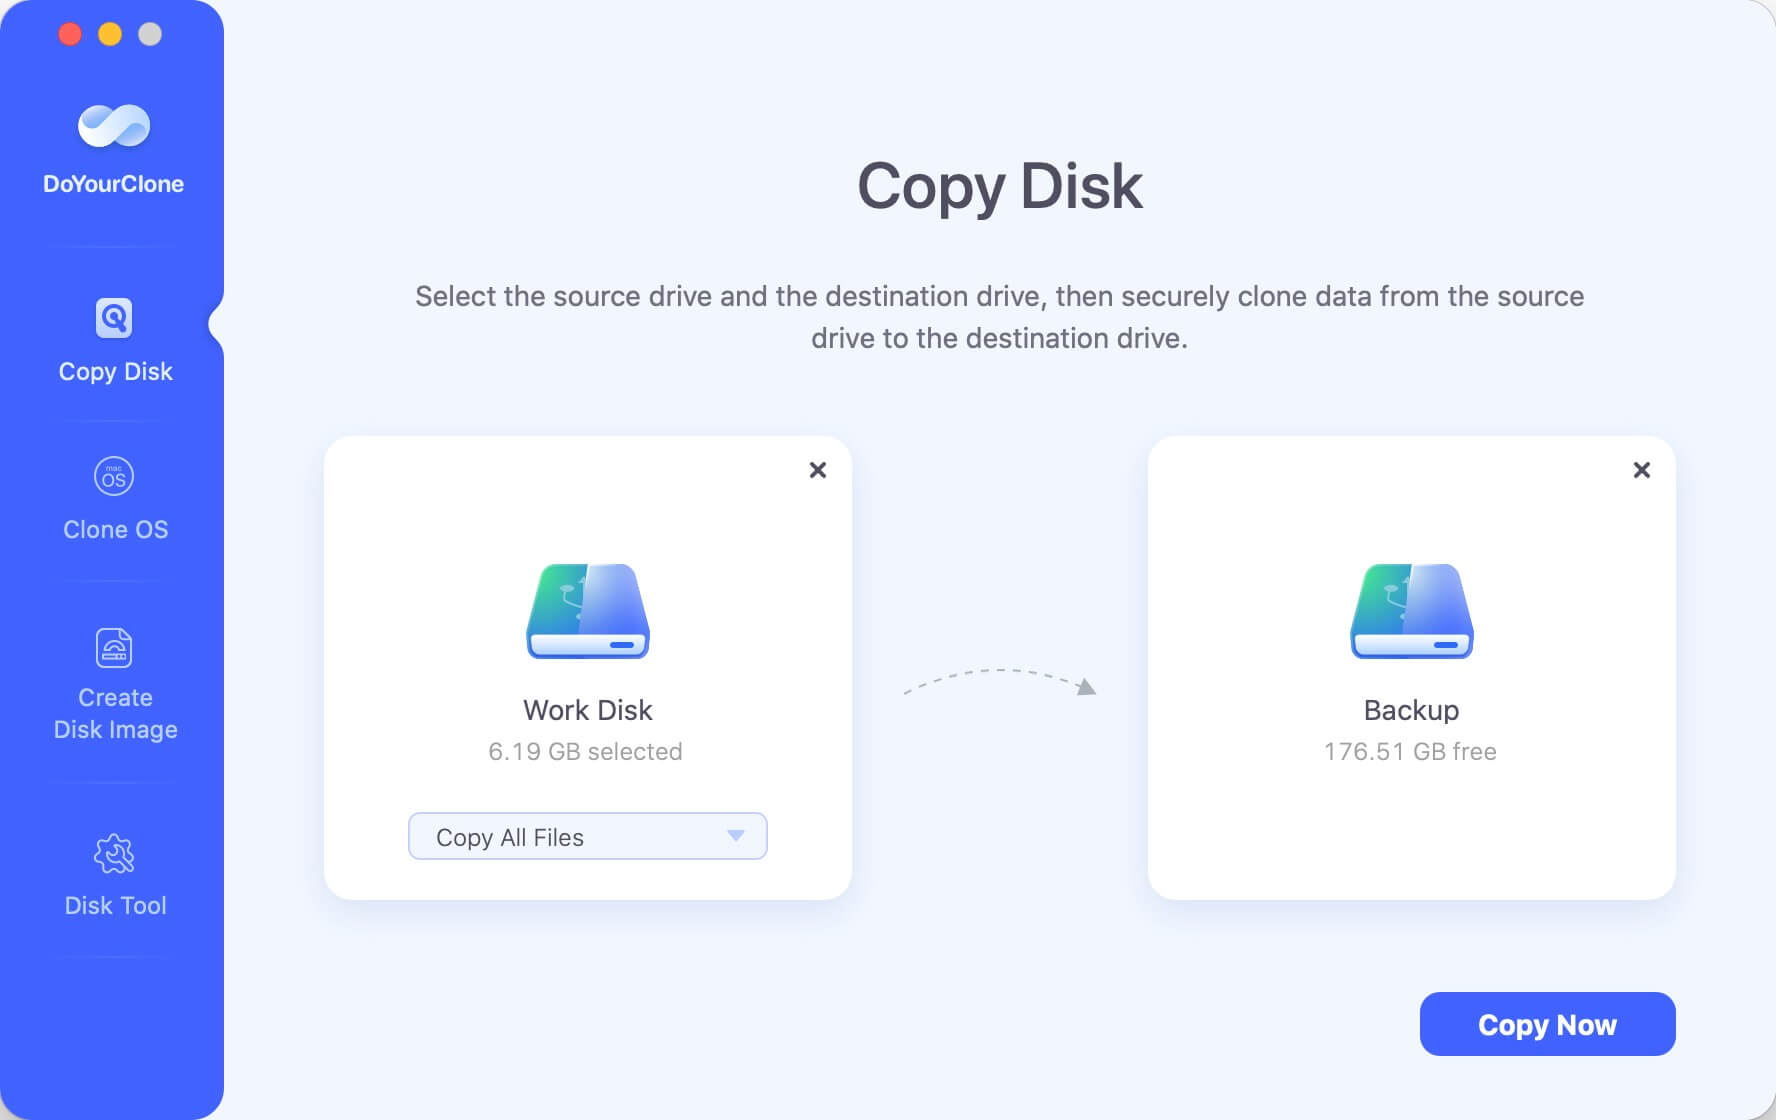
Step 2: Copy the USB flash drive to the Mac hard drive.
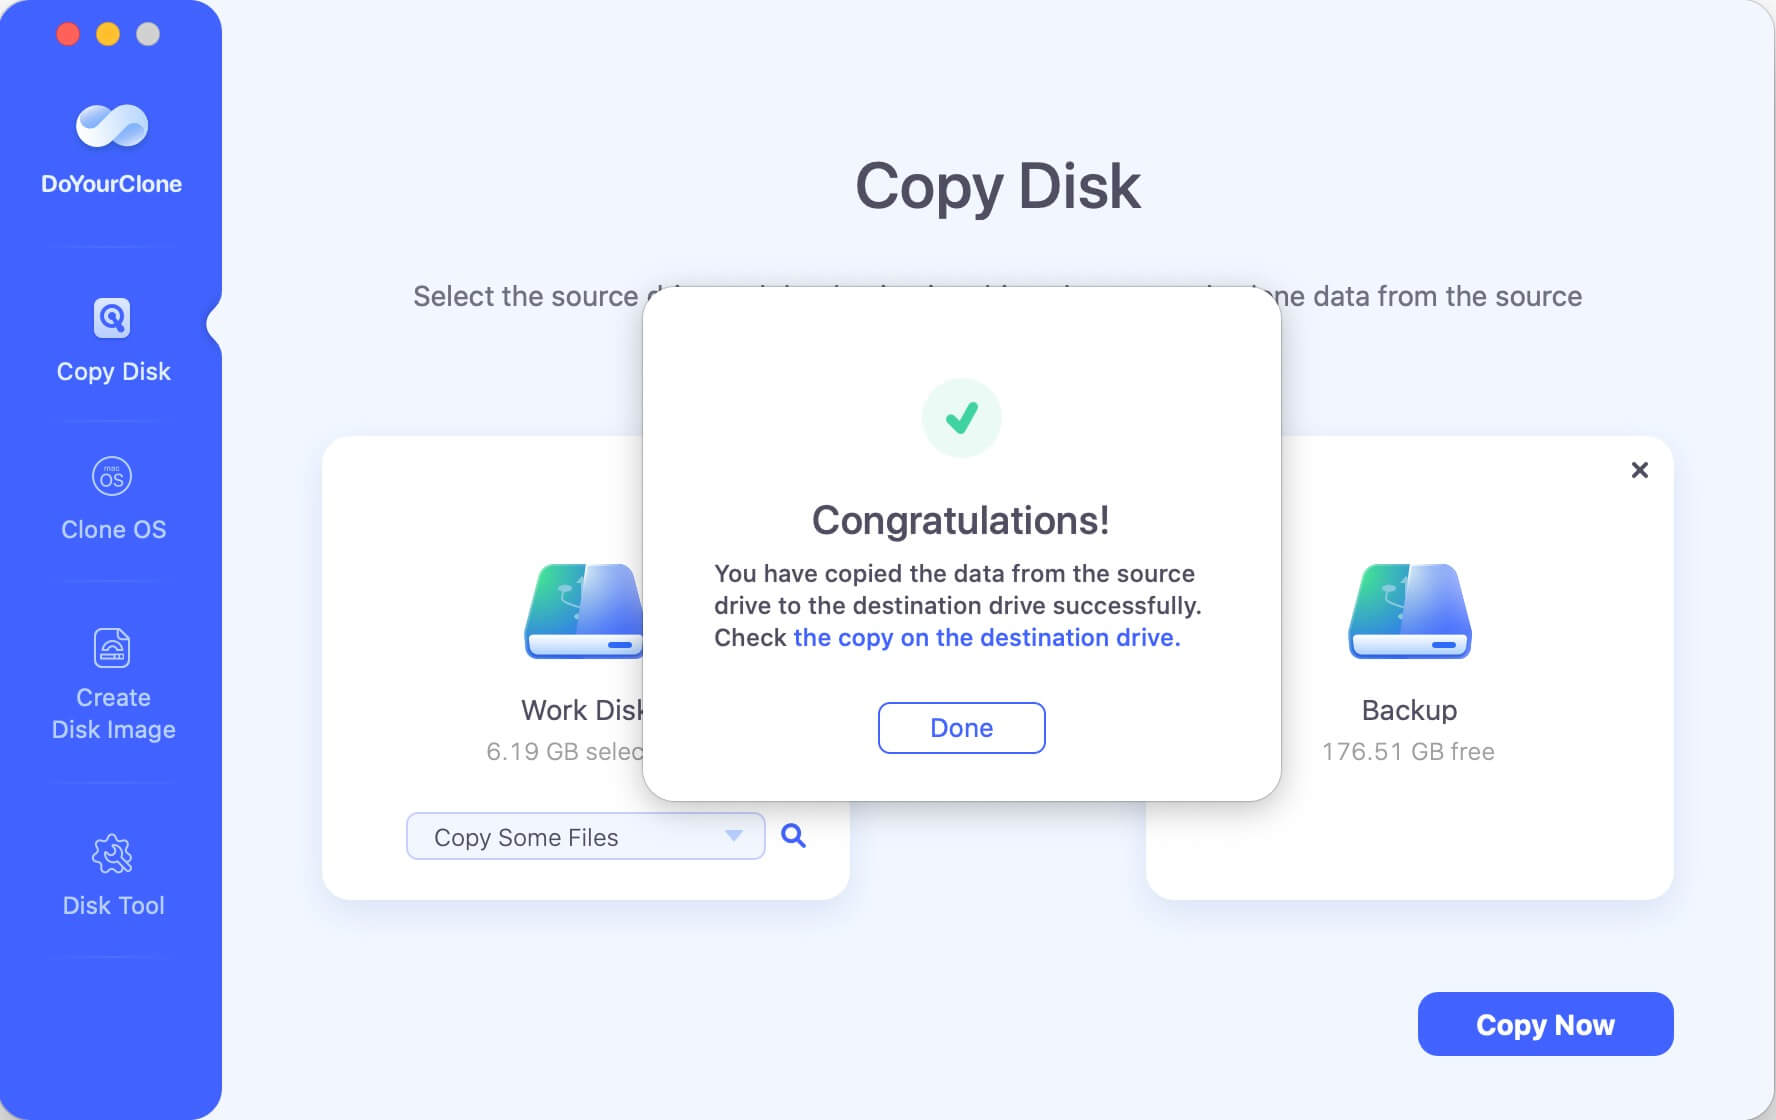
Just click on Copy Now button to quickly copy the USB flash drive to your Mac hard drive.
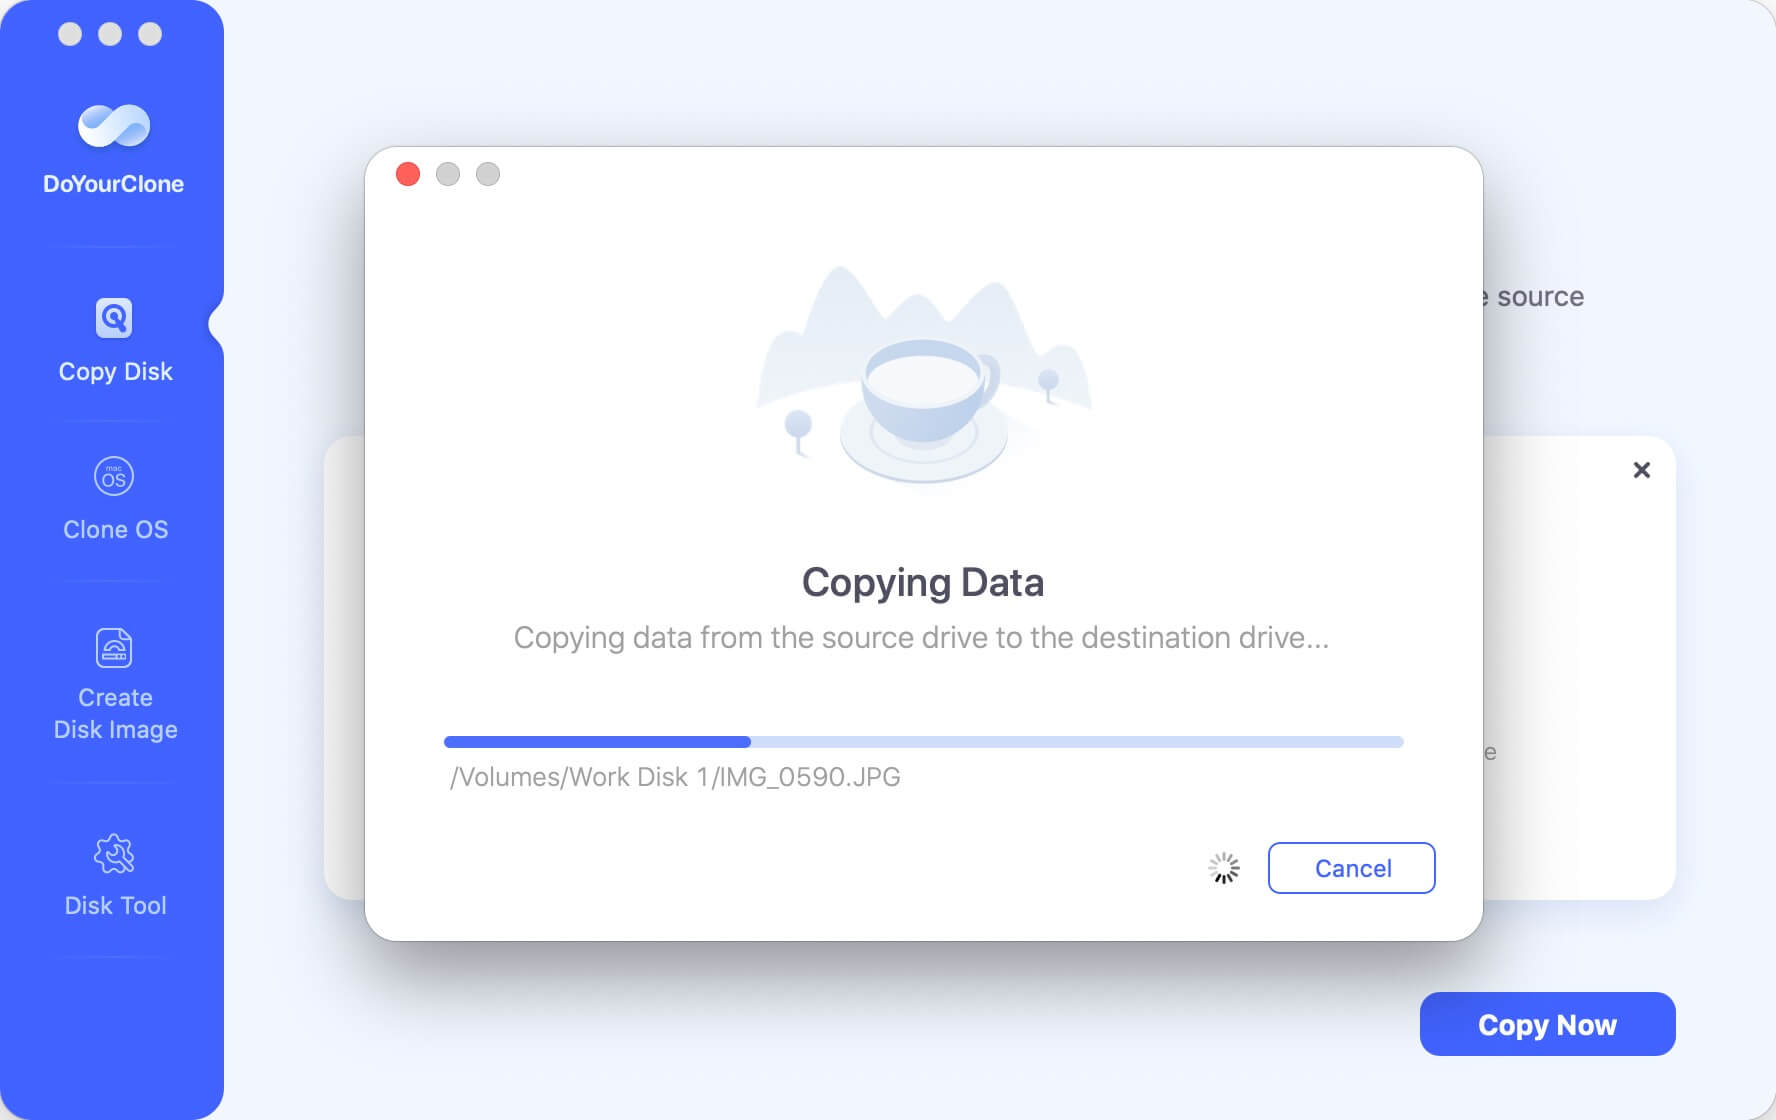
Once the process gets finished, you can check the copied data on the Mac hard drive. The copied data will be as same as the original USB flash drive, so it's easy and clear to check the files on the destination drive.
If you want to compress the USB flash drive and save the compressed disk image to the Mac hard drive, here is the solution:
Step 1: Choose mode Create Disk Image.
You also need to choose the USB flash drive as the source drive and choose the Mac hard drive as the destination drive. And you can select the type of disk image you want to created. There are 2 formats to choose: DMG and ZIP.

Step 2: Create disk image of the USB flash drive.
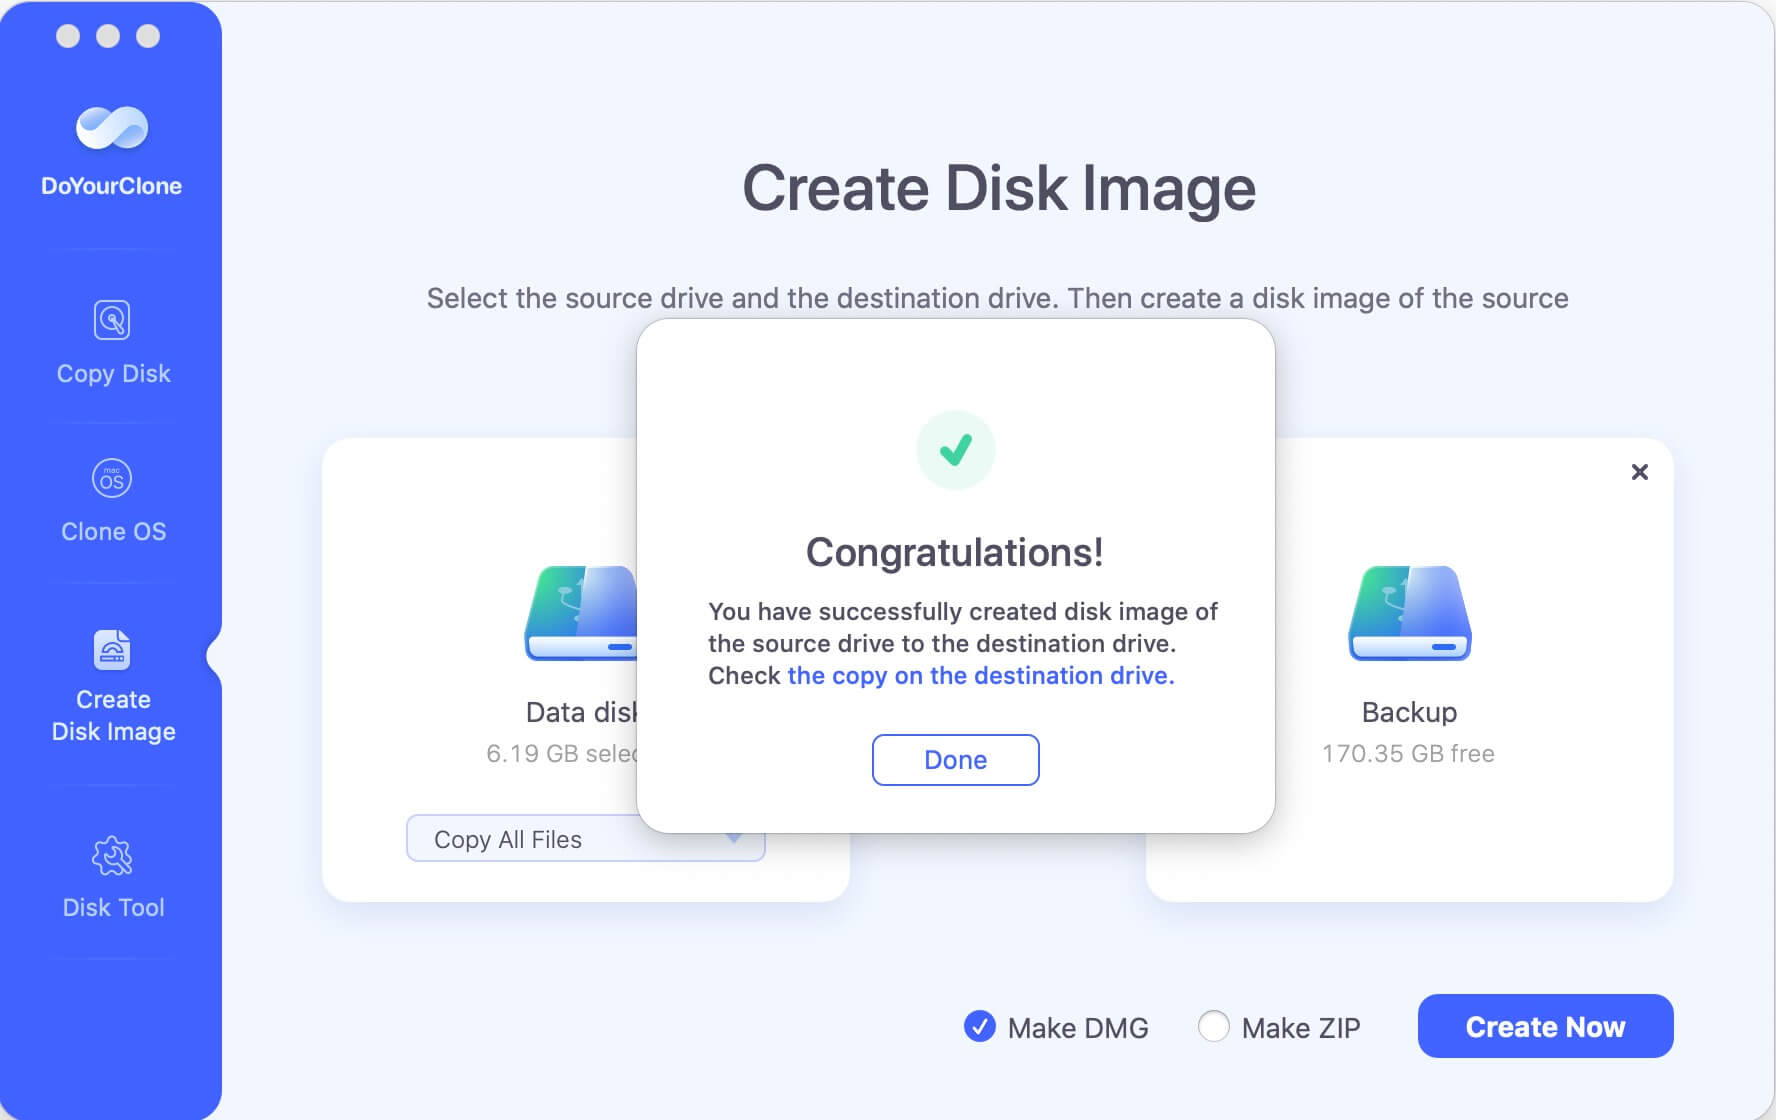
Click on Create Image button to create disk image of the USB flash drive and save it to the Mac hard drive.

After the disk image for USB flash drive is created successfully, you can check the disk image data on the Mac hard drive.
DoYourClone for Mac is one of the most powerful Mac disk clone software. It can clone any hard drive or device from one location to another. Fox example, it also can clone HDD to SSD on Mac or clone SSD to HDD on Mac.
Clone HDD to SSD on Mac
DoYourClone for Mac is reliable software to clone HDD to SSD securely on Mac.
If you don't want to use a third-party software, you still have other choices. For example, the tool Disk Utility of macOS can be used to clone USB flash drive. Here are the steps to clone USB flash drive with Disk Utility on Mac:
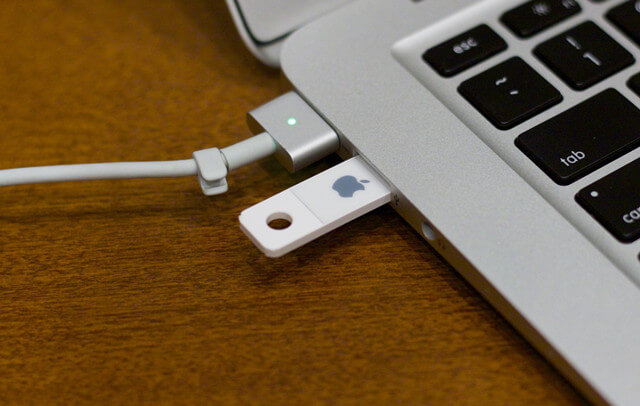
Step 1. Connect both the USB flash drive and another drive (USB flash drive or hard drive) to Mac and ensure both drives are recognized normally on Mac.
Step 2. Start Disk Utility. You can click command + space keys to open Spotlight, enter "disk utility" to search and open Disk Utility. Or you will find it under "Utilities" in "Applications" folder, double click it to run.

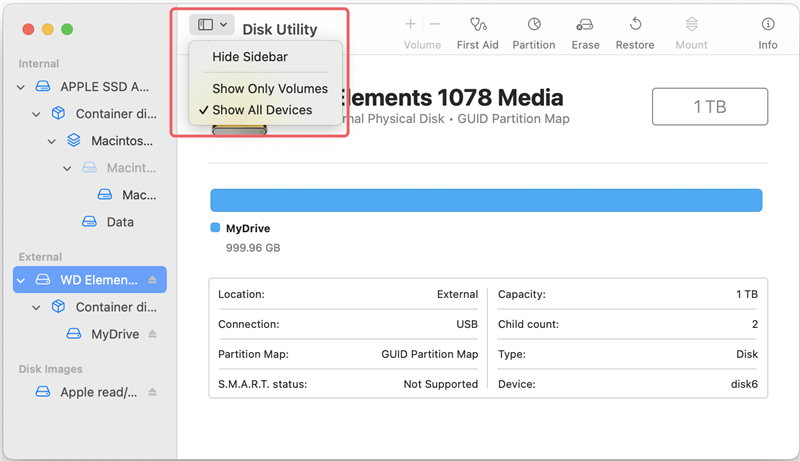
Step 3. In the Disk Utility, click the "View" button and select "Show All Devices" to ensure all the drives are list.
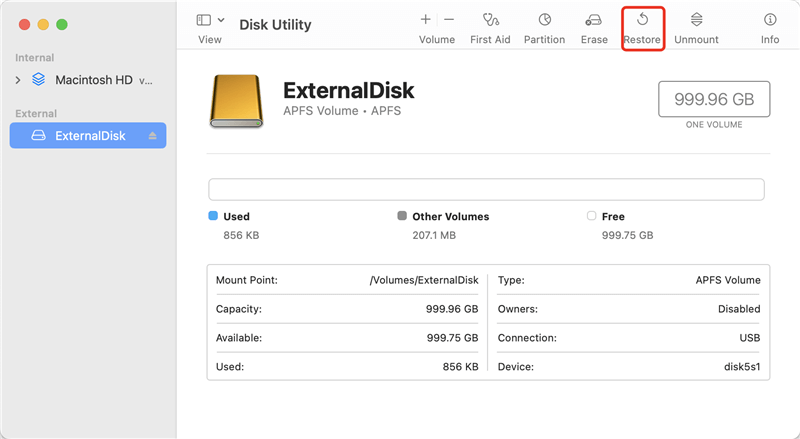
Step 4. Select the destination drive from the drive list at the left side. Then click the "Restore" button at the top of the window.
Step 5. Then you can select the USB flash drive you want to clone. You will find it from the drop-down list of "Restore from".
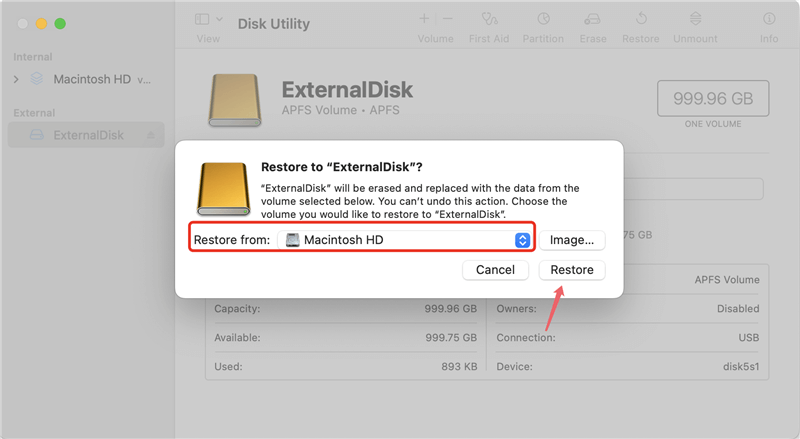
Step 6. After confirming the right drives are selected, then click the "Restore" button to start. It will take some time to copy all data from the USB flash drive to the destination drive.

Once the process is done, you can go to the destination drive and check if all the files are copied successfully.
💡 Tips: The disk clone process of Disk Utility will overwrite everything on the destination drive. it's essential to back up the important files on the destination drive first. Also, ensure there is enough space on the destination drive to hold all data cloned from the USB flash drive.
In some case, there might be issues with a USB flash drive, like bad sectors, file system corruption, or other errors. In such a case, it's not able to access the USB flash drive directly. To save the files from the drive, it's better to clone a sector by sector copy first to data security. Maybe you can access the files directly on the cloned drive or you can then recover data from the cloned drive without further damaging the original USB flash drive.
How to make a sector by sector clone for the USB flash drive with problems? You can use Terminal to do the job. Here is how:
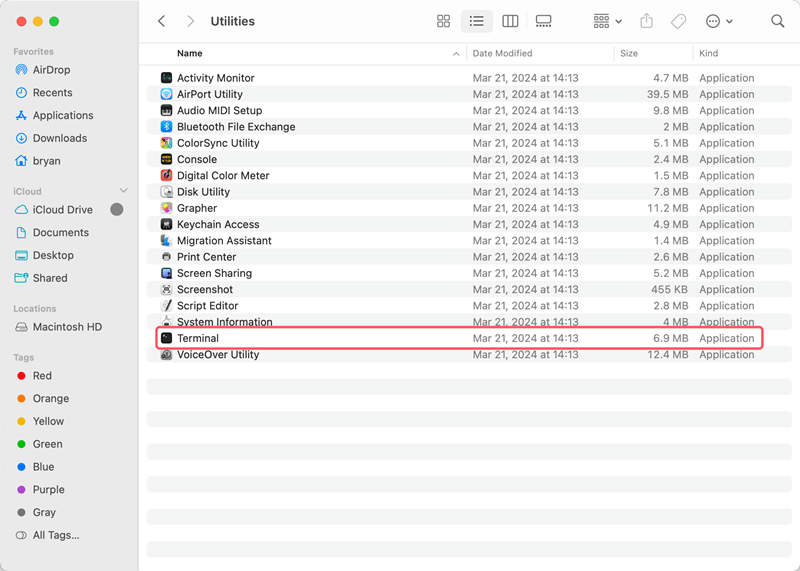
Step 1. Open "Applications" in Finder, and then "Utilities" folder. Find Terminal and open it.
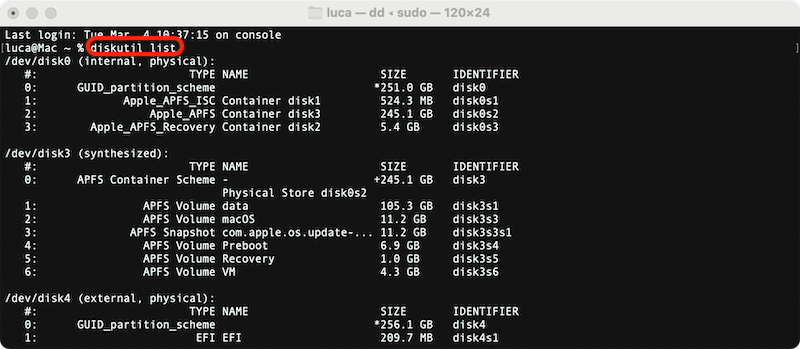
Step 2. Enter the following command to show up all the connected drives on the Mac:
diskutil list
Check and locate the right information for both the USB flash drive and the destination drive.
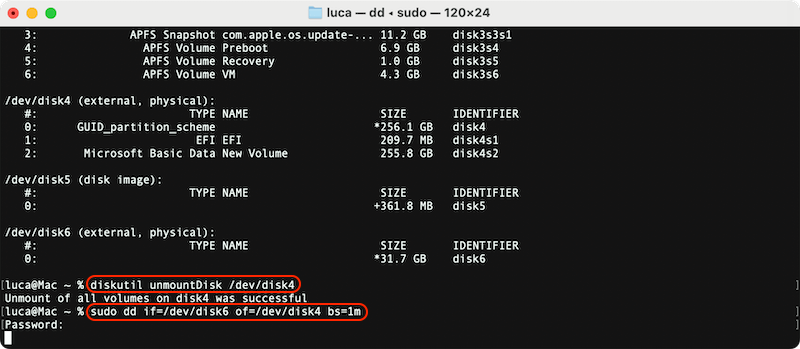
Step 3. Before cloning the USB flash drive, you need to unmount the destination drive using the command:
disktultil unmountDisk /dev/diskY
Step 4. Now you can start to clone the USB flash drive to the destination drive with the command:
sudo dd if=/dev/diskX of=/dev/diskY bs=1m
Enter your password and the disk cloning process will proceed. Ensure to replace the /dev/diskX and /dev/diskY with the right USB flash drive and destination disk information. Also, you can change bs=1m to 2m, 4m, etc. It will set the block size for fast copying.
It will make a sector by sector clone, so the destination drive's size should be at least equal to the USB flash drive. Once it's done, you can then try to fix the USB flash drive errors without worrying about mess up the data. Or you can try to recover the files directly from the clone drive.
Cloning is often used to back up all data from a drive. If you want to back up data of USB flash drive, it's fast and easy to clone it directly to another drive. It can save time and secure comparing to manually copying files.
Get a health drive with enough space as destination can make a smooth clone for USB flash drive. DoYourClone for Mac and Disk Utility can help you clone the hard drive with user-friendly interfaces. If you are familiar with commands, you can also choose it to copy USB flash drive. Ensure to choose the right source and destination drives when doing clone with any software.
DoYourClone for Mac
DoYourClone for Mac, one of the best Mac disk cloning software, can help you clone HDD, SSD, external storage device on Mac, upgrade HDD to SSD, create full disk image backup, etc. It also can clone everything from your Mac to an external HDD/SSD and create a full bootable clone backup. 100% safe and easy-to-use.
Written & Updated by Darren
Darren is an senior editor at DoYourData. Since 2021, Darren has written 100+ articles about data recovery, Mac file recovery, disk management, disk clone, computer issue fixes, etc. He helps lost of users to recover important data, get the reliable data backup solution, find optimization for PCs and Macs.