Back up important data before wiping data.
It's necessary to back up the important data before you shred files or wipe a hard drive. Read More >>
Quick Navigation:
When you deleted a private movie file from your Mac, you may think it was gone permanently. But did you know that bringing it to the trash and emptying it doesn't eliminate it? Several data recovery software programs can still retrieve this deleted file. It is a big risk for anyone who cares about privacy and data protection.
It is very important to ensure that all files are deleted fully and cannot be recovered, whether personal videos, private work files, or any other sensitive information. This process is called "shredding," it includes writing over the file many times so that it can't be recovered. This guide will show you the best ways to safely shred a video file on your Mac. It will give you peace of mind that your data is gone.
By shredding files, you can be sure that all of your data is gone, which is important for many reasons:
![]() Data Security - Deleting any file does not remove it from your hard drive; it just makes room for new data. Until the room is filled up again, data recovery tools can get back the file. By overwriting the file several times, shredding makes it almost impossible for someone to get your private information back and use it badly.
Data Security - Deleting any file does not remove it from your hard drive; it just makes room for new data. Until the room is filled up again, data recovery tools can get back the file. By overwriting the file several times, shredding makes it almost impossible for someone to get your private information back and use it badly.
![]() Privacy Protection - Some files, like personal videos and secret papers, may contain information you don't want to get into the wrong hands. Shredding ensures that private information stays private and protects you from identity theft, blackmail, and other privacy threats.
Privacy Protection - Some files, like personal videos and secret papers, may contain information you don't want to get into the wrong hands. Shredding ensures that private information stays private and protects you from identity theft, blackmail, and other privacy threats.
![]() Compliance with Regulations - There are strict rules about data safety in many fields, stating that sensitive information must be thrown away safely. Shredding helps ensure you follow the rules of laws like GDPR, HIPAA, and others so you don't get in trouble with the law or get fined.
Compliance with Regulations - There are strict rules about data safety in many fields, stating that sensitive information must be thrown away safely. Shredding helps ensure you follow the rules of laws like GDPR, HIPAA, and others so you don't get in trouble with the law or get fined.
![]() Preventing Data Leaks - Everybody and every business is vulnerable to data leaks, which can happen when files are removed incorrectly. When you shred files, you make it impossible for old, lost data to be recovered and shared, protecting your image and finances.
Preventing Data Leaks - Everybody and every business is vulnerable to data leaks, which can happen when files are removed incorrectly. When you shred files, you make it impossible for old, lost data to be recovered and shared, protecting your image and finances.
![]() Freeing Up Space Securely - Removing unnecessary files helps free up space on your Mac's hard drive. Regularly destroying unnecessary files keeps your system clean and running at its best.
Freeing Up Space Securely - Removing unnecessary files helps free up space on your Mac's hard drive. Regularly destroying unnecessary files keeps your system clean and running at its best.
Several methods exist to shred video files on a Mac securely. These methods range from built-in macOS features to third-party applications designed for data destruction.
💡 Tips: As the methods mentioned in this article will shred files or data permanently, you should back up your important data to another drive first. Otherwise, you will lose the important data for good.
Back up important data before wiping data.
It's necessary to back up the important data before you shred files or wipe a hard drive. Read More >>
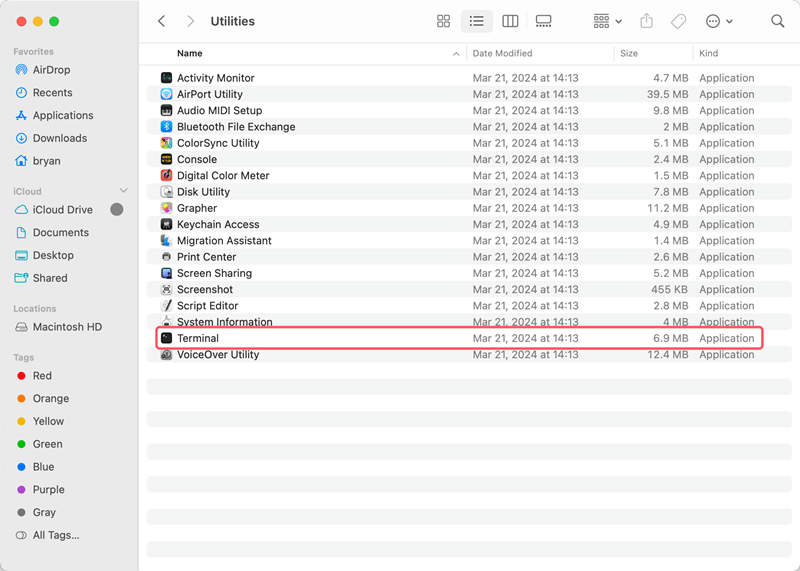
A powerful and effective way to delete files on your Mac is to use Terminal. You can use Terminal to get to macOS's command-line interface and run tasks you can't do through the graphical user interface. Here's how to delete a video file safely from Terminal:
Step 1. Open Terminal: You can find Terminal in the Applications folder under Utilities, or press Cmd + Space and type "Terminal" into Spotlight to find it.
Step 2. Find the File Location: Use the cd command to find the folder with the video file you want to delete. If the file is on your desktop. Then you would type:
cd Desktop
Step 3. List Files in the Directory: Type "list the files" to make sure you're in the right place:
ls
Step 4. Shred the File: To get rid of a file safely, type rm followed by its name. In this case, if your file is called video.mp4, type:
rm -P video.mp4
Verbose, which is what the -P flag means, securely remove the file, then rm program deletes the file several times, so it can't be recovered.

Step 5. Confirm Deletion: The Terminal will delete the file more than once, making it impossible to return. The file will be safely deleted when the process is complete.
Disk Utility is a built-in app for macOS that lets you manage files and volumes through a graphical interface. One more thing it has is a function to format and erase the drive, which helps when shredding all files:
Step 1. Open Disk Utility: To access Disk Utility, go to the Utilities folder in Applications or use Spotlight to look for it by hitting Cmd + Space and typing "Disk Utility."

Step 2. Select Your Disk: In Disk Utility, choose the disk where the movie file is stored.
Step 3. Erase the drive: To delete the drive space, open Disk Utility and click Erase in the window. This feature writes over all space on your disk, even the space where the deleted video file used to be.
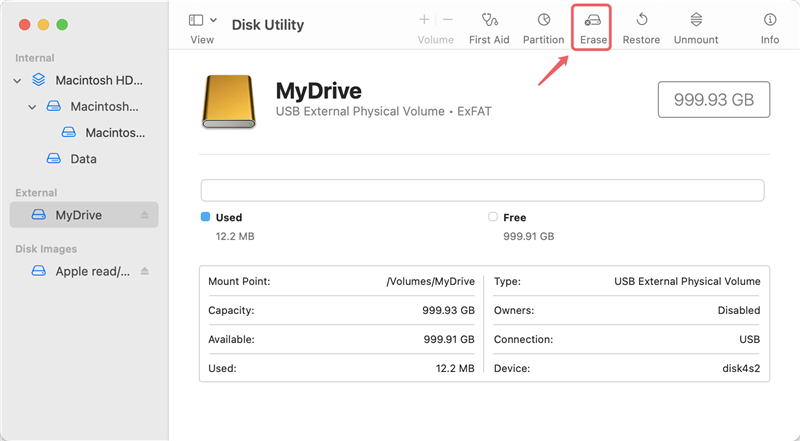
Step 4. Choose Security Options: Disk Utility lets you pick the amount of security for wiping free space. The safest choice will overwrite the disk room more than once, making it impossible to return deleted files.

Step 5. Start the Process: To start, click Erase. How long this takes will depend on the size of your disk.
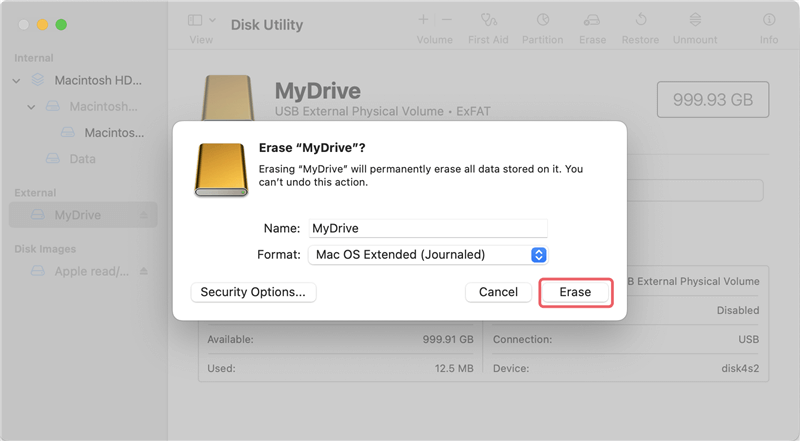
👉 Note: This method will wipe all data on the drive, so if you only want to shred specified files on the drive, it's not applicable. Also, this method cannot be used for the Mac system drive.
Using third-party apps to shred files safely on your Mac can be easier. File shredder can overwrite your files several times, making it impossible to get them back. And the third-party software offers more features and flexible options for data erasure and file shredding.
One of the best file shredders is DoYourData Super Eraser for Mac. The software is easy to use and professional at erasing files on Mac. It can only one wipe videos, but also wipe photos, documents, audio, and any other type of files.
The software can ensure the shredded files will not be recovered in any way, so check and ensure to choose the correct files or drive to wipe. To delete a movie file with DoYourData Super Eraser, follow these steps:
Step 1. Download and Install Software
Download and open the installer file for the file shredder, drag the Super Eraser app to the Applications folder.
Step 2. Open DoYourData Super Eraser
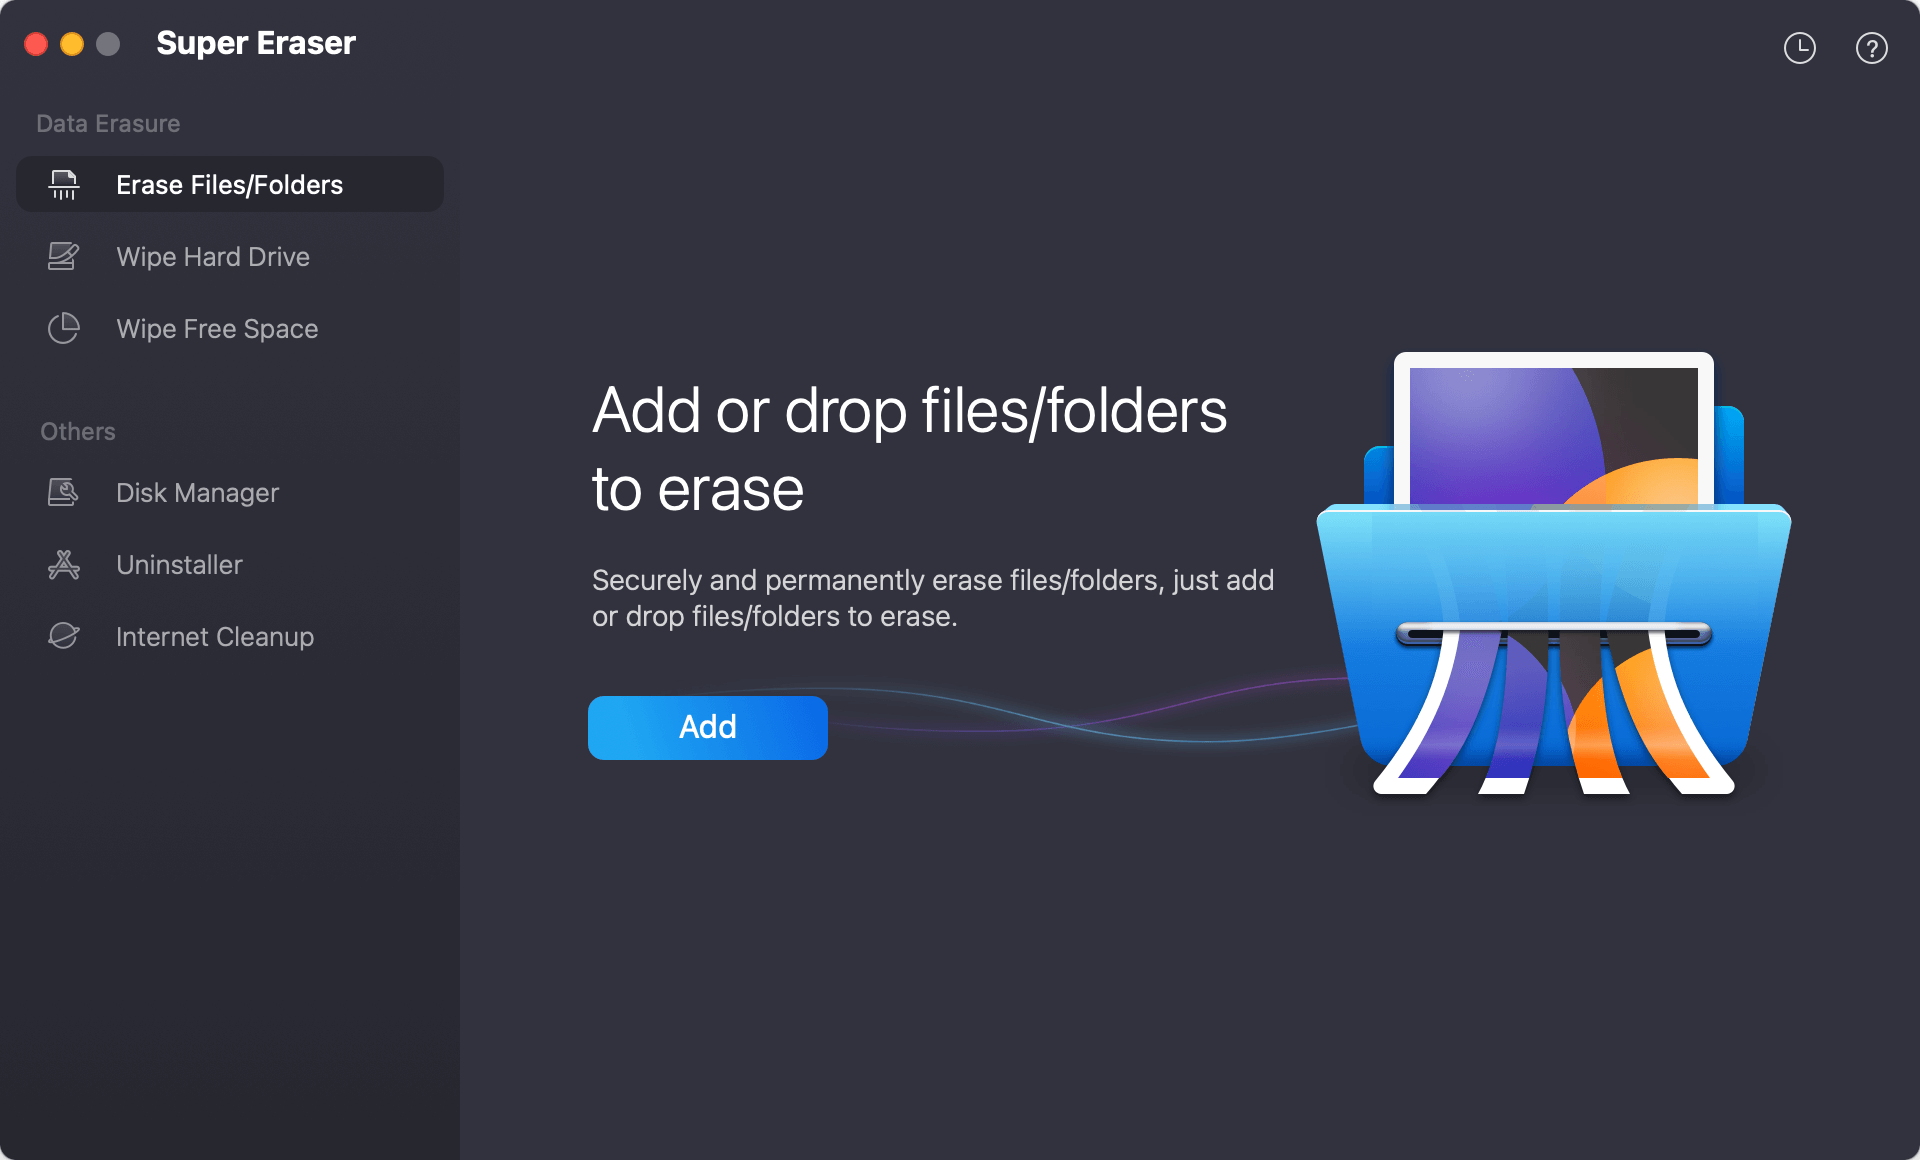
Open this data wiping software by going to Applications. Select the first mode Eraser Files/Folder to shred the video file.
Step 3. Drag and Drop the File
Find the video file you want to delete. Drag the file to add it to the DoYourData Super Eraser window or the Dock icon. Or you can click Add button and manually locate the video file and add to the list.
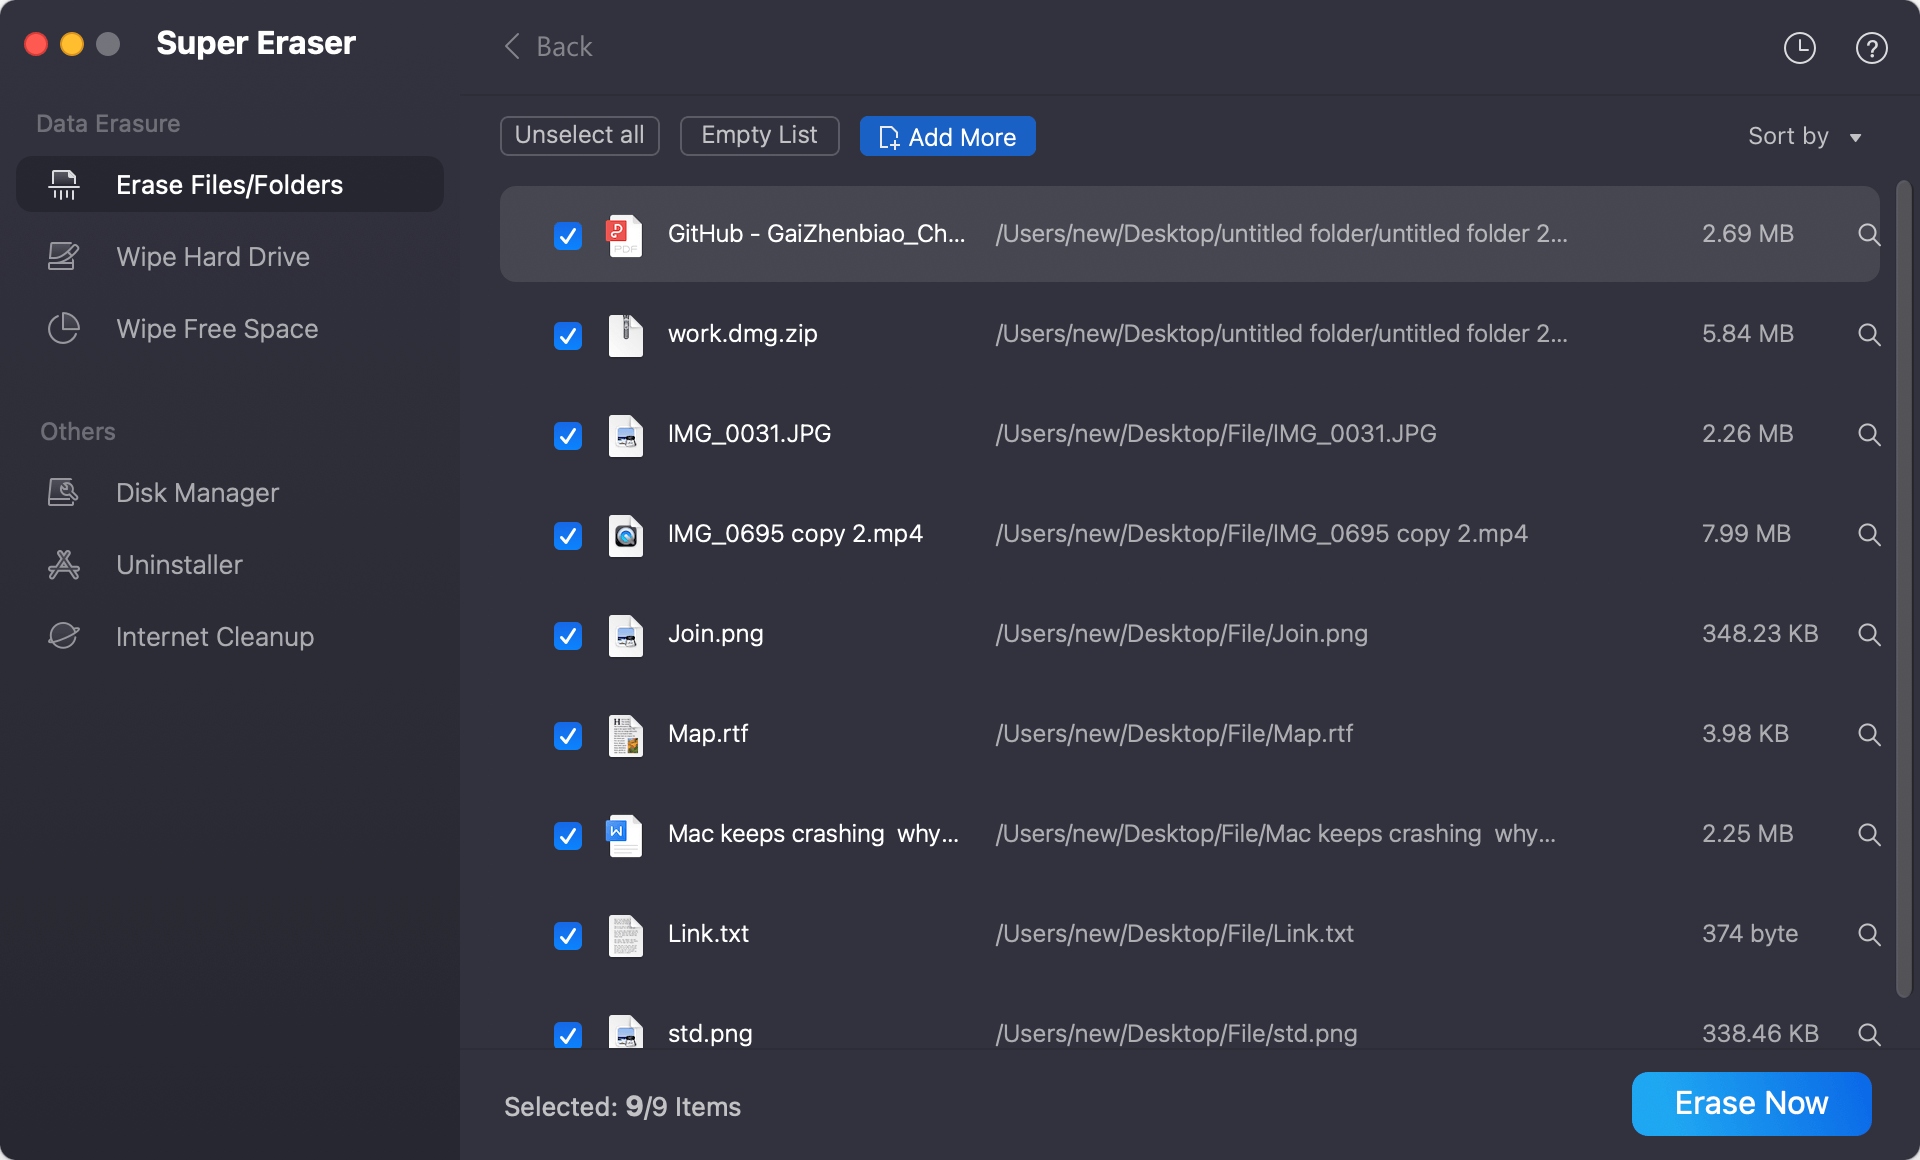
Step 4. Select the data erasure standard.
After confirming the selected video file, you can click the Erase Now button to continue, then the software will ask you to select a data erasure standard. You can select a data algorithm from the drop-down list.
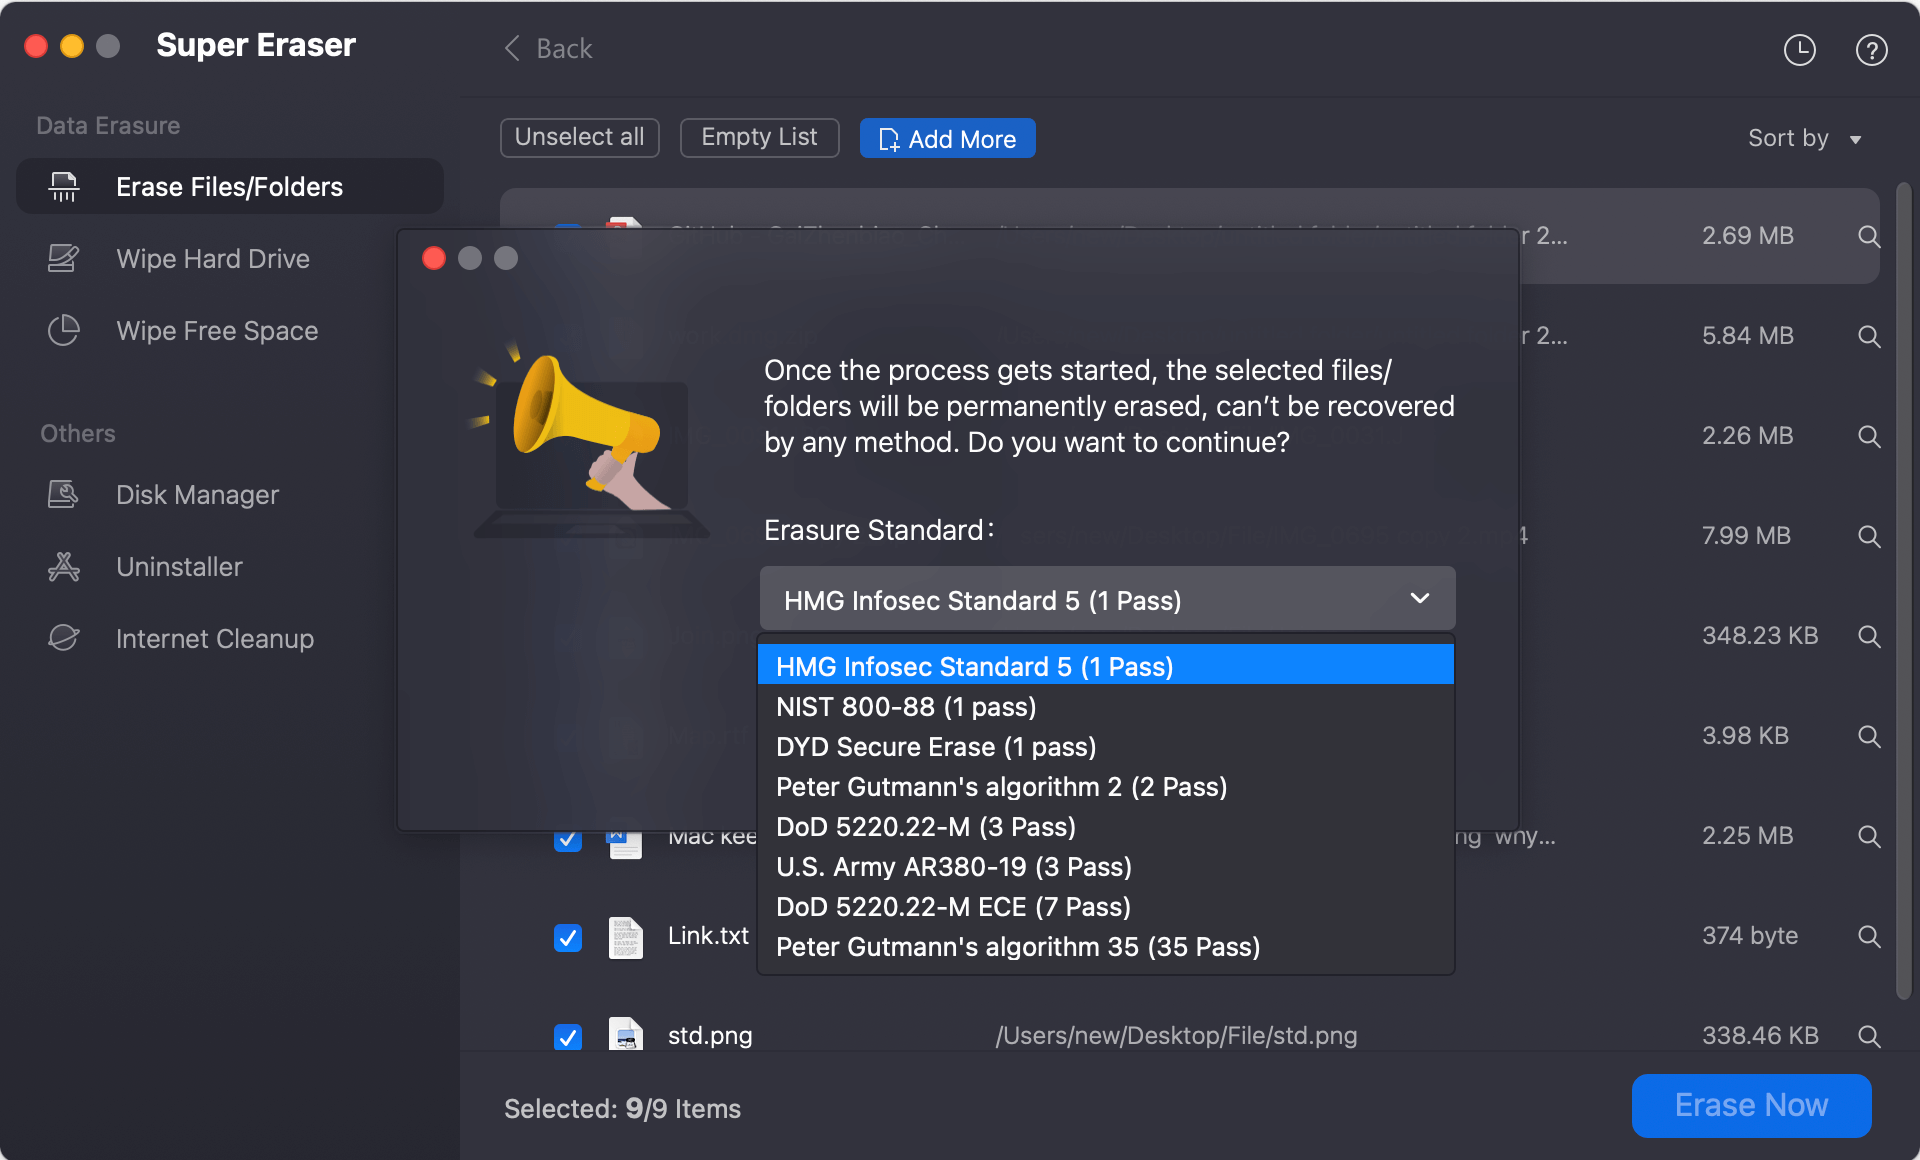
Step 5. Start the file shredding process.
To proceed the file shredding process, just click Continue button. The program repeatedly overwrites the file, making it impossible to recover it.
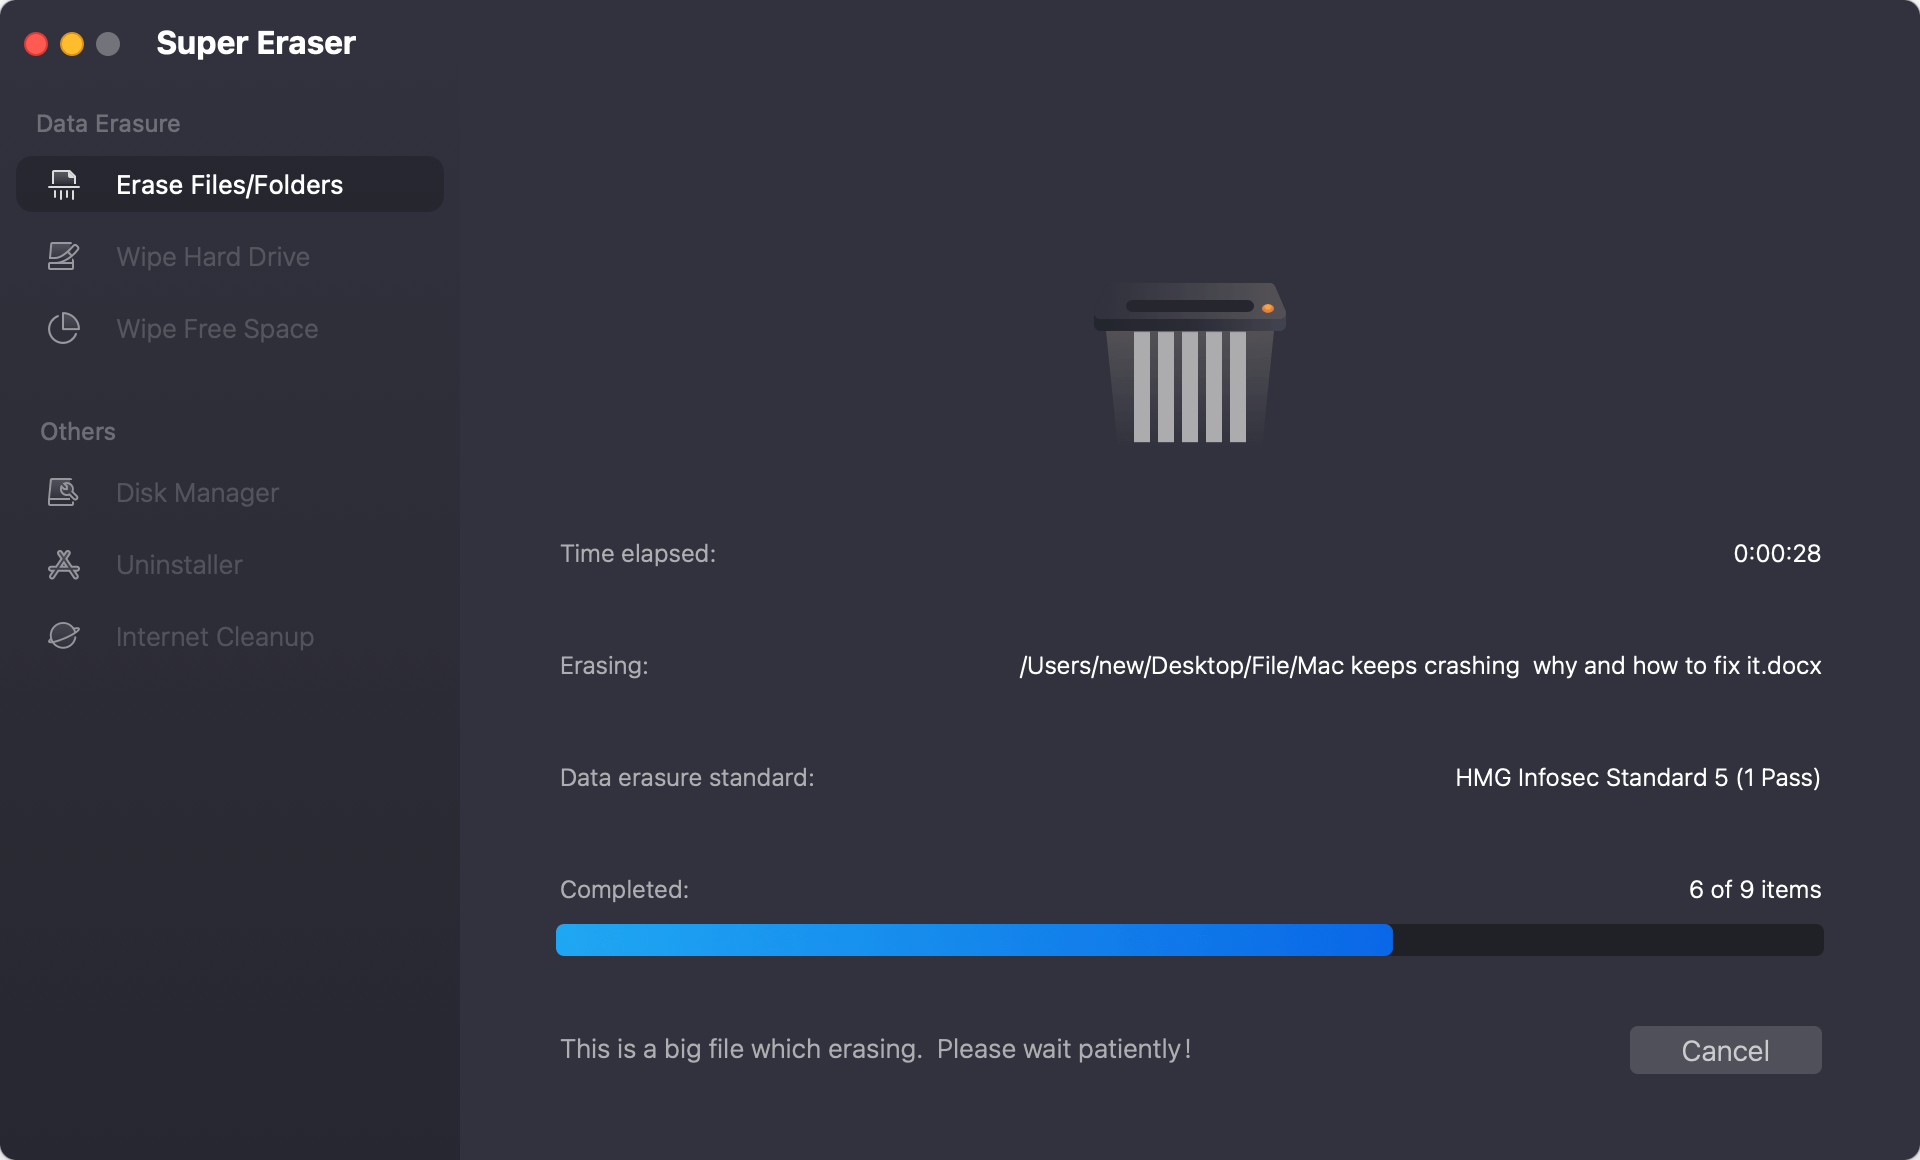
Step 6. Completion.
DoYourData Super Eraser will let you know that the file has been safely deleted once the process is complete.
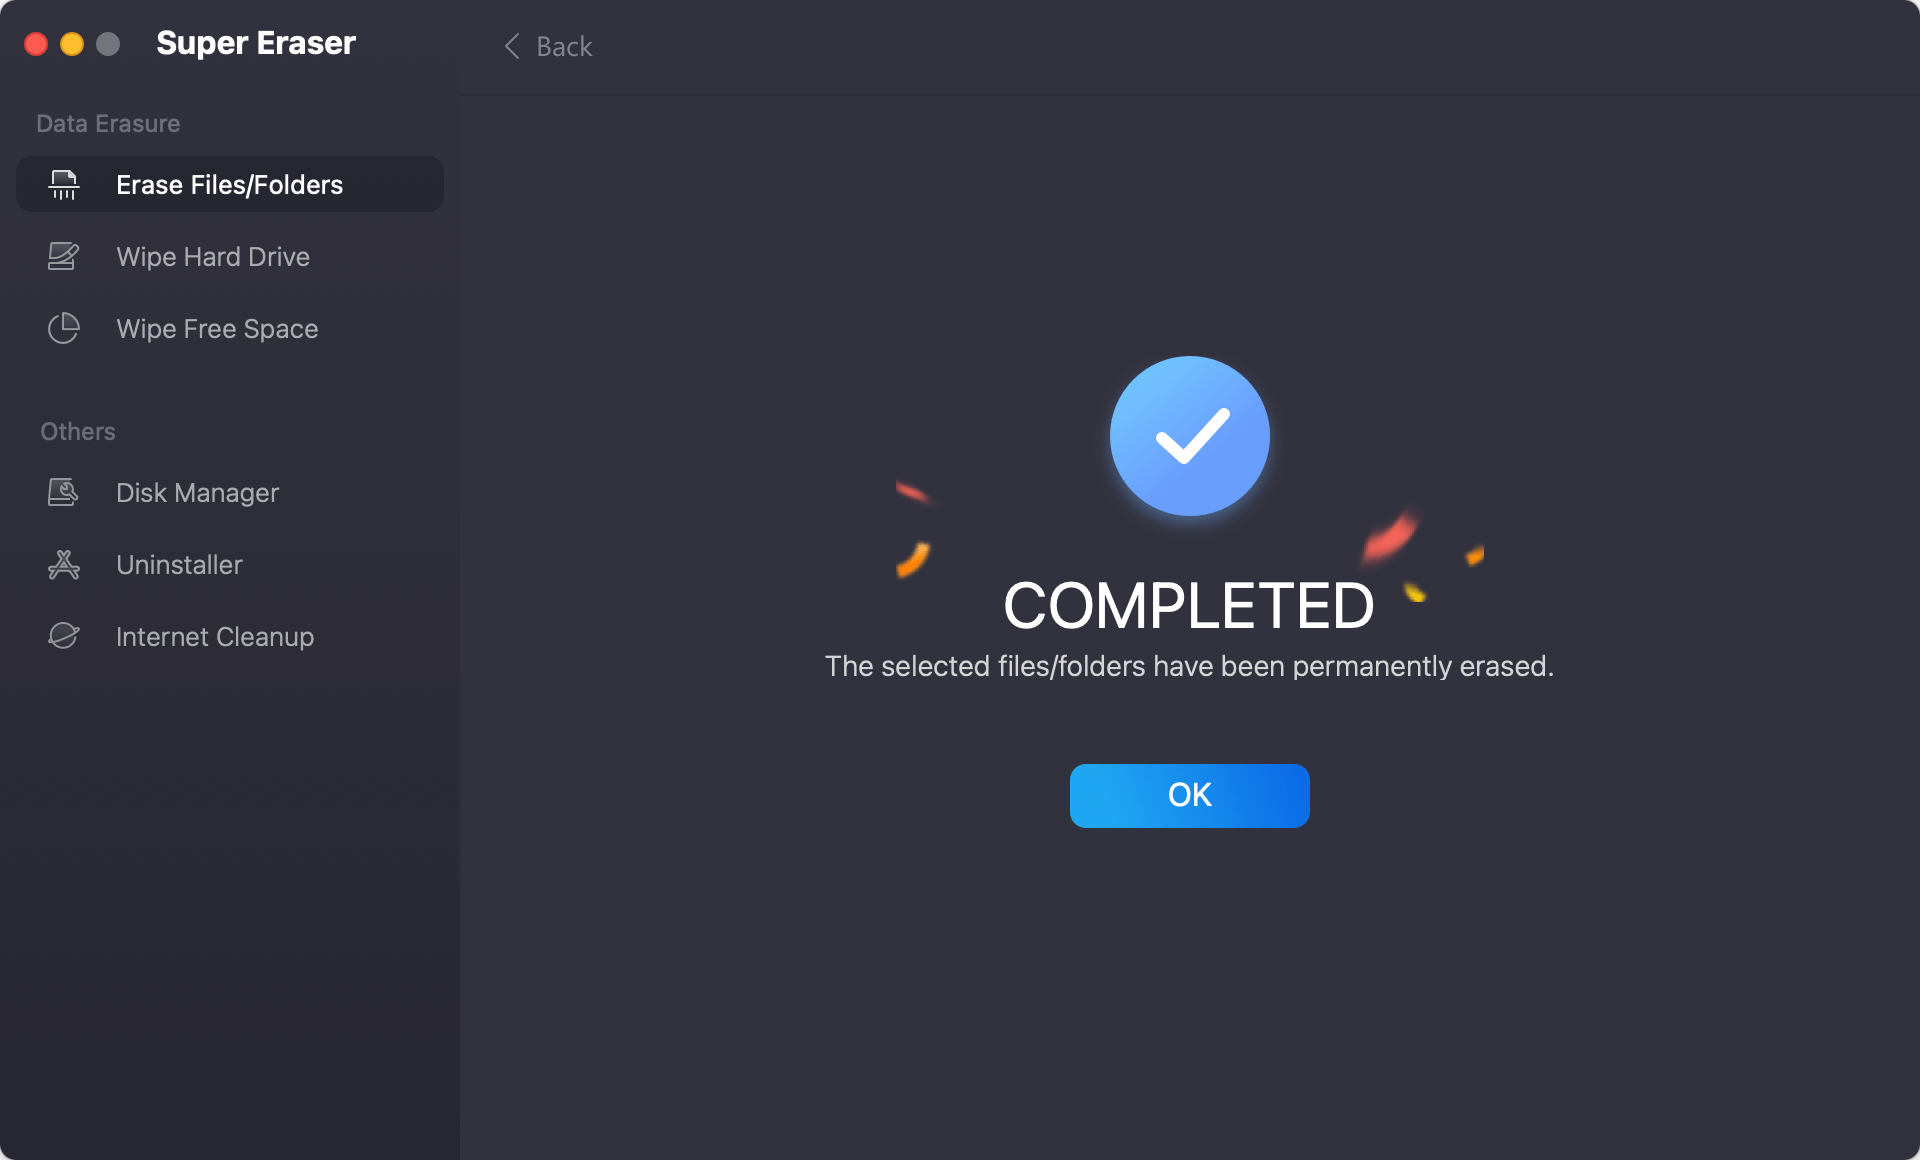
To confirm if the video file is shredded completely, you can use data recovery software to scan the drive. If the file shredding process was completed successfully, you will not able to find or recover the shredded video file successfully with any data recovery software.
You need to shred video files on your Mac to protect your privacy and ensure that private information is deleted. Whether you use Disk Utility, Terminal, or third-party data wiping tools, there is a safe way to delete files that can't be recovered.
By following the steps in this guide, you can protect your data from possible hacks and ensure you're following the rules for data protection. Regularly burning files you don't need not only makes your computer safer but also makes it run faster. Follow these steps to keep peace, knowing your private information is gone.

DoYourData Super Eraser for Mac
DoYourData Super Eraser for Mac is a 100% safe, powerful and easy-to-use data erasure program. It offers certified data erasure standards including Peter Gutmann, U.S. Army AR380-19, DoD 5220.22-M ECE to permanently erase data from Macs and external devices, making data recovery be impossible.
