Wipe Everything Before Selling Old Mac That Runs macOS Catalina
Follow these steps to completely wipe all data from the Mac/MacBook which is running macOS Catalina, making data recovery be impossible.
Quick Navigation:
Summary: Through this article, we will provide some information to help you permanently delete files in macOS Catalina. It is a old version of the operating system for Mac and it was named Catalina after Santa Catalina Island located in California - United States of America. It is the successor to macOS 10.14 Mojave and it offers new and smart features to make people have a better experience when checking photos, texts, videos, among others. This system includes features like Sidecar, Project Catalyst, etc. After this overview about Catalina, let us focus on explaining how to permanently delete our files, making data recovery be impossible.
In today's age of digital privacy and security concerns, deleting files isn't enough to ensure they're gone for long. Deleting private files safely on macOS Catalina is important so someone else can't recover them. File shredding is a solution because it overwrites files many times with random data, making it impossible to get them back.
This article discusses why shredding files is important, how it works, and how to use file shredders successfully in macOS Catalina. There are built-in tools, third-party programs, and other ways to help you keep your digital privacy safe. Learning how to use and understand Mac file shredders can protect your private information from being stolen, whether it's for personal data or business compliance.
File burning is a safe way to delete files on your computer. Returning to the original information after shredding a file is impossible because it is often replaced with random data. This method is safer than just deleting a file since it often leaves signs that can be found with data recovery software.
File shredders work by writing over the data in a file more than once. These are the most popular ways:
Many people like and suggest DoYourData Super Eraser for Mac because it works well and is easy to use.
The first thing you need to do is get DoYourData Super Eraser for macOS Catalina and install it. It is a great file shredding tool which can permanently delete files, wipe hard drive and erase deleted/lost data on macOS Catalina. Once the data or files are erased by DoYourData Super Eraser for Mac, the data/files are lost for good, cannot be recovered by any method.
Follow the steps below to shred files in macOS Catalina:
Step 1. Download and install DoYourData Super Eraser for Mac on your Mac which is running macOS Catalina, then open this file shredder.
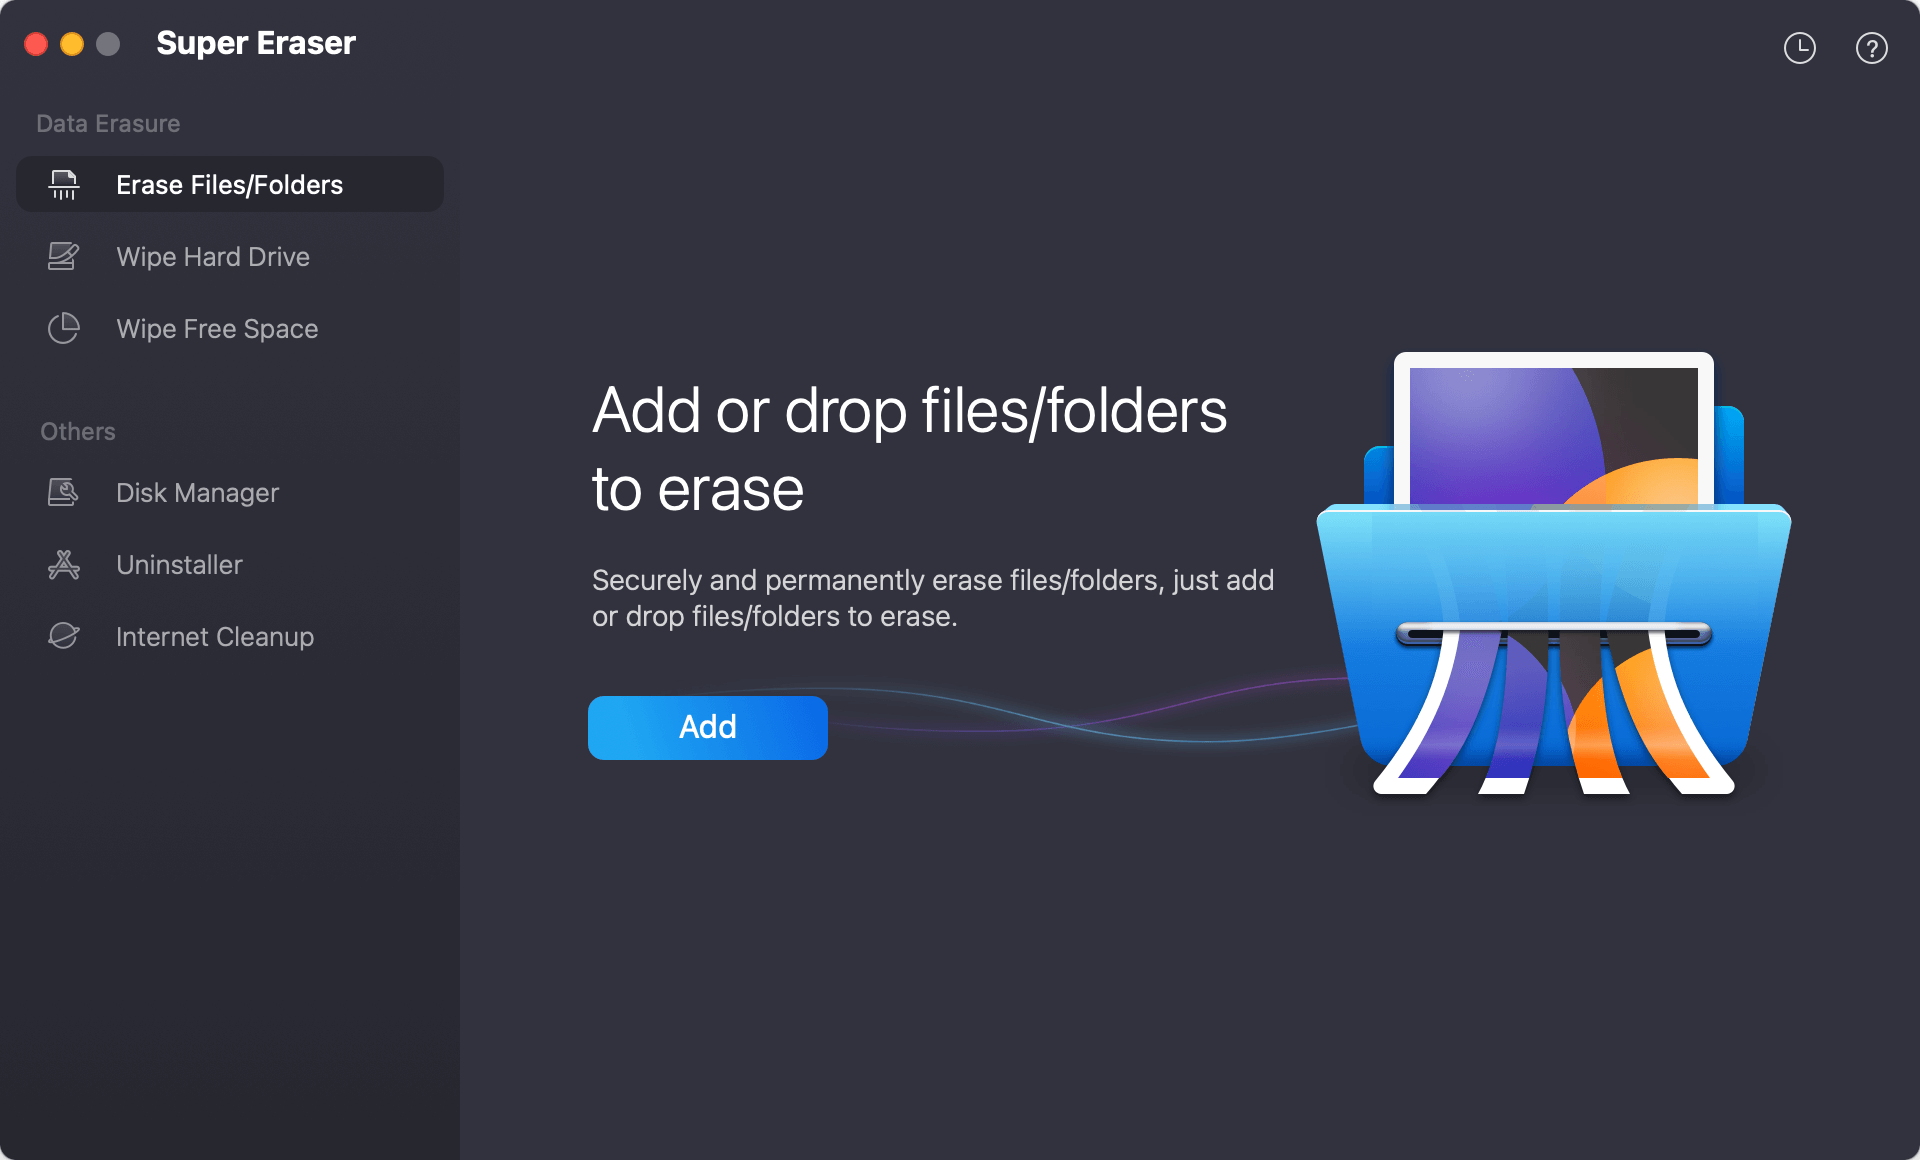
Step 2. Click Add to add files and folders you want to shred or just drag the files/folders to the erasure area.
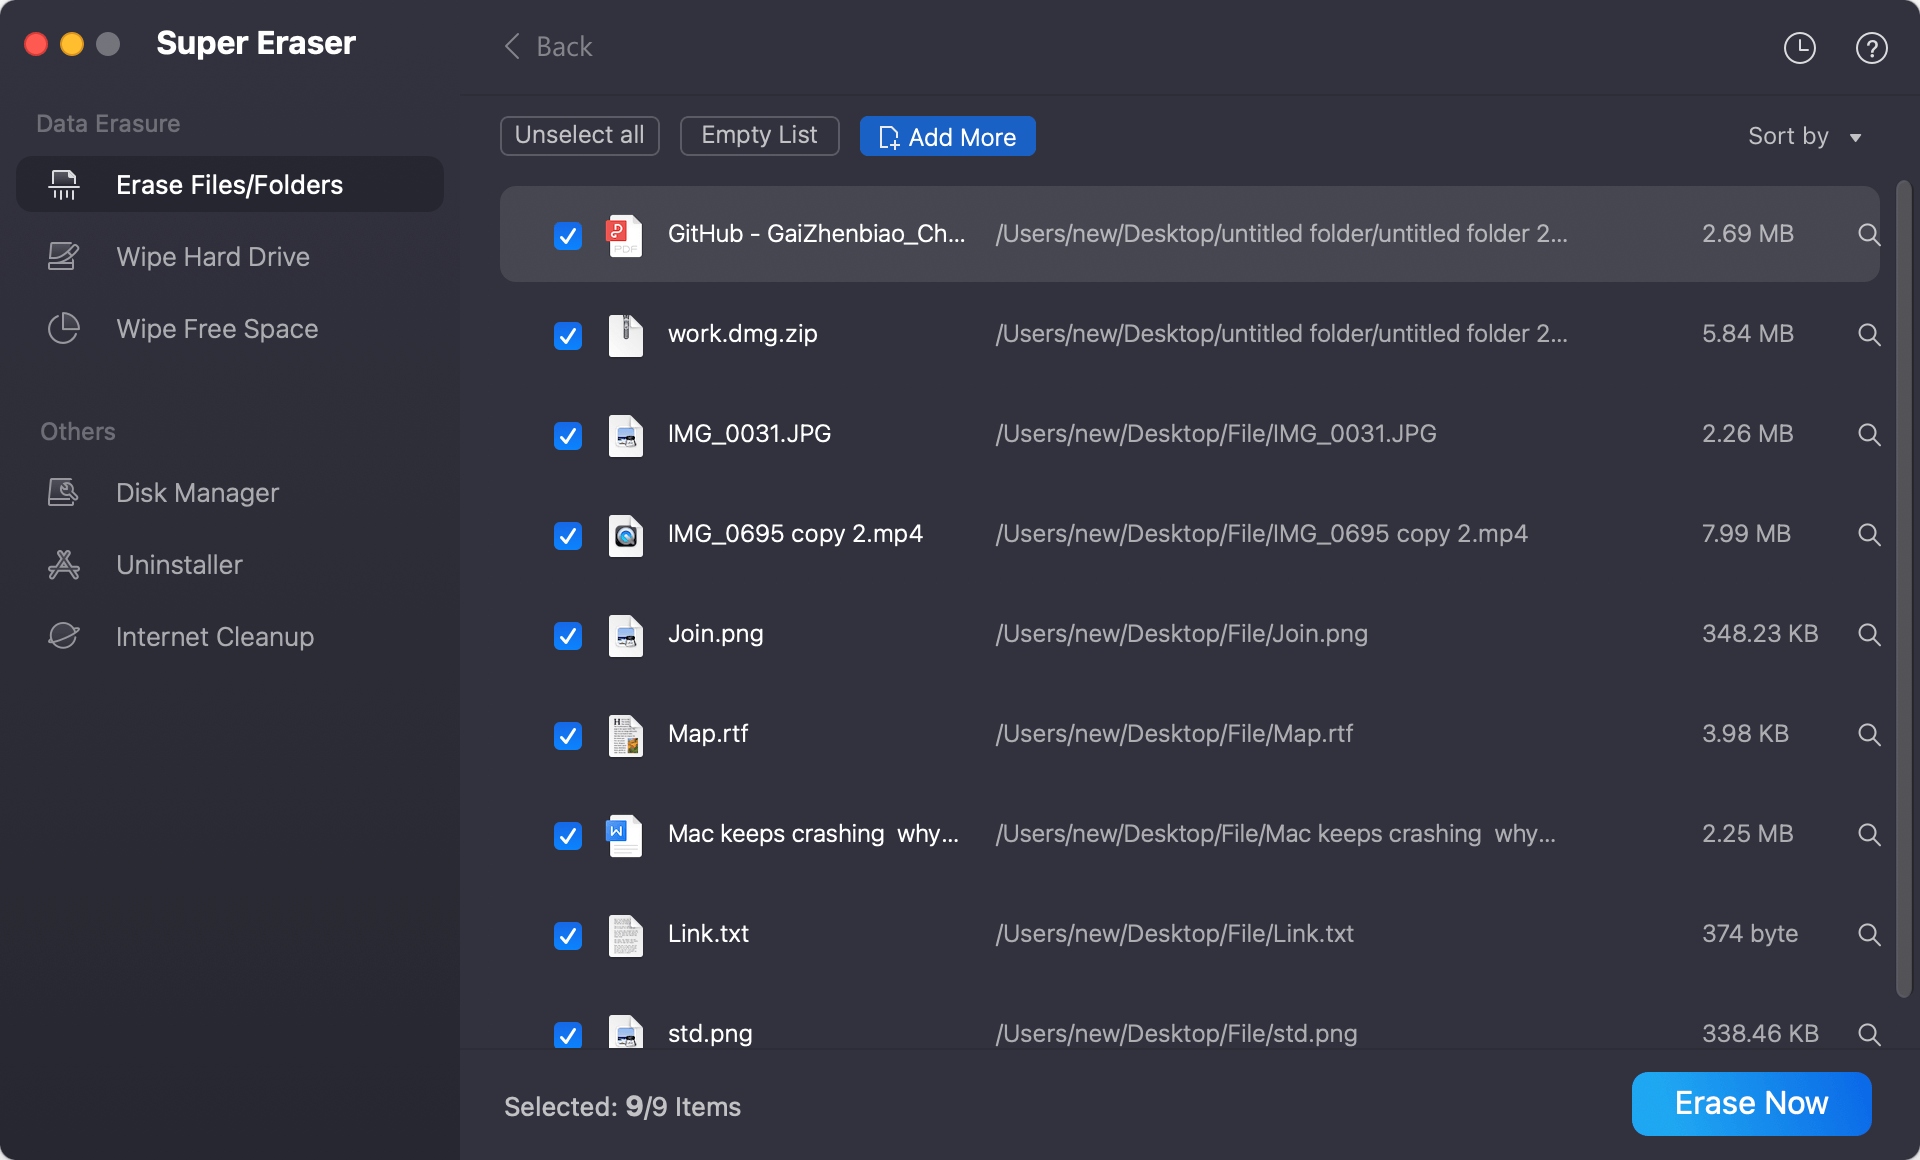
Step 3. Preview the selected files/folders before you erase them, then click on Erase Now button to permanently erase all the selected files/folders, no trace left.
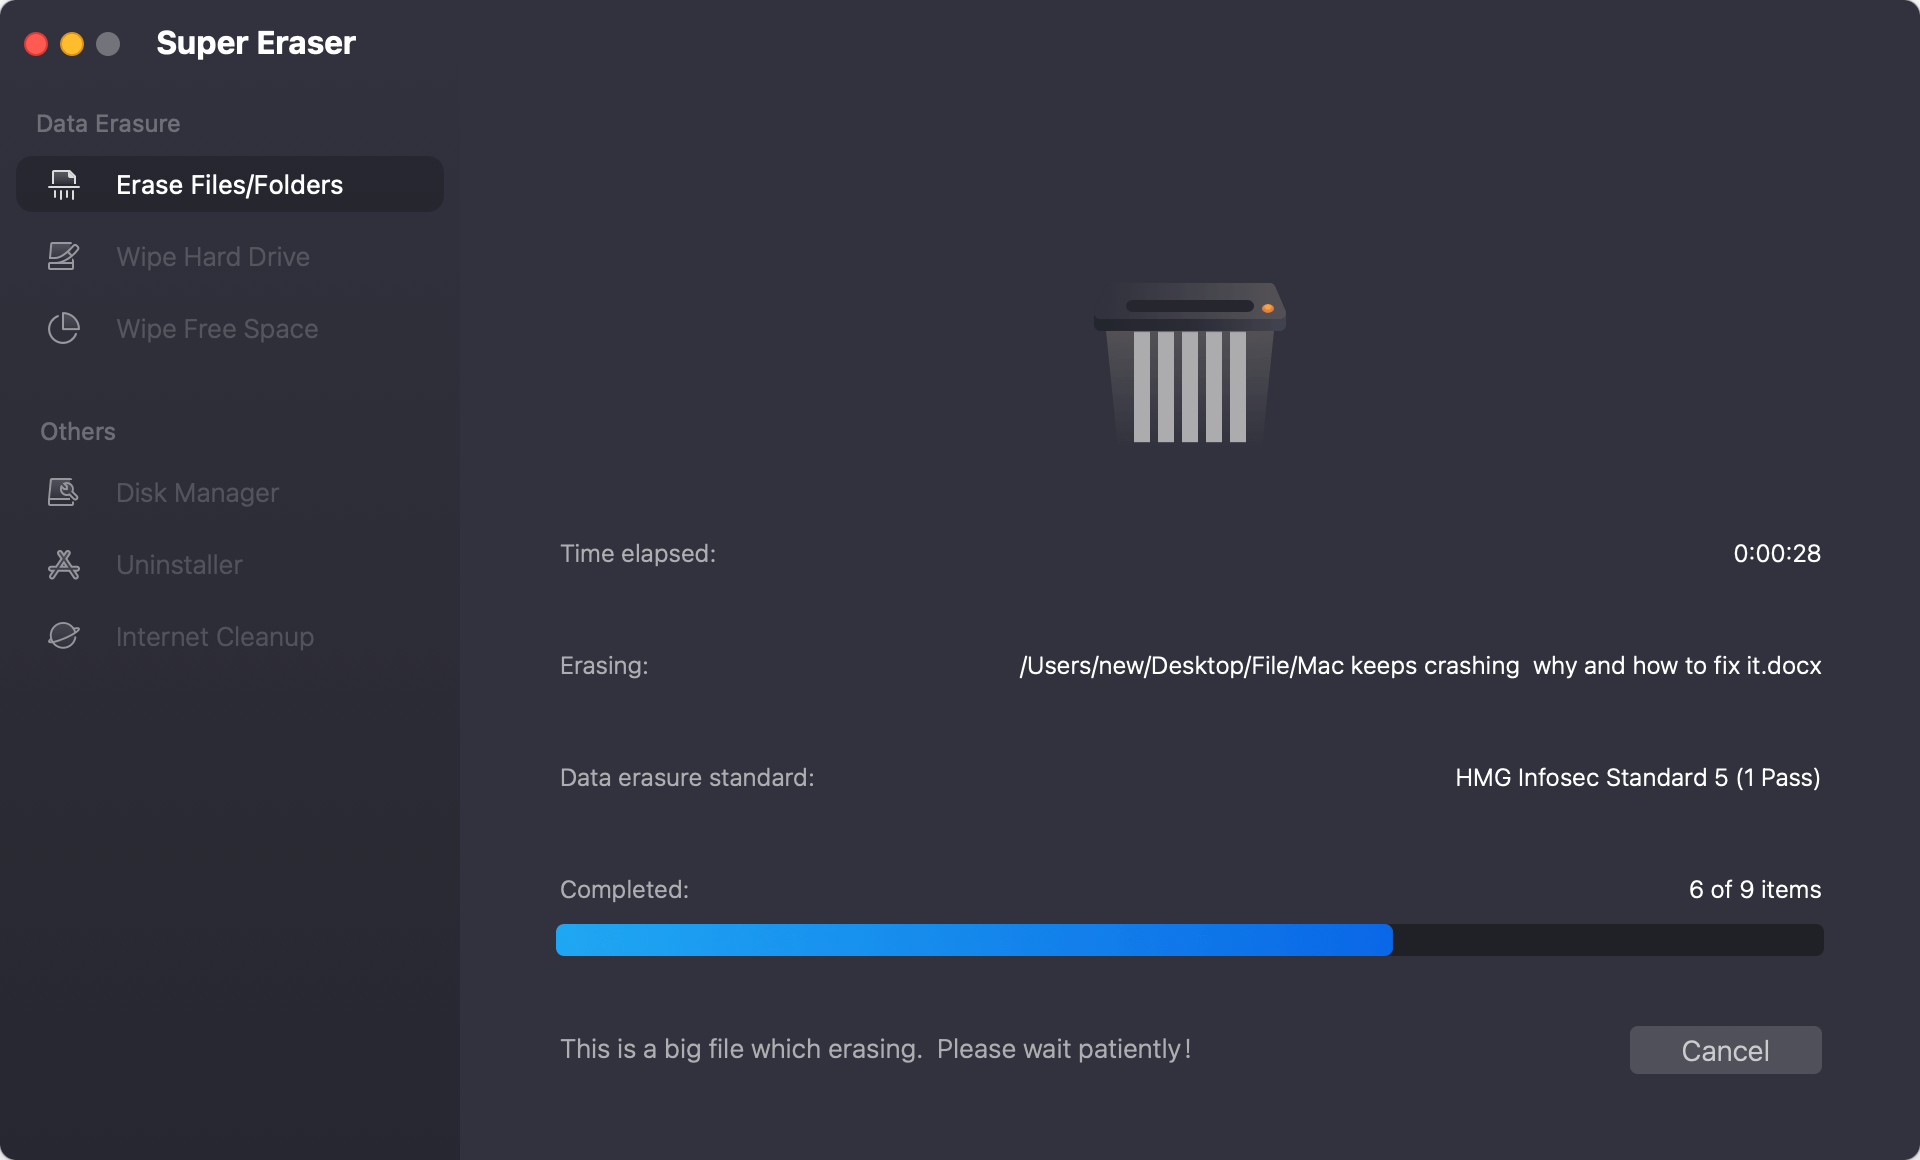
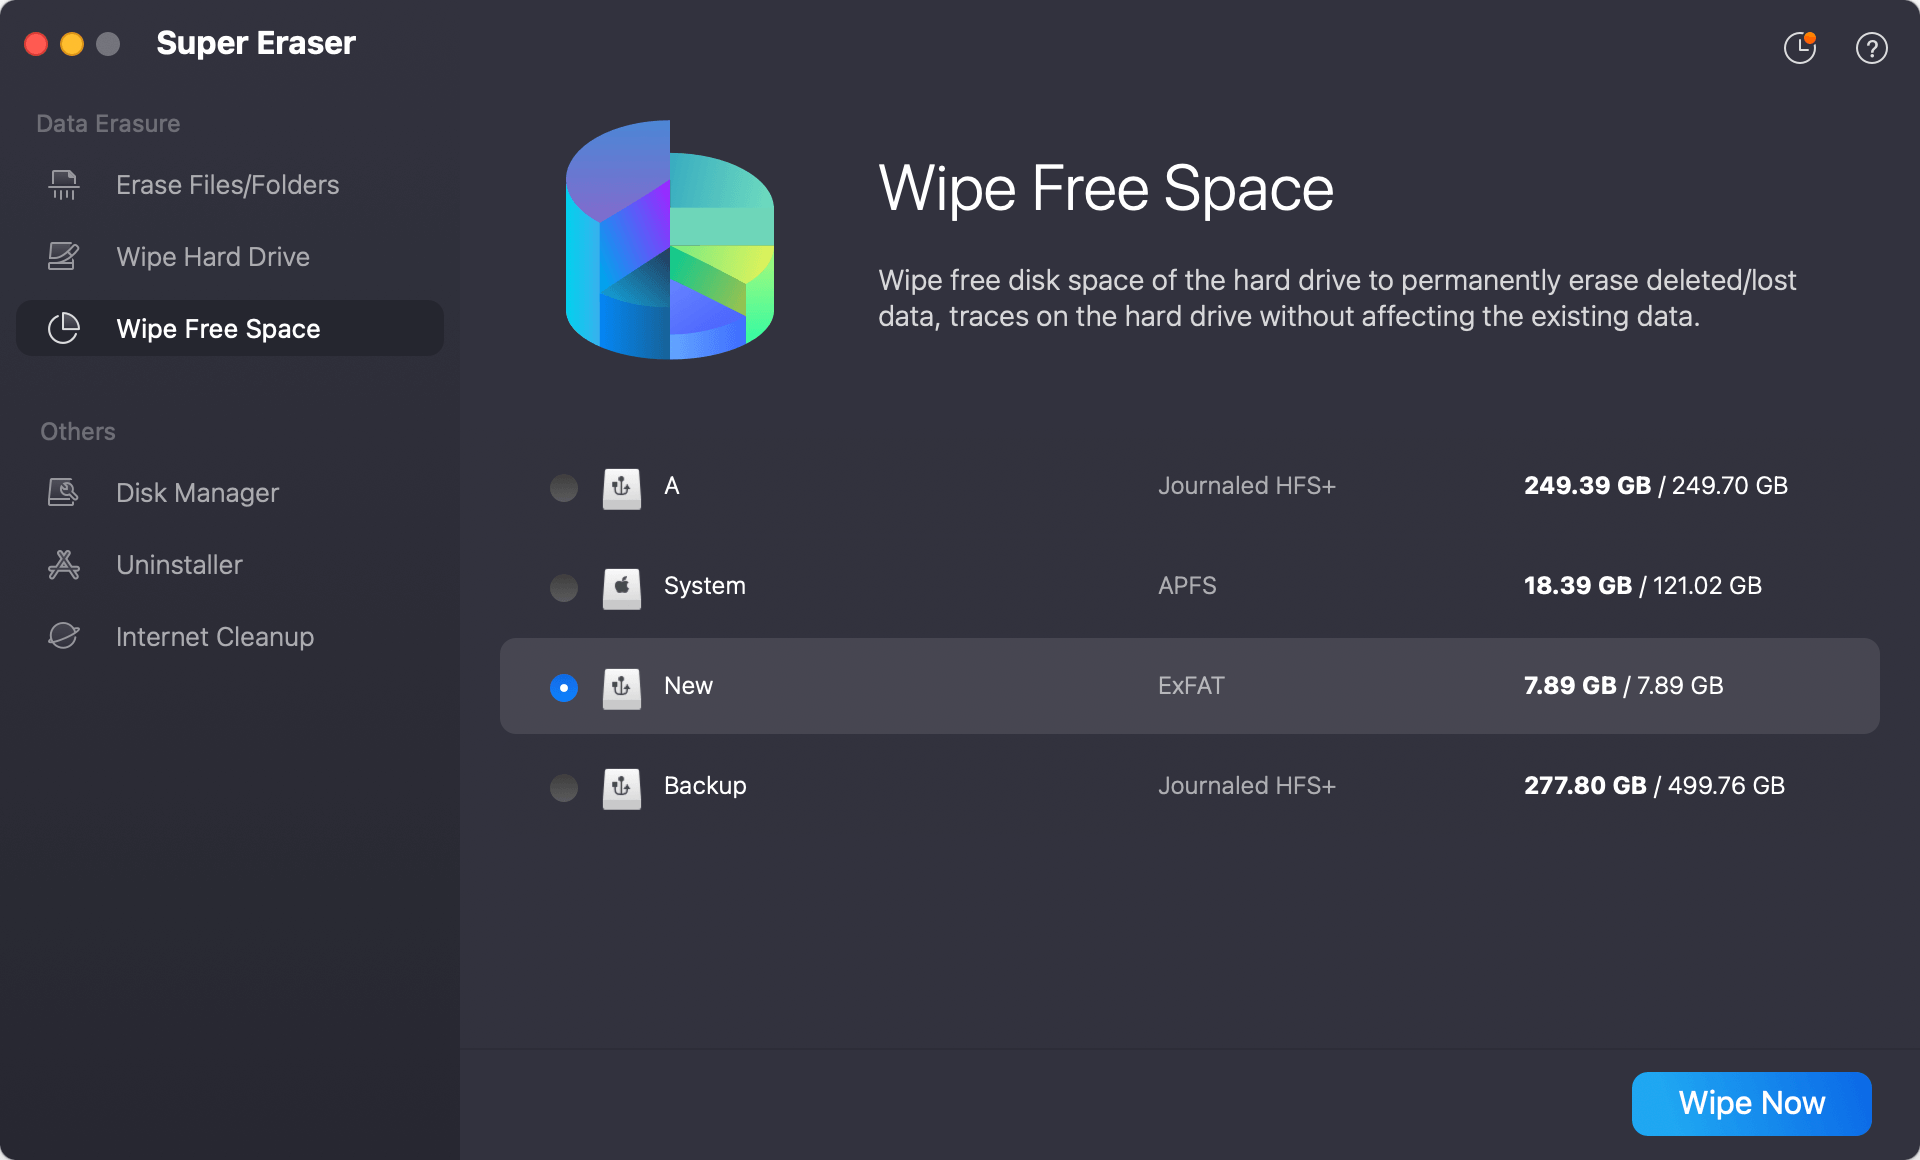
DoYourData Super Eraser for Mac also offers other modes to help in permanently erasing data on macOS Catalina:
Wipe Hard Drive - format and wipe a hard drive, then permanently erase all data from the hard drive.

Wipe Free Space - wipe free disk space of a hard drive and permanently erase all deleted/lost data without affecting the existing data.
MacClean360 is an all-in-one Mac optimization tool. It not only offers junk cleaner to help in clean up junk data, but it also offers file shredder to help macOS Catalina users to securely and permanently erase files and folders from local SSD, external hard drive, memory card, USB flah drive, digital camera, etc.
Step 1. Open MacClean360, then choose File Shredder tool.
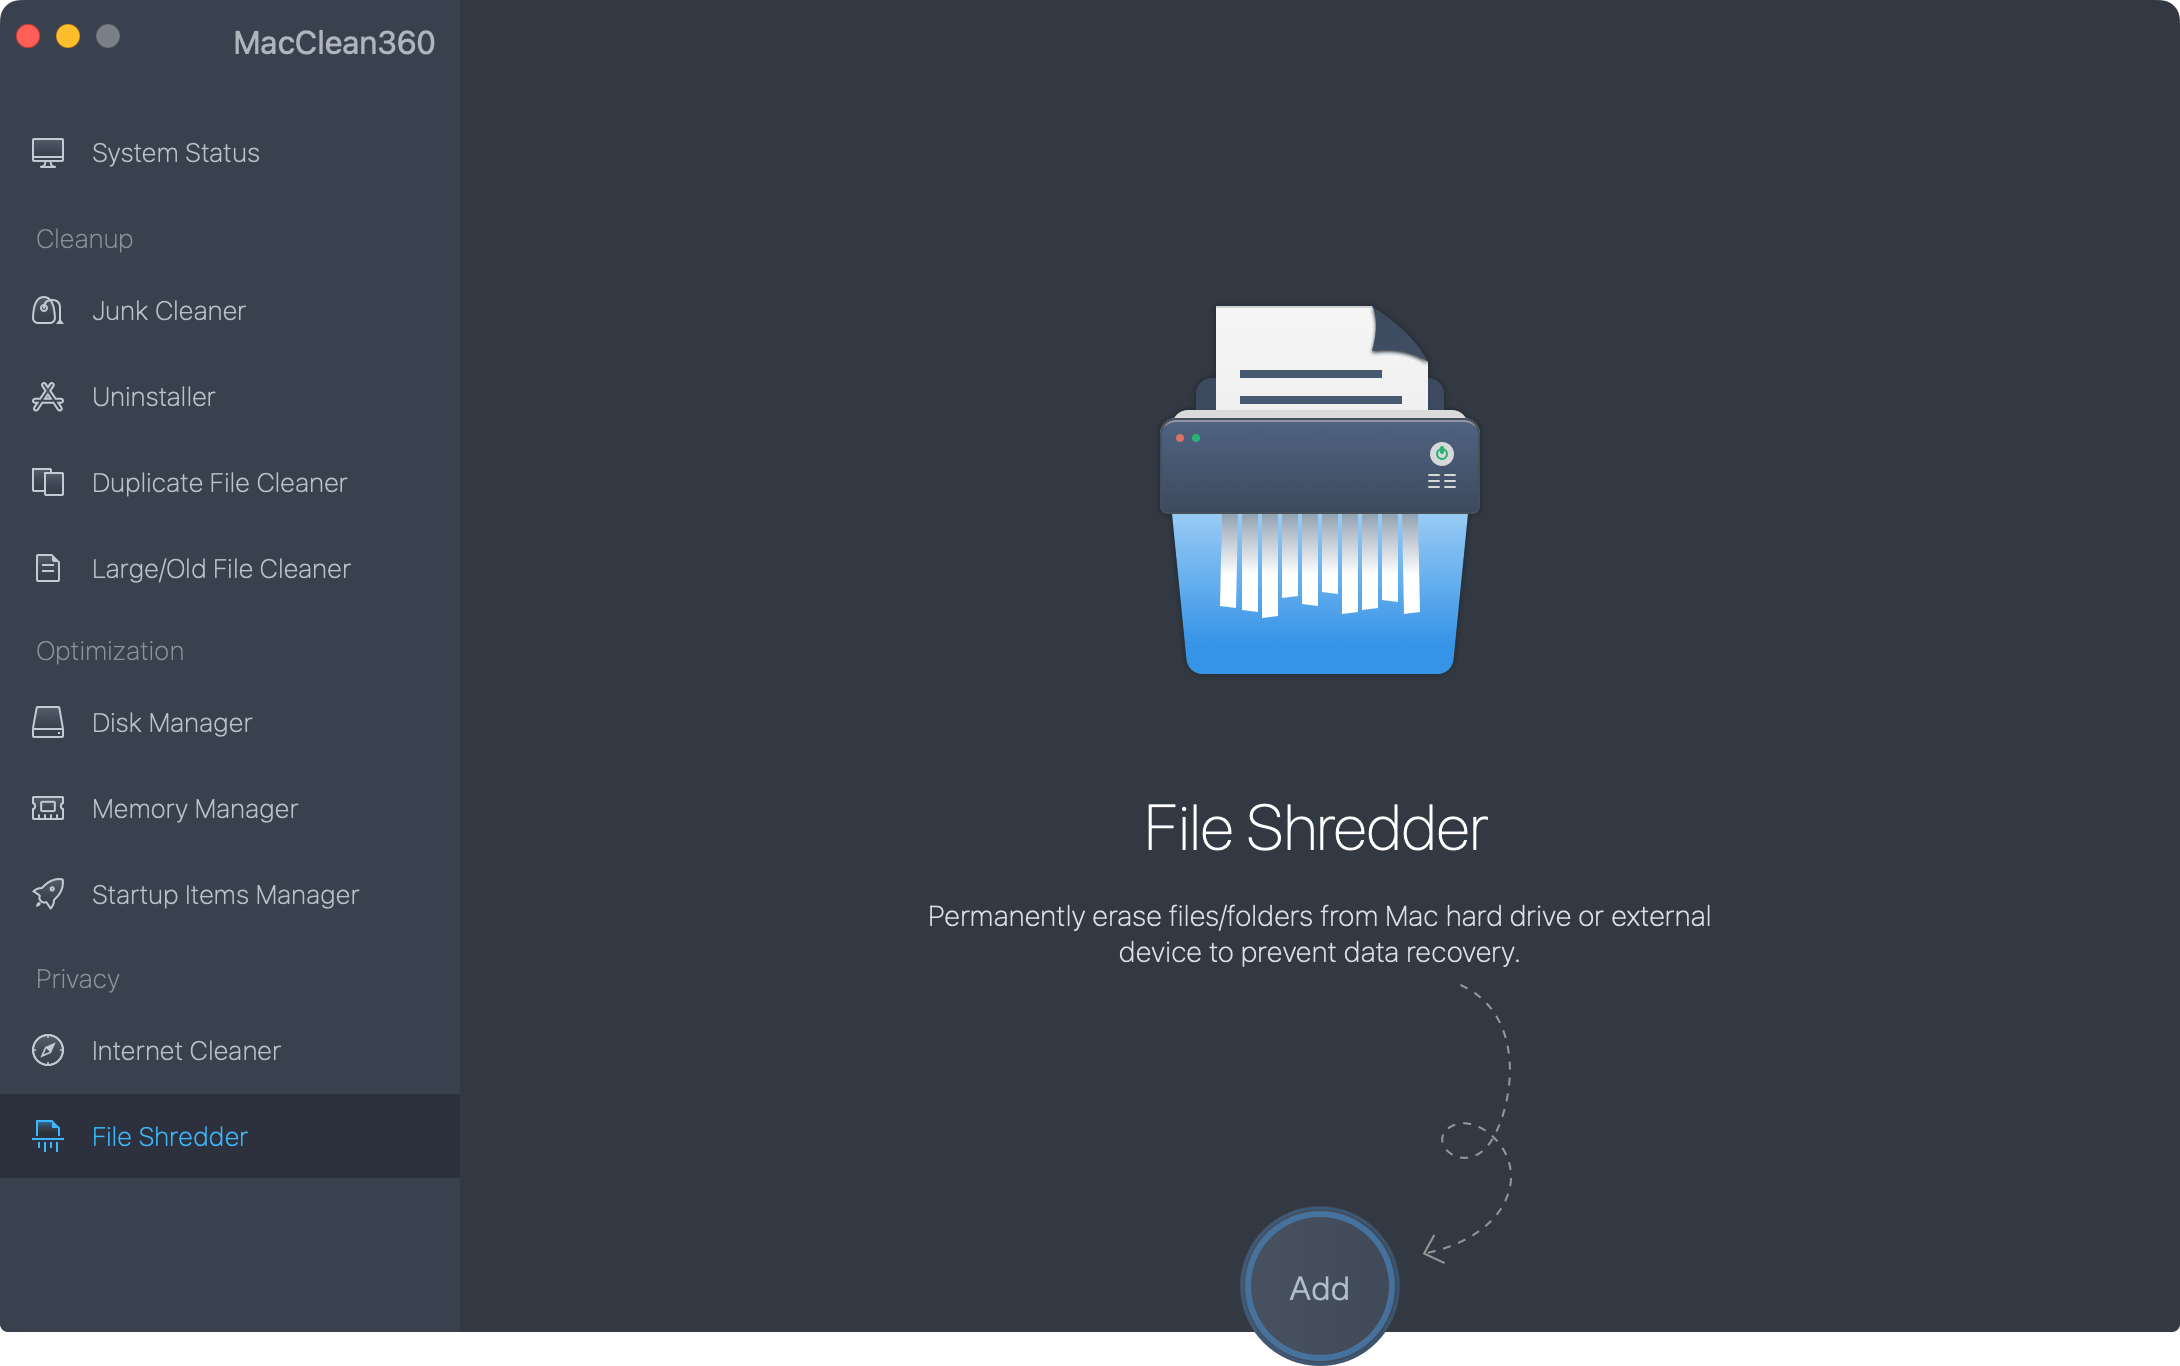
Step 2. Click Add to add files and folders.
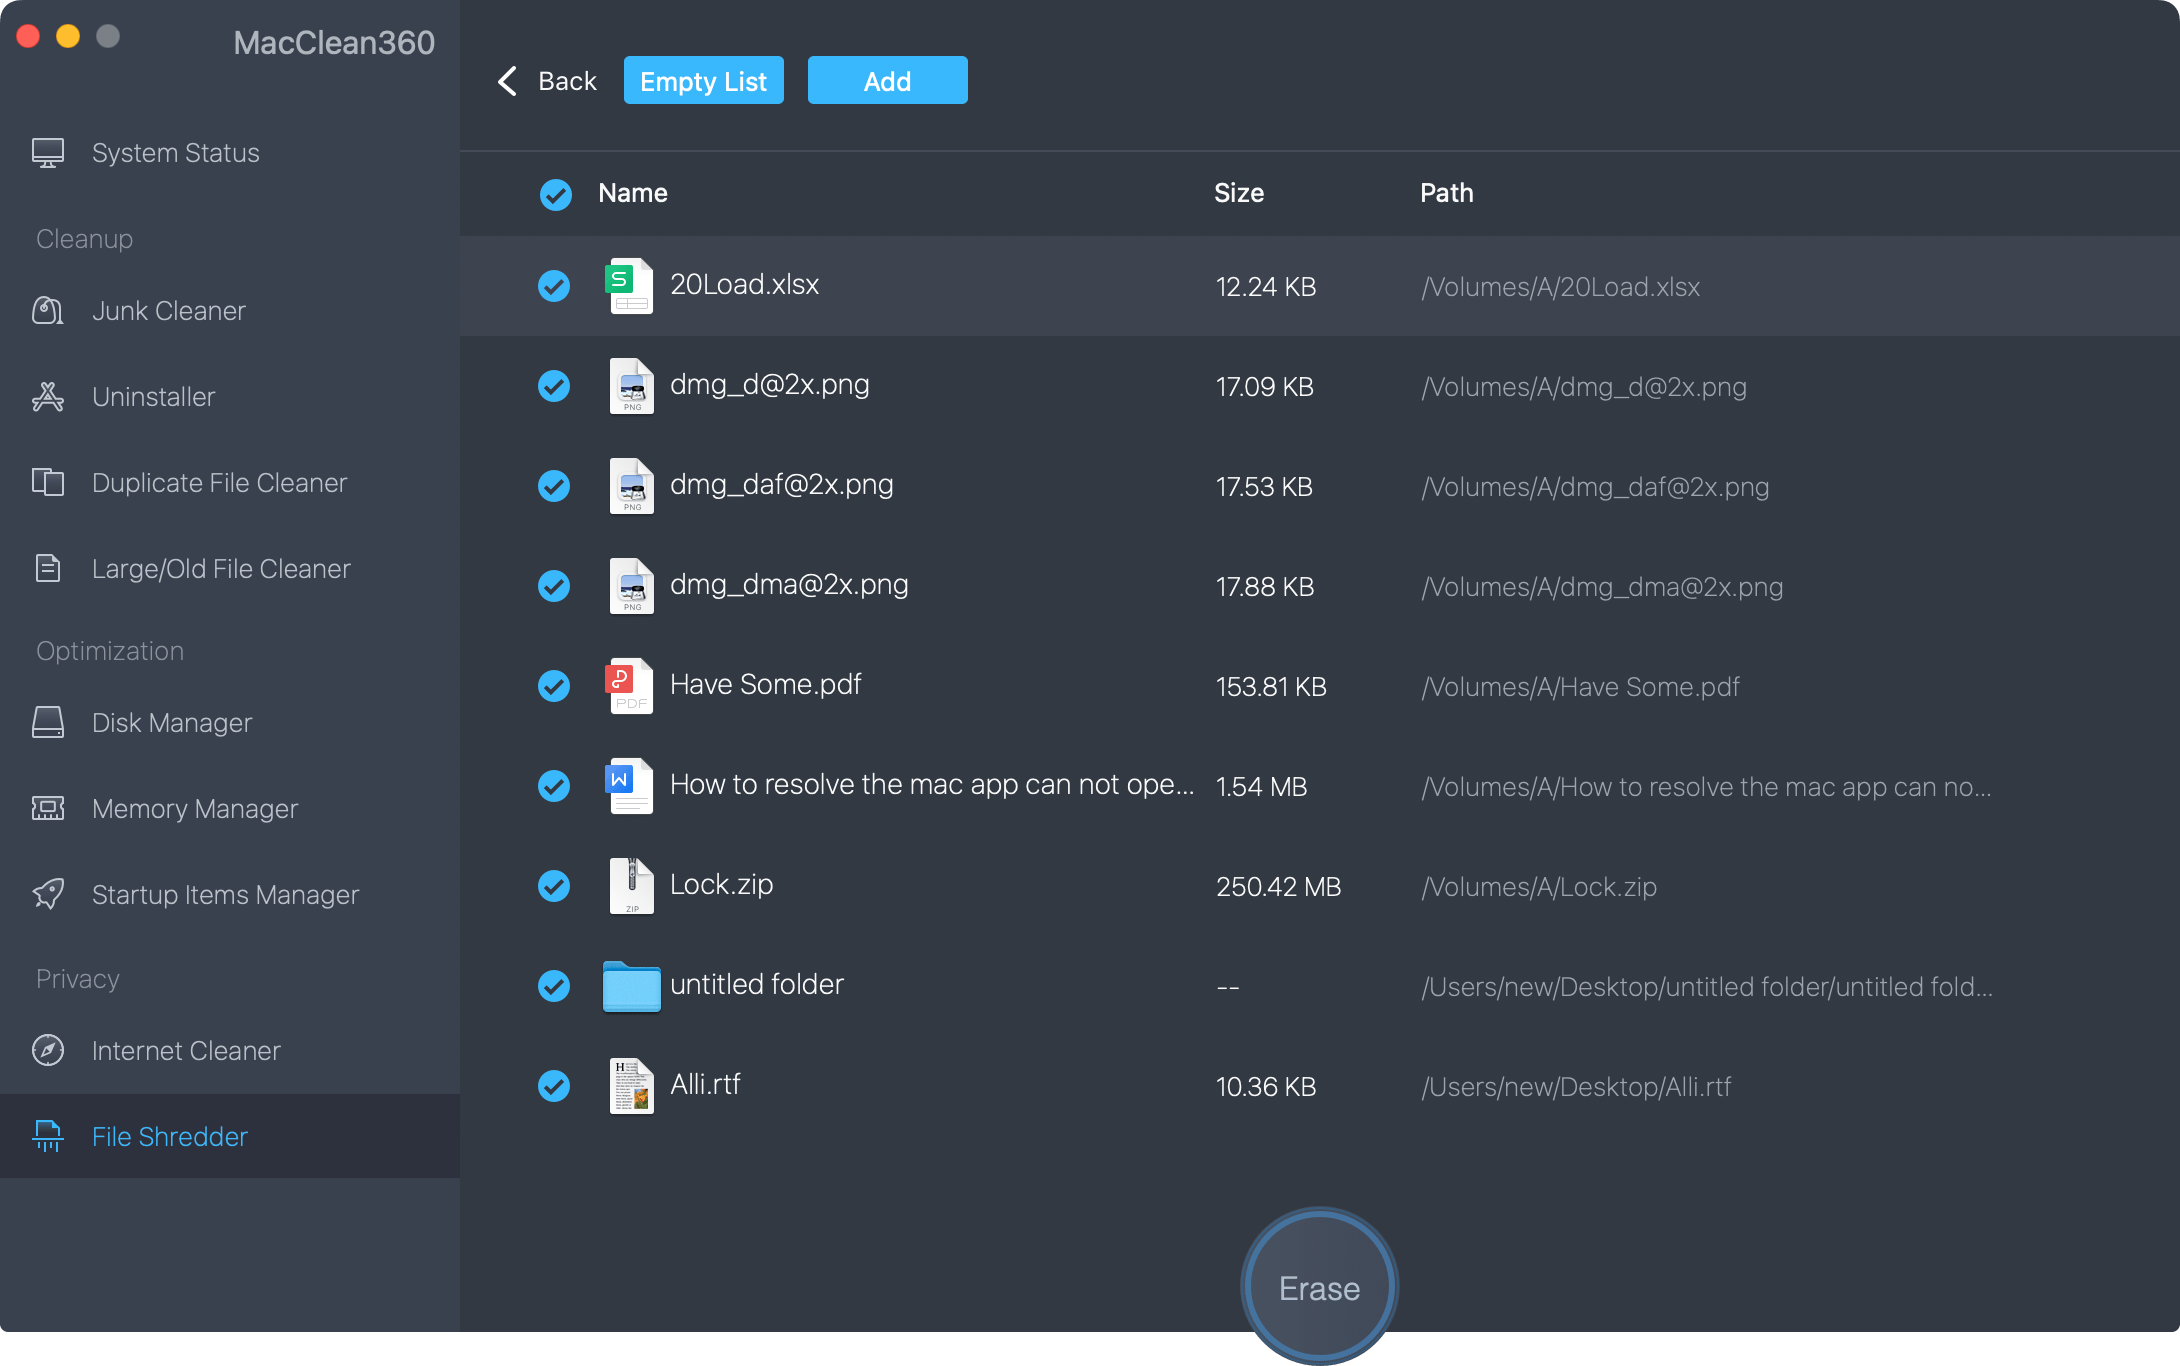
Step 3. Click Erase to securely and permanently erase the selected files and folders.
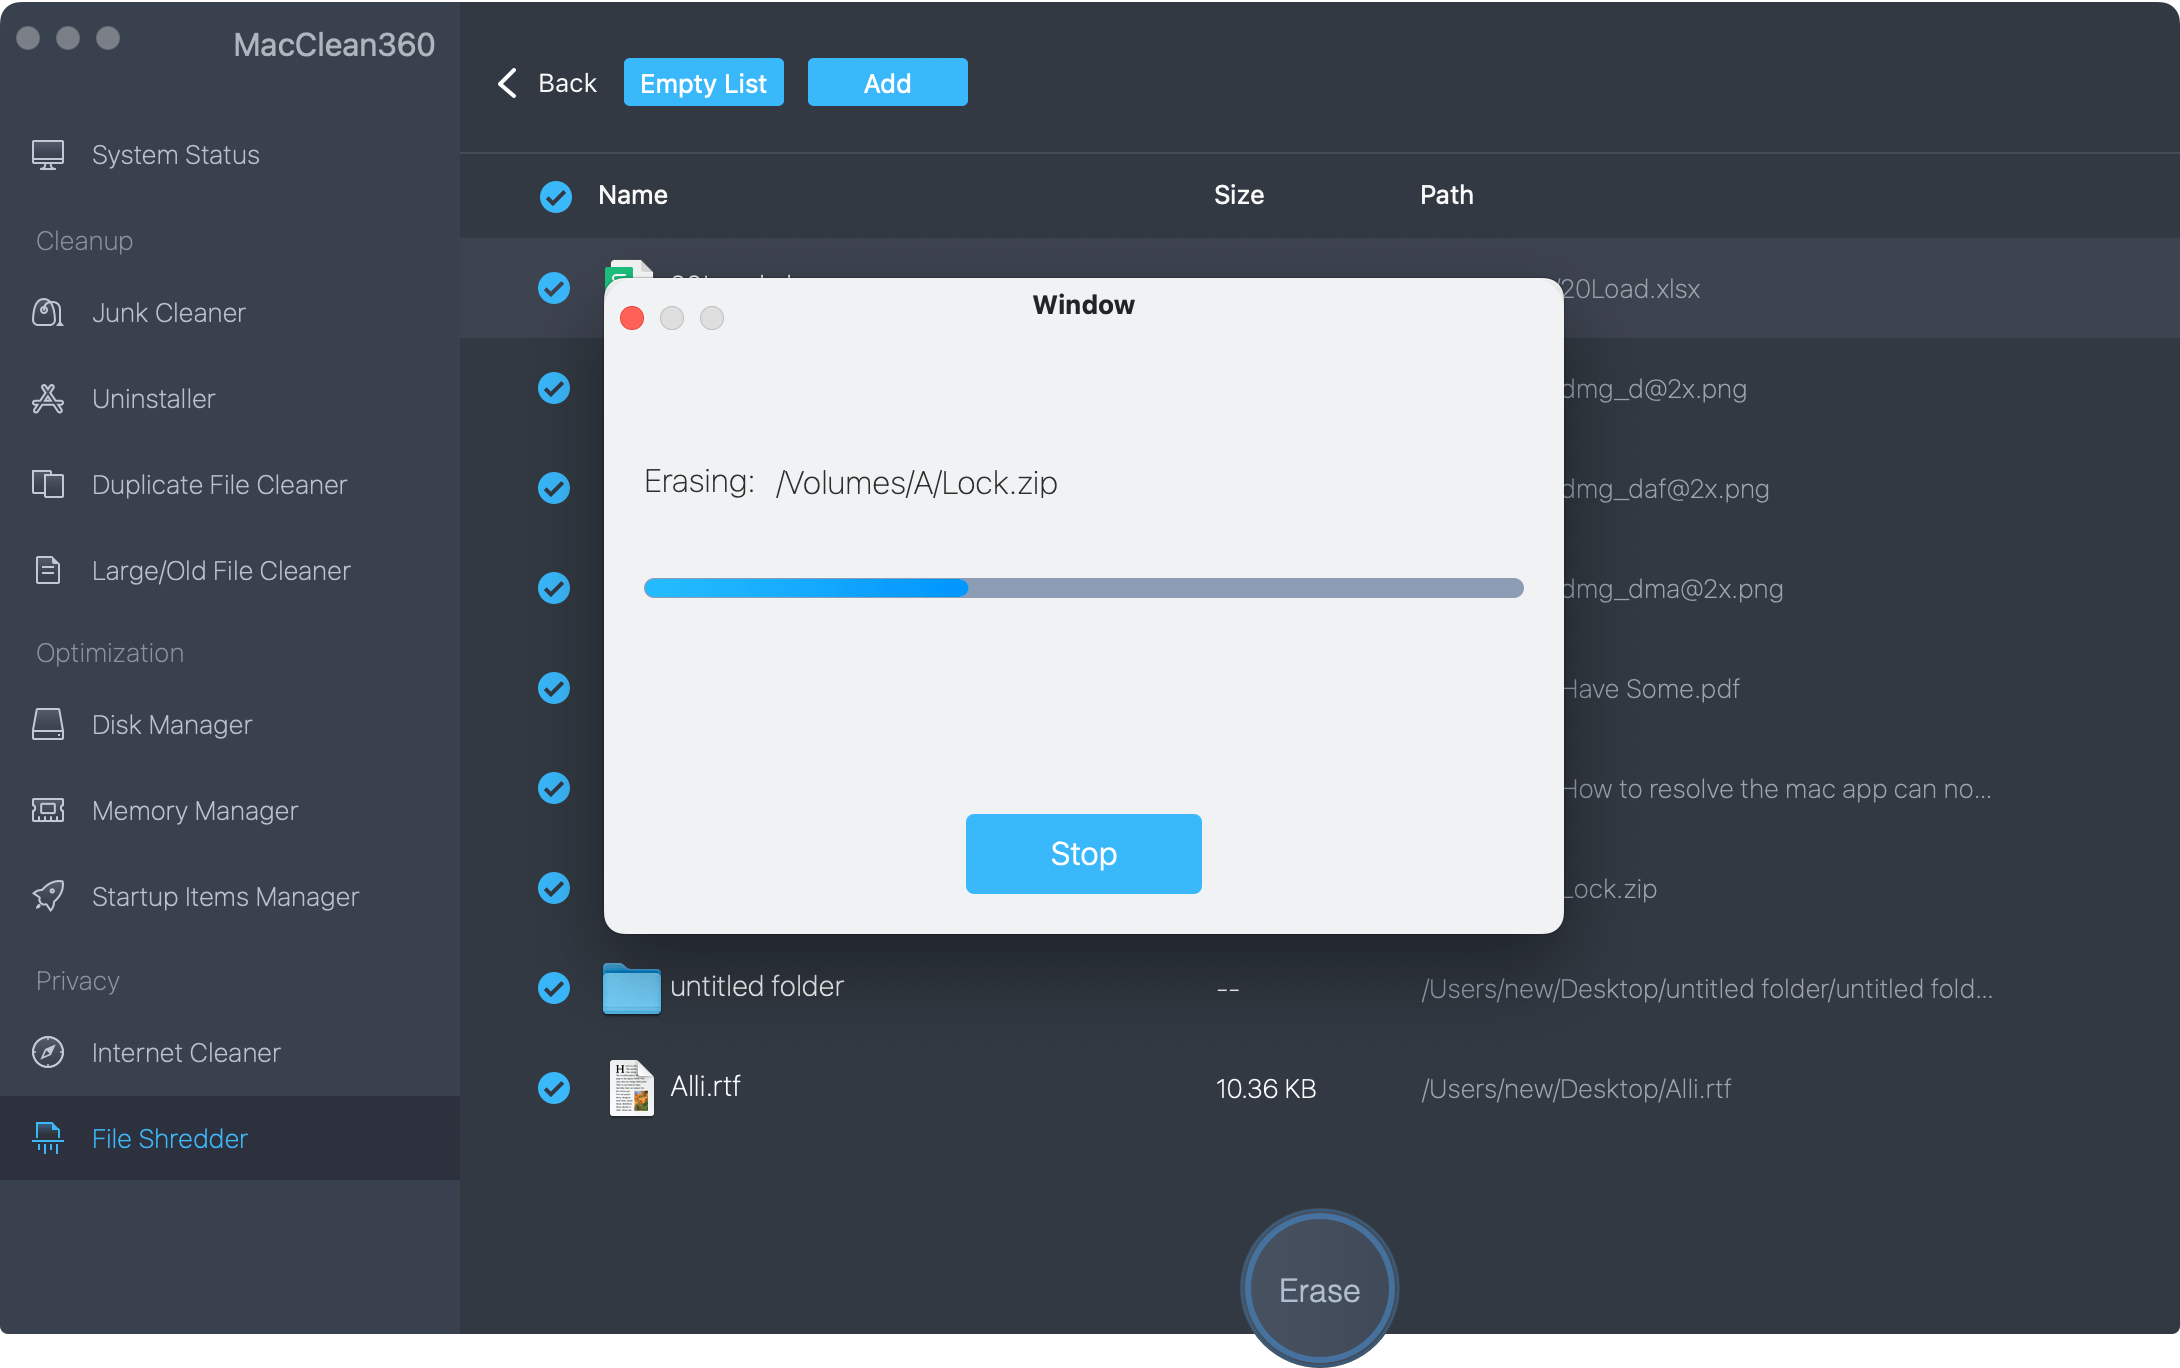
This tool can help you delete only the files or folders you want. No data recovery software can recover files or folders that have been deleted by this tool. It's the best way to eliminate files and groups in macOS Catalina.
Accidental Deletion:
Large Files:
Compatibility Issues:
On macOS Catalina, deleting files is an important part of keeping your data safe and private. You can ensure that sensitive files are deleted and can't be recovered using tools. Best practices include shredding files regularly, using multiple methods, and keeping software updated.
With these tips, you can keep your business and personal data safe from people who shouldn't have access to it, which is especially important in this digital age. Use file burning to protect your privacy and follow the rules for removing data.
1. The deleted files are emptied from Trash, are them lost for good?
No, the files which have been emptied from trash bin are not lost permanently. Data recovery software can easily recover deleted, formatted or lost files on macOS Catalina, it even can recover lost files from erased SSD.
2. How to permanently delete files on macOS Catalina?
File shredder software, such as DoYourData Super Eraser for Mac, can help you securely and permanently erase files and folders from Mac internal SSD, external hard drive, USB drive, digital camera, SD card, etc.
3. What is the best file shredder software for macOS Catalina?
Here is the list of top 5 file shredder software for macOS Catalina:
4. How to wipe everything from an old Mac which is running macOS Catalina?
If you will sell or donate your old Mac, you can boot it into macOS Recovery mode to erase the internal SSD:
Wipe Everything Before Selling Old Mac That Runs macOS Catalina
Follow these steps to completely wipe all data from the Mac/MacBook which is running macOS Catalina, making data recovery be impossible.

DoYourData Super Eraser for Mac
DoYourData Super Eraser for Mac is a 100% safe, powerful and easy-to-use data erasure program. It offers certified data erasure standards including Peter Gutmann, U.S. Army AR380-19, DoD 5220.22-M ECE to permanently erase data from Macs and external devices, making data recovery be impossible.
