Quick Navigation:
- What Is an SD Card?
- Must-do Things Before Formatting Your Micro SD Card on Mac
- Formatting the Micro SD Card on Mac Using Disk Utility
- Wiping Micro SD Card on Mac Using DoYourData Super Eraser for Mac
- Conclusion
Micro SD cards are incredibly versatile storage solutions used in a variety of devices, from smartphones and cameras to drones and tablets. Formatting these cards is often necessary for a variety of reasons: preparing them for use, fixing errors, changing file systems, or simply clearing data. This comprehensive guide will walk you through the steps to format a micro SD card on a Mac, ensuring a smooth and effective process.

What Is an SD Card?
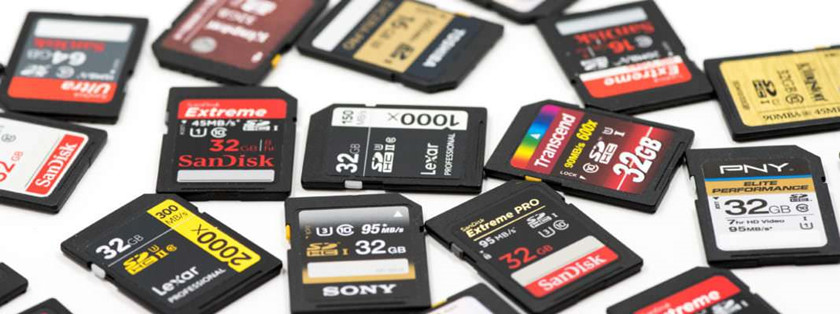
An SD card (Secure Digital card) is a compact, portable storage device widely used in various electronic devices such as smartphones, digital cameras, tablets, and drones. Developed by the SD Association in 1999, SD cards have become a staple for expanding storage capacity due to their versatility, durability, and ease of use. They come in different sizes, including standard, mini, and micro, and offer varying storage capacities ranging from a few megabytes to several terabytes. SD cards are also categorized by speed classes, ensuring they meet the specific performance needs of different applications, from basic file storage to high-definition video recording.
Must-do Things Before Formatting Your Micro SD Card on Mac
Before diving into the formatting process, it's crucial to take some preparatory steps to ensure you don't lose any valuable data and have the necessary tools on hand.
Backing Up Data:
Formatting a micro SD card will erase all data on it, so backing up your data is essential. You can back up your data by copying it to another storage device, such as an external hard drive, or by using cloud storage services like Google Drive, Dropbox, or iCloud.
- Connect the Micro SD Card: Insert your micro SD card into a card reader and connect it to your Mac.
- Transfer Files: Open Finder, locate your micro SD card, and drag-and-drop the files you want to save to your backup location.
- Verify Backup: Double-check that all important files have been successfully copied before proceeding.
Gathering Necessary Equipment:
Ensure you have the following items:
- Micro SD Card: The card you intend to format.
- Micro SD Card Reader or Adapter: If your Mac doesn’t have a built-in card reader, you will need an external card reader or an adapter.
- Mac Computer: Ensure your Mac is powered on and has a stable power connection.
Connecting the Micro SD Card to Your Mac:
Using a Card Reader/Adapter
- Insert the Micro SD Card: Place your micro SD card into the card reader or adapter.
- Connect to Mac: Plug the card reader or adapter into a USB or SD card slot on your Mac.
- Check Connection: Open Finder and look for your micro SD card under the "Devices" section to ensure it's recognized by your Mac.
Formatting the Micro SD Card on Mac Using Disk Utility
Opening Disk Utility
Disk Utility is a built-in macOS tool used for managing disks and storage devices. Follow these steps to open Disk Utility:
- Open Spotlight Search: Click on the magnifying glass icon in the upper right corner of your screen or press Command + Space.
- Search for Disk Utility: Type Disk Utility and press Enter.
- Launch Disk Utility: Click on the Disk Utility application from the search results.
Selecting the Micro SD Card
- Locate Your Micro SD Card: In Disk Utility, you'll see a list of available drives on the left side. Look for your micro SD card, which will be listed under the external section.
- Select the Card: Click on your micro SD card to highlight it.
Erasing the Micro SD Card
- Click on Erase: With your micro SD card selected, click on the Erase button located at the top of the Disk Utility window.
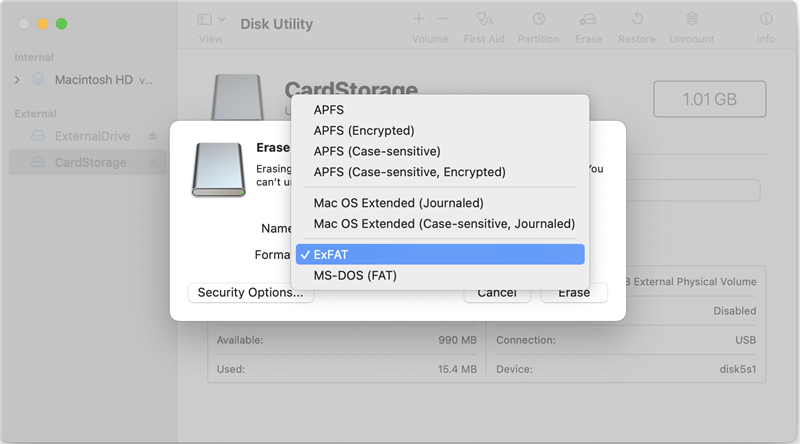
- Choose Format Type: A dialog box will appear, asking you to choose a format. Common options include:
- ExFAT: Compatible with both Mac and Windows. Ideal for larger files.
- FAT32: Compatible with most devices but has a 4GB file size limit.
- APFS/Mac OS Extended (Journaled): Ideal for use exclusively with Mac.
- Name Your Micro SD Card: You can enter a name for your card if you wish.
- Confirm Erase: Click on the Erase button to start the formatting process.

Choosing the Appropriate File System Format
Selecting the right file system format for your micro SD card is crucial as it directly impacts compatibility, performance, and usability. This decision depends on how you plan to use the card and what devices you will connect it to. Here's a deeper dive into the different file system formats and best practices for choosing one:
File System Options
1. ExFAT (Extended File Allocation Table)
Overview: ExFAT is a file system designed to bridge the gap between FAT32 and NTFS, providing high compatibility across different operating systems while supporting larger file sizes.
Key Features:
- Compatibility: exFAT is supported by both macOS and Windows, making it a versatile choice for cross-platform use. Many modern devices, including cameras and smartphones, also support exFAT.
- File Size and Volume Size: Unlike FAT32, exFAT does not have a 4GB file size limit, allowing you to store larger files, such as high-definition videos and large databases. It also supports larger volume sizes, making it suitable for high-capacity micro SD cards.
- Performance: exFAT is optimized for flash memory, offering good performance and efficiency. It is designed to handle large files and volumes without performance degradation.
When to Use: Choose exFAT if you need to transfer large files or use the micro SD card across different operating systems and devices. It is ideal for external drives, high-capacity cards, and scenarios where file size limitations of FAT32 are a concern.
2. FAT32 (File Allocation Table 32)
Overview: FAT32 is one of the oldest and most widely supported file systems. It's known for its broad compatibility but comes with some limitations.
Key Features:
- Compatibility: FAT32 is compatible with almost all operating systems and devices, including older hardware and software. This makes it a reliable choice for compatibility across various platforms.
- File Size and Volume Size: FAT32 has a maximum file size limit of 4GB and a maximum volume size of 8TB. This can be restrictive if you need to store larger files or use very large micro SD cards.
- Performance: While FAT32 is generally reliable, it’s not optimized for modern flash memory and can be slower than exFAT, especially with larger volumes and files.
When to Use: Use FAT32 if you need maximum compatibility with older devices or systems that do not support exFAT. It's suitable for smaller capacity cards and situations where file size constraints are not an issue.
3. Mac OS Extended (Journaled)
Overview: Mac OS Extended, also known as HFS+, is a file system developed by Apple for macOS. It includes features like journaling, which helps protect the file system against corruption.
Key Features:
- Compatibility: This format is designed for use exclusively with macOS. It is not natively supported by Windows or many non-Mac devices without additional software or drivers.
- File Size and Volume Size: Mac OS Extended supports large files and volumes, making it suitable for high-capacity micro SD cards used with macOS.
- Journaling: The journaling feature helps protect against data corruption by keeping a log of file system changes. This can be useful in preventing data loss due to unexpected shutdowns or crashes.
When to Use: Opt for Mac OS Extended if you plan to use the micro SD card exclusively with macOS and need features like journaling. It's ideal for use with macOS-based devices and applications.
Best Practices for Choosing a File System:
- Consider Device Compatibility: The file system you choose should be compatible with the devices you plan to use. For example, if you're using the micro SD card with a variety of devices, including cameras, tablets, and computers, exFAT is often the best choice due to its broad compatibility.
- Assess File Size Needs: Think about the types of files you’ll be storing. If you frequently work with large files (e.g., HD videos, large databases), exFAT or Mac OS Extended will be better suited to handle these files without restrictions.
- Evaluate Volume Size: Ensure that the file system you select supports the volume size of your micro SD card. FAT32 is not ideal for very large cards, while exFAT and Mac OS Extended handle large capacities effectively.
- Check for Special Features: If you need specific features like journaling or compatibility with legacy systems, make sure the chosen file system meets those requirements. Mac OS Extended offers journaling, while FAT32 provides maximum compatibility with older systems.
- Future-Proofing: Consider future use cases. If you plan to use the micro SD card with newer devices or for varied applications, exFAT is a more forward-looking choice due to its modern capabilities and cross-platform support.
Completing the Formatting Process
Finalizing and Verifying
- Check the Format: Once the formatting process is complete, Disk Utility will notify you. Check the format and capacity of your micro SD card to ensure it matches your selection.
- Verify Data Access: Eject the card and reconnect it to verify that it's working properly.
Troubleshooting Common Issues
If you encounter issues during the formatting process, here are some common problems and solutions:
- Micro SD Card Not Recognized: Ensure the card reader/adapter is properly connected and functioning. Try using a different USB port or another card reader.
- Formatting Errors: If Disk Utility fails to format the card, try restarting your Mac and repeating the process. You can also try using a different format type.
Safely Ejecting the Micro SD Card
Proper Ejection Methods
- Eject via Finder: In Finder, locate your micro SD card under "Devices" and click the Eject button next to it.
- Eject via Disk Utility: In Disk Utility, select your micro SD card and click the eject button.
Avoiding Data Corruption
Always eject your micro SD card properly to prevent data corruption. Pulling out the card without ejecting it can cause data loss or damage to the file system.
Wiping Micro SD Card on Mac Using DoYourData Super Eraser for Mac
As one of the best Mac disk wipe software, DoYourData Super Eraser for Mac can help you securely and easily wipe a Micro SD card and permanently erase all data from it, beyond the scope of data recovery.
Step 1. Download and install DoYourData Super Eraser for Mac, open it.
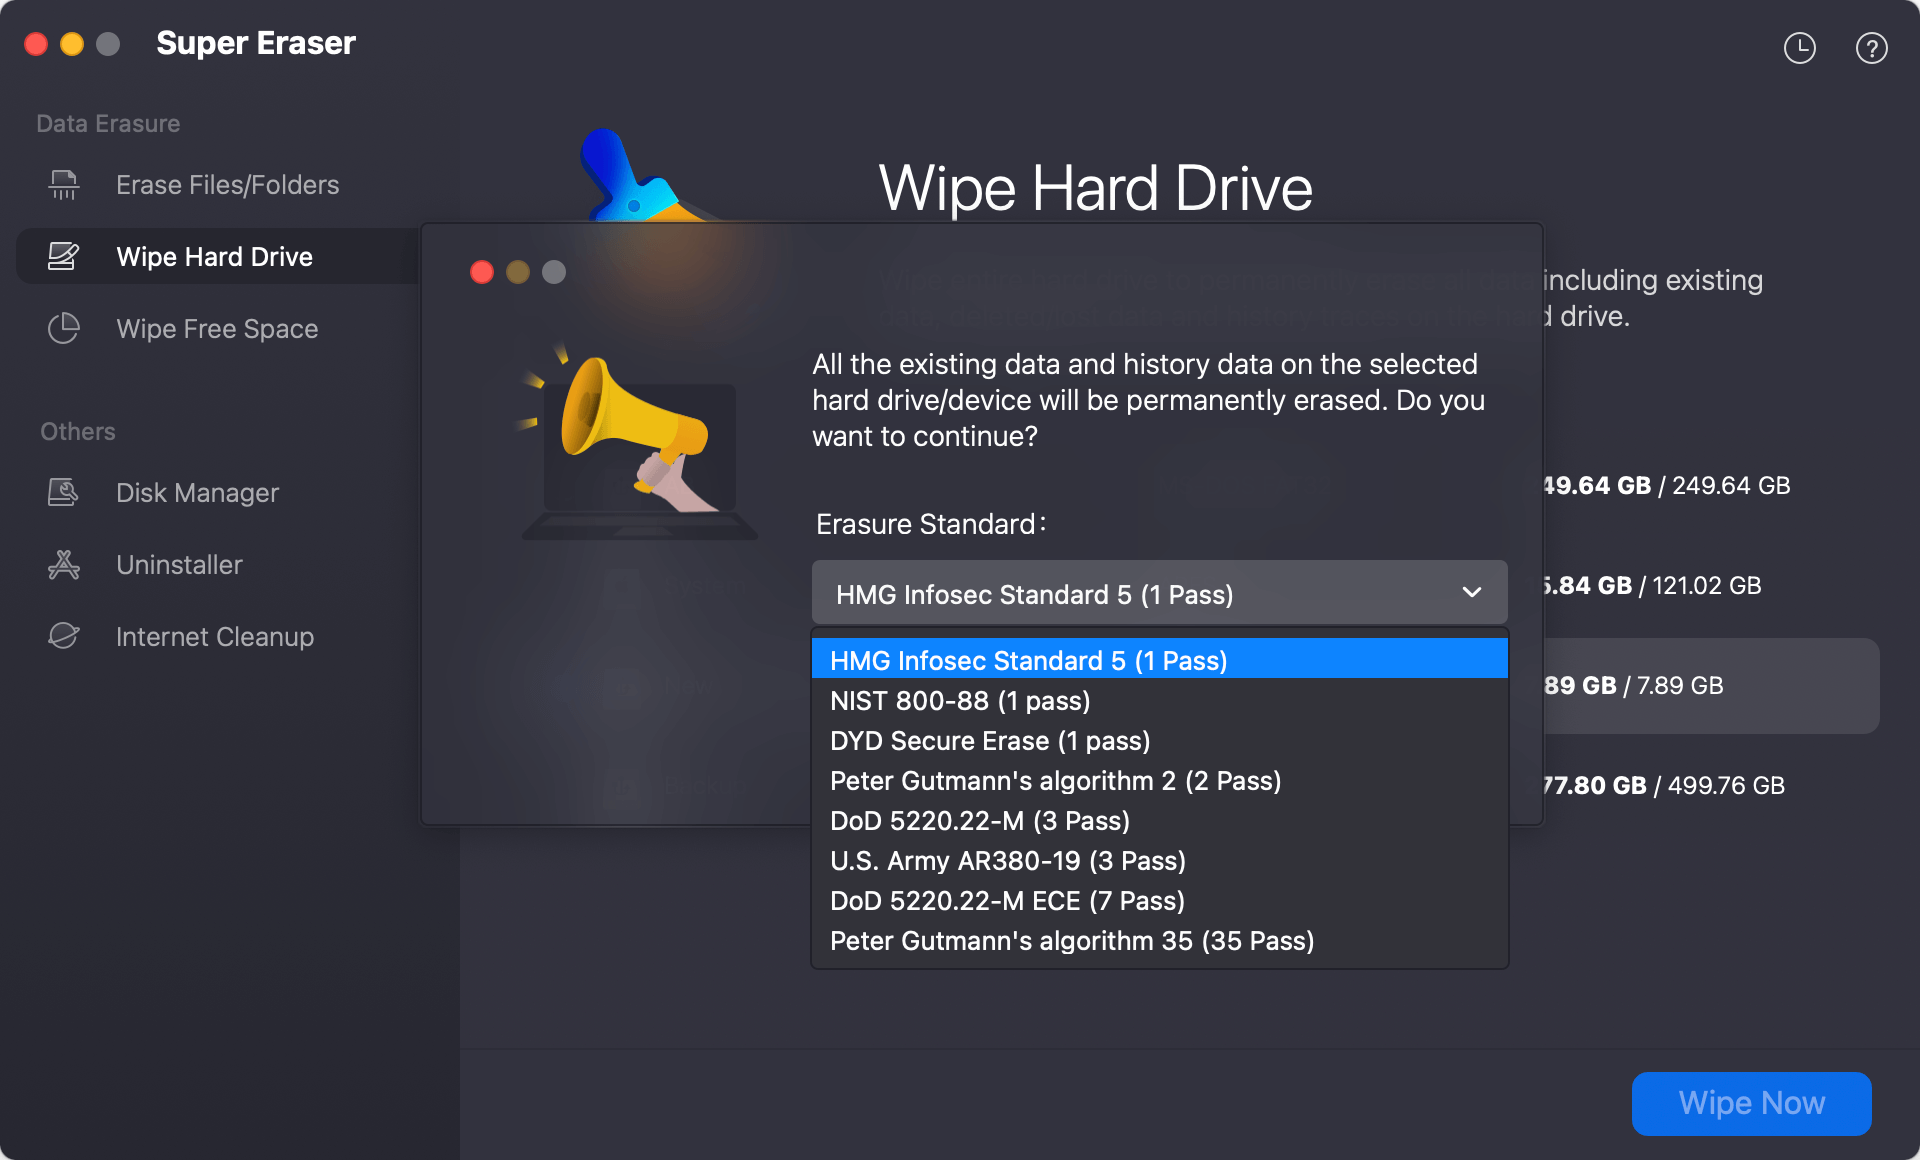
Step 2. Choose Wipe Hard Drive mode. This mode can help you format and wipe the Micro SD card on Mac.

Step 3. Select the Micro SD card, click on Wipe Now button.

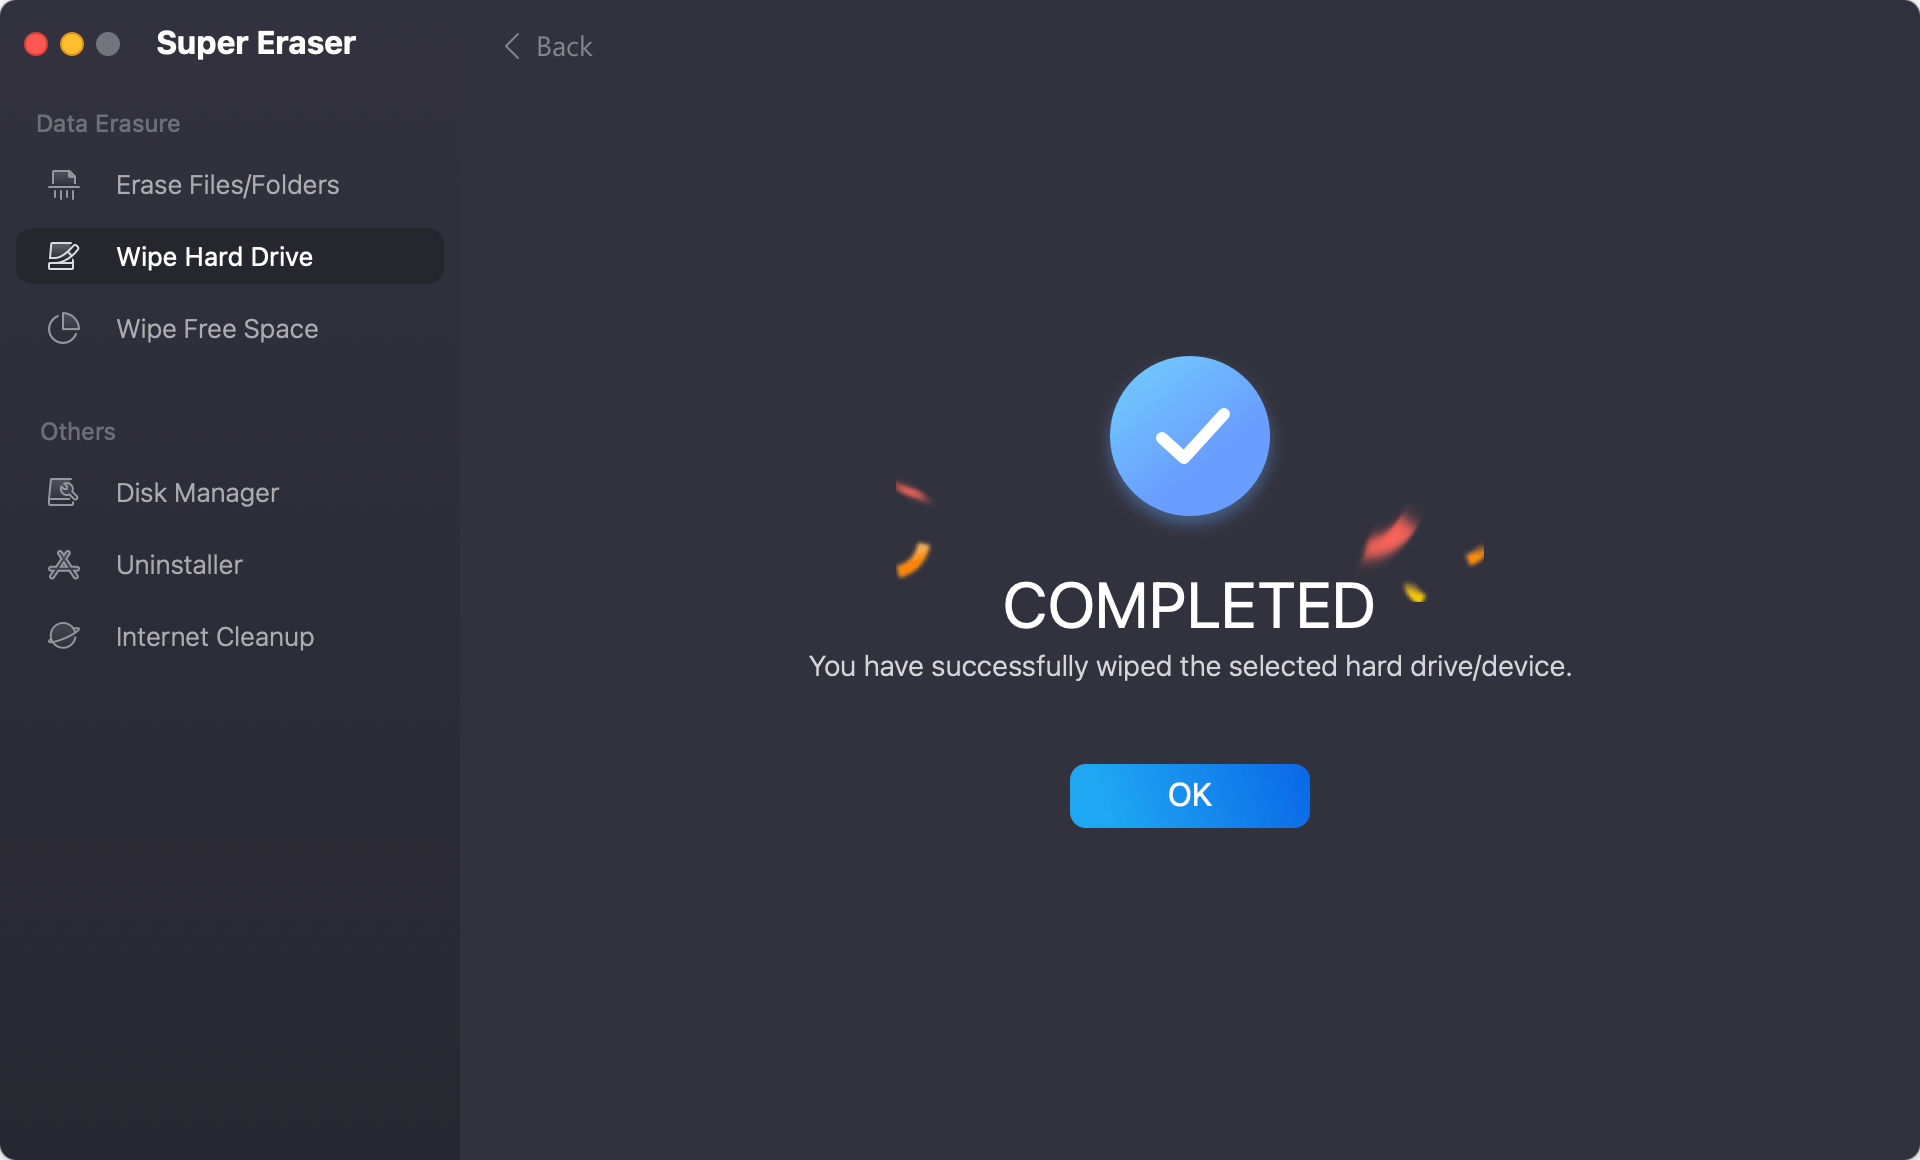
Step 4. You can select a wanted data erasure standard, then click on Continue button. It will securely format and wipe the Micro SD card, permanently erase all existing data, deleted/lost data from the Micro SD card.

Conclusion
Formatting a micro SD card on a Mac is a straightforward process when you follow the proper steps. By backing up your data, using Disk Utility to erase and format the card, and choosing the appropriate file system, you can ensure your micro SD card is ready for optimal performance. Remember to safely eject your card to avoid data corruption and extend the lifespan of your storage device.
If you will sell, donate or throw out an old Micro SD card, you can use disk wipe software to securely and permanently erase all data from it, ensure all data is unrecoverable.

DoYourData Super Eraser for Mac
DoYourData Super Eraser for Mac is a 100% safe, powerful and easy-to-use data erasure program. It offers certified data erasure standards including Peter Gutmann, U.S. Army AR380-19, DoD 5220.22-M ECE to permanently erase data from Macs and external devices, making data recovery be impossible.