Wipe Everything Before Selling a MacBook Air
Sign out of accounts, wipe all data, reinstall macOS before you sell, donate or give your MacBook Air away.
Quick Navigation:
Are you setting up to sell your MacBook Air, or do you want to give it a new start? Wiping your MacBook Air's data is a must if you want to keep your personal information safe, whether you're moving to a new model, giving your old one to a friend, or fixing problems that won't go away.
This guide will teach you everything you need to know to erase all the data on your MacBook Air. By following these steps, you can easily prepare your device for the next chapter. You can be sure that your data has been erased completely and safely. Let's start over with your MacBook Air!

There are several strong reasons to delete all the data on your MacBook Air to keep it safe and useful:
Selling or Giving Away
Wiping the info off of your MacBook Air is a must if you want to sell or give it away. After this process, the new owner won't be able to see your personal files, apps, or settings. This protects your privacy and stops anyone from misusing your information.
Troubleshooting
Wiping data can be a very useful way to fix problems. If you keep having software problems that other solutions haven't been able to fix, starting over can often fix issues caused by damaged files, software conflicts, or other deeper problems.
Performance
Your MacBook Air may run slower over time if it has a lot of data, apps, and system junk. If you delete the data on your gadget, it starts over, which might make it work better. Eliminating old or useless files can clean up your MacBook Air and make it feel brand new.
Security
Data wiping is very important for safety. It ensures that all your personal information is deleted safely, keeping you safe from identity theft or data breaches. By completely erasing your data, you keep private information safe and prevent people from accessing it without your permission.
There are built-in tools in macOS for wiping data, but third-party data erasure software can give you more options and features. DoYourData Super Eraser for Mac is a well-known and trustworthy choice, a complete data management program that can safely erase the data on your MacBook Air.
This Mac data erasure software offers three modes to securely and permanently erase data on MacBook Air:
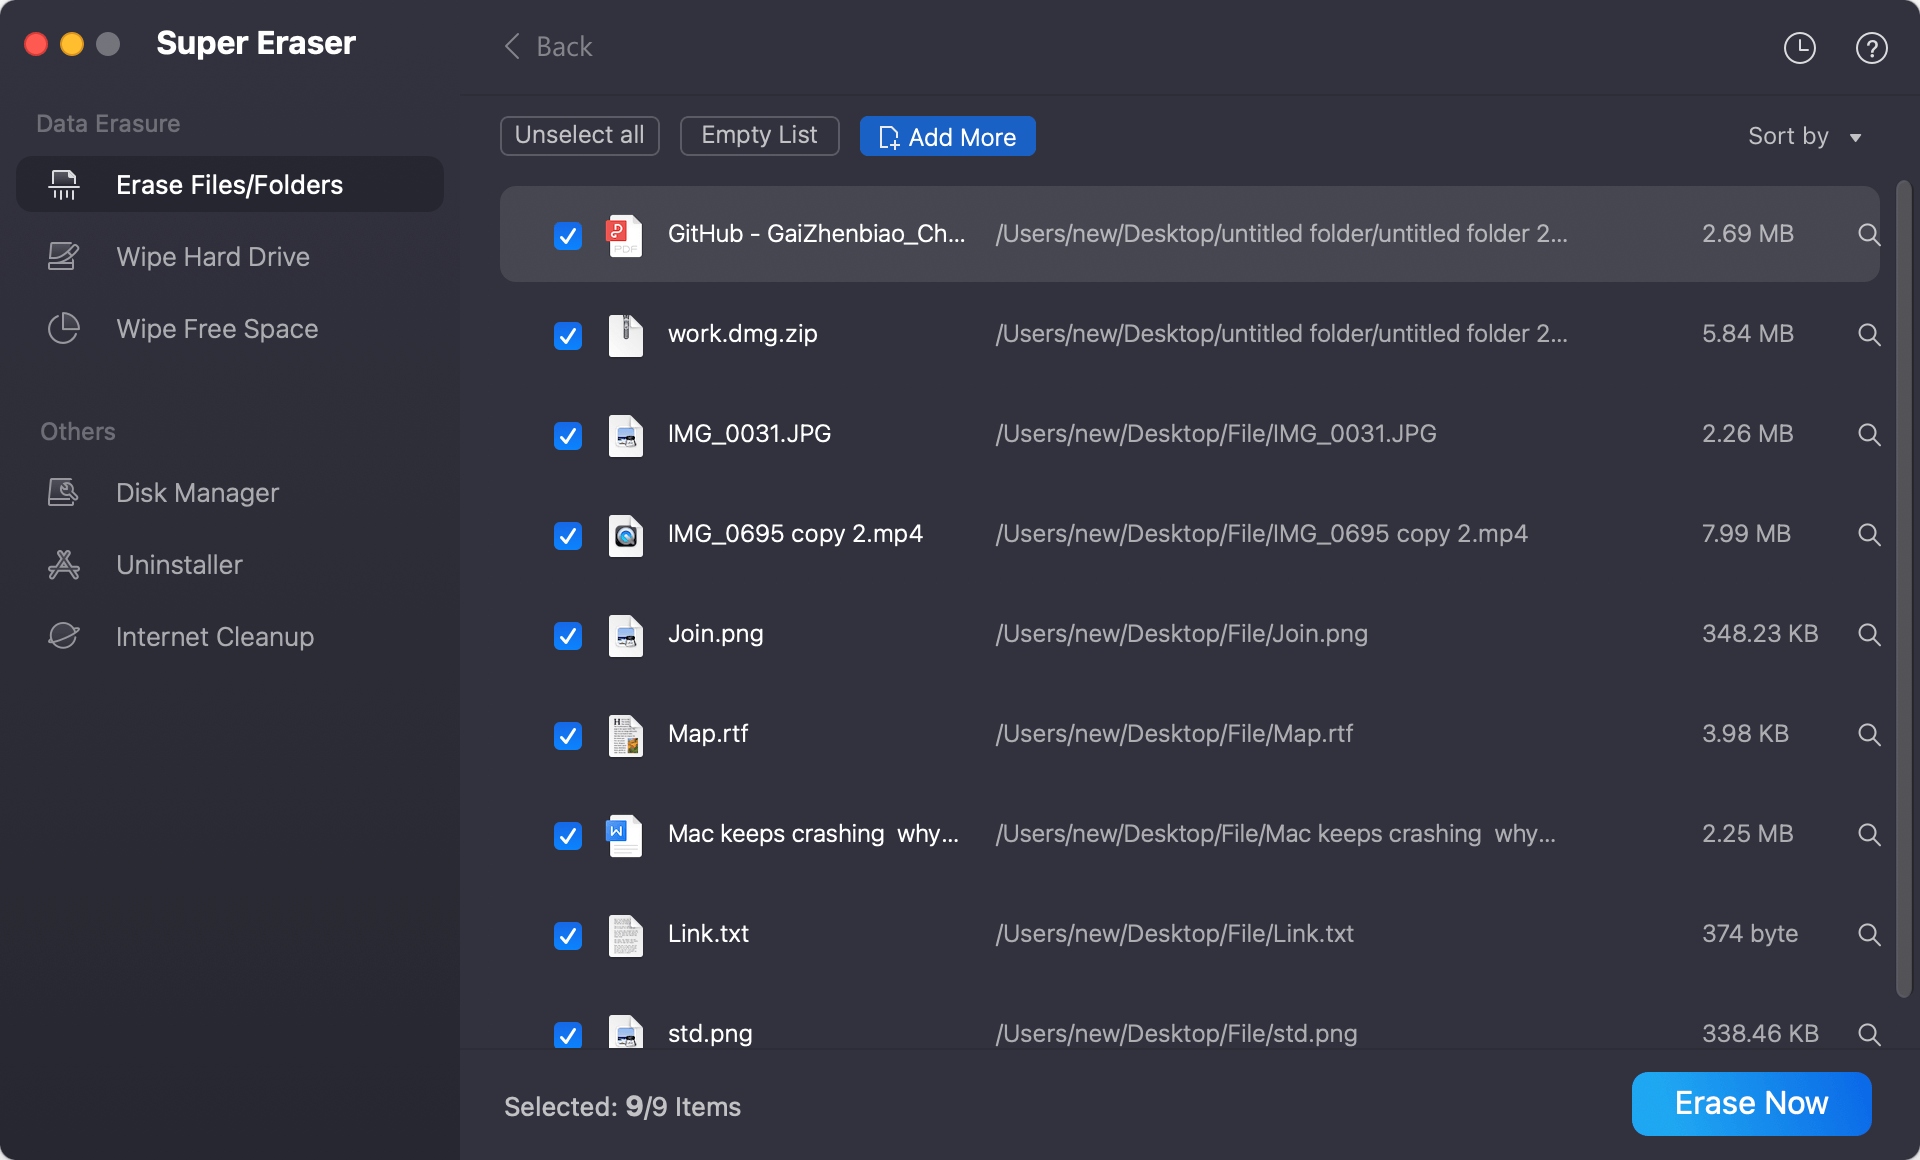
If you don't want to erase the entire hard drive, this option is good for you. Just select the files or folders that contain your sensitive data, then click on Erase Now button, DoYourData Super Eraser will help you permanently erase and destroy them, beyond the scope of data recovery.

This option is designed for wiping all the existing and deleted data stored on your hard drive or storage media. Please be careful when you choose this option because it will erase all the existing data and history data from the hard drive. After the process gets finished, all data is lost for good.

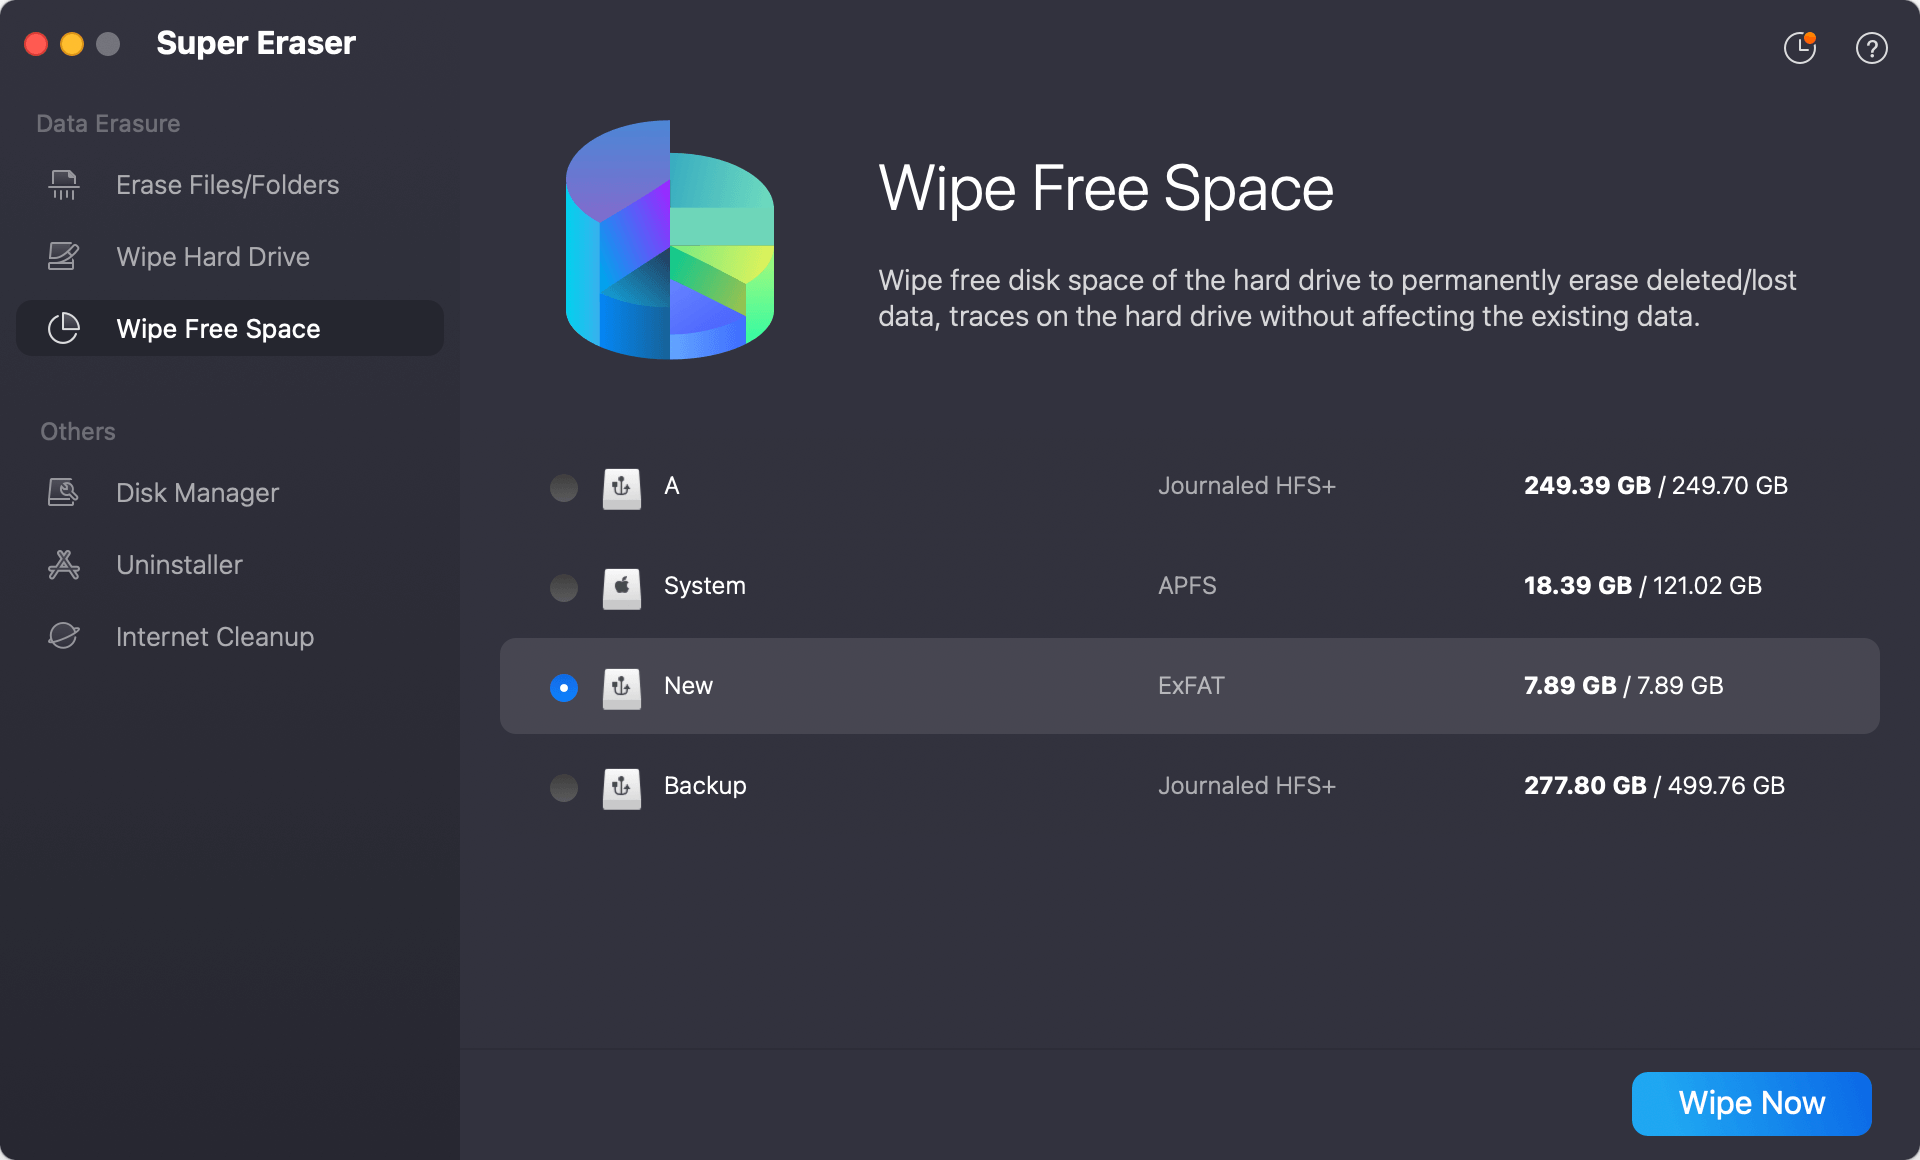
This erasure mode will help you wipe free disk space to permanently erase all the deleted/formatted/lost data on the hard drive. It will wipe all the history data and traces. At the same time, it will not erase the existing data without affect the existing data.

Choose Data Erasure Method:
Monitor the Erasure Process:
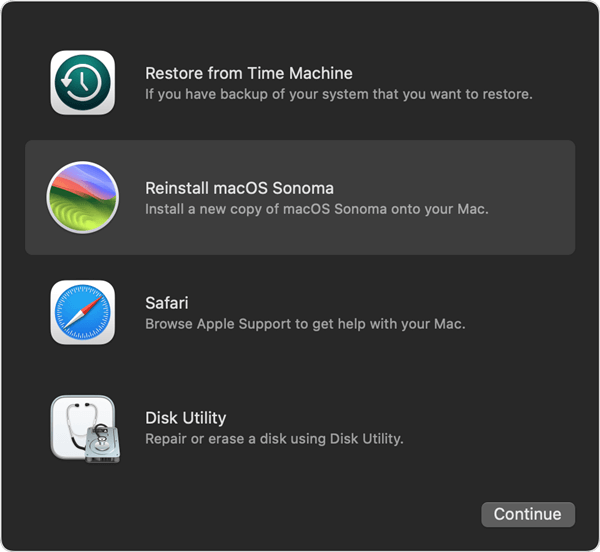
Reinstall macOS:
Wipe Everything Before Selling a MacBook Air
Sign out of accounts, wipe all data, reinstall macOS before you sell, donate or give your MacBook Air away.
Here are Some important tips before wiping your MacBook Air:
If you want to keep your personal information safe, delete all the data on your MacBook Air before you sell it, give it away, fix it, or make it run faster. Following this guide, you can permanently delete all the data on your MacBook Air using DoYourData Super Eraser for Mac. It will make sure that all of your private data is gone.
Before you begin the process, it's important to save a copy of important files, log out of your accounts, and stop software from running. After following these steps, you can feel good about getting your MacBook Air ready for the next chapter. Your data will be safe, and your machine will be ready for a new start.
1. How to erase startup disk on MacBook Air?

Note: The data which is erased by Disk Utility is not lost for good and it can be recovered by data recovery software - such as Do Your Data Recovery for Mac.
2. How to permanently erase data on MacBook Air?
To prevent potential data recovery, you should permanently erase your data before selling or donating your MacBook Air. DoYourData Super Eraser for Mac can help you securely and permanently erase data on MacBook Air.
3. How to wipe external hard drive on MacBook Air?
4. What is the best disk wipe software for MacBook Air?
Here is the list of top 5 disk wipe software for MacBook Air:
5. Can I recover erased data on MacBook Air?
No, once the data is erased by DoYourData Super Eraser for Mac, the data is lost for good, cannot be recovered by any data recovery method.
But, if the data is erased by Disk Utility or Terminal, or you just delete the data+empty trash, the data can be recovered by data recovery software.

DoYourData Super Eraser for Mac
DoYourData Super Eraser for Mac is a 100% safe, powerful and easy-to-use data erasure program. It offers certified data erasure standards including Peter Gutmann, U.S. Army AR380-19, DoD 5220.22-M ECE to permanently erase data from Macs and external devices, making data recovery be impossible.
