Quick Navigation:
- Importance of Erasing a USB Flash Drive
- Preparing to Erase Lexar USB Flash Drive on Mac
- Erase Your Lexar USB Flash Drive on Mac Using Disk Utility
- Format and Wipe Lexar USB Flash Drive on Mac Using Disk Wipe Software
- Conclusion
USB flash drives are still an important way to store and send data in this digital world. Lexar is a well-known name in the industry, and its flash drives are reliable and work well. However, there may come a time when you need to delete everything from the Lexar flash drive.
It's important to know how to erase your drive properly, whether you're getting it ready for new data, fixing problems, or ensuring your private data is deleted safely. This guide will show you how to safely and securely erase a Mac's Lexar USB flash drive.
It will walk you through the steps one by one. We have everything you need, from easy ways to use Disk Utility to more complex ways. Keep reading to learn how to manage your USB flash drive properly, keep it safe, and work at its best.
Importance of Erasing a USB Flash Drive
Knowing why cleaning a USB flash drive is important before you start the steps is important. Why would you want to delete everything from the Lexar USB flash drive?
Data Security
One of the main reasons to erase a USB flash drive is to keep your private data safe. When you erase the drive, all of its earlier data is erased, so people who aren't supposed to can't access your files. It is important if you want to sell, give away, or eliminate the drive.
Performance
If you use a USB flash drive often, its information may become fragmented and damaged over time, slowing it down. Erasing the drive is like starting over. It eliminates all the junk and ensures the drive works fastest and most efficiently.
File System Change
Different devices and running systems may need different file systems for their work to be correct. When you erase your Lexar USB drive, you can reformat it to the right file system, ensuring that it works with all systems.
Fixing Errors
USB flash drives can become damaged or make mistakes because they are not used correctly, have software on them, or have other problems. Erasing the drive can help fix these issues by restoring it to its original state and stopping any new problems from happening.
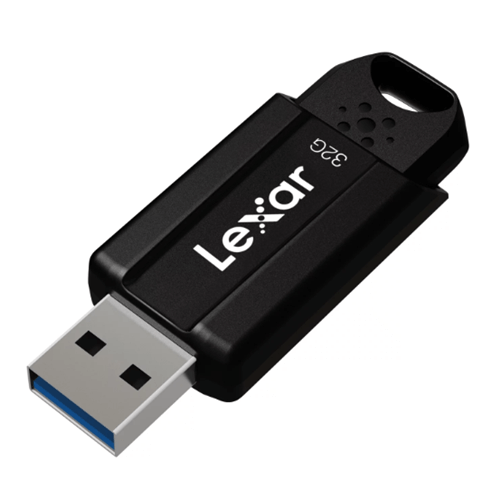
Preparing to Erase Lexar USB Flash Drive on Mac
Before starting the erasing process, prepare a Lexar USB flash drive to ensure a smooth and successful operation.
Backup Important Data
It's important to back up any important data on your Lexar USB drive before you erase it. If you erase the drive, you will lose all of its data forever, so ensure you have backups of any things you want to keep.
- Connect your Lexar USB to your Mac's USB port.
- Go to the USB drive in Finder and copy the files you want to save to another spot on your Mac or an external storage device.
Check the Drive's Condition
Before you erase your USB flash drive, ensure it's in good shape. This can help you determine if any deeper problems need to be fixed.
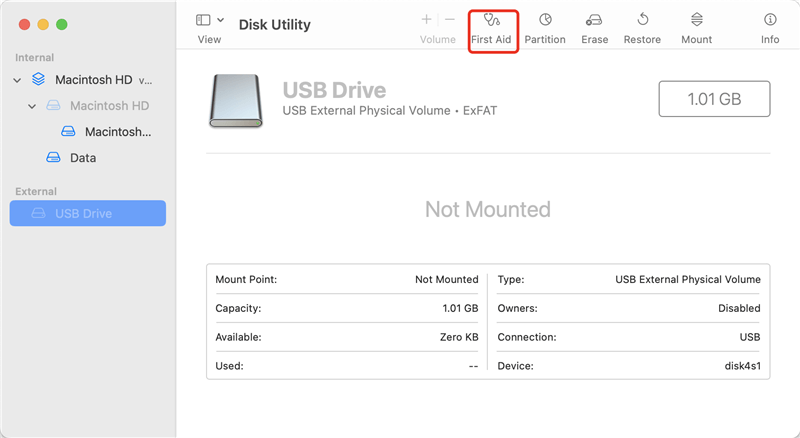
- You can open Disk Utility by going to Applications > Utilities.
- Pick out the Lexar USB flash drive from the list of drives in Disk Utility.
- Click the "First Aid" button to check the drive for problems and fix them. Now run "First Aid."
Erase Your Lexar USB Flash Drive on Mac Using Disk Utility
Once you've backed up your data and checked the drive's condition, you can proceed with erasing the drive.
Step 1. Open Disk Utility.
To delete everything from your Lexar USB drive, you must use Disk Utility, a built-in macOS tool for handling drives and discs.
Open Disk Utility: Find Disk Utility by going to Applications > Utilities > Disk Utility.
Select the USB Drive: Find and click on your Lexar USB drive on the left of Disk Utility.
Step 2. Erase the Drive.
You can erase your USB drive in Disk Utility.
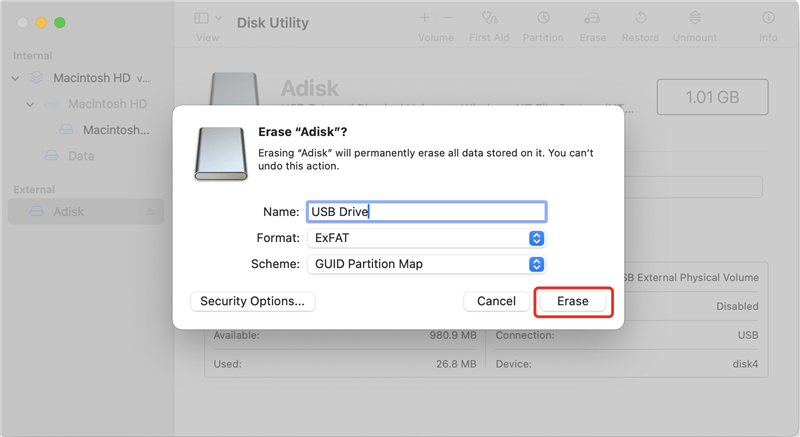
Click the Erase button: At the top of the Disk Utility box, click the "Erase" button. This will erase everything on the Lexar USB flash drive.
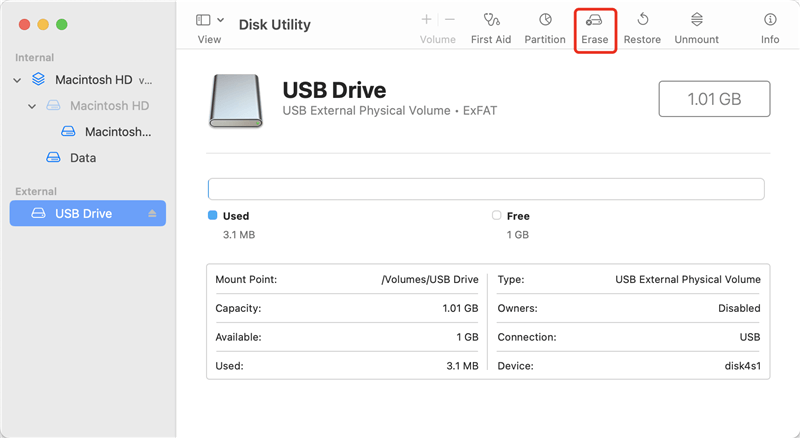
Choose Format and Name: In a text box, you will be asked to select the drive's format and name.
- Format: Pick a style based on what you need:
- Mac OS Extended (Journaled): Best for drives used exclusively with Macs.
- APFS (Apple File System): Ideal for SSDs and flash storage with macOS 10.13 or later.
- ExFAT: Compatible with both Mac and Windows.
- MS-DOS (FAT): Suitable for smaller drives and devices needing FAT32 but with a 4GB file size limit.
- Name: Give your drive a new name.

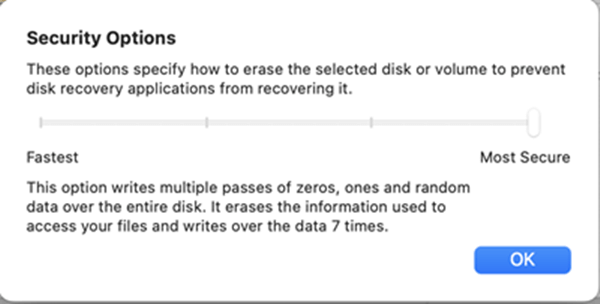
Select Data Erasure Level: Click Security Options to select a data erasure level from fastest to most secure.
Confirm Erase: Click the "Erase" button to be sure. Disk Utility will erase and format the drive based on your selected settings.
Step 3. Verify the Erase.
It's important to ensure your drive has been formatted correctly and is ready to use after the erase process. Safely remove the USB drive from your Mac and then connect it again. When you open Disk Utility again, ensure the Lexar USB flash drive is listed correctly with the new name and format.
Step 4. Safely Eject the Drive.
Always eject your USB flash drive the right way to keep it healthy and whole. To get rid of the drive, click the eject button next to the name of your Lexar USB drive in Finder. When the drive is no longer connected to your Mac, you can safely remove it.
There you have it! These steps will help you delete your Lexar USB drive from your Mac quickly and completely. This process ensures your drive is properly formatted and ready to receive new data, improves speed, and keeps your drive compatible with a variety of systems.
Format and Wipe Lexar USB Flash Drive on Mac Using Disk Wipe Software
If you will sell, donate or throw out an old Lexar USB flash drive, you can use a Mac disk wipe tool to securely wipe the Lexar USB flash drive and permanently erase all data from it, make the data be unrecoverable.
Step 1. Download and install the best Mac disk wipe software - DoYourData Super Eraser for Mac on your Mac and connect the Lexar USB flash drive to your Mac.
Step 2. Open DoYourData Super Eraser for Mac, then choose Wipe Hard Drive mode. This mode will format and wipe your Lexar USB flash drive, permanently erasing all data from it, no trace left.

Step 3. Select the Lexar USB flash drive, click on Wipe Now button.
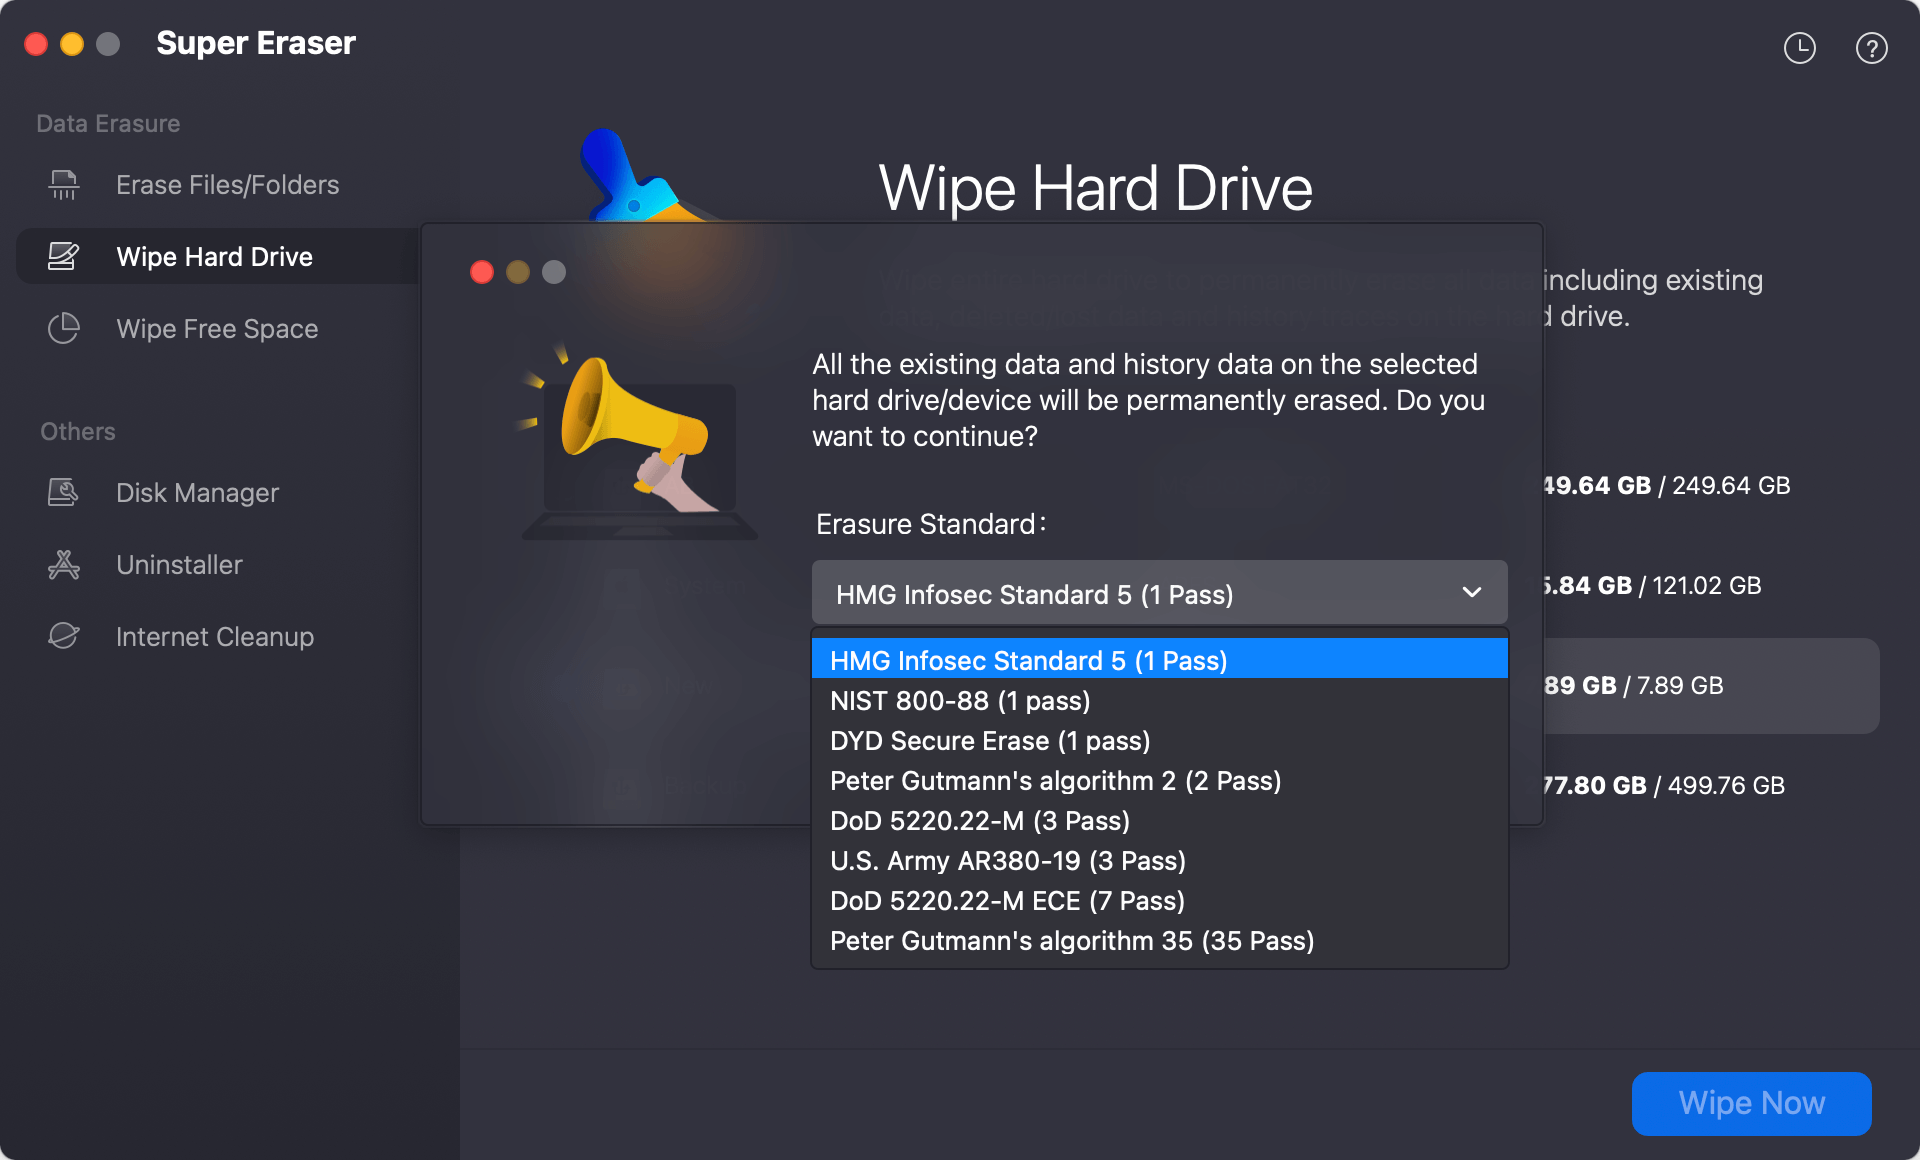
Step 4. Select a wanted data erasure standard, then click on Continue button.

Step 5. Format and wipe the Lexar USB flash drive.
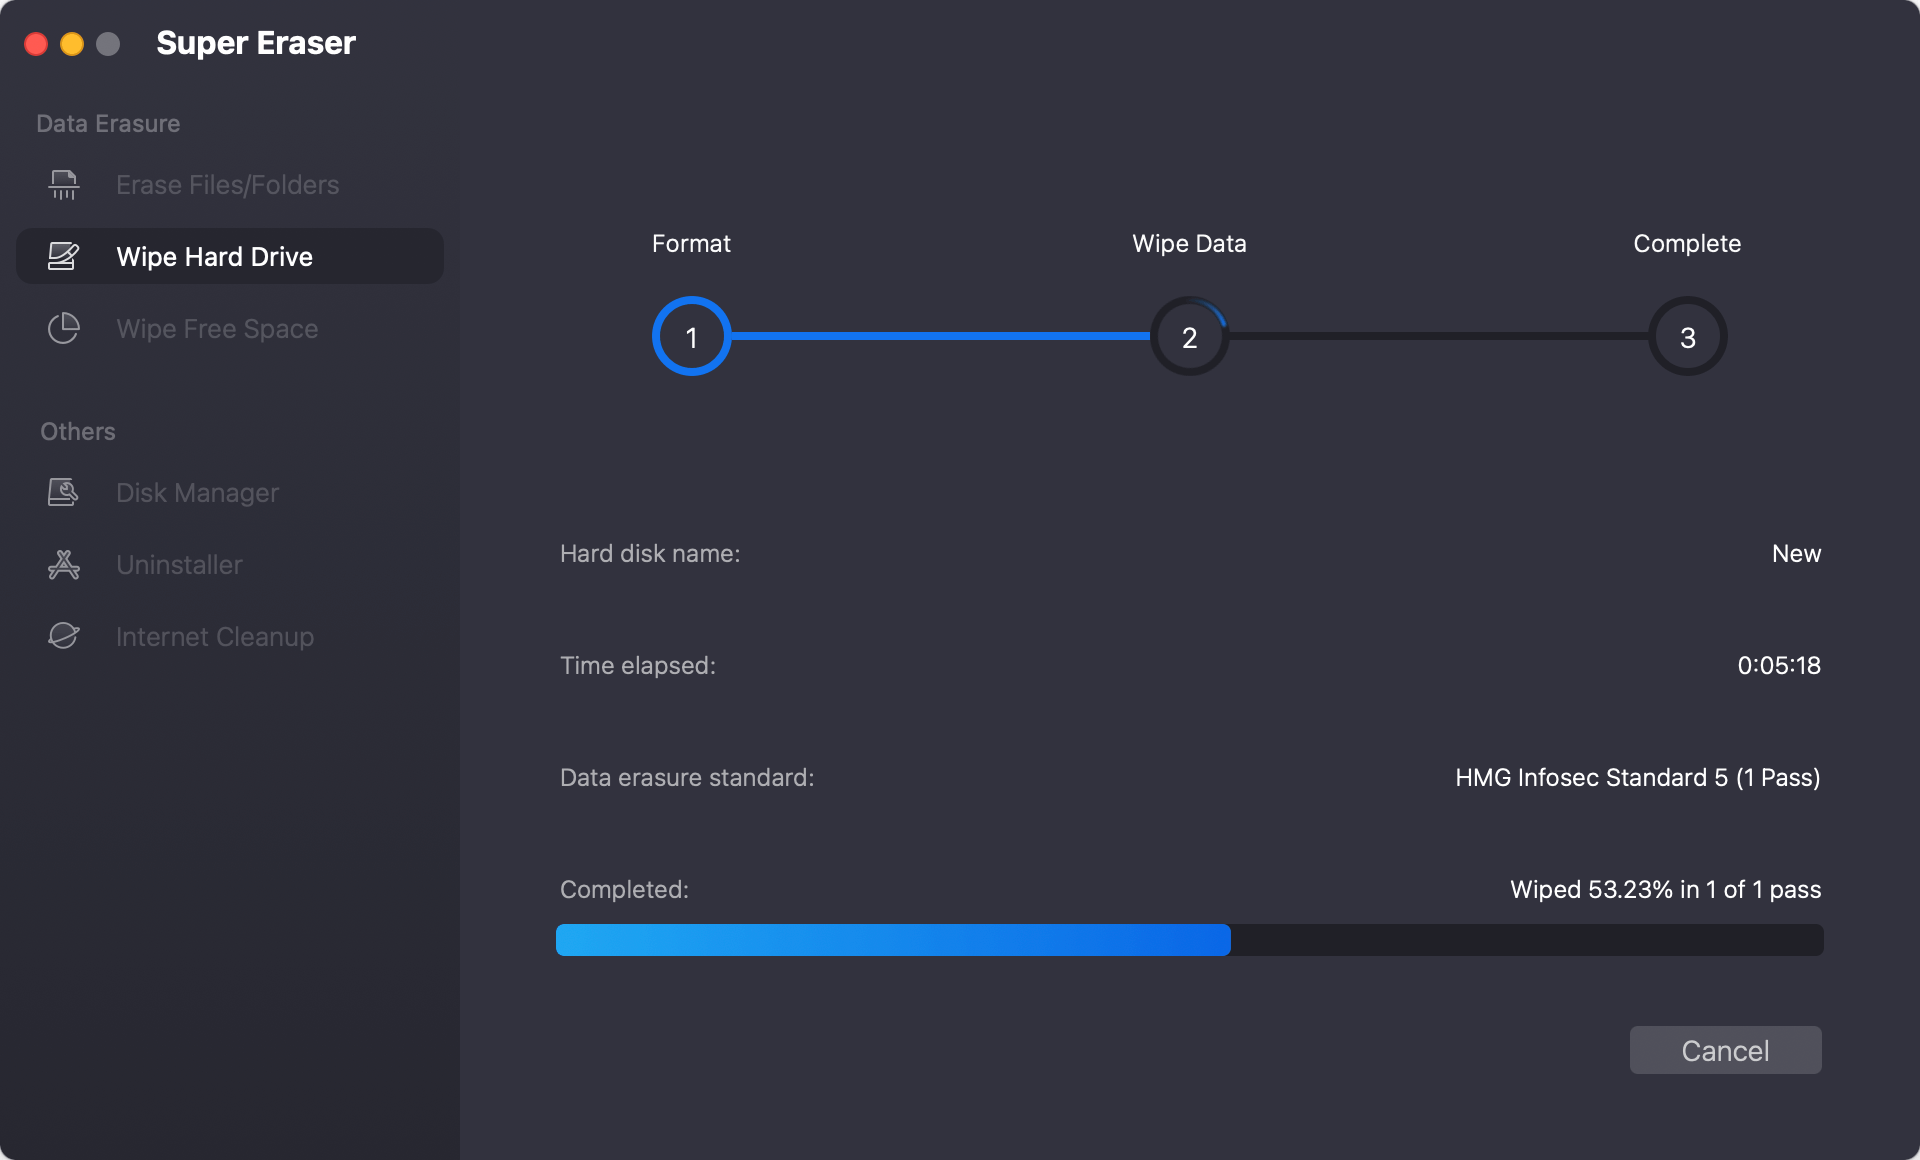
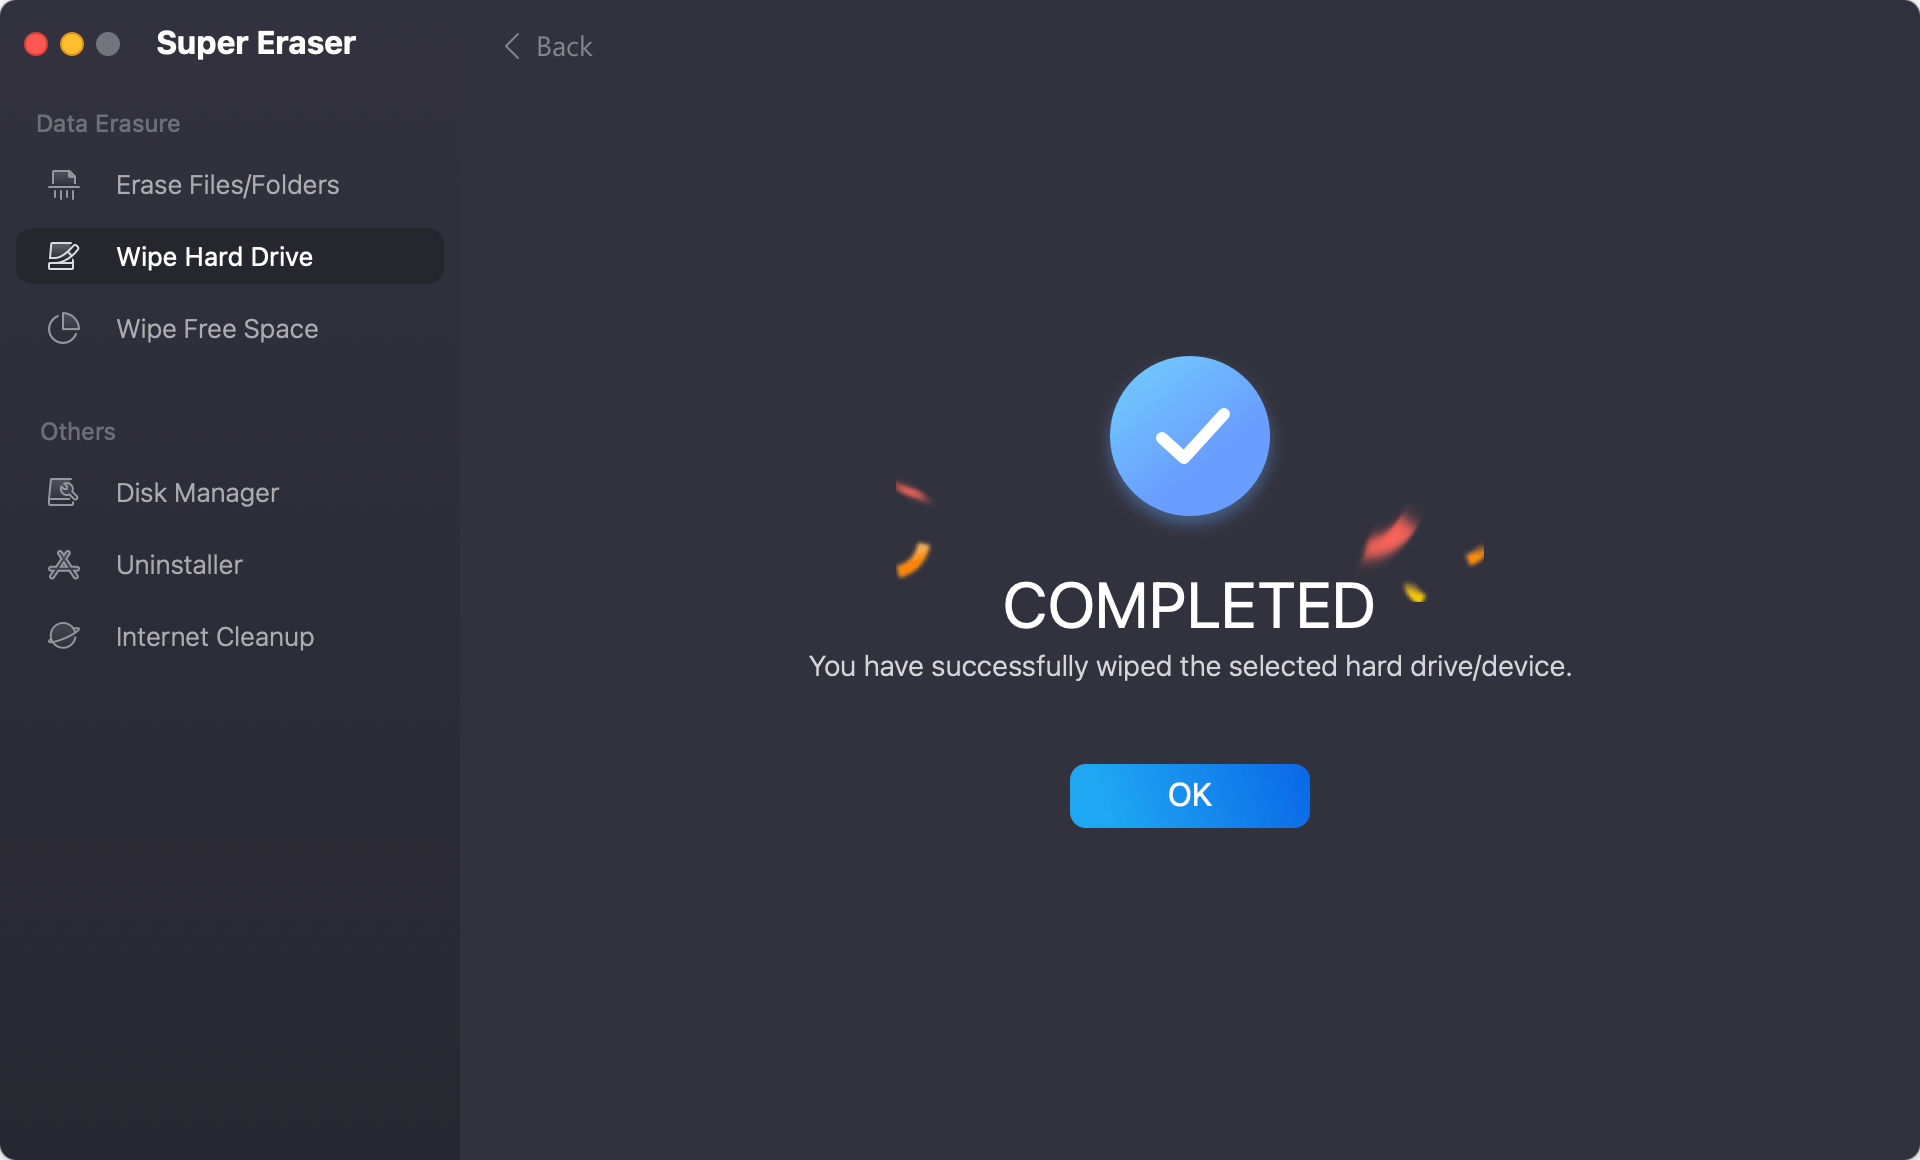
Once the process gets finished, all data stored on the Lexar USB flash drive is erased permanently, cannot be recovered by any method.
Conclusion:
If you take the right steps, erasing the Lexar USB flash drive on a Mac is easy. You can get the best speed and data security by copying important files, using Disk Utility to erase and reformat the drive, checking that the process went smoothly, and then safely ejecting the drive.
This guide discusses how to properly handle your USB flash drive, whether you're getting it ready for new data, fixing mistakes, or changing the file system. Regularly cleaning and erasing your USB flash drive the right way keeps it working quickly and safely, ready for all your storage needs. If you will sell, donate or dispose of your old Lexar USB flash drive, you can use DoYourData Super Eraser for Mac to wipe the drive and permanently erase all data from it.

DoYourData Super Eraser for Mac
DoYourData Super Eraser for Mac is a 100% safe, powerful and easy-to-use data erasure program. It offers certified data erasure standards including Peter Gutmann, U.S. Army AR380-19, DoD 5220.22-M ECE to permanently erase data from Macs and external devices, making data recovery be impossible.