Home > Hard Drive Solutions for Mac
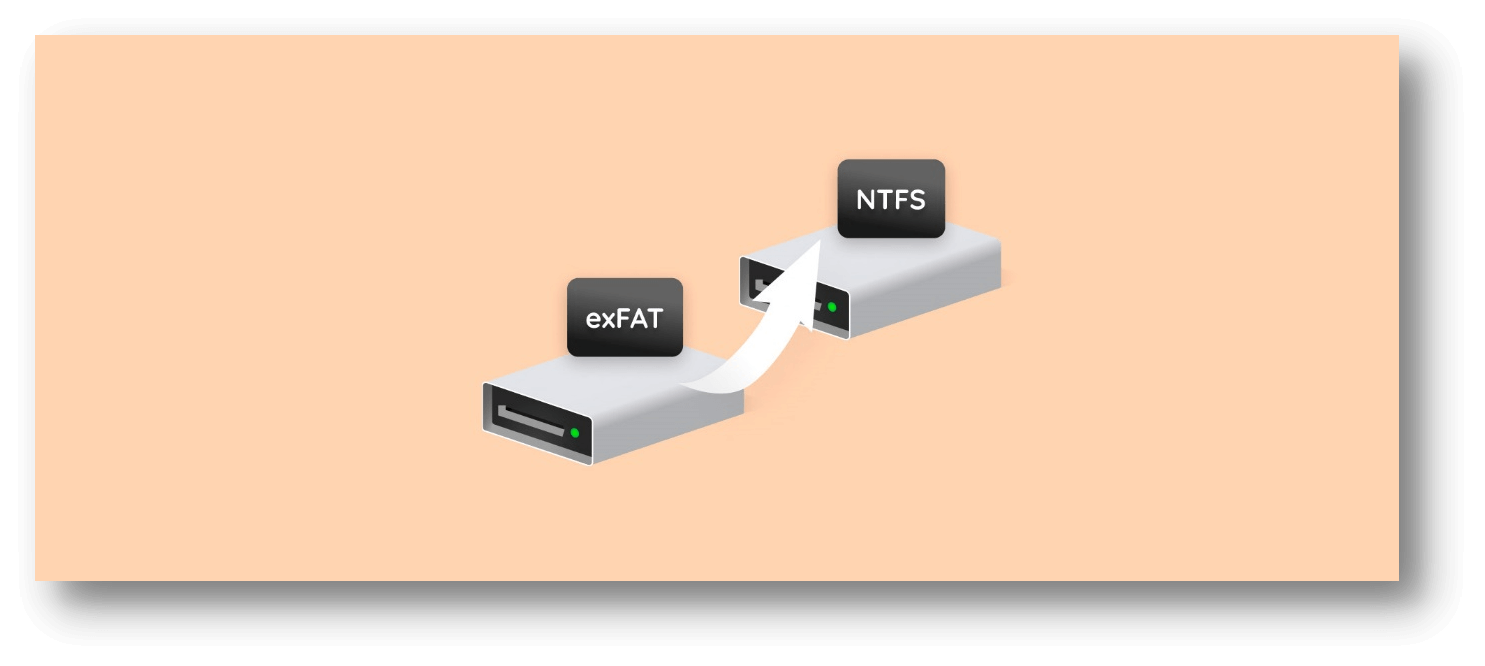
How to Convert ExFAT to NTFS on Mac Without Losing Data?
If you cannot format an ExFAT drive to NTFS on Mac by using Disk Utility, you can try NTFS for Mac tool. DoYourData NTFS for Mac is a reliable NTFS for Mac tool, it can help you easily format an ExFAT drive to NTFS file system and also can help you mount/enable writable for NTFS drive on your Mac.
![]() Updated by Justin Kenny on February 05, 2026
Updated by Justin Kenny on February 05, 2026
Quick Navigation:
- About ExFAT and NTFS
- Why Convert from ExFAT to NTFS on Mac?
- Before Converting an ExFAT Drive to NTFS on Mac
- Convert ExFAT to NTFS Using DoYourData NTFS for Mac
- Recover Lost Data After Formatting ExFAT Drive to NTFS
- Conclusion
Many people use ExFAT and NTFS as file systems, each with benefits. ExFAT is the best for cross-platform support because it lets you move data between macOS and Windows without problems.
However, NTFS is often chosen because it has more advanced features like journaling, file permissions, and encryption. But macOS doesn't accept NTFS by default, which makes changing an ExFAT drive to NTFS a bit trickier. This guide will show you how to change an ExFAT drive to NTFS on a Mac.
We will also discuss the risks of this process and how to prevent information from getting lost. By the end of this article, you will know how to do this conversion quickly and easily. It will ensure your drive is ready for NTFS use on both macOS and Windows.
About ExFAT and NTFS
What is ExFAT?
Extended File Allocation Table, or ExFAT, is a file system that Microsoft made. It is mostly used on flash storage devices like USB sticks and SD cards. ExFAT is better than its predecessor, FAT32, because it can handle bigger file sizes and partitions.
It makes it perfect for HD videos and software installations. ExFAT also works with many different operating systems, such as macOS, Windows, and even some versions of Linux. Because it works on multiple platforms, ExFAT is a popular choice for people who switch between them often.
What is NTFS?
NTFS, the "New Technology File System," is another file system that Microsoft made. It comes with Windows and is the default file system. It has advanced features like disk quotas, data security, and file compression.
NTFS is better than FAT32 and ExFAT in terms of performance and reliability because it is built for hard drives. The problem is that macOS doesn't support NTFS by default. It means that Mac users can read NTFS files but not write to them without any extra software.
Why Convert from ExFAT to NTFS on Mac?
There are the reasons why you should convert from ExFAT to NTFS:
Features of NTFS
The main reason for switching from ExFAT to NTFS is to use its more powerful features. For example, NTFS allows file permissions, which let users decide who can see what files and directories. This is especially helpful when there are many users and security is a concern.
In addition, NTFS has better data security thanks to journaling, which helps prevent data from getting lost if the power goes out. NTFS also lets you create bigger file sizes and disk partitions than ExFAT, making it a better choice for people who need a lot of storage space.
Compatibility Considerations
ExFAT works better with more systems, but you need NTFS to use the drive, mostly with Windows, or you need the more advanced features that NTFS offers.
Especially if they plan to use the drive with Windows or programs that need NTFS formatting, this conversion ensures that the drive can fully use NTFS's features, such as better security, better file management, and support for bigger files, while still working with Windows.
Before Converting an ExFAT Drive to NTFS on Mac
These are the steps you need to take before starting the conversion:
Backup Your Data
Before you try to change your ExFAT drive to NTFS, you should make a copy of all the information on it. When you change file systems, you must reformat the drive, which deletes all your current data. Before you start the conversion, ensure your data is safe by backing it up with Time Machine or another trusted tool.
Check for Software Requirements
NTFS is not built into macOS, so you must run third-party software to change your ExFAT drive to NTFS. There are many free and paid choices, each with pros and cons. DoYourData NTFS for Mac is the most popular choice. It lets you read and write to NTFS drives on macOS. Instead, you can use the open-source software NTFS-3G along with FUSE for macOS for free.
Convert ExFAT to NTFS Using DoYourData NTFS for Mac
Here is the step-by-step guide on converting ExFAT to NTFS:
Step 1: Install DoYourData NTFS for Mac
The first step is to get DoYourData NTFS for Mac from the official page and install it. The software usually comes with a free trial time that lets you try out all its features before buying a license. For Mac users, DoYourData NTFS allows you to read and write to NTFS drives.
DoYourData NTFS for Mac
- Most reliable Microsoft NTFS for Mac driver software.
- Easy to make NTFS drive fully writable on macOS.
- Format ExFAT or other drive to NTFS file system on Mac.
Step 2: Backup and Reformat the Drive
Copy all your data from the ExFAT drive to your Mac. Then open DoYourData NTFS for Mac, find and select the ExFAT drive, click on Format button.
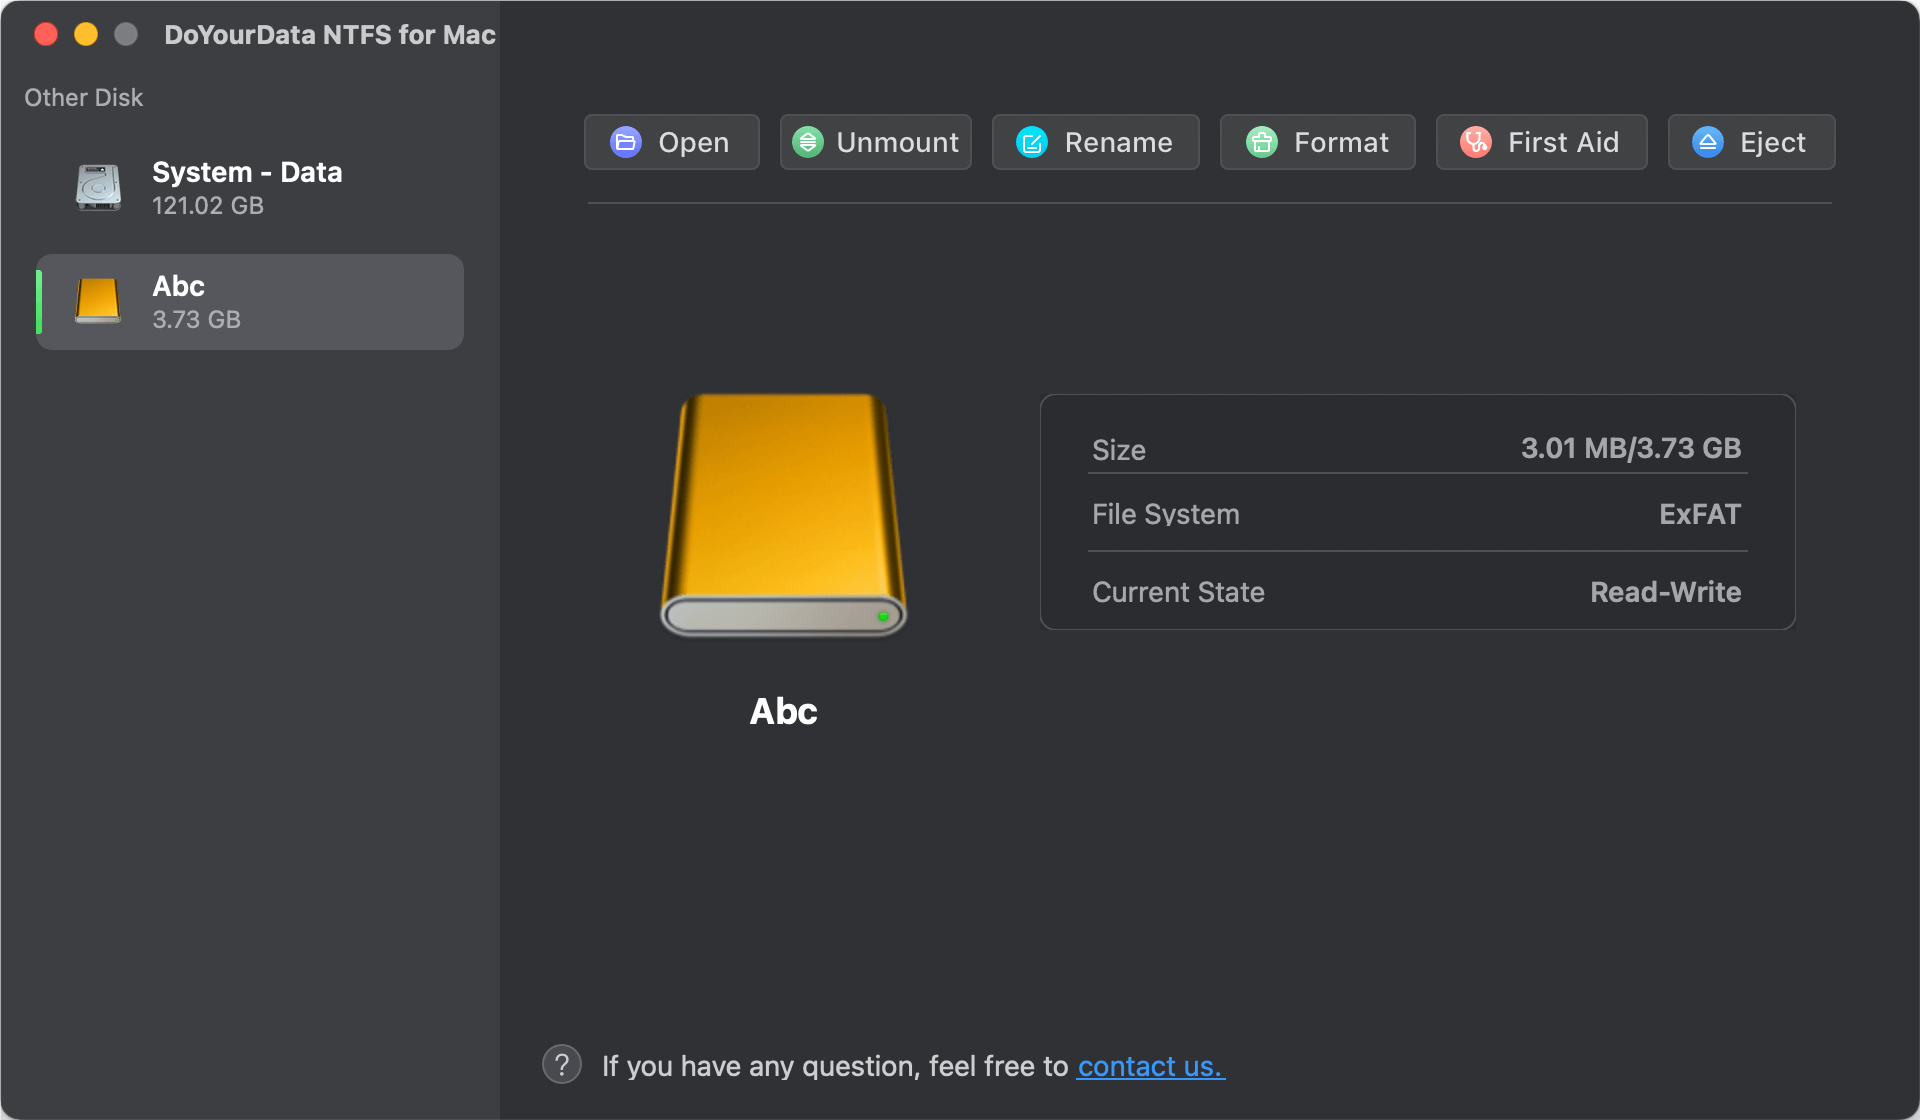
Select NTFS as the file system. Click on Continue button to format the ExFAT drive to NTFS.

If you want to read-write the NTFS drive on your Mac, click on Enable Writable button.

Step 3: Restore Your Data
Once the formatting is done, you can use the backup you made earlier to access your information. With the help of DoYourData NTFS for Mac, your drive is now formatted in NTFS and works perfectly on both macOS and Windows.
Risks and Considerations
It would help if you considered the following risks and potential challenges before converting your ExFAT drive to NTFS on a Mac:
- Data Loss: When you change a file system, you must reformat the drive, deleting all your current data. You could lose important files during the process if you don't back them up properly.
- Software Compatibility: Third-party software can handle NTFS on macOS, but compatibility problems may still exist. Some of these are slow read/write speeds or errors that happen sometimes when viewing files.
- Performance Limitations: Using NTFS on a Mac through third-party tools may not be as fast as using NTFS on Windows directly. It could make it harder to do things that need quick information access.
- System Updates: In the future, macOS updates could change how third-party NTFS tools work, making the drive unavailable until the software is updated.
- Complexity: The translation process can be hard to understand, especially using free tools like NTFS-3G and FUSE. If you make a mistake during installation or change, mistakes could happen.
Recover Lost Data After Formatting ExFAT Drive to NTFS
If you have lost data due to formatting your ExFAT drive to NTFS on Mac and don't have a backup, you can use Mac data recovery software to unformat the drive and get all the lost data back.
Step 1. Download and install a Mac data recovery app - such as Do Your Data Recovery for Mac on your Mac.
Step 2. Open Do Your Data Recovery for Mac, select the formatted drive to start data recovery.

Step 3. Click on Scan button to deeply scan the formatted drive and find all recoverable files.

Step 4. After scanning, you can preview all recoverable files. Then select the wanted files, click on Recover button to save them.

Conclusion:
To change an ExFAT drive to NTFS on a Mac, you must carefully plan by backing up your data and choosing the right tools. Whether you pick a paid choice like DoYourData NTFS for Mac or a free one like NTFS-3G and FUSE, each has its strengths and weaknesses.
Following the steps in this guide, you should be able to convert the drive easily and make it ready for use with NTFS on macOS and Windows. By following these steps, you can use NTFS's advanced features while keeping it compatible with different systems.
DoYourData NTFS for Mac
DoYourData NTFS for Mac is a safe, powerful and easy-to-use NTFS for Mac tool. It allows macOS to read & write files on NTFS drives without any limitation. It is also a comprehensive disk management tool for Mac to mount/unmount disk, format disk, repair disk, read-write disk...on Mac.
Written & Updated by Justin Kenny
Justin Kenny is a writer & editor of DoYourData. He joined DoYourData in 2016 and focuses on writing articles about Windows data recovery, Mac data recovery, external device data recovery, hard drive clone, data erasure, Mac cleanup, computer issue fixes, etc. He is a super fan of Apple devices and is big on testing new digital device and system utility software.