Upgrade to macOS Sierra and Recover Lost Data with Ease
![]() Updated by Justin Kenny on 2016-06-16
Updated by Justin Kenny on 2016-06-16

When Apple announces the release of macOS Sierra, you do have so many reasons to upgrade to the new Mac desktop operating system. In this article, we don’t want to talk the details of how to upgrade to macOS Sierra because it is so easy. We want to talk about the topic: upgrade to macOS Sierra and recover lost data. When you have upgraded your Mac OS to macOS Sierra, you can follow this guide to recover lost data easily and quickly.
It is easy to upgrade to macOS Sierra, just download it from Mac app store and easily install it your Mac. The macOS Sierra can be installed on the following Macs:
- iMac: Late 2009 or newer
- MacBook: Late 2009 or newer
- MacBook Air: Late 2010 or newer
- MacBook Pro: Mid 2010 or newer
- Mac Mini: Mid 2010 or newer
- Mac Pro: Mid 2010 or newer
Data loss could happen to everyone. After upgrading to macOS Sierra, you also can’t avoid data loss. For example, you may lose your photos after you upgrade to macOS Sierra. When the files get lost during the upgrade process or from the macOS Sierra Mac hard drive, you can use DIY data recovery software to get them back.
Recover Lost Data after Upgrading to macOS Sierra
Before we do macOS Sierra data recovery, we should find the right Mac data recovery software. DoYourData Mac data recovery software – Do Your Data Recovery for Mac Professional is a good tool for recovery lost data after upgrading to macOS Sierra. It is capable of recovering data from Mac hard drive or storage media due to deletion, format, volume loss, OS upgrade, virus infection, power failure, etc. When you upgrade you Mac OS to macOS Sierra, some files may be moved to trash bin and the trash could be emptied. Now you can use DoYourData to recover your files under macOS Sierra.
Is it difficult to recover lost data after upgrading to macOS Sierra? NO! Actually, it is very simple. With DIY Mac data recovery software, what you need do is just downloading the software, installing it and running it under macOS Sierra. Here are the three steps to recover lost data after upgrading to macOS Sierra.
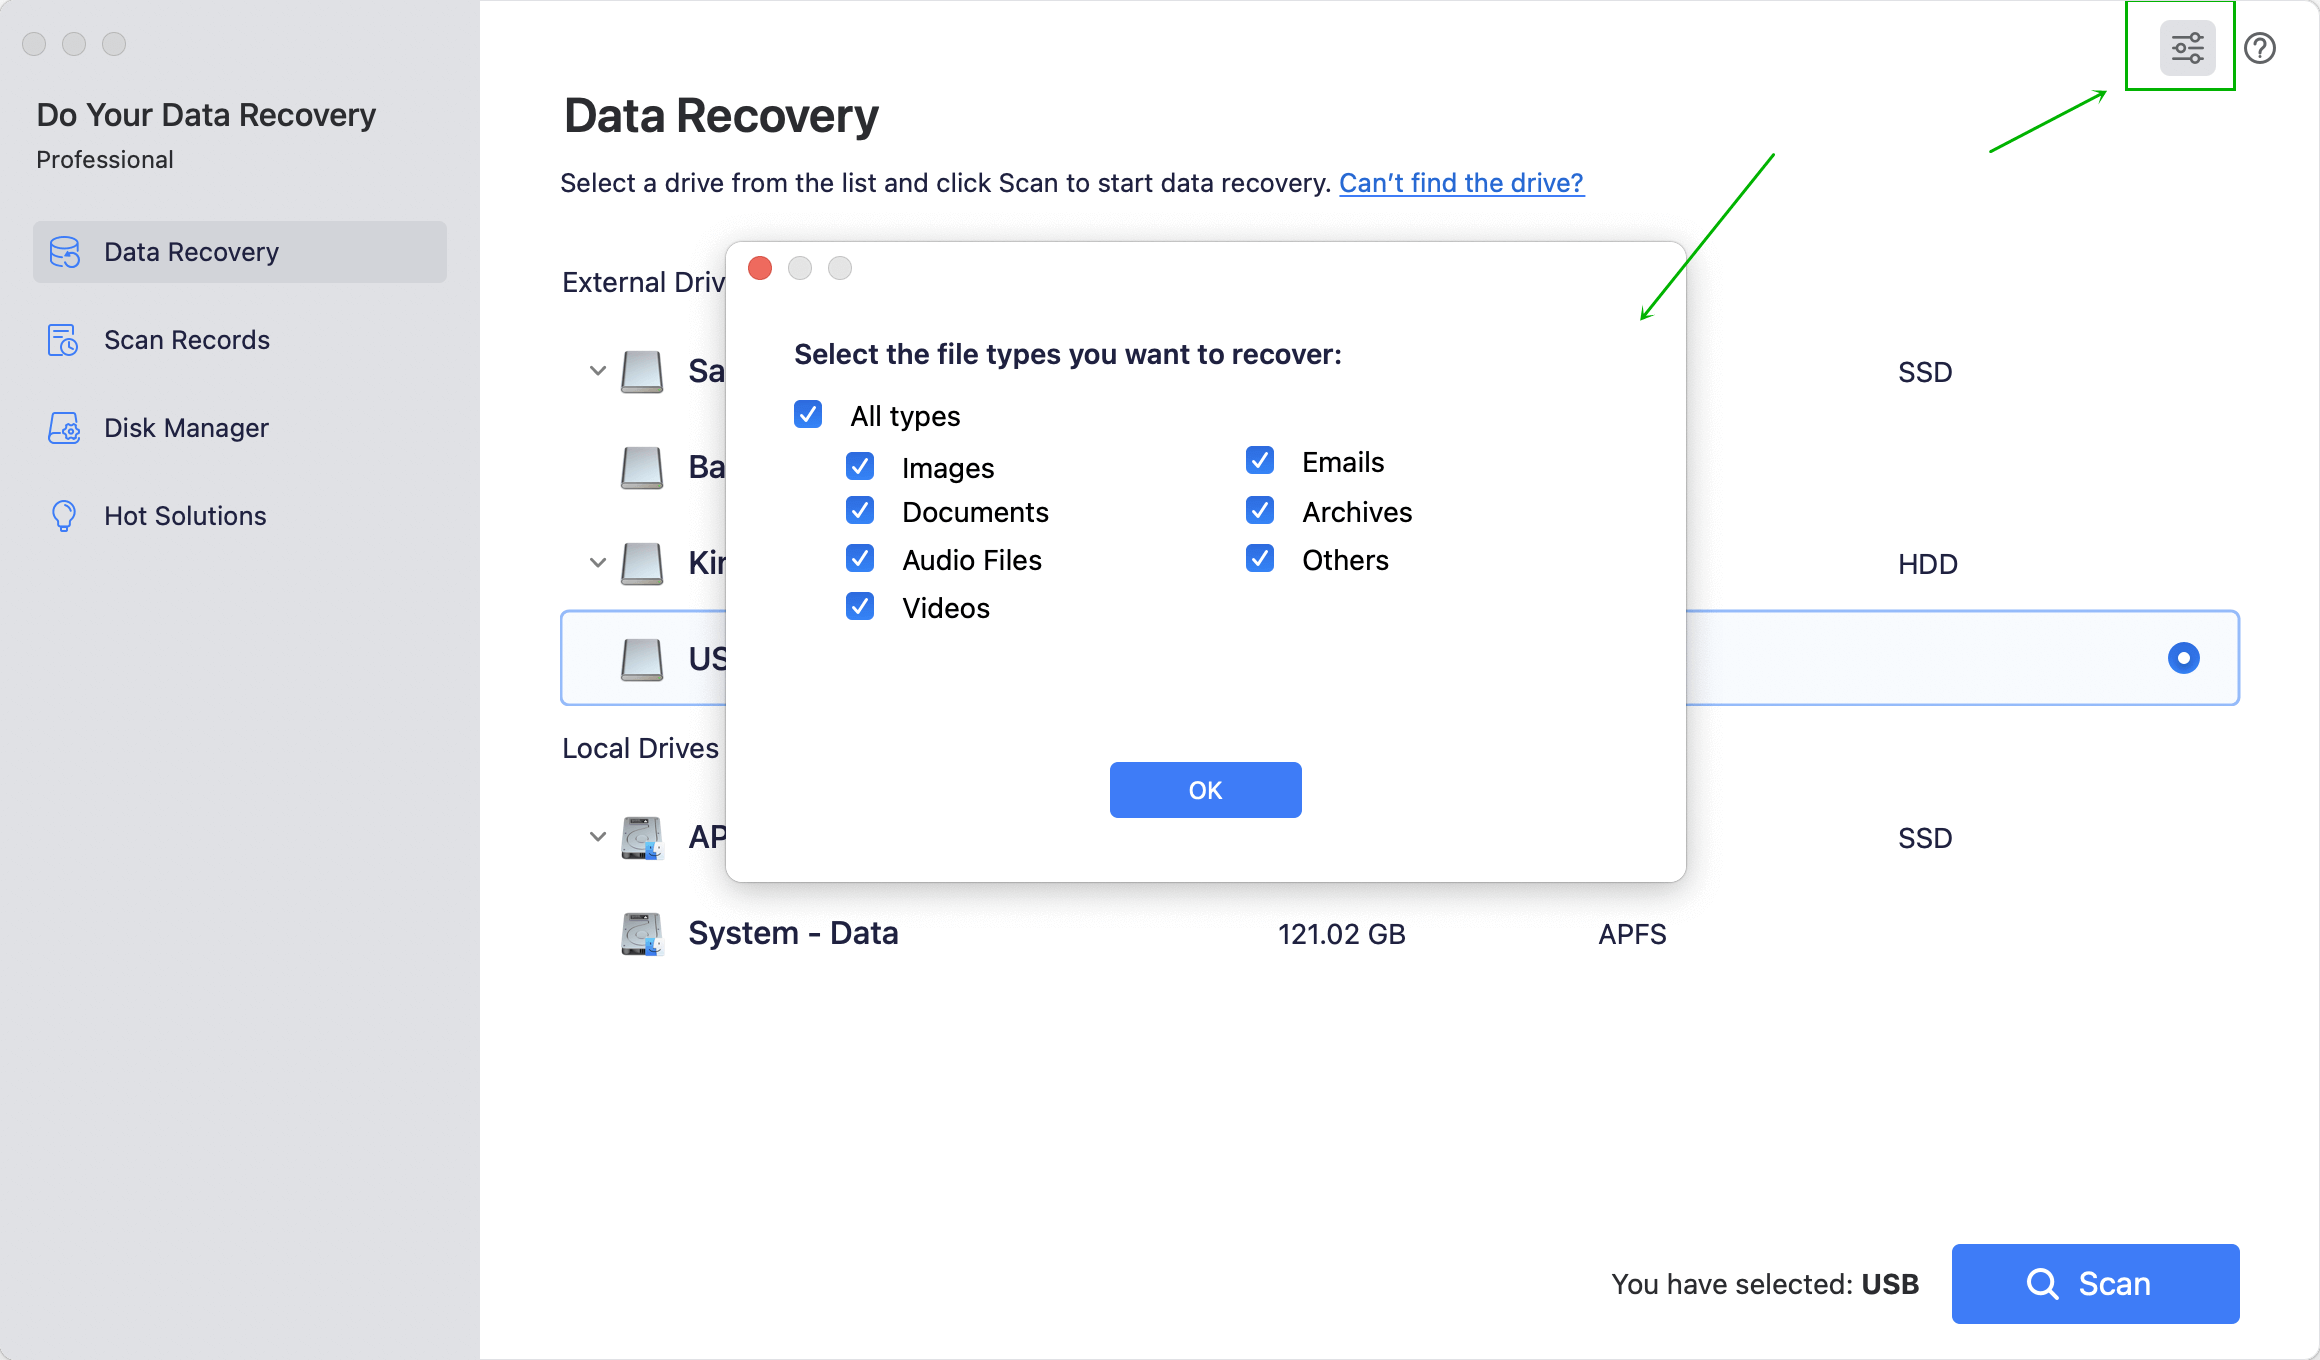
Step 1: Select the file types you want to recover. For example, if you want to recover deleted Photos, just select Images. Or the software will find all types of lost files on your Mac.
Step 2: Choose the hard drive where you lose the files. After you choose the right hard drive or device, the software will scan it to find lost files.

Step 3: Preview and recover files. After scanning, all the files will be listed in three styles: Path, File type, Time. You can easily find your lost files and you can preview them before you save them on your Mac.

Upgrading to macOS Sierra and recovering lost data becomes easy, right? But before you get all your files back, you should not put new data to your Mac in case that the lost files would be overwritten by new data. DoYourData can be the best tool to recover lost data after upgrading to macOS Sierra. It also can recover lost files under OS X 10.6 – 10.11/macOS 10.12 or later.
Written & Updated by Justin Kenny
Justin Kenny is a writer & editor of DoYourData. He joined DoYourData in 2016 and focuses on writing articles about Windows data recovery, Mac data recovery, external device data recovery, hard drive clone, data erasure, Mac cleanup, computer issue fixes, etc. He is a super fan of Apple devices and is big on testing new digital device and system utility software.