Home > Hard Drive Solutions for Mac
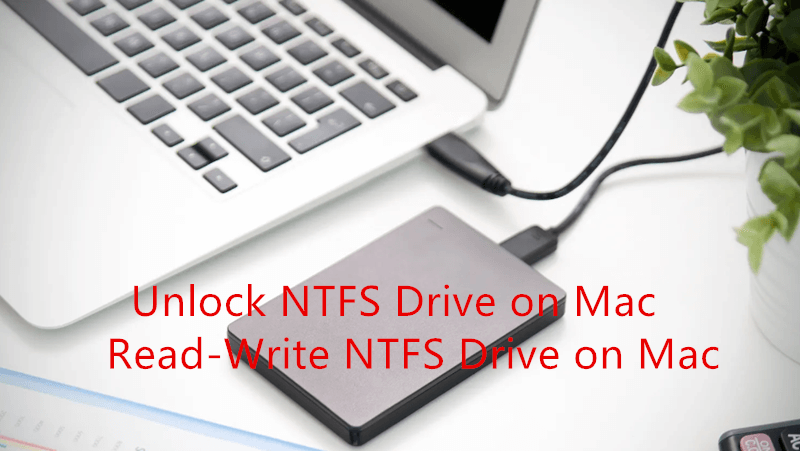
How to Unlock NTFS Drive on Mac, Make It Writable? (M5-Chip Mac Supported)
Can't write data to your NTFS drive on a Mac? You can download DoYourData NTFS for Mac to help you quickly unlock NTFS drive on your Mac and make all NTFS drives be writable on your Mac. The software is fully compatible with latest macOS Tahoe and Apple Silicon M5 Macs.
![]() Updated by Justin Kenny on December 24, 2025
Updated by Justin Kenny on December 24, 2025
Quick Navigation:
- 3 Methods to Unlock NTFS Drive on Mac: Allow Read-Write
- Quickly Enable NTFS Drive Read-write Support on Mac
- Precautions and Considerations
- Conclusion:
Due to its reliability, security, and support for big file sizes, NTFS is a popular choice as a file system for Windows operating systems. However, you won't be able to change the files on an NTFS-formatted drive while using a Mac because macOS only permits reading.
The ability to manage data across platforms is greatly enhanced by the ways available to unlock NTFS drives on Mac and enable write functionality. It's important to remember that your mileage may vary with the techniques described here depending on the version of macOS you're running.
3 Methods to Unlock NTFS Drive on Mac: Allow Read-Write
There are several ways to gain write access to NTFS drives on a Mac. The benefits and level of difficulty of each approach are different. Let's have a look at a few of these approaches:
Method 1. Use NTFS for Mac tool to unlock NTFS drive on Mac
You can install third-party software to enable NTFS read/write access on a Mac. DoYourData NTFS for Mac, Paragon, Tuxera, and iBoysoft drivers allow macOS to write to NTFS disks effortlessly. These programs often have straightforward interfaces and set-up processes.
- DoYourData NTFS for Mac: The reliable and easy-to-use NTFS for Mac software to quickly enable read-write access to NTFS drives on Mac. It also can help you mount NTFS drive on Mac, repair disk, format hard drive, etc.
- Paragon NTFS for Mac: After installing the software, NTFS volumes become fully accessible in macOS. NTFS drives are managed in the same way as any other external storage device in a Mac.
- Tuxera NTFS for Mac: Like DoYourData, Paragon, Tuxera NTFS provides unrestricted access to NTFS volumes, allowing data to be freely created, edited, deleted, and copied.
- Donemax NTFS for Mac: To guarantee full compatibility between Windows and macOS, Donemax NTFS offers a straightforward method to enable write access on NTFS volumes.
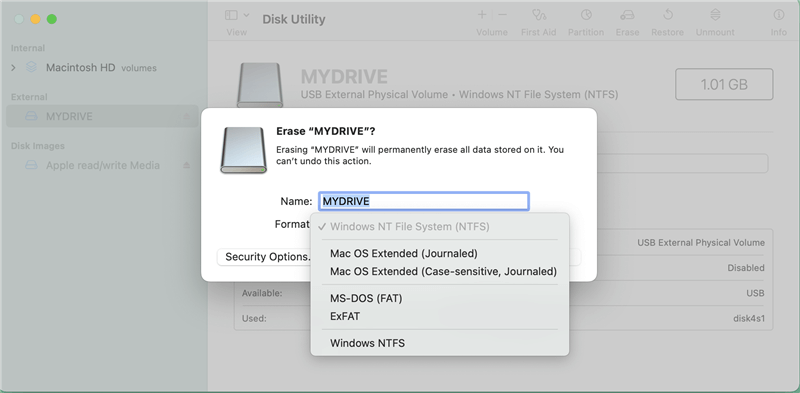
Method 2. Format NTFS to exFAT or FAT32 with Mac Disk Utility
NTFS only works with Windows, whereas exFAT and FAT32 work with Mac and Windows. The NTFS read-write mode is thus accessible after formatting the drive to FAT32 or exFAT.
But formatting will remove everything from the HDD. First, using a Windows machine, back up your important data. Recovering data from a formatted hard drive is possible with or without a Windows PC, depending on the type of software you use.
Follow these instructions to convert your NTFS drive to the exFAT or FAT32 file system:
- To access Disk Utility, click Applications and then Utilities.
- Using the arrows, Select the NTFS partition you wish to delete everything from, and then hit the Erase button.
- In the Format drop-down, choose exFAT or FAT32, then click Erase.
Method 3. Use Terminal Commands to unlock NTFS drive on Mac
Terminal commands in macOS can be used to change preferences and grant write access to NTFS disks, which is useful for those who prefer a hands-on approach or are looking for a free solution. Using the sudo command and turning off System Integrity Protection (SIP) is the approach. Terminal commands are powerful but require prudence because incorrect execution can cause the system to become unstable.
Possible procedures for executing Terminal instructions are as follows:
- To disable SIP, restart your Mac into Recovery Mode, launch Terminal.
- To set up FUSE on a Mac, FUSE (Filesystem in Userspace) must be installed to enable NTFS write support.
- Install the NTFS-3 g package from Homebrew to enable writing to NTFS devices or download it directly.
Quickly Enable NTFS Drive Read-write Support on Mac
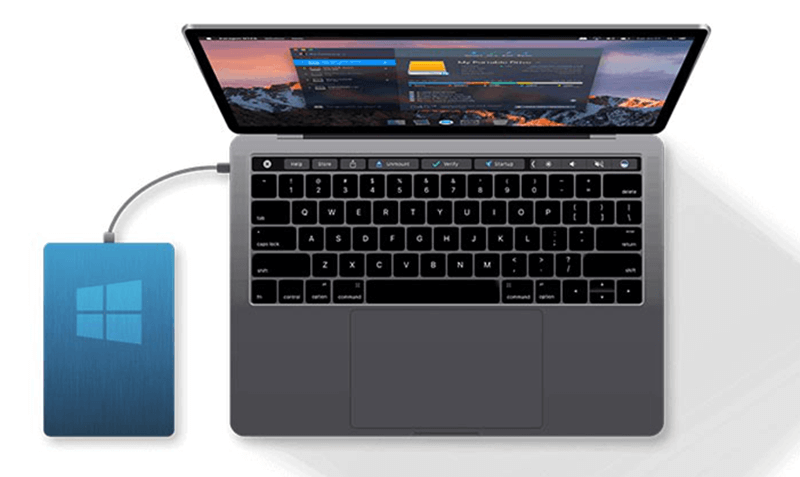
DoYourData NTFS for Mac is an easy-to-use NTFS for Mac tool. With this software, you can quickly unlock NTFS drive on Mac and make it be writable. Follow the steps below to grant full read-write access to NTFS drive on your Mac:
Step 1. Download and install DoYourData NTFS for Mac, then open it from Launchpad.
DoYourData NTFS for Mac
- Best NTFS for Mac Tool to make NTFS drives writable on Mac.
- Full compatible with latest macOS and Apple silicon Macs.
- 100% safe and easy to enable NTFS writable permission on Mac.
Step 2. Make sure the NTFS drive is connected to your Mac, then find the disk on the DoYourData NTFS for Mac interface. Select the NTFS drive and click on Enable Writable button. Then you can read-write NTFS drives on your Mac without any limitation.

To get the full guide about how to use the software step by step, refer to the online help page.
Precautions and Considerations:
The following should be kept in mind before using any method to unlock NTFS storage on a Mac and gain write access:
- Before making any changes to the NTFS settings, create backups of all your data on the drive. The data is protected in case there are any problems throughout the process.
- Consistency and Compatibility: Ensure the approach you take is suitable for your version of macOS to prevent any incompatibilities.
- Examine Critiques and Related Materials: Before downloading third-party software or using Terminal commands, read user reviews and official instructions to understand potential dangers and limits associated with each technique.
Conclusion:
It can be challenging to read and write NTFS volumes from a Mac, but with the appropriate method, it's possible. Mac users can get greater flexibility when working with files stored on NTFS disks by utilizing third-party software or Terminal commands to gain write access and unlock the drives.
However, to ensure a smooth and secure procedure, it is essential to use caution, follow instructions attentively, and always back up critical data before making any changes. Mac users will have greater adaptability and compatibility using these techniques while working with NTFS storage.
DoYourData NTFS for Mac
DoYourData NTFS for Mac is a safe, powerful and easy-to-use NTFS for Mac tool. It allows macOS to read & write files on NTFS drives without any limitation. It is also a comprehensive disk management tool for Mac to mount/unmount disk, format disk, repair disk, read-write disk...on Mac.
Written & Updated by Justin Kenny
Justin Kenny is a writer & editor of DoYourData. He joined DoYourData in 2016 and focuses on writing articles about Windows data recovery, Mac data recovery, external device data recovery, hard drive clone, data erasure, Mac cleanup, computer issue fixes, etc. He is a super fan of Apple devices and is big on testing new digital device and system utility software.