
Recover Lost Data from WD My Passport Drive
Run data recovery program to scan the WD My Passport external HDD/SSD and recover all lost data.
Home > Hard Drive Solutions for Mac
WD My Passport has been formatted to NTFS file system is the main reason why you can’t write data to it or modify files stored on it under macOS. Just download the reliable NTFS for Mac tool - DoYourData NTFS for Mac to help you enable read-write for the WD My Passport drive on Mac. It also can help you mount/format/repair WD My Passport HDD/SSD on Mac.
![]() Updated by Justin Kenny on January 17, 2024
Updated by Justin Kenny on January 17, 2024
Quick Navigation:
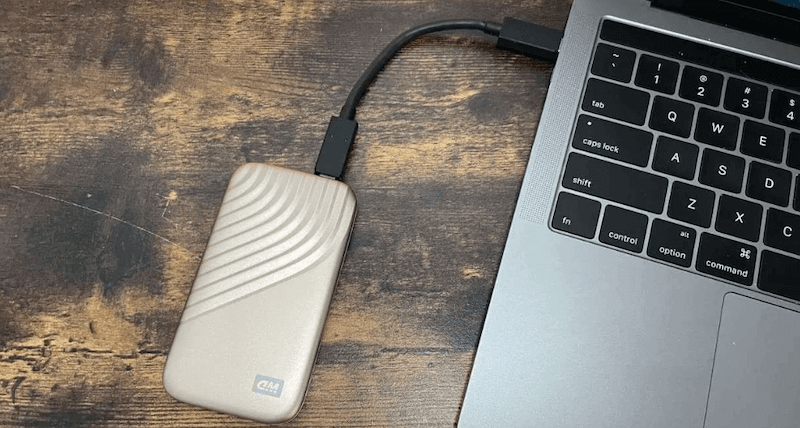
“Hi, I purchased a new WD My Passport external SSD. This drive works well on my Windows 11 laptop. But, when I connect it to my MacBook Pro, it won’t let me copy any file from the local drive to the SSD. Why? How to solve this problem?” - Jessica
External hard drive/USB flash drive/SD card read-only issue is one of the most common issues for Mac users. In this article, we will focus on finding the reason why a WD My Passport external HDD/SSD becomes read-only on Mac and how to solve this issue without losing data.
First of all, take these actions:
If your Mac still can not read-write the WD My Passport external hard drive, just follow the guide below to solve this problem.
Most of external hard drives are pre-formatted to NTFS file system. Open Disk Utility, if you find your WD My Passport is a NTFS drive, you can use a NTFS for Mac tool to help you enable read-write permission on Mac.
NTFS file system is a Windows-based file system and it is not compatible with macOS. On a Mac, you can copy files from the NTFS drive to your Mac, but you can not copy any file from your Mac to the NTFS drive and can not modify the files stored on the NTFS drive - that’s called NTFS read-only on Mac issue.
To allow your Mac to read-write NTFS drive, you should install a third-party NTFS for Mac tool and run it to enable writable for NTFS drive.
DoYourData NTFS for Mac is an easy-to-use & 100% safe NTFS for Mac tool. Follow the steps below to use it to enable writable for WD My Passport external HDD or SSD:
Step 1. Download and install DoYourData NTFS for Mac tool on your Mac. Then run it from Launchpad.
Step 2. Connect the WD My Passport to your Mac, then select the drive and click on Enable Writable button.

Now, you can read-write the WD My Passport external hard drive on Mac without limitation.
Format error or unsupported file system will render your WD My Passport drive read-only on Mac. To quickly solve this problem, just open Disk Utility, use this tool to format the WD My Passport to APFS, Mac OS Extended or ExFAT.
Step 1. Make a backup of the data of your WD My Passport drive.
Step 2. Go to Launchpad > Other, find Disk Utility and open this app.
Step 3. Find the WD My Passport drive, click to select it.
Step 4. Click Erase, then type a new name if needed, and select a file system.
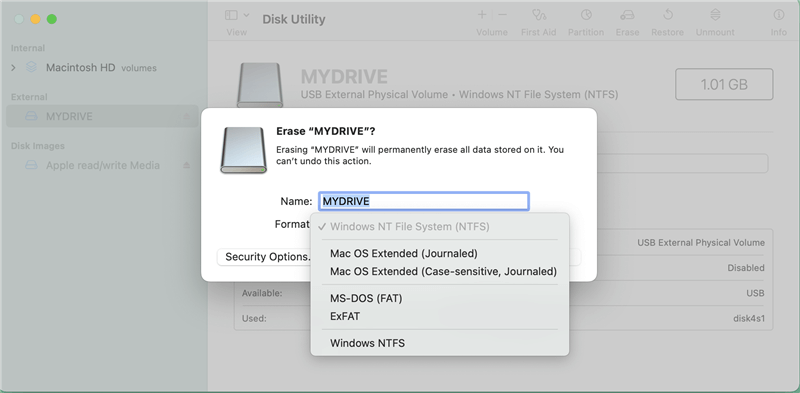
Step 5. Click on Erase button again. When the process gets finished, click on Done button.
Note: Please make a backup of the WD My Passport drive before you erase it with Disk Utility. If you have lost data due to erasing WD My Passport drive, find a reliable data recovery app to help you recover the lost data.
Recover Lost Data from WD My Passport Drive
Run data recovery program to scan the WD My Passport external HDD/SSD and recover all lost data.
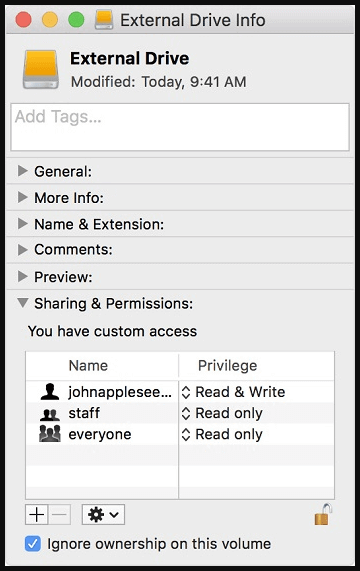
If your WD My Passport external hard drive has been set to read-only before, you can set it back to read-write. To get the full disk access to the connected WD My Passport drive, follow the steps below:
Step 1. Find the WD My Passport drive on desktop.
Step 2. Right-click on the WD My Passport drive and select "Get Info".
Step 3. Expand "Share & Permission" setting > Click the lock to authenticate > Tick "Ignore ownership on this volume".
Then check if you could write data to the WD My Passport drive.
1. Why my WD My Passport becomes read-only on Mac?
WD My Passport read-only on Mac can result from crashed file system, unsupported file system, no access permission, etc. To solve this issue, you can use a third-party NTFS for Mac tool to help you enable writable for the drive or use Disk Utility to erase the drive to Mac- supported file system format.
2. WD My Passport is unmounted, how to fix it?
Just connect the WD My Passport drive to your Mac, then open Disk Utility. Select the WD My Passport drive and click on Mount button.
3. How to format WD My Passport for both Windows and macOS?
When you encounter “WD My Passport is read-only on Mac” issue. Just stop using this drive. You can download and install a NTFS for Mac tool on your Mac, then run this tool to enable writable for NTFS drives on Mac. If you don’t want to install NTFS for Mac tool, just use Disk Utility to erase the WD My Passport drive to macOS-Supported file system such as APFS, Mac OS Extended or ExFAT. Before erasing the drive, make a backup of the important files stored on the WD My Passport drive.
If you have lost data due to erasing WD My Passport drive, Do Your Data Recovery for Mac can help you get lost data back.
Written & Updated by Justin Kenny
Justin Kenny is a writer & editor of DoYourData. He joined DoYourData in 2016 and focuses on writing articles about Windows data recovery, Mac data recovery, external device data recovery, hard drive clone, data erasure, Mac cleanup, computer issue fixes, etc. He is a super fan of Apple devices and is big on testing new digital device and system utility software.