Quick Navigation:
- How to clone a damaged hard drive to a new hard drive on Mac?
- Clone and back up data to avoid data loss
- Conclusion:
Are you worried about your data because your disk is damaged? If it is your case, calm down. Through this guide, we will show you how to clone a damaged hard drive to a new hard drive on Mac.

This is a great option to get our files back. Users often clone their hard drives to protect their data, make a preventive backup, and even to get a copy from a damaged device. Sometimes, people need to erase files permanently and before doing it, they decide to clone their disk and so be sure these data will not go forever or simply they could be used later in case of needing them.
How to clone a damaged hard drive to a new hard drive on Mac?
There are many programs people might use when they need to clone a damaged hard drive to a new hard drive on Mac. Some of these programs provide better features and advantages users often take into account before making their choice like for instance better performance, price, quality, easiness, compatibility, and more.
Some programs are not able to clone damaged hard drive. To ensure the damaged hard drive can be cloned smoothly, we suggest you use the macOS built-in tools which are also free. Here we will introduce 2 methods to clone damaged hard drive on Mac with built-in tools.
Solutions 1. Clone damaged drive to new drive with Terminal.
If you want to use this option, you need to get an empty or new hard drive as destination. With this method, the damaged drive will be cloned to the destination disk directly and overwrite everything on the destination drive. If there are important files on the destination drive, ensure to back up first. Then follow the steps below to clone the damaged hard drive.
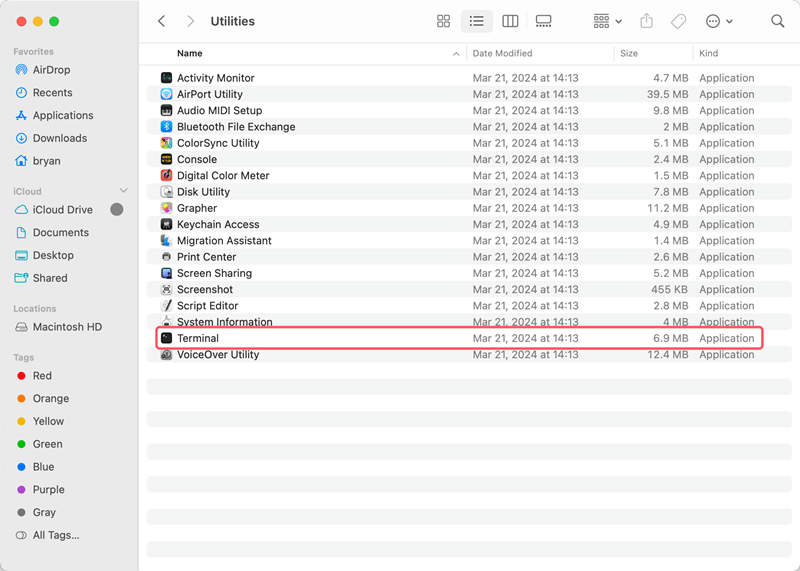
Step 1. Find and open Terminal from Applications and then Utilities.
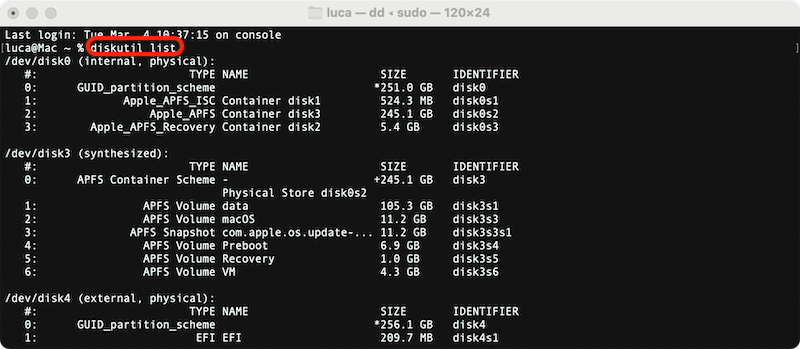
Step 2. Enter the command diskutil list to list all the hard drives connected to the Mac. Be careful to locate the disk information for the damage hard drive and destination drive. Remember the disk number information of both drives.
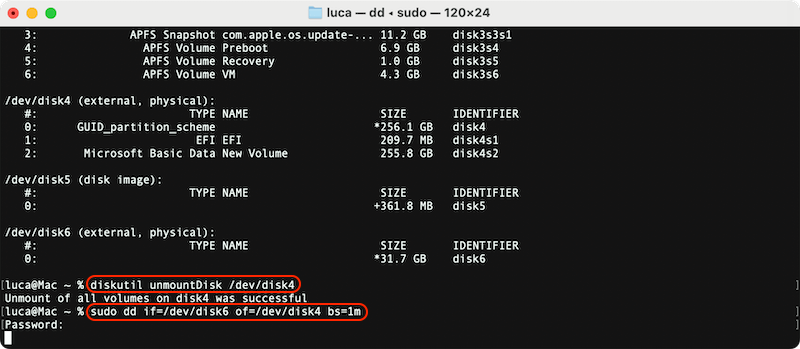
Step 3. Before you start the disk cloning process, it's necessary to unmount the destination drive using the command diskutil unmountDisk /dev/diskY. Then start to clone the damaged drive to the destination drive with the command sudo dd if=/dev/diskX of=/dev/diskY bs=1m.
Replace the /dev/diskX and /dev/diskY with the right disk number information of damaged drive and destination drive on your Mac. bs=1m is to set block size for fast copying, if you want you can change it to another number, like 2m, 4m, etc.
After the disk cloning process is done, you can then take further activation to fix the file system or try to recover data with a reliable data recovery tool on Mac.As you have cloned damaged hard drive to a new hard drive on Mac, you can restore your files from the cloned drive. It means you can restore the files on destination drive directly without affecting the original damaged drive. Then you can format the damaged hard drive or repair your damaged hard drive if necessary.
Solutions 2. Create disk image for damaged drive in Disk Utility.
If you find it's hard to operate with Terminal related with commands. You have another choice by using another system built-in free tool. You can easily clone hard drive with Disk Utility, which is a simple tool for disk management and has user-friendly interface. Here is how to clone damaged drive with Disk Utility:
Step 1. Open Disk Utility from Applications and then Utilities.

Step 2. Select the damaged drive and right click it. Then choose Image from "NameOfDamagedDrive" to continue.

Step 3. It's necessary to set a name for the disk image and choose a safe location to save the disk image. Ensure there is enough space to hold the disk image on the destination drive.

Step 4. At last, click Save button to start. Disk Utility will start to create disk image for the damage hard drive to the destination location.

Please note that Disk Utility will create a disk image for the damaged hard drive in this way. It will save the disk image to a location without affecting the other files. Now you have a full disk image, you can take further actions without worrying mess up the damaged drive. You can use a professional data recovery tool which can load disk image and then try to recover data from the disk image. If necessary, you can also try to repair the damaged drive.
Clone and back up data to avoid data loss
It's painful to suffer hard drive damage. It will take time and works to resolve the problem and get back the data. And some times, it would be hard to get back the data from the damaged hard drive. How to avoid the issue in the future? It's highly suggest to back up data regularly to protect the data. Cloning hard drive on Mac is a popular way to back up data fully. You just need to use a reliable disk cloning software to do the job easily.
Here, we will introduce a powerful data clone software known as DoYourClone for Mac. Just download this software; then, install and run it on the Mac computer to get started. Using DoYourClone for Mac is very simple; you only have to follow some instructions and you can easily get your hard drive copy.
DoYourClone for Mac
- Clone damaged HDD/SSD to a good hard drive and recover all data.
- Create disk image on Mac.
- Create bootable backup on Mac.
DoYourClone software offers three different modes to get disk data protected and you can choose the way you consider the most convenient for you. These three modes are:
Mode 1: Copy data from a hard drive as backup
Step 1: Choose source and destination hard drive.
First of all, choose the disk you want to back up as the source drive and also the secondary one as destination, which is the hard drive receiving the files.
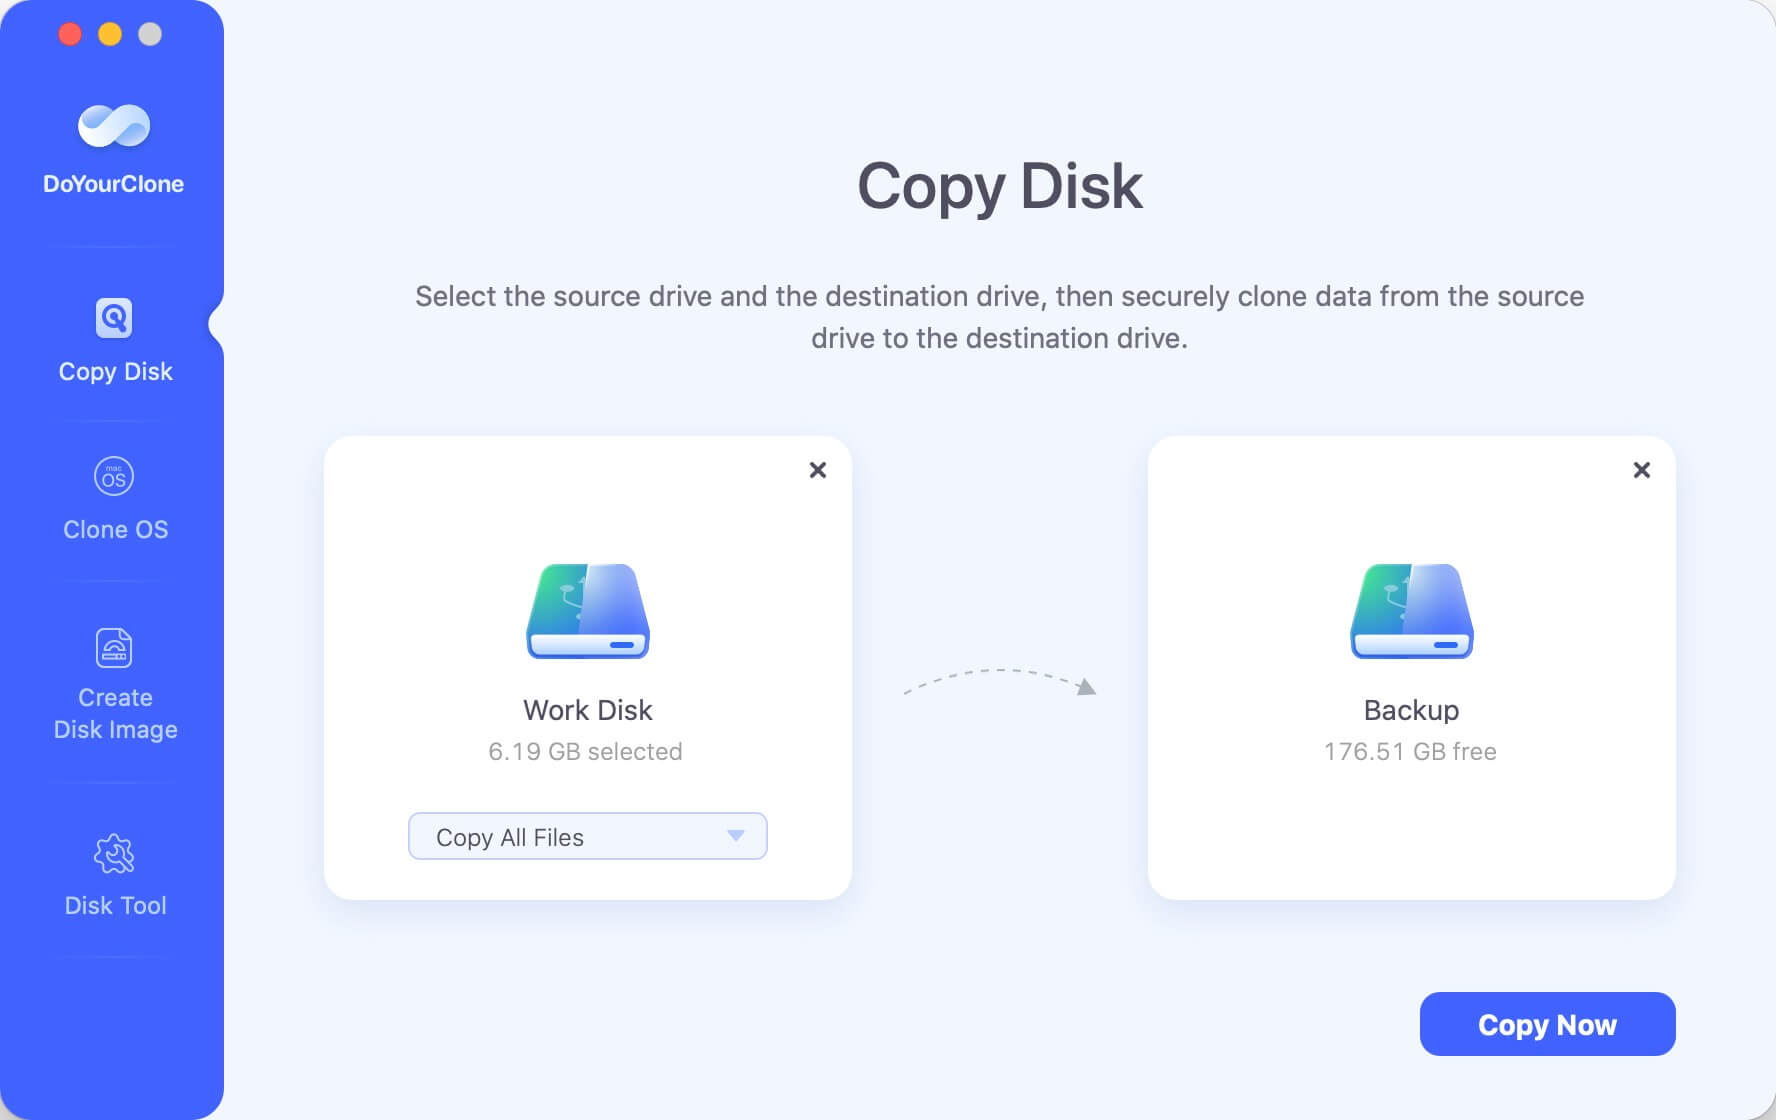
Step 2: Clone hard drive data to a new hard drive.
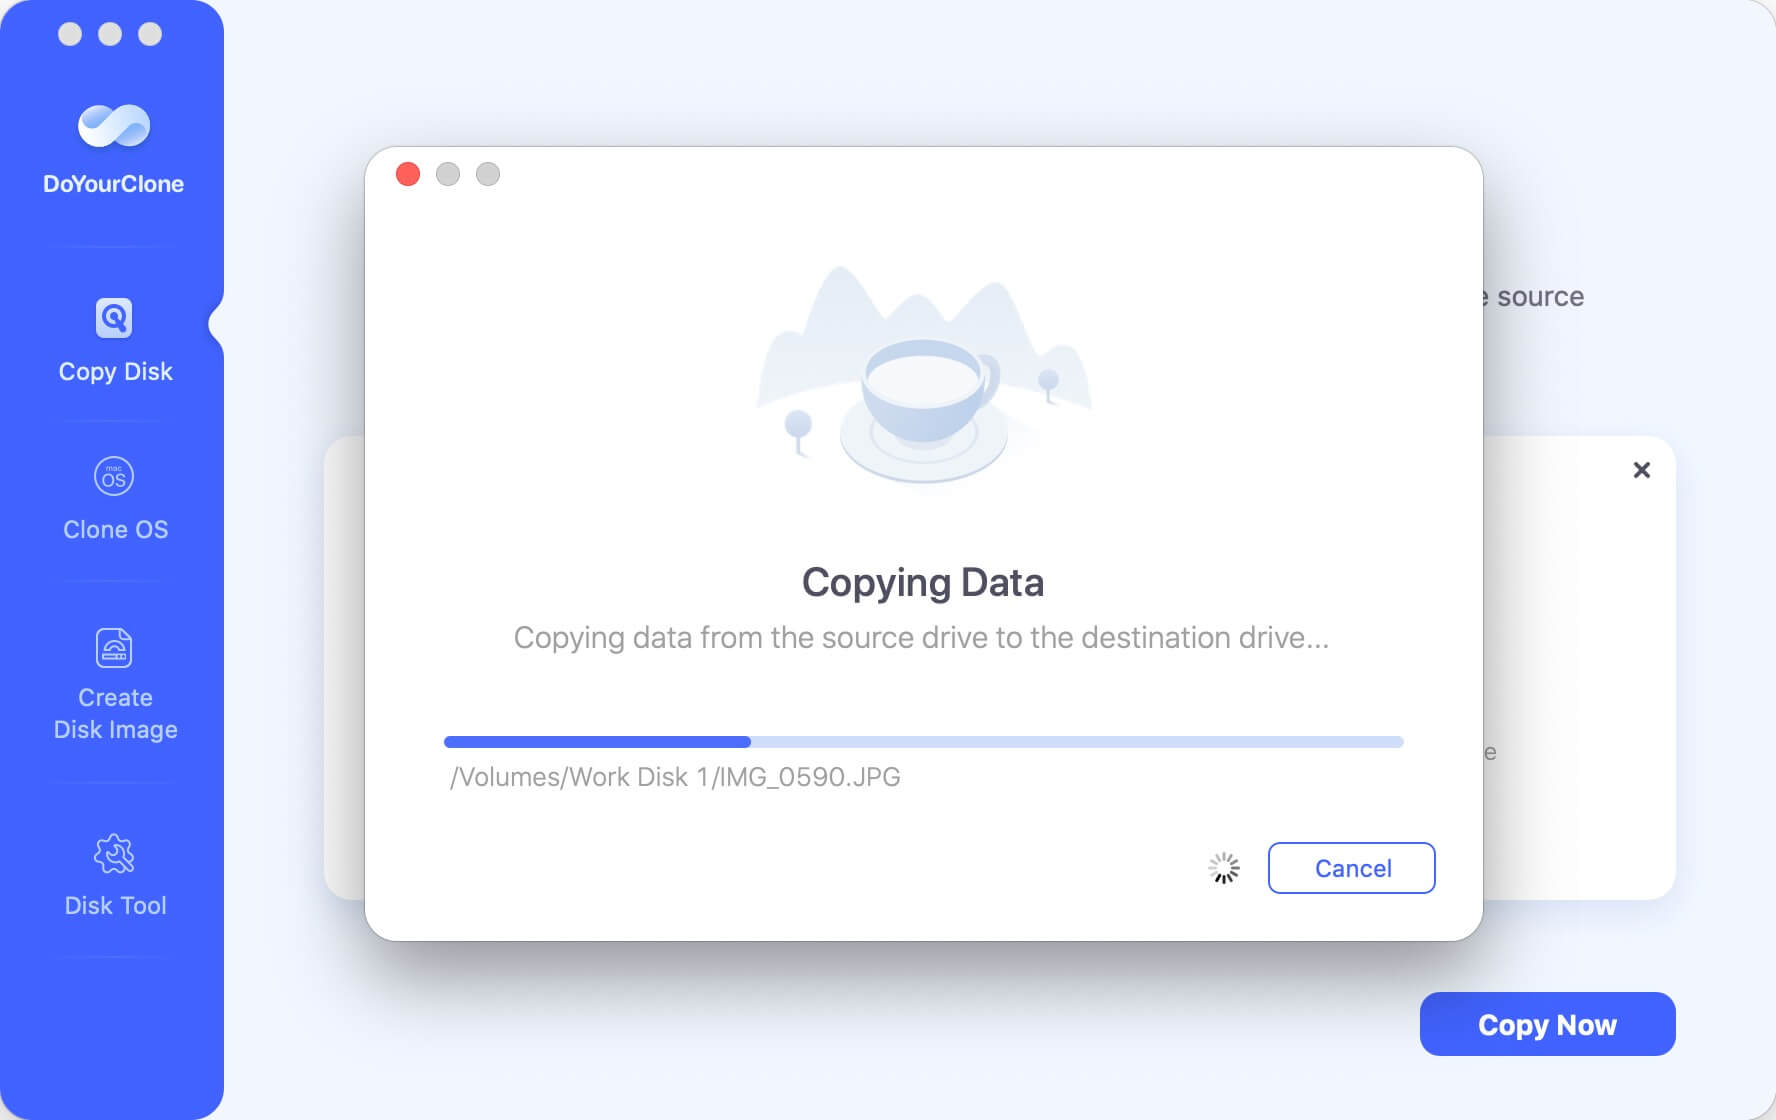
Once you have selected both drives, DoYourClone software will clone hard drive. Just click on the Copy Now button and wait until this task is completed.
Step 3: Check cloned data on the destination drive.
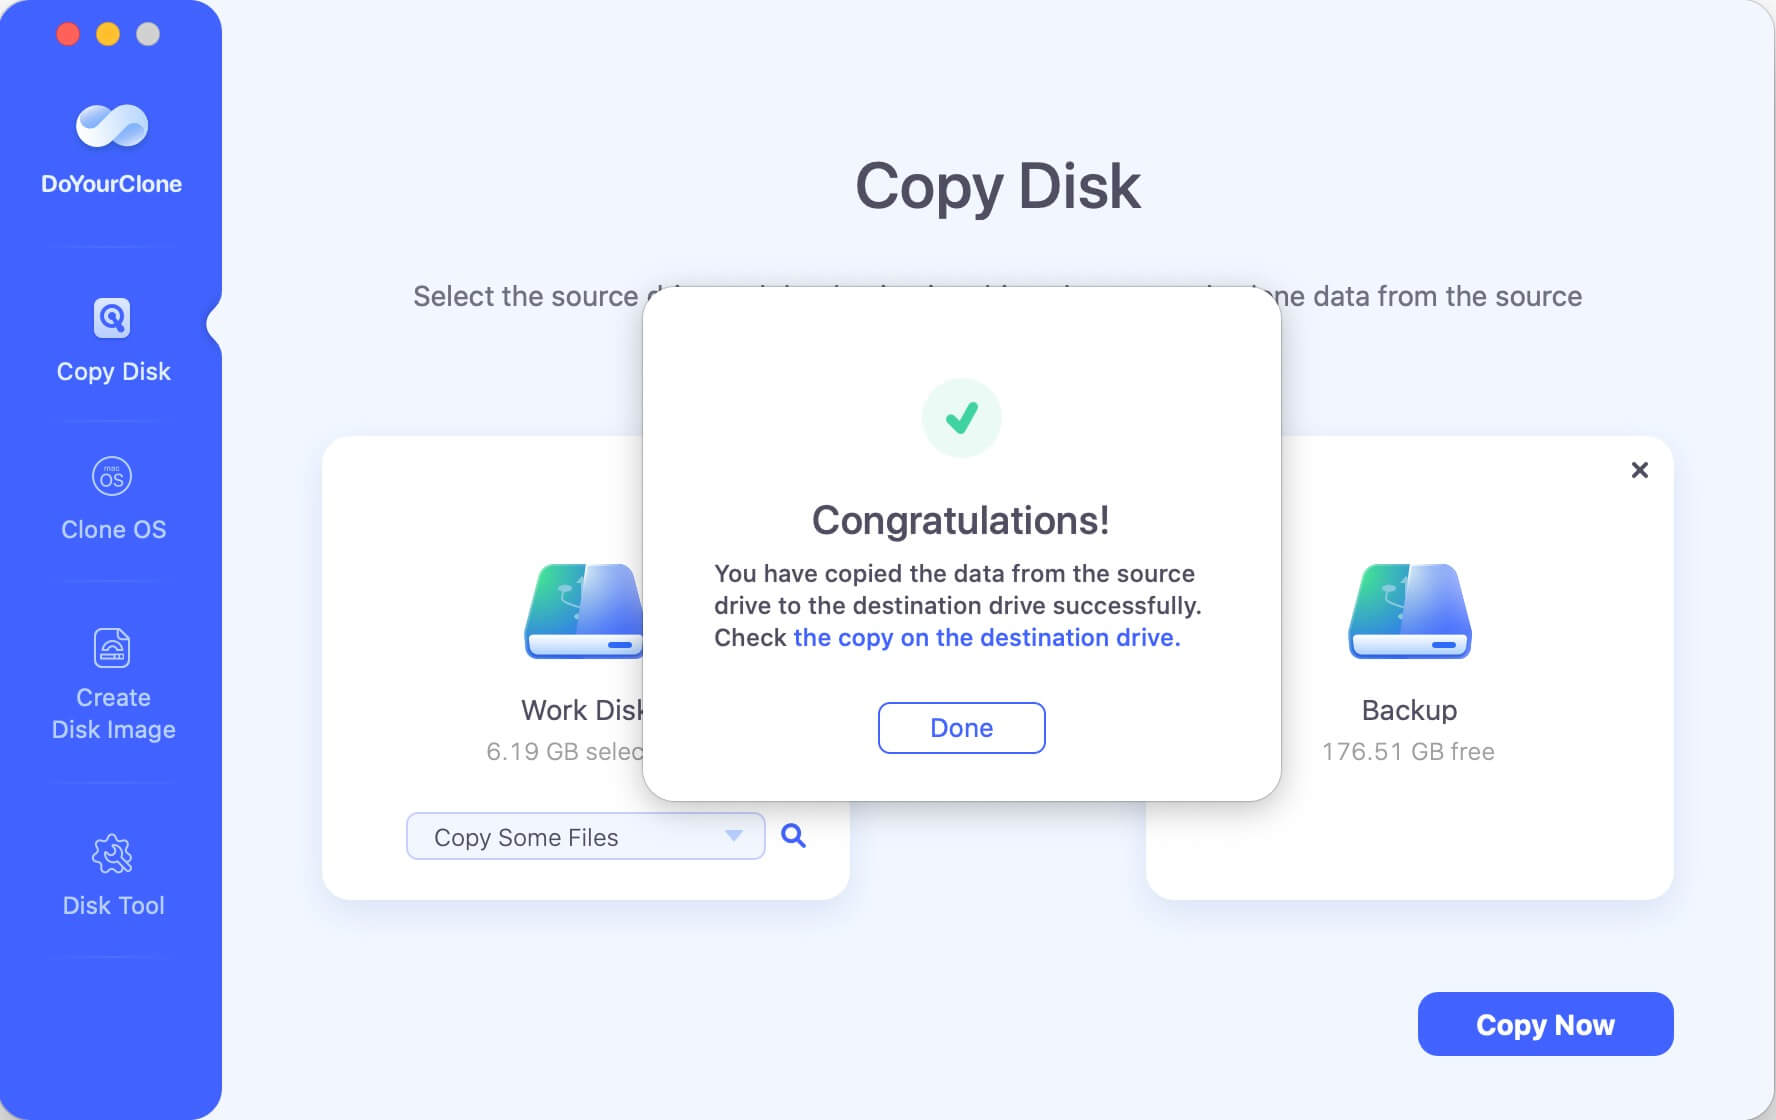
Finally, check cloned data on the secondary disk, just to be sure everything is right.
Mode 2: Make bootable clone backup for macOS
With the software, you can also create a bootable copy of macOS. The clone drive will be bootable directly along with all the system data, installed programs, personal data and personalized settings. Connect another empty hard drive to the Mac and continue the disk clone as follows:
Step 1. Start the software from launchpad and choose the mode Clone OS.
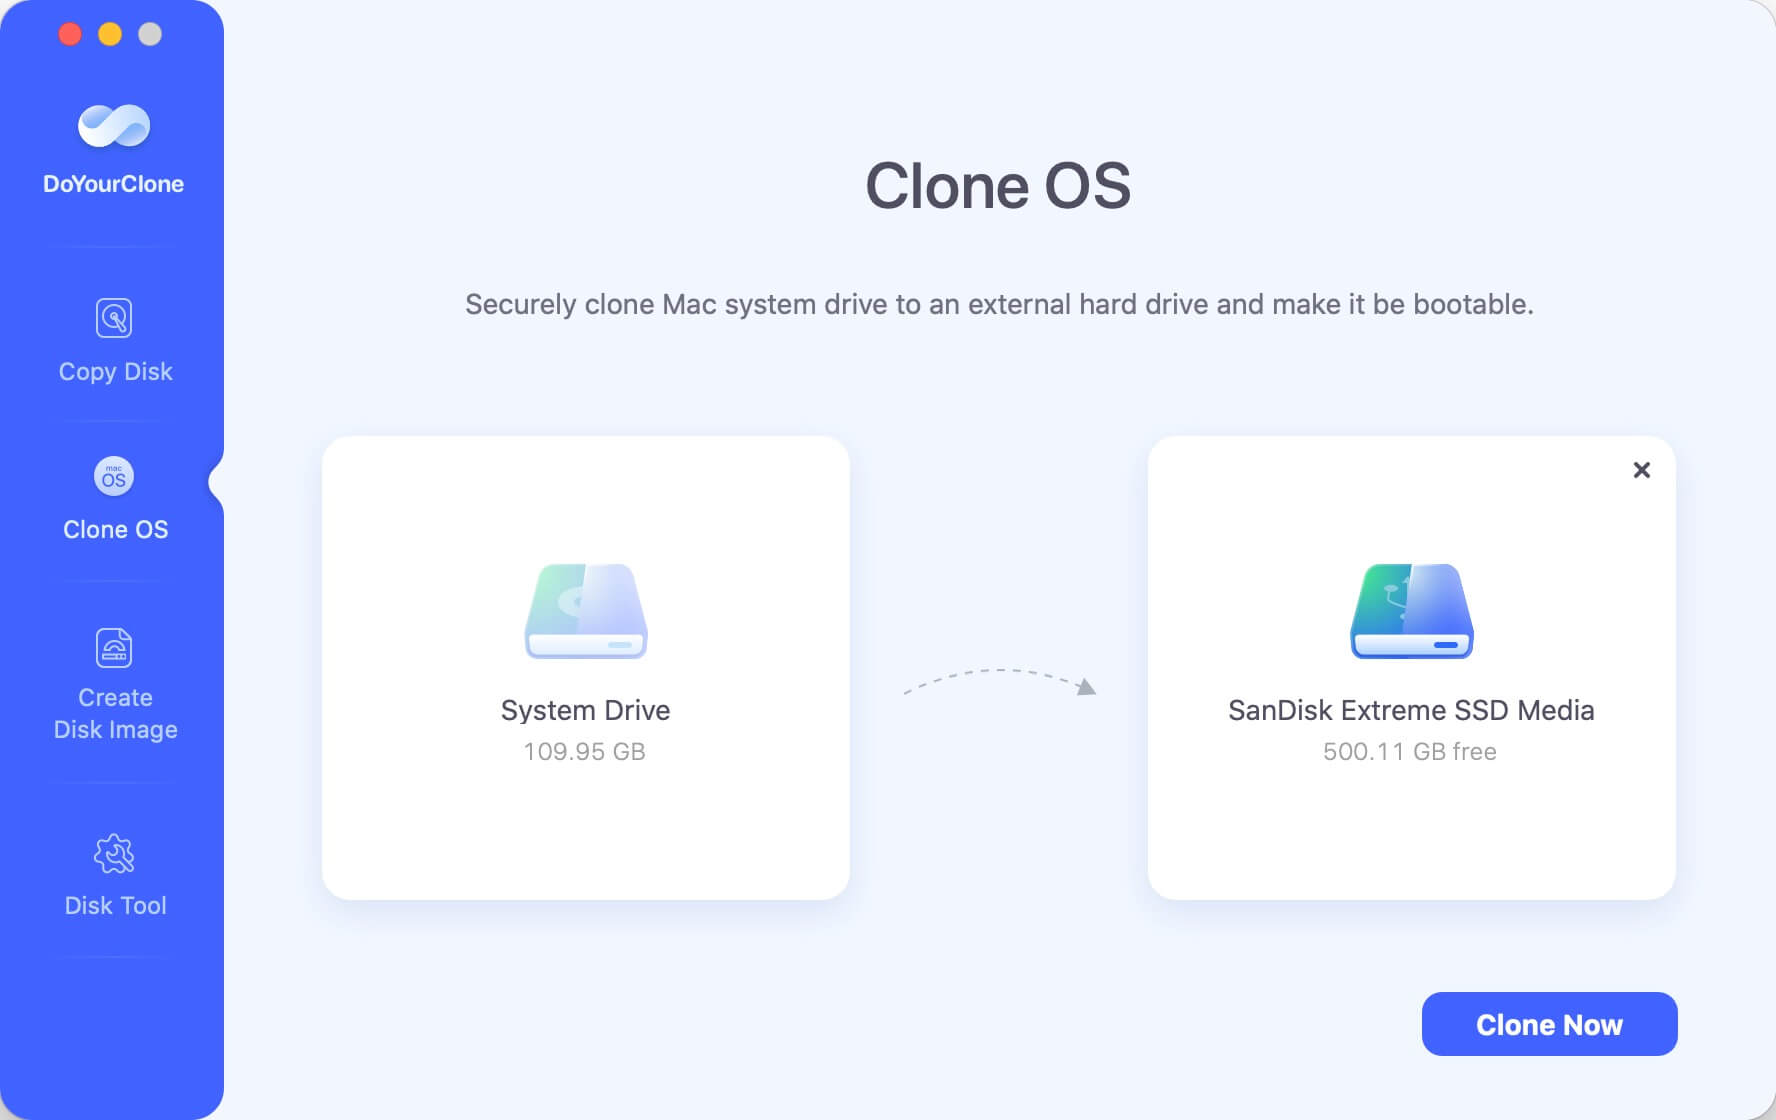
Step 2. Select the external hard drive as destination. Click the Clone Now button to start the disk cloning.
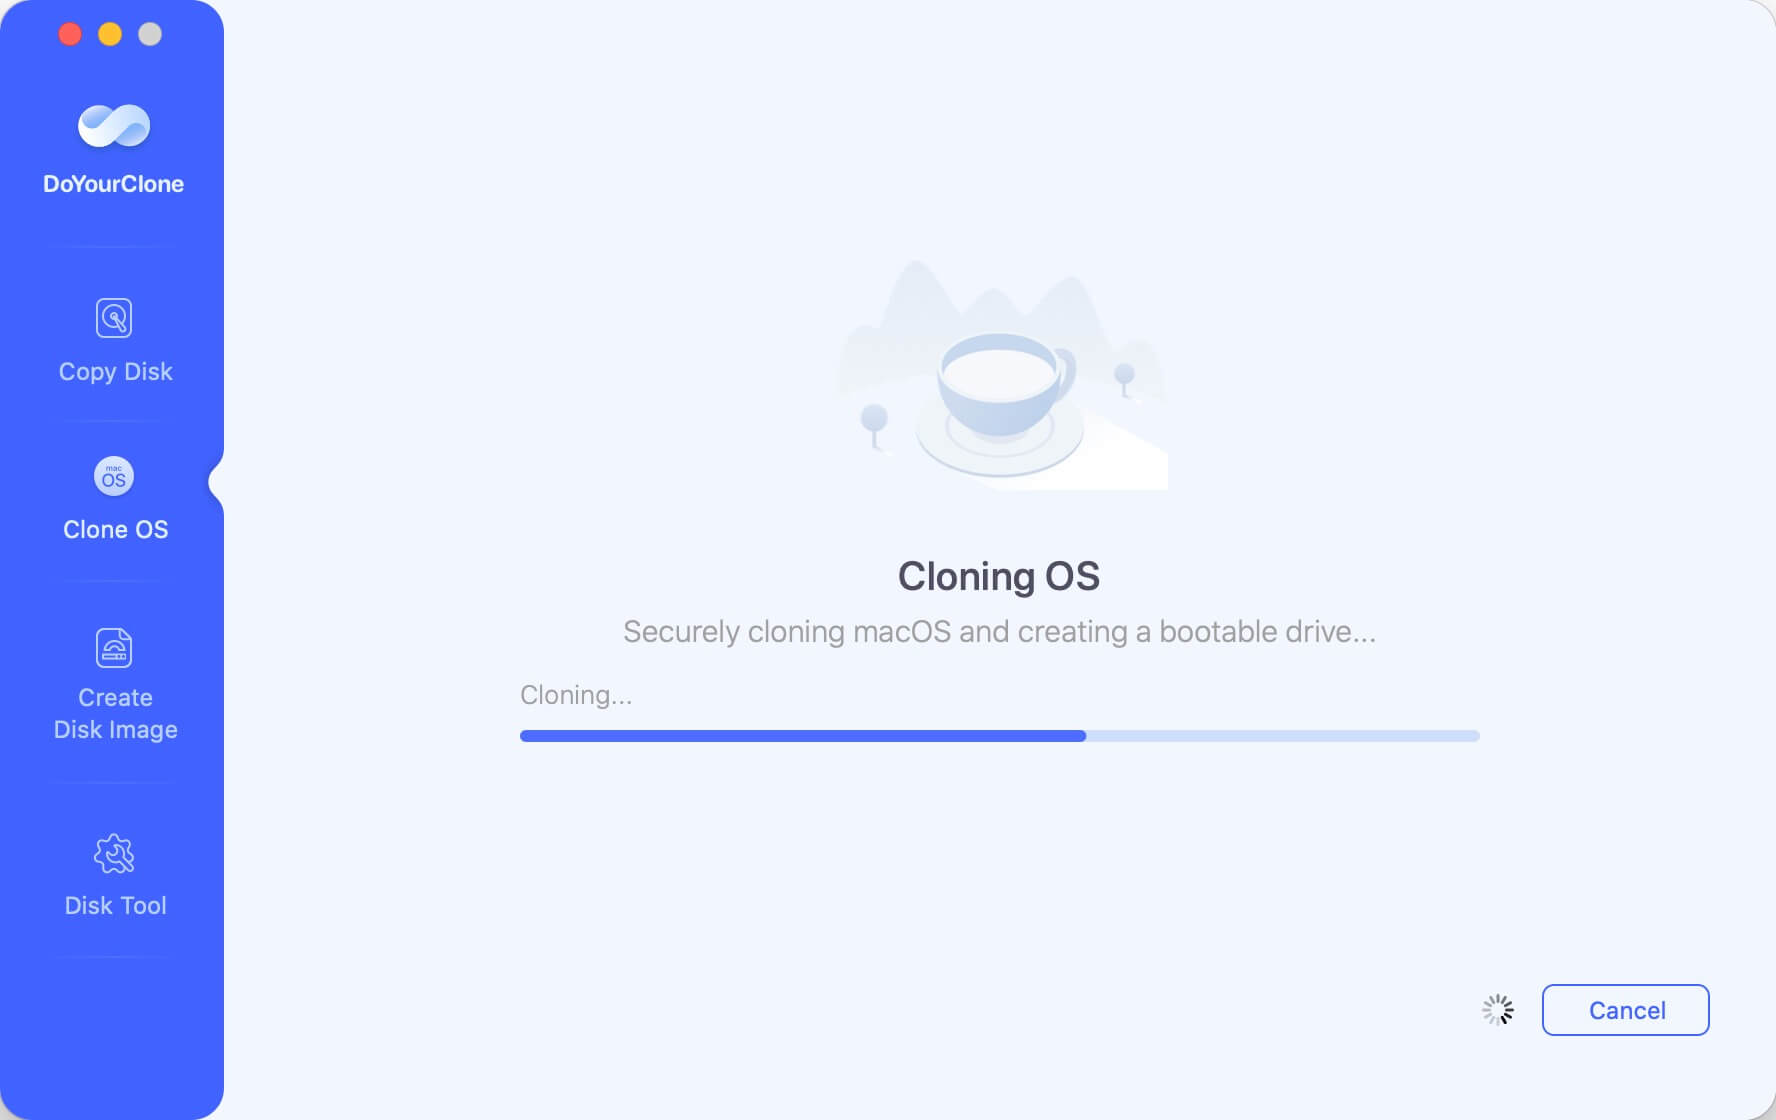
Once the disk cloning process is finished, everything is cloned from the system drive to the external drive. You can use the external hard drive to boot the Mac directly.
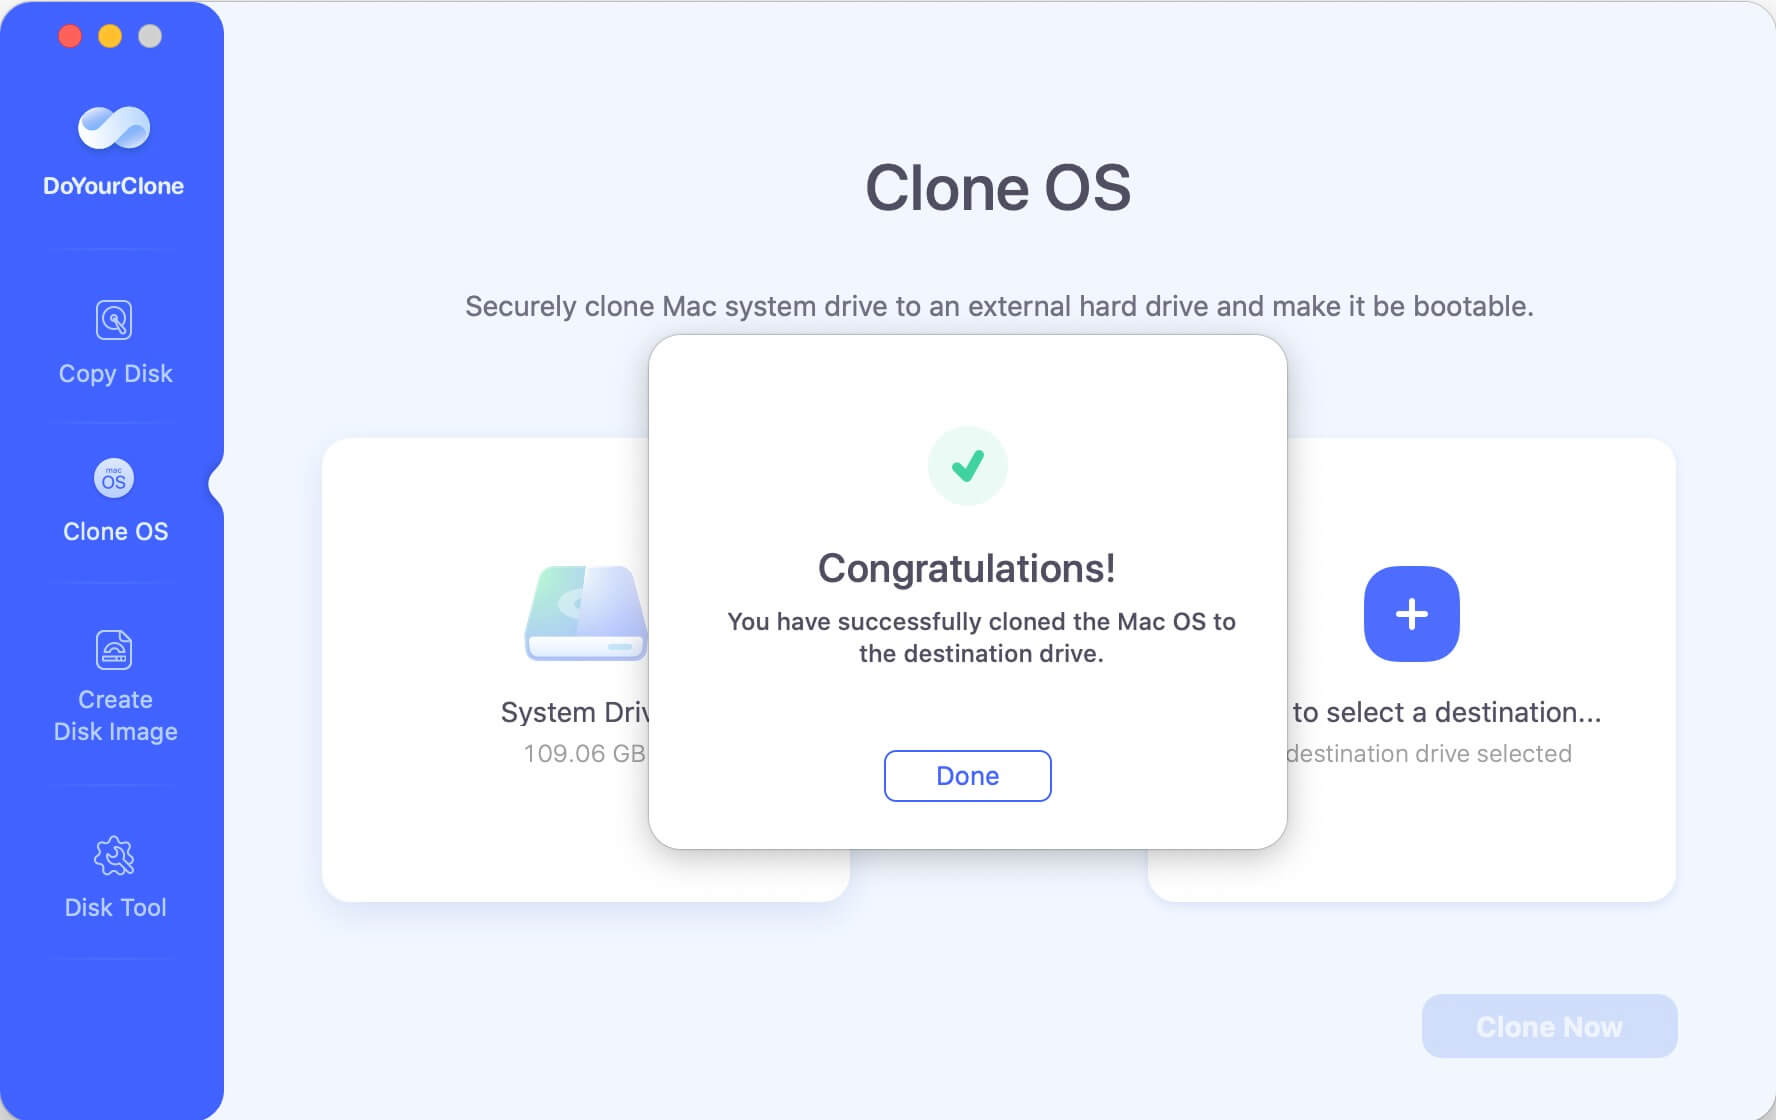
🔖 Tips: Clone macOS with this mode will overwrite the destination disk. It's necessary to backup important files on destination disk first or use an empty external hard drive as destination.
Mode 3: Create Disk Image of hard drive to the new hard drive
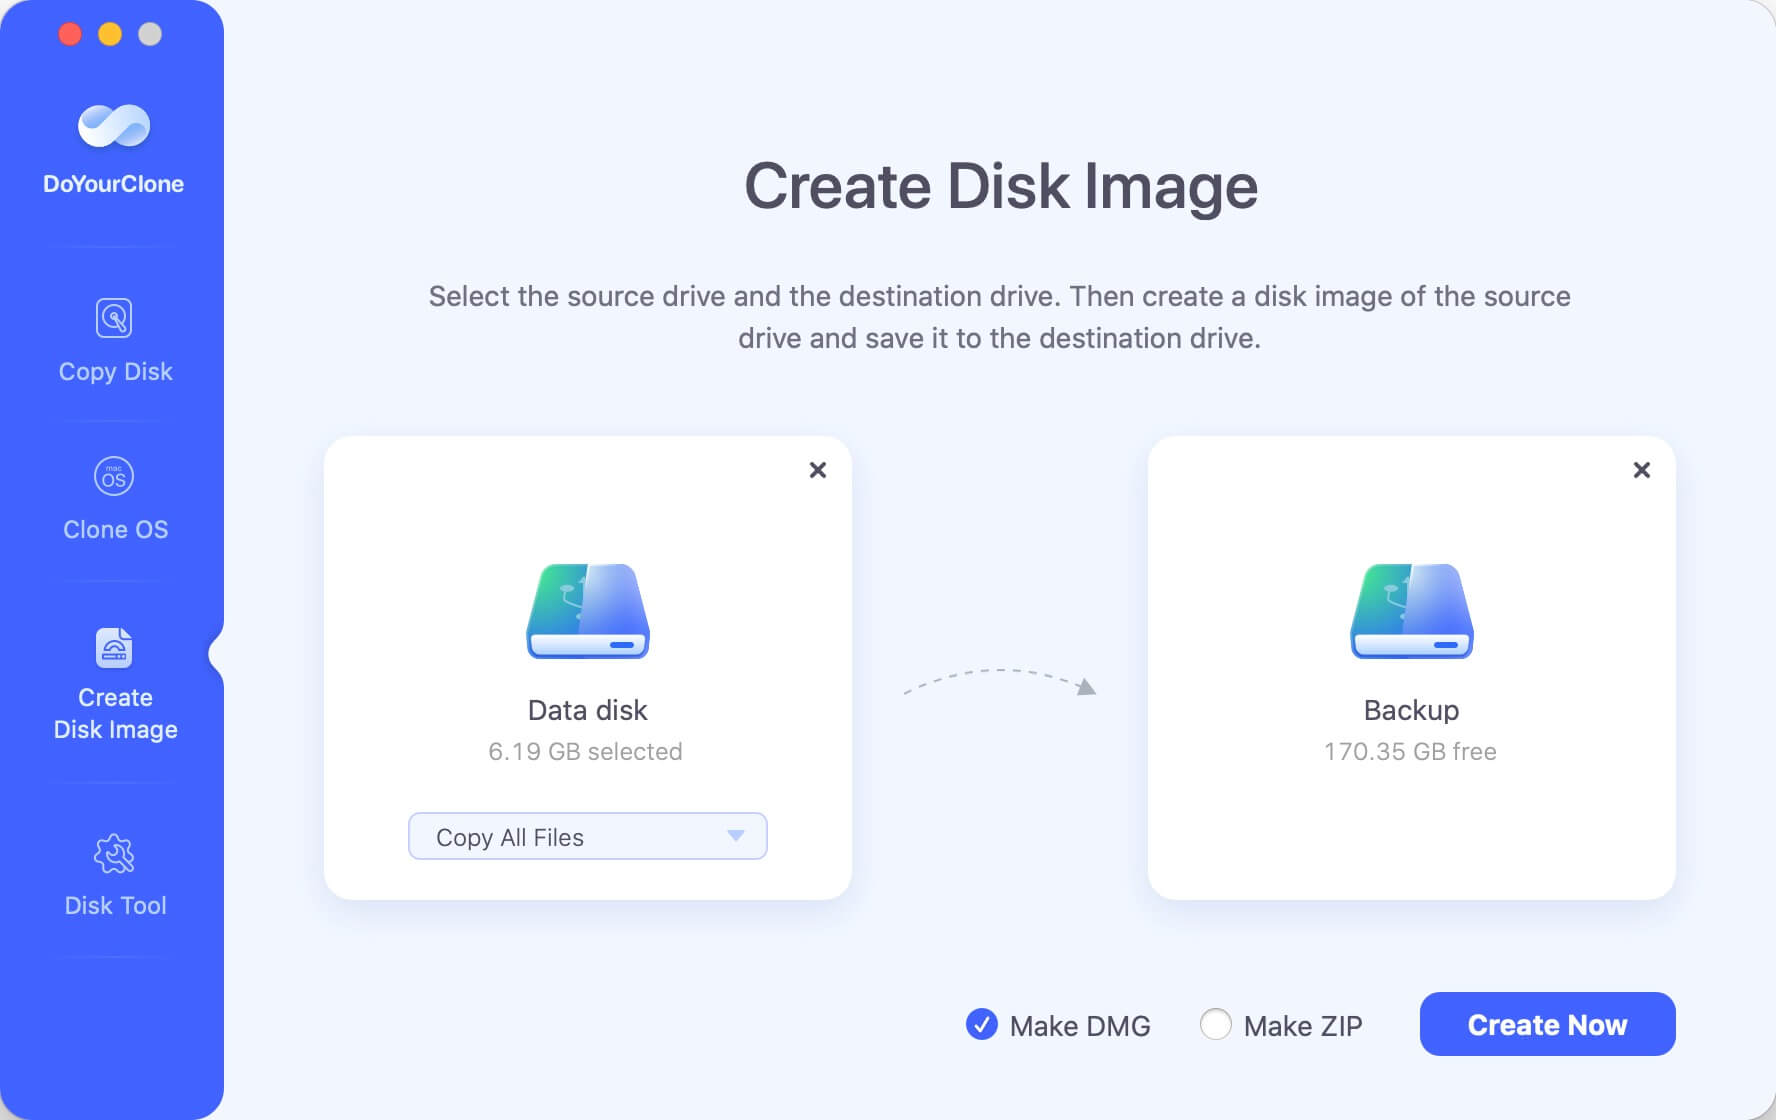
Step 1: Select source and destination drives.
If you select this mode, you should follow some similar steps. First, just choose the source and secondary drive to make Disk Image.
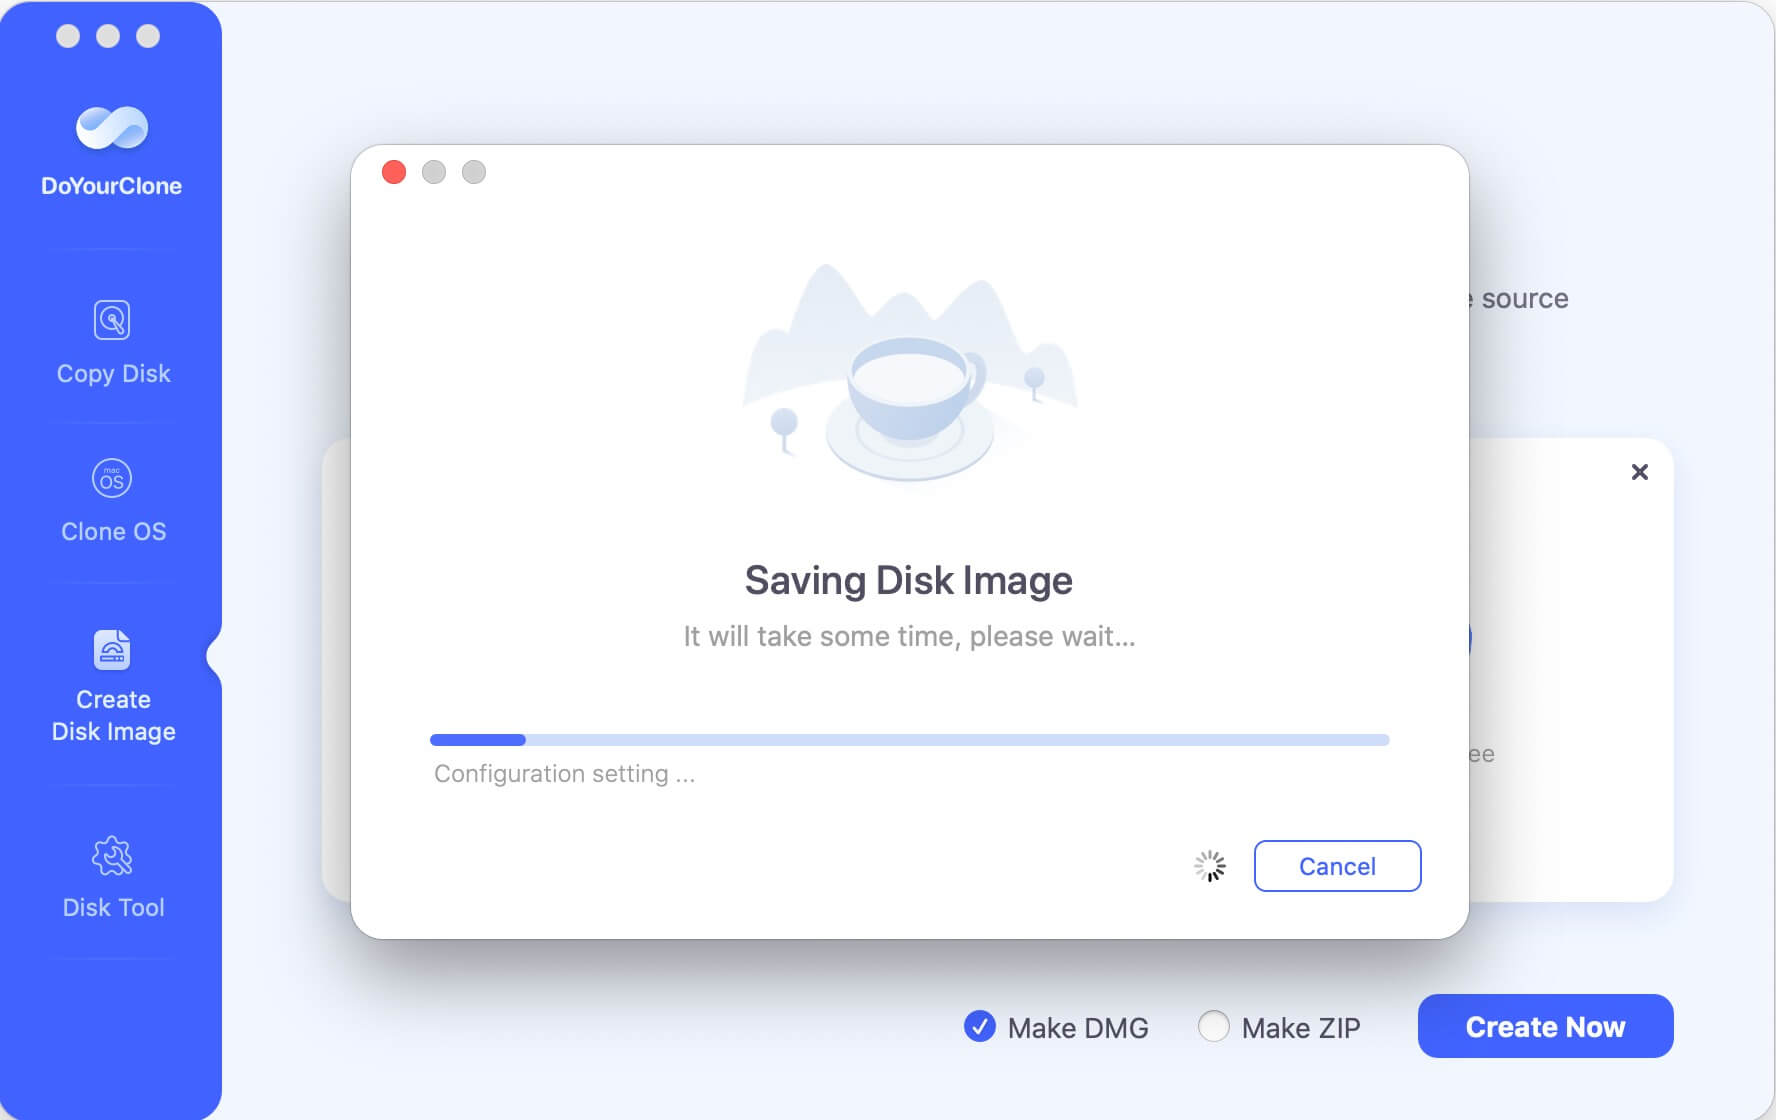
Step 2: Make a Disk Image.
After that, just click on the Create Image button.
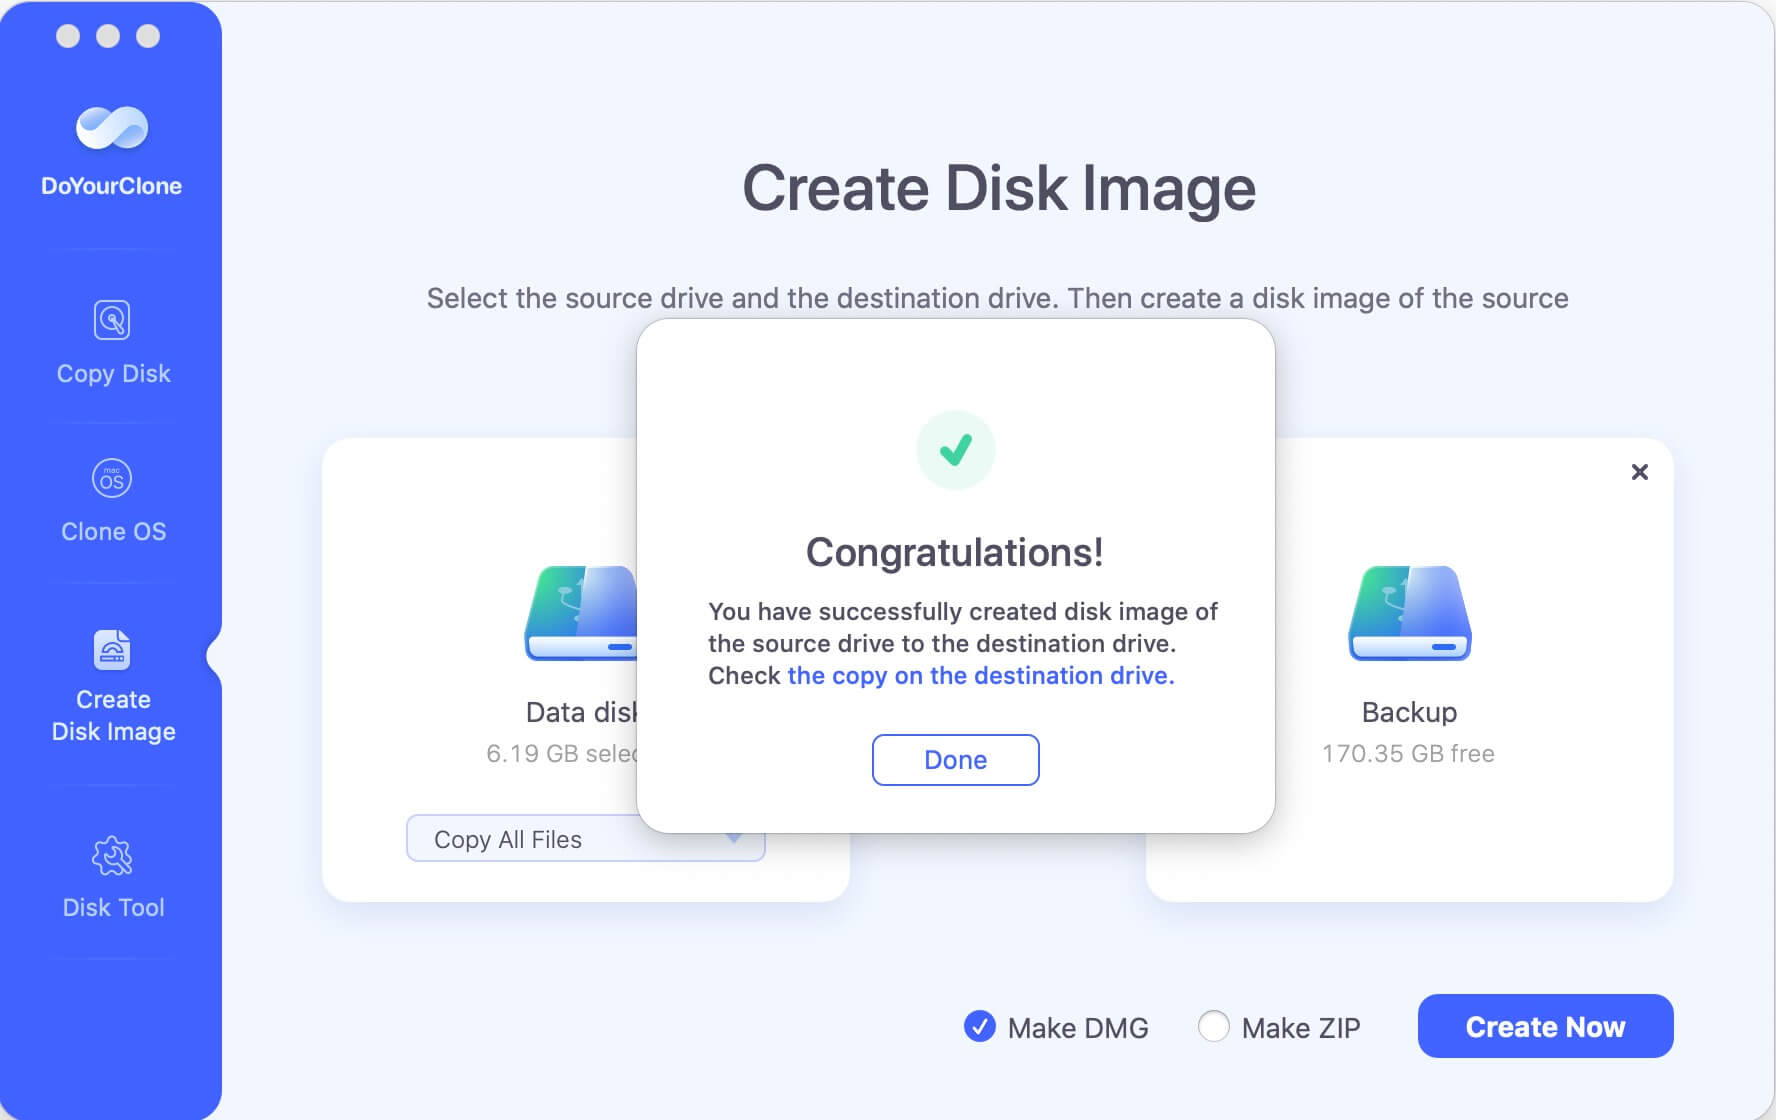
Step 3: Check Disk Image on the secondary drive.
This last step is very important to see if this task was successful or not. You need to check the disk image on the destination hard drive.
Conclusion:
Before you make a copy of damaged drive is necessary before recovering data or fixing hard drive issues. It can ensure you have a copy of the drive data in case the damaged drive cannot be fixed.
To clone damaged hard drive, you can use the macOS built-in tool Disk Utility and Terminal. These tools can make a full copy of damaged drive with exact copy of data for further use.
At last, it's recommended to clone and back up the data or system in the future to avoid data loss. Or you can easily restore the system or data in case of hard drive damage. DoYourClone for Mac is a reliable disk cloning software to clone drive data or create bootable clone backup for macOS.
DoYourClone for Mac
DoYourClone for Mac, one of the best Mac disk cloning software, can help you clone HDD, SSD, external storage device on Mac, upgrade HDD to SSD, create full disk image backup, etc. It also can clone everything from your Mac to an external HDD/SSD and create a full bootable clone backup. 100% safe and easy-to-use.