How to Create A Bootable USB Installer for macOS 14 Sonoma?
Actually installing macOS Sonoma from a USB drive is possible. Follow this guide to create a bootable USB installer for macOS Sonoma. Then you can install macOS Sonoma via the USB installer on any Mac which supports macOS Sonoma. You also can download a disk cloning application to help you create a bootable clone backup for macOS Sonoma and use it as a boot drive on another Mac.
![]() Updated by Anderson on February 28, 2024
Updated by Anderson on February 28, 2024
Quick Navigation:
- 1. What you need to create a Mac-compatible bootable USB?
- 2. How to make a macOS Sonoma USB installer?
- 3. Recover Lost Data on Mac due to Easing or OS Upgrade
- 4. How to create a bootable clone backup for your Mac before or after upgrading to macOS Sonoma?
- 5. Conclusion:
There are a couple of different ways to set up macOS Sonoma. Even though there may be bugs and problems in the Beta version, many people still choose to update immediately from prior versions. Possible effects on productivity due to these factors. In addition, macOS Sonoma can be installed on Mac's separate partition using an external USB installer.
Therefore, this guide will show you how to create bootable USB installer for macOS Sonoma, steps to install macOS Sonoma or macOS Sonoma Beta from a USB flash drive and use the USB Installer to its full potential.
What you need to create a Mac-compatible bootable USB?
You'll need the installation file and a USB drive to start making a macOS Bootable USB installer on your Mac. The procedure is simple once you have both.
Up to 32GB in storage capacity:
We recommend a drive with at least 32 GB of space for this method, as the installer for most Mac operating systems, including macOS Sonoma, can take up to that much space. Having a Flash Memory Stick is preferable to a standard USB hard drive. For recent Macs, either USB 3 or USB-C will work.
How to make a macOS Sonoma USB installer?
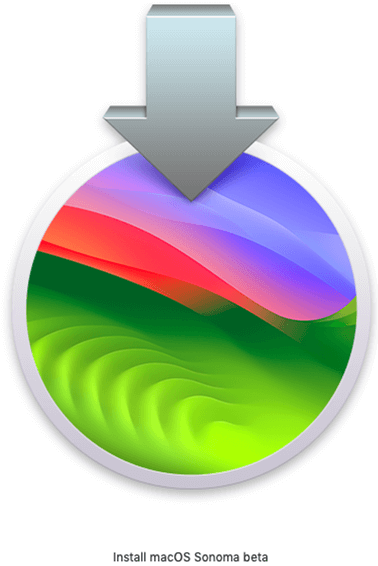
Install Mac OS Sonoma:
You may get macOS Sonoma in several different ways. You can get the macOS Sonoma download in one of two ways: by joining Apple's Beta or Developer program or by downloading it directly from Apple. Alternatively, you can get the Installassistant file for macOS Sonoma straight from Apple's server and install it manually. Packaged in the familiar pkg file format used by many macOS apps, the Installassistant.pkg file contains the macOS Sonoma installer.
The installation files:
The installation files can be obtained from Software Update in System Preferences/Settings, the Mac App Store, or another source, depending on your current macOS version and the version you wish to install.
Still, you may encounter obstacles if you're trying to install an earlier macOS version on a system that's already running a newer version.
You'll need an internet connection to get the program, and installing macOS can necessitate an online connection as well if it has to do things like check for firmware updates or verify your iCloud account details.

Steps to create a bootable installer:
Ensure you have a data backup on the device before creating the bootable installer for macOS. All of your private information is at risk, after all. Then, proceed to the next section.
Install InstallAssistant.pkg:
You can find InstallAssistant.pkg in your Downloads folder; double-click it to begin the installation.
To set it up, just double-click.
Erase & Format your USB Flash Drive:
Create a USB Installer using the Install macOS Sonoma software you just dropped into your /Applications folder. Since the Sonoma installer occupies around 12-14GB, the minimum capacity for the USB Flash Drive is 16GB.
Insert your USB memory stick.
Select the "View" tab in Disk Utility and launch the application. Choose the top-level name of the USB device and then click the "Show All Volumes" button.
Select the USB drive and click Erase.
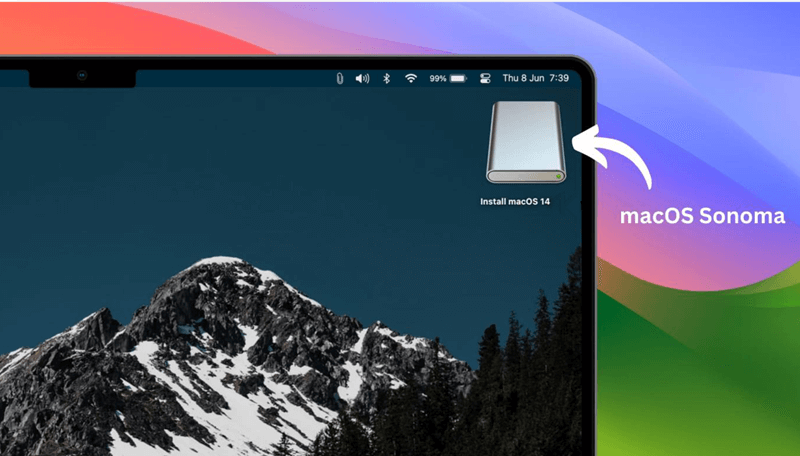
Bootable USB installer of macOS Sonoma:
Start by hooking up the disk that can be used to boot your Mac.
Then, to access the search bar, hit the Command + Space keys.
Open Terminal by typing in the required information.
Run this command in the Terminal.
sudo /Applications/Install\ macOS\ Sonoma.app/Contents/Resources/createinstallmedia –volume /Volumes/MyVolume
To execute the command, press the Return key.
The Terminal Command will prompt you to input the Mac login password; press the Return key once you've done so. To proceed, hit the Y key on your keyboard.
The installer file will delete all existing data before copying the macOS setup into the bootable drive. Depending on the data transport rate, it could take some time. Hold off until the Terminal displays a confirmation message.
Recover Lost Data on Mac due to Easing or OS Upgrade
It is possible to recover lost files from the USB flash drive or Mac startup disk due to deletion, OS upgrade, erasing or formatting.
Step 1. Download and install Do Your Data Recovery for Mac - an easy-to-use Mac data recovery tool. Then open it.
Step 2. Select the hard drive where you lose your files, you can recover lost data from local disk of your Mac or external device including USB drive, memory card, digital camera, external hard drive, etc.

Step 3. Click on Scan button. This Mac data recovery tool will deeply scan the hard drive and find all recoverable files.

Step 4. It allows you to preview the recoverable files. Then select the wanted files and save them by clicking on Recover button.

How to create a bootable clone backup for your Mac before or after upgrading to macOS Sonoma?
To prevent data loss or use the existing OS to another Mac, you should make a bootable clone backup for your Mac whether you have upgrading it to macOS Sonoma or not.
Step 1. Download and install the reliable disk cloning app - DoYourClone for Mac. It is fully compatible with macOS Sonoma, Ventura, Monterey, Big Sur and others.
DoYourClone - Reliable Disk Clone Software
- Create bootable clone for Mac.
- Clone HDD, SSD and external disk.
- Create disk image backup for Mac.
Step 2. Open DoYourClone for Mac, then connect an external hard drive to your Mac. Select disk clone mode - Clone OS. This mode will clone all data including macOS, user files, apps, settings from the Mac startup disk to the external hard drive and make it be bootable.
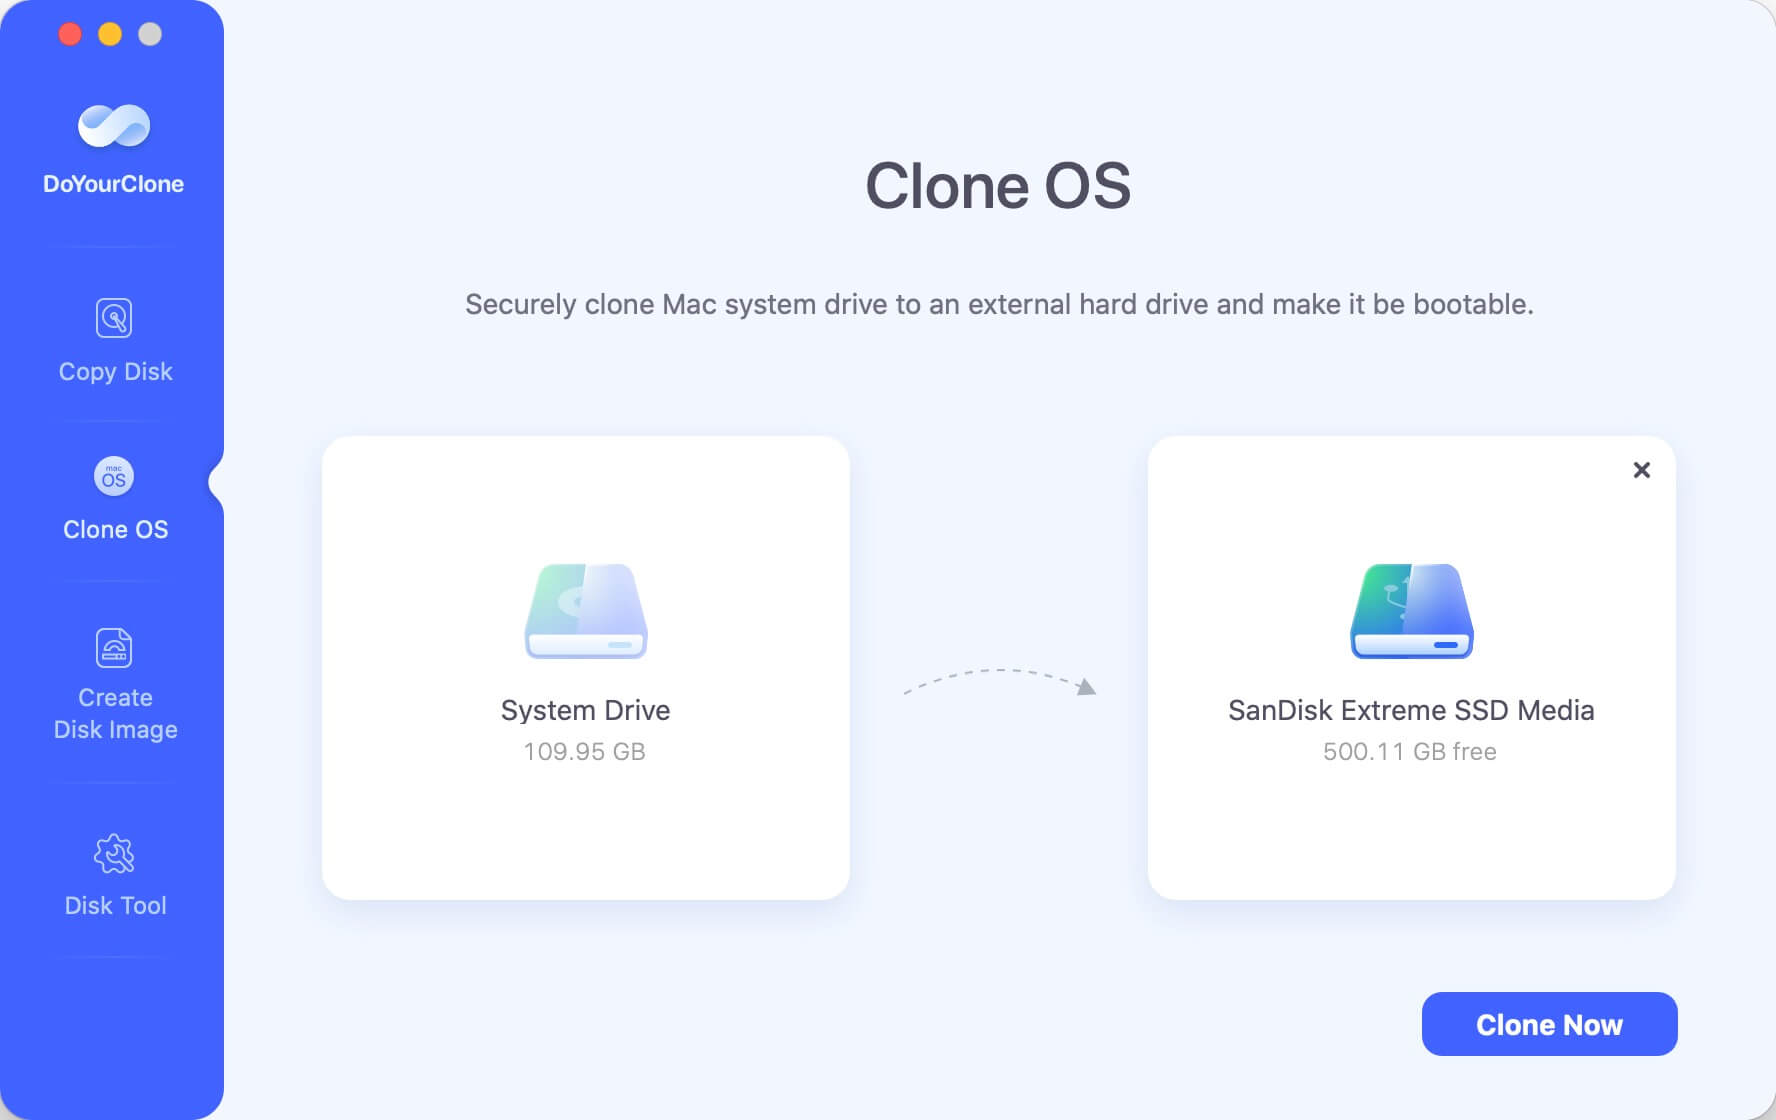
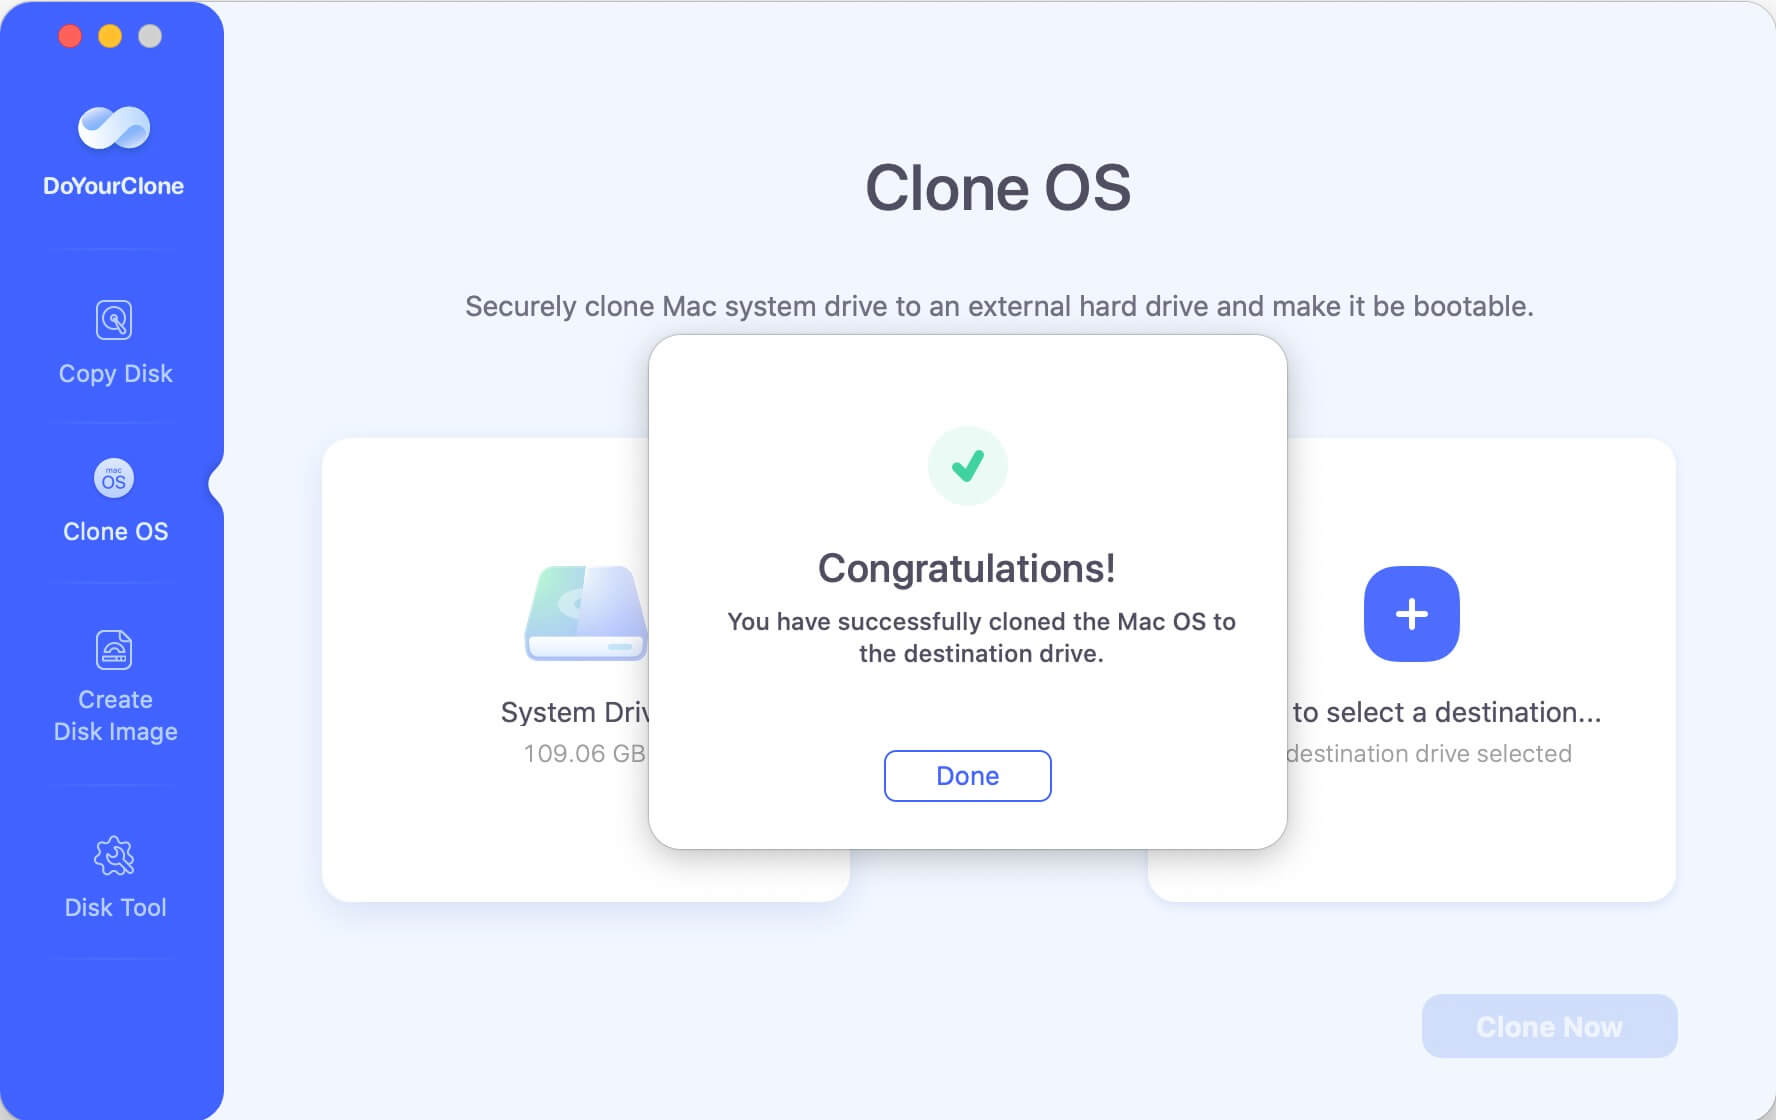
Step 3. Select the external hard drive as the destination drive, then click Clone Now button.

Once the process gets finished, you will find all the data on your Mac is cloned to the external hard drive and you can use the external hard drive as a startup disk on any other Mac.
Conclusion:
You should create a backup copy of your data before installing it. Building a separate partition just for Sonoma is also a simple process. Launch the Disk Utility and select the Add button to make a new partition with the desired name. After that, you can update to macOS Sonoma without worrying about how it would affect your setup.
Putting together a USB Drive installation of macOS Sonoma is a straightforward process. Installing new software or performing installations makes having a USB Installer handy a good idea. That gives you peace of mind knowing you have a backup plan if your computer breaks down or you don't have a fast internet connection and can't download the about 12GB macOS installation package.
DoYourClone for Mac
DoYourClone for Mac, one of the best Mac disk cloning software, can help you clone HDD, SSD, external storage device on Mac, upgrade HDD to SSD, create full disk image backup, etc. It also can clone everything from your Mac to an external HDD/SSD and create a full bootable clone backup. 100% safe and easy-to-use.
Written & Updated by Anderson
Anderson is a big fan of computer technology. He joined DoYourData in 2018 and has been writing 200+ articles about disk clone, data recovery, computer technology, data erasure, Mac system optimization, etc. He loves music, movie, and reading. In his spare time, he’s studying music and playing tennis.