Quick Navigation:
- Overview: Why Creating a Bootable Clone Is Important
- Pre-Cloning Preparations
- Step-by-Step Guide to Cloning macOS Sierra
- Troubleshooting Common Issues
- Alternative Cloning Methods
- Conclusion
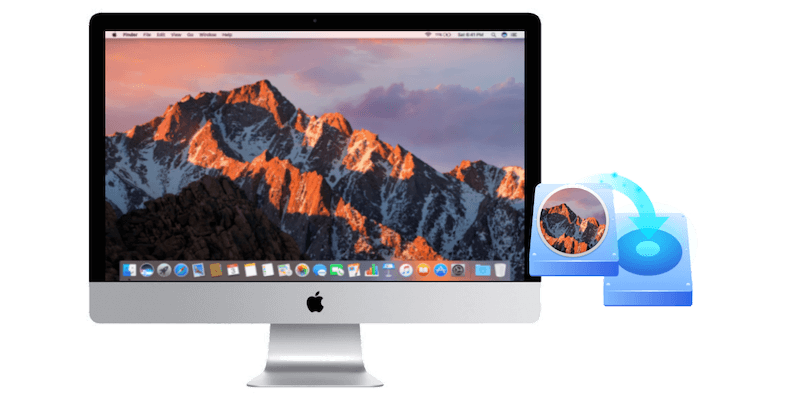
Whether you're upgrading your macOS, replacing a hard drive, or safeguarding your data against unexpected system crashes, having a bootable clone of your system is a wise move. A bootable clone ensures that if your internal drive fails or becomes corrupted, you can continue using your Mac by booting from an external drive. This article will guide you step-by-step through the process of creating a bootable clone for macOS Sierra.
Overview: Why Creating a Bootable Clone Is Important
For macOS users, backing up their data is essential, but creating a bootable clone takes it one step further. Unlike a regular backup that just saves your files, a bootable clone is an exact replica of your system, including your operating system (OS), applications, and settings. If your Mac's internal drive fails, this clone allows you to boot up and run your system from an external drive, minimizing downtime and preventing data loss.
What is a Bootable Clone?
A bootable clone is an identical copy of your Mac's internal hard drive or SSD, stored on an external drive. When you create a bootable clone, you're essentially making a duplicate of your entire system. It differs from a regular backup because you can start your computer from this clone, accessing your files, applications, and system settings exactly as they were at the time of cloning.
When to Create a Bootable Clone
Creating a bootable clone is particularly useful in the following situations:
- Before a major macOS update: Sometimes updates may not go as planned, and having a clone allows you to revert to your previous version of macOS seamlessly.
- Before replacing your hard drive: If you're upgrading to an SSD or replacing a failing drive, a bootable clone ensures you can quickly restore your system to the new drive.
- As a part of disaster recovery planning: If your internal drive becomes corrupted, a bootable clone can get you back up and running with minimal disruption.
Pre-Cloning Preparations
Before you begin creating your bootable clone, there are several key preparatory steps to follow to ensure the process goes smoothly.
Backup Your Data
While creating a bootable clone is a type of backup. However it's always a good idea to create a separate backup of your important data before cloning your drive. Use Time Machine or another backup solution to back up your critical files to an external drive or cloud storage. This way, you have a fallback in case something goes wrong during the cloning process.
Check System Requirements
Ensure you have the right hardware for the cloning process. Here's what you'll need:
- An external drive: The external drive must be at least as large as your Mac's internal drive. It should also be formatted as HFS+ (Mac OS Extended Journaled) or APFS, depending on the macOS version you plan to clone.
- Cloning software: You'll need reliable cloning software such as DoYourClone for Mac. The tool is reliable to create bootable copy for macOS, making it excellent choice for most users. This software is feature-rich, easy to use, and powerful. It offers a simple interface and excellent cloning capabilities.
Step-by-Step Guide to Cloning macOS Sierra
Now that you've prepared your system, device, and disk cloning software, it's time to dive into the cloning process.
Step 1: Download and Install Cloning Software
First, download and install the cloning software DoYourClone for Mac.
DoYourClone - Reliable Disk Clone Software
- Create bootable copy for macOS Sierra and other operating systems.
- Most reliable Mac disk cloning software to create exact copy of macOS.
- Simple interface lead to easy and full clone for your Mac drive.
Once downloaded, follow the on-screen instructions to install the software. After installation, you may need to give the application full disk access if it asks.
Step 2: Prepare the External Drive
Your external drive must be properly formatted to be bootable. Follow these steps to format the drive in "Disk Utility":
- Connect the external drive to your Mac.
- Open "Disk Utility" by going to Applications > Utilities.
![create bootable clone for macOS Sierra]()
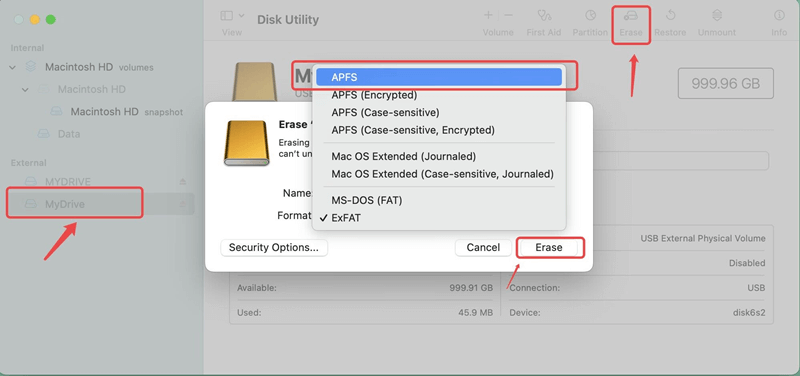
- Select the external drive from the left sidebar.
- Click the Erase button and choose the following options:
- Format: Choose "Mac OS Extended (Journaled)" or APFS (APFS is recommended for SSDs).
- Scheme: Select "GUID Partition Map".
- Click Erase to format the drive. This process will delete all existing data on the external drive, so make sure there's nothing important stored on it.
Step 3: Set Up Cloning Software
Once the external drive is prepared, open your cloning software. The setup for the software DoYourClone for Mac is straightforward:
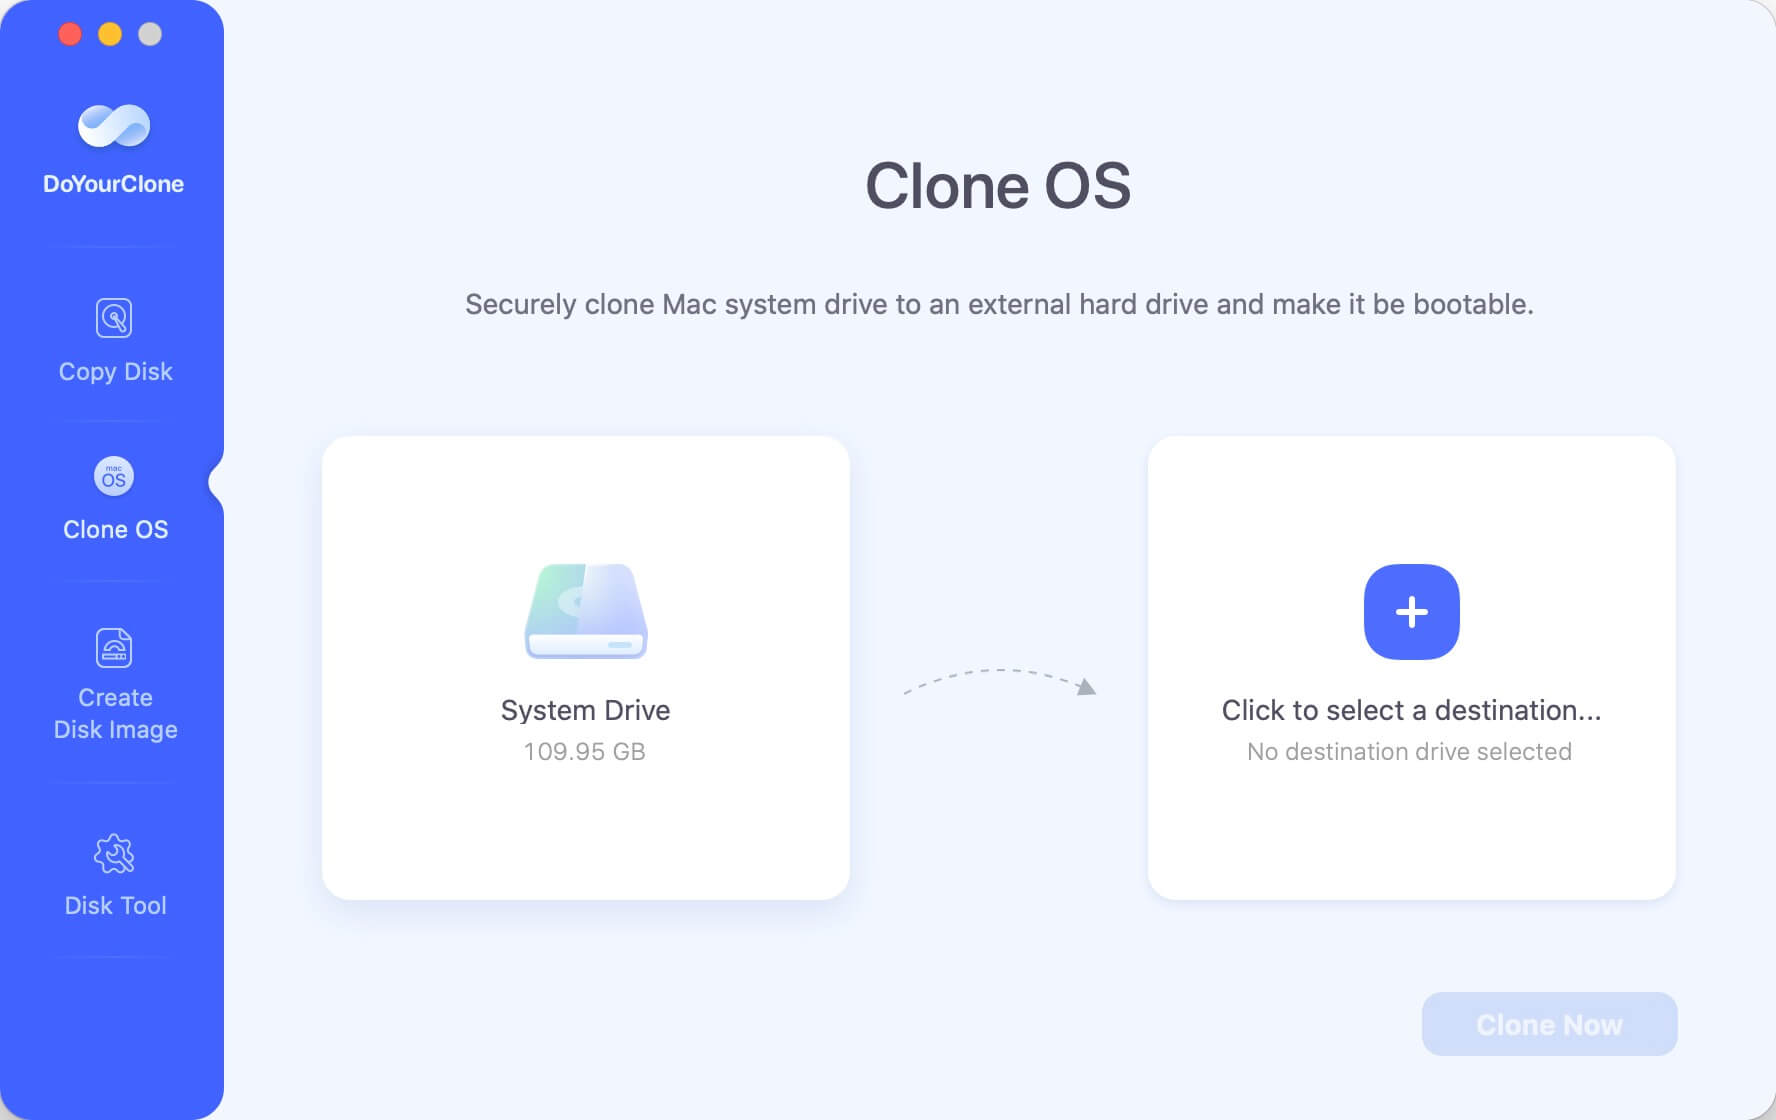
- Run the software and select the mode Clone OS.
![DoYourClone]()
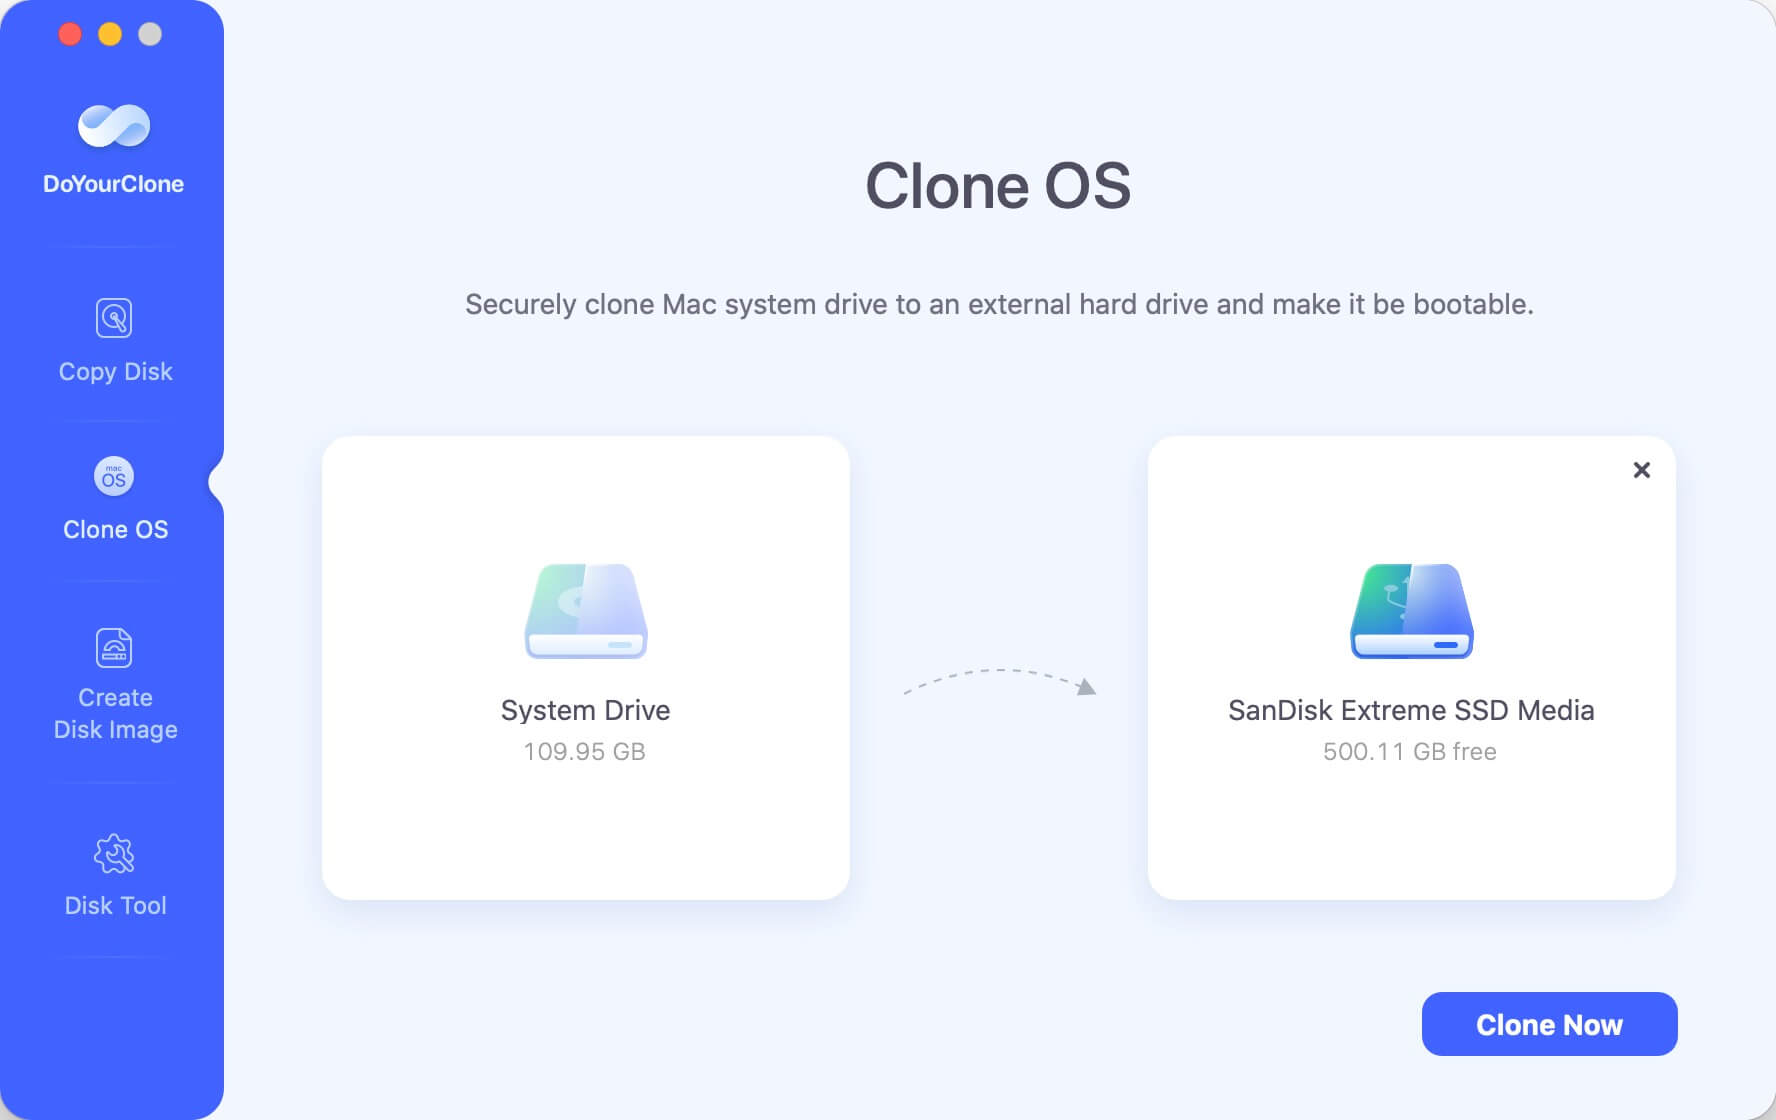
- Your Mac's internal drive, usually called "Macintosh HD," will be selected automatically as the source. You can just select the target drive, which is the external hard drive you just formatted.
![DoYourClone]()
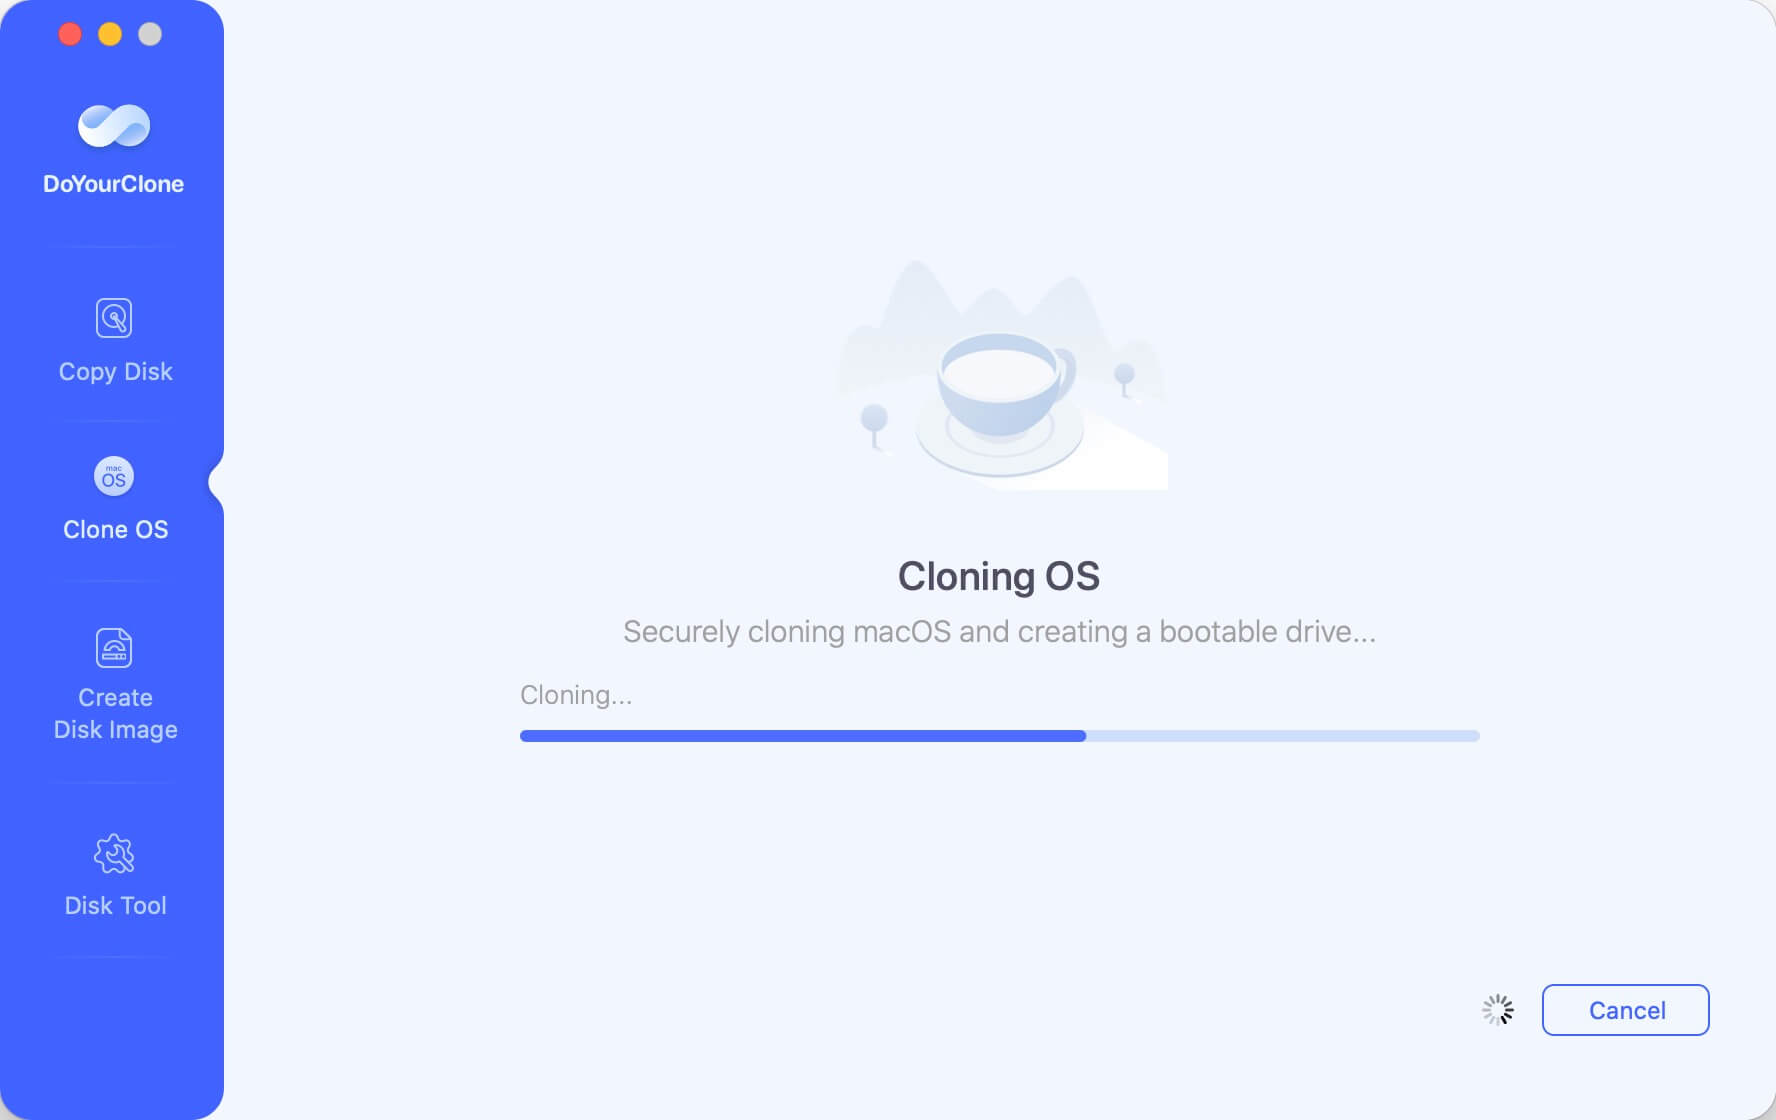
Step 4: Start the Cloning Process
Once everything is set up, click Clone Now button to begin the cloning process. The time it takes will depend on how much data you're cloning and the speed of your drives. Cloning can take anywhere from a few minutes to several hours, so be patient.
Step 5: Verify the Bootable Clone
After the cloning process is complete, it's important to verify that the clone is bootable. To do this:
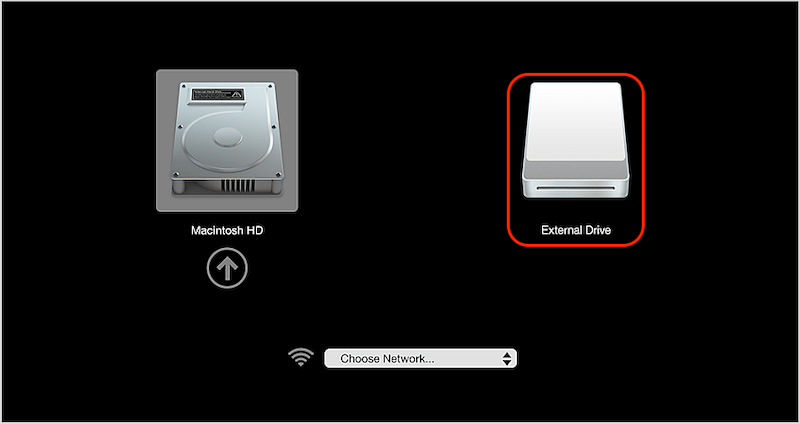
- Restart your Mac and hold down the Option key as it reboots. Keep holding the key until the boot menu appears.
- A screen will appear showing available boot drives. Select the external drive (the clone) from this list and boot from the cloned drive.
![create bootable clone for macOS Sierra]()
- After booting from the external drive, it's a good idea to test the system's performance. Check if applications open quickly, files load properly, and the overall system feels responsive.
If your Mac's internal drive fails or you need to use your clone for any reason in the future, follow these steps to boot from it. Booting from an external drive can sometimes be slower, but this will give you an idea of how well the clone works if you ever need to rely on it in an emergency.
Troubleshooting Common Issues
Sometimes, things don't go according to plan. Here are some common issues you might encounter while cloning your Mac and how to resolve them.
Clone Fails to Boot
If the clone doesn't boot, there are a few possible causes:
- Incorrect drive format: Make sure the external drive is formatted correctly (HFS+ or APFS with GUID partition scheme).
- Incomplete clone: Check the cloning log to see if there were any errors during the process. Re-run the cloning process if necessary.
- Security settings: macOS's security settings might prevent booting from external drives. Go to "System Preferences" > "Startup Security Utility" and allow external booting.
Cloning Process Is Slow
If the cloning process takes an unusually long time, consider the following:
- Drive speed: Older external drives with spinning disks are significantly slower than SSDs.
- USB connection: USB 2.0 is much slower than USB 3.0 or Thunderbolt. Try upgrading to a faster connection method if possible.
Drive Space Problems
If your external drive runs out of space, you'll need to free up some room. You can:
- Delete unnecessary files: Before cloning, clear out any files you don't need.
- Use a larger external drive: Make sure your external drive has enough space to store the entire system.
Alternative Cloning Methods
If you prefer not to use third-party software, there are alternative methods to create a bootable clone.
Using macOS Built-in Tools
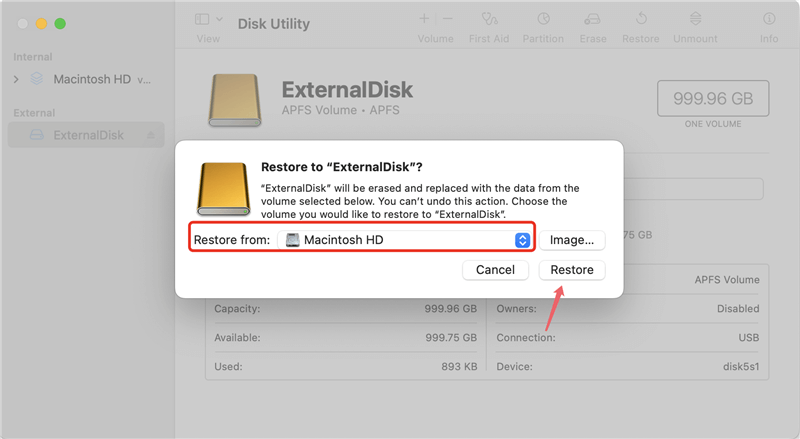
While third-party software offers more features, you can clone your Mac's drive using Disk Utility:
- Open Disk Utility and select your external drive.
- Click Restore, then select your Mac's internal drive as the source.
- Disk Utility will clone your system to the external drive, though it may lack the flexibility of third-party tools.
Cloud-Based Cloning Solutions
For those looking for a cloud-based alternative, some services offer full system backups to the cloud. However, these are typically not bootable directly from the cloud, and restoring a system from the cloud may take significantly longer than using a physical drive.
Conclusion
Creating a bootable clone for macOS Sierra is an excellent way to ensure you're prepared for any disaster. By following the steps outlined in this guide, you can use DoYourClone for Mac to create a functional clone that can save you from system failures, corrupted updates, or hard drive replacements. Having a bootable clone on hand means you're just a quick restart away from restoring your system to full functionality, minimizing downtime and protecting your data.
DoYourClone for Mac
DoYourClone for Mac, one of the best Mac disk cloning software, can help you clone HDD, SSD, external storage device on Mac, upgrade HDD to SSD, create full disk image backup, etc. It also can clone everything from your Mac to an external HDD/SSD and create a full bootable clone backup. 100% safe and easy-to-use.

