SSD Data Recovery: Recover Deleted/Formatted Data
Download the reliable data recovery software to recover deleted or formatted data from local SSD or external SSD.
Quick Navigation:
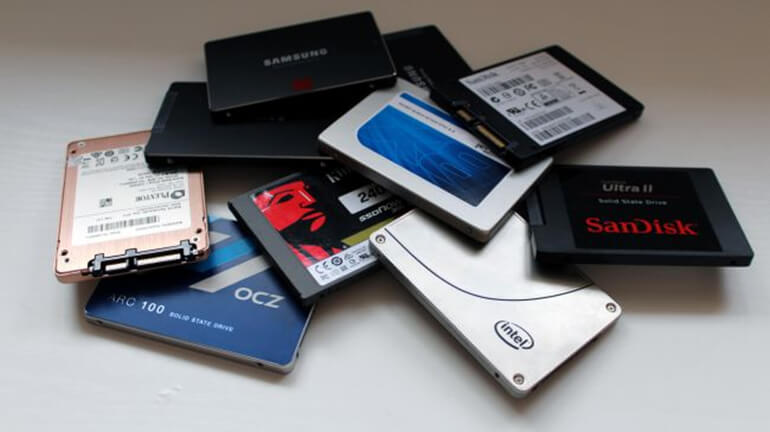
External Solid State Drives (SSDs), which are very movable, have changed how we store data in modern computers. These sleek, small gadgets keep our files safe, keep us connected on the go, and store important data. But, just like any other technological gem, these reliable SSDs have times when they could use a fresh start.
Imagine bringing your SSD back to life, making it run as fast as ever, protecting your privacy, or getting it ready for a new trip. In this guide, we'll look at how to do a full reset on your external SSD, which is a complicated but worthwhile process. Prepare to learn the tricks and become an expert at restoring your trusty storage buddy!
Resetting a solid-state drive (SSD) to its factory default state using SSD Secure Erase is a way to delete all data from the drive. Because solid-state drives (SSDs) employ a different technique for storing data than regular hard disk drives (HDDs), standard data deletion methods, such as formatting, are unsuccessful on SSDs.
To permanently delete all recorded data, many solid-state drives (SSDs) provide a feature called Secure Erase. This feature resets all memory cells to their default empty state. Standard data recovery procedures will not be able to retrieve this data, and the operation is usually quicker than wiping the entire drive. It's a safe method to get an SSD ready for recycling, resale, or disposal without compromising data security. Remember that not all solid-state drives (SSDs) have this capability and that the specifics of executing Secure Erase could differ from one SSD model to another.
You must understand why an external SSD could require a factory reset before you can begin the reset process. Several possible situations could cause this to happen:
Attach the USB or Thunderbolt cable to your PC with the external solid-state drive. Verify that your system can recognize and access the device.
To avoid losing important data, move it from the SSD to another part of your computer or storage device.
Windows user:

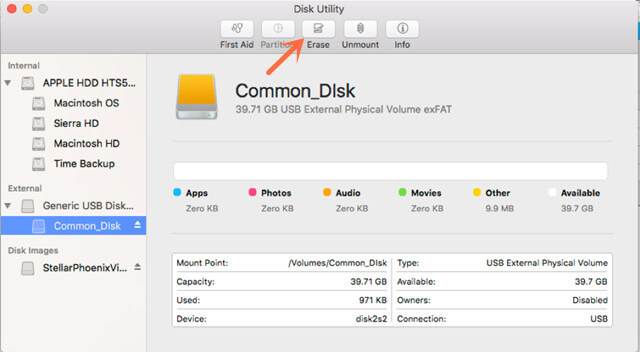
Mac users:
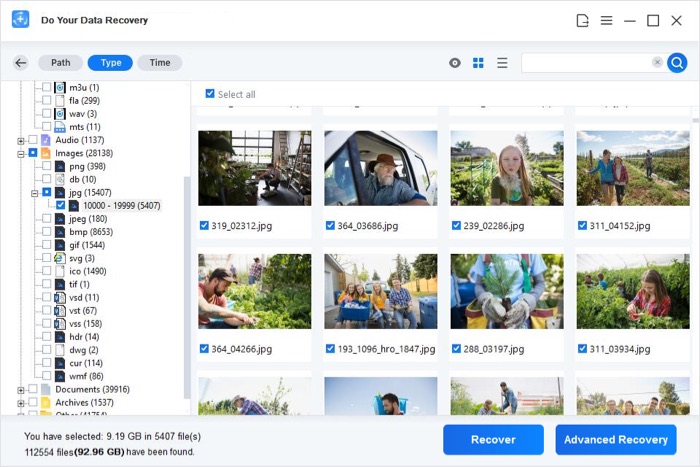
Please note that the formatted data on the SSD is not lost forever and can be recovered by data recovery software.
SSD Data Recovery: Recover Deleted/Formatted Data
Download the reliable data recovery software to recover deleted or formatted data from local SSD or external SSD.
If you will sell, donate or discard your SSD, you should permanently wipe all your private data off. With a data erasure program, you can securely factory reset the SSD and permanently erase all data from it. Now, follow the steps below to secure reset a SSD:
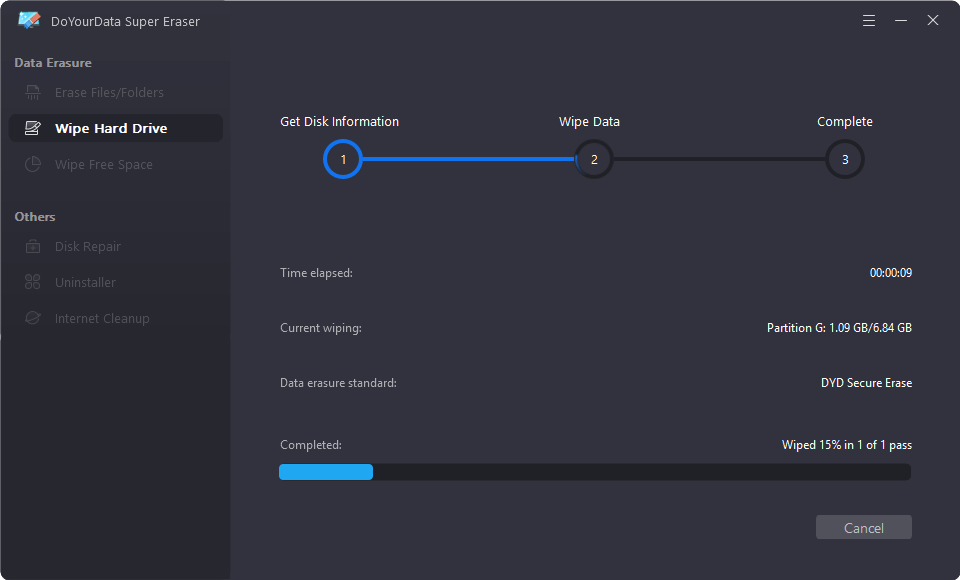
Step 1. Download and install the secure SSD data eraser - DoYourData Super Eraser.
Step 2. Connect the SSD to your computer and open DoYourData Super Eraser. Choose data erasure mode - Wipe Hard Drive. This mode will wipe and format the SSD. All data stored on the SSD will be erased permanently.
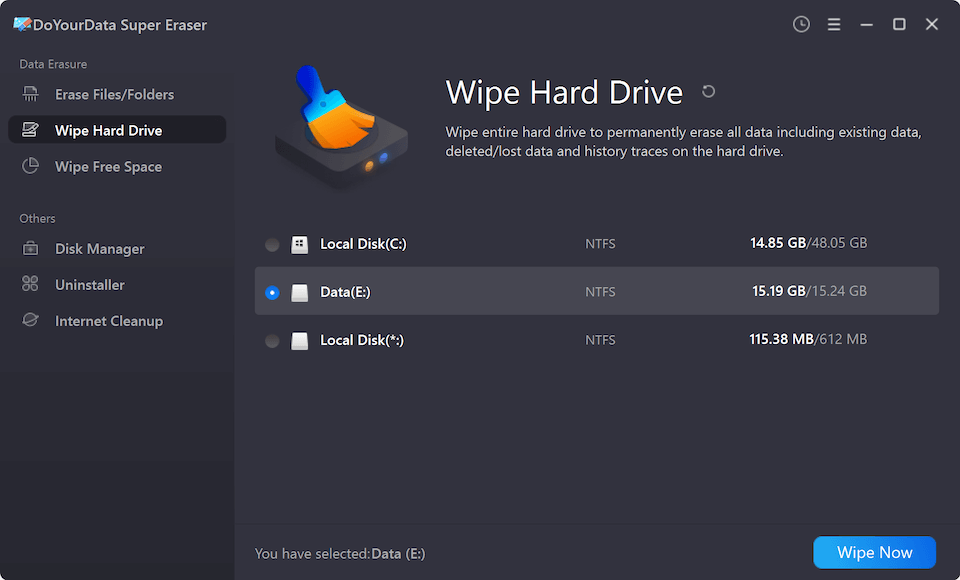
Step 3. Click on Wipe Now button to securely wipe the SSD.
Once the data is erased by DoYourData Super Eraser, the data is lost forever and can’t be recovered by any data recovery software. If you will factory reset the SSD, you should make a backup of your important data.
You may worry about data erasure will damage your SSD. Don’t worry, DoYourData Super Eraser is a 100% safe erasure program, it won’t cause any damage to your SSD.
A factory reset on an external SSD can fix speed problems, protect your data, and get the drive ready to be sold or used again. Following these steps and taking the right safety measures, you can safely and effectively reset your SSD to its factory settings. Remember to back up important data before resetting so you don't accidentally lose data.
If you don’t want anyone to have the chance to recover your lost data from the SSD, just try data erasure software, such as DoYourData Super Eraser to help you factory reset/wipe the SSD, making data recover be impossible.
The steps you need to take may differ depending on your SSD type or operating system. If you have problems during the restart process, look at the manufacturer's instructions or get help from a professional.
Written & Updated by Ricky Lin
Ricky Lin is an senior editor of DoYourData who lives in Adelaide, Australia. He is interested in writing technology articles related with data recovery, computer issue fixes, disk clone, iPhone data recovery, video edit, Mac optimization, etc. He Joined DoYourData in 2019 and have written 500+ articles to help both Windows users and Mac users to solve data or computer problems.