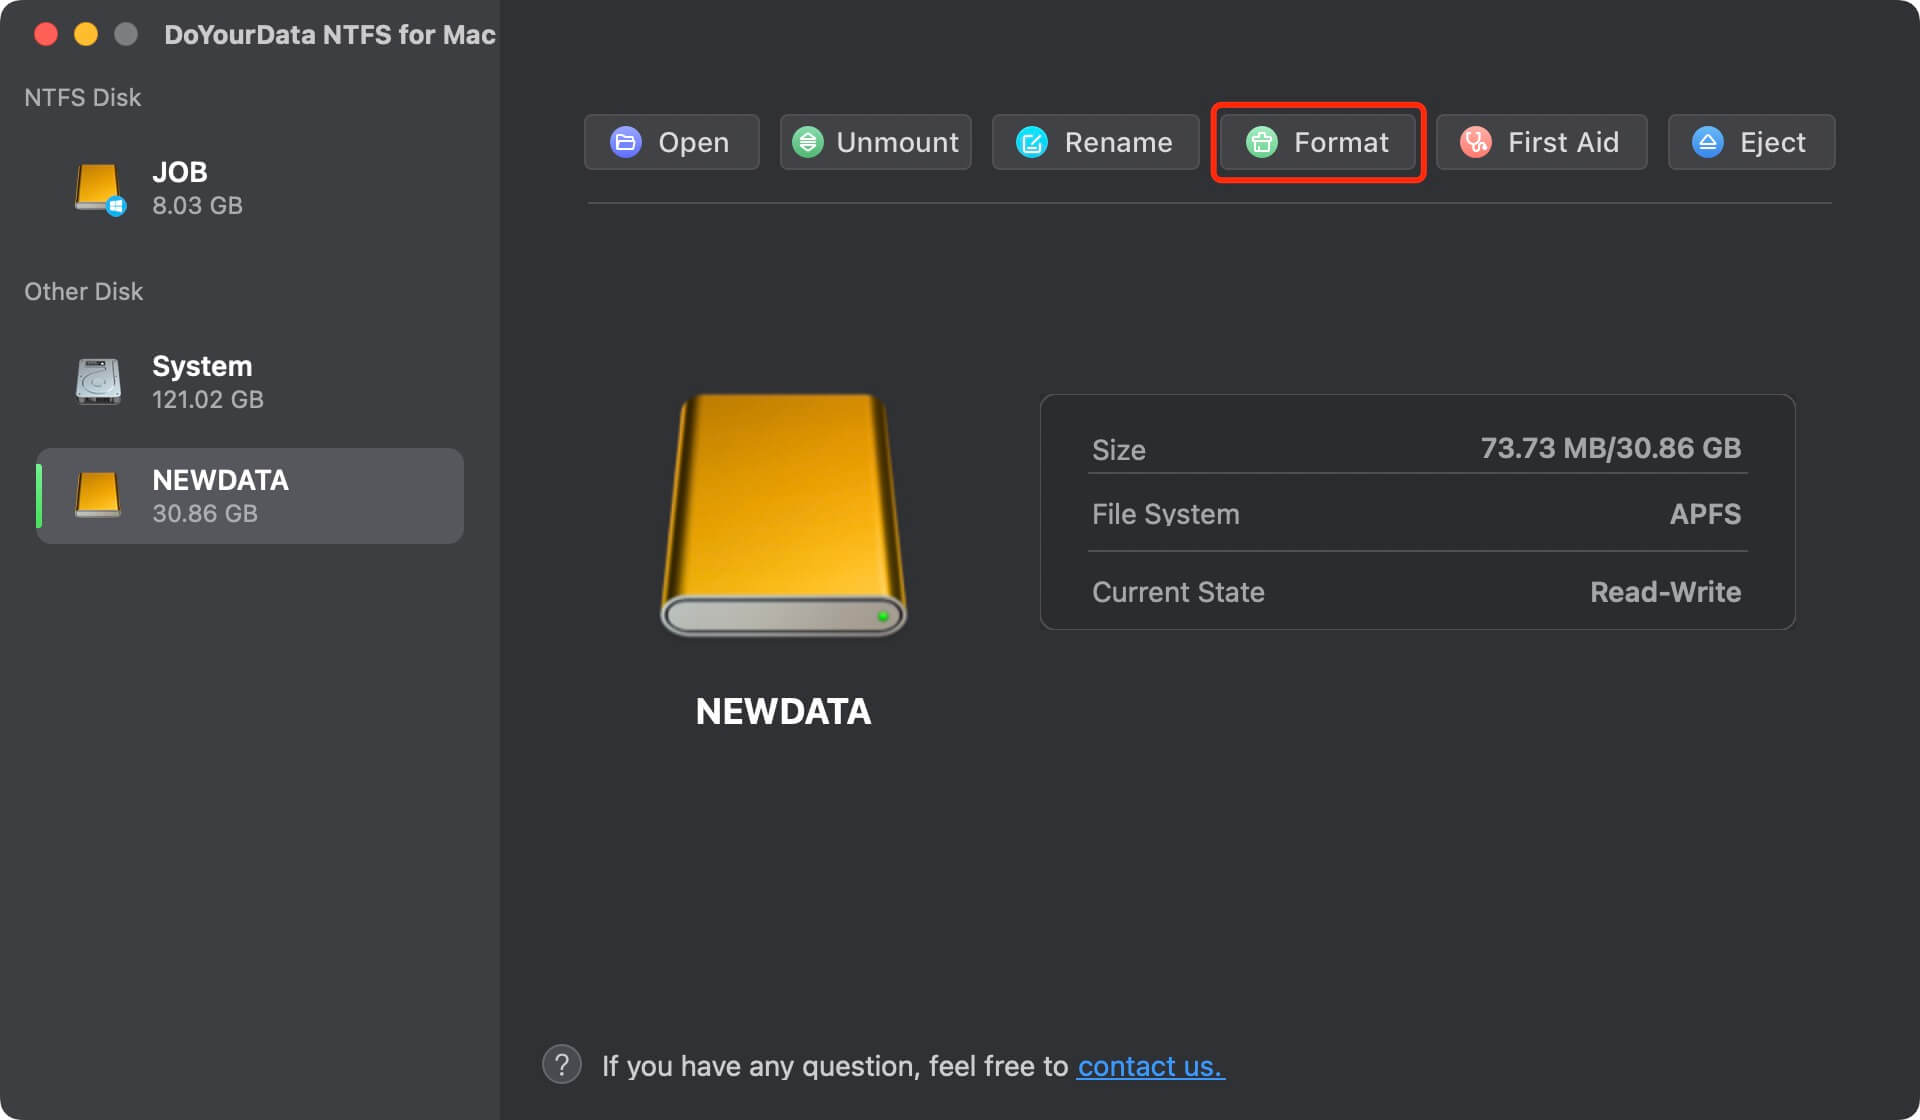
Format a Drive to NTFS on Mac
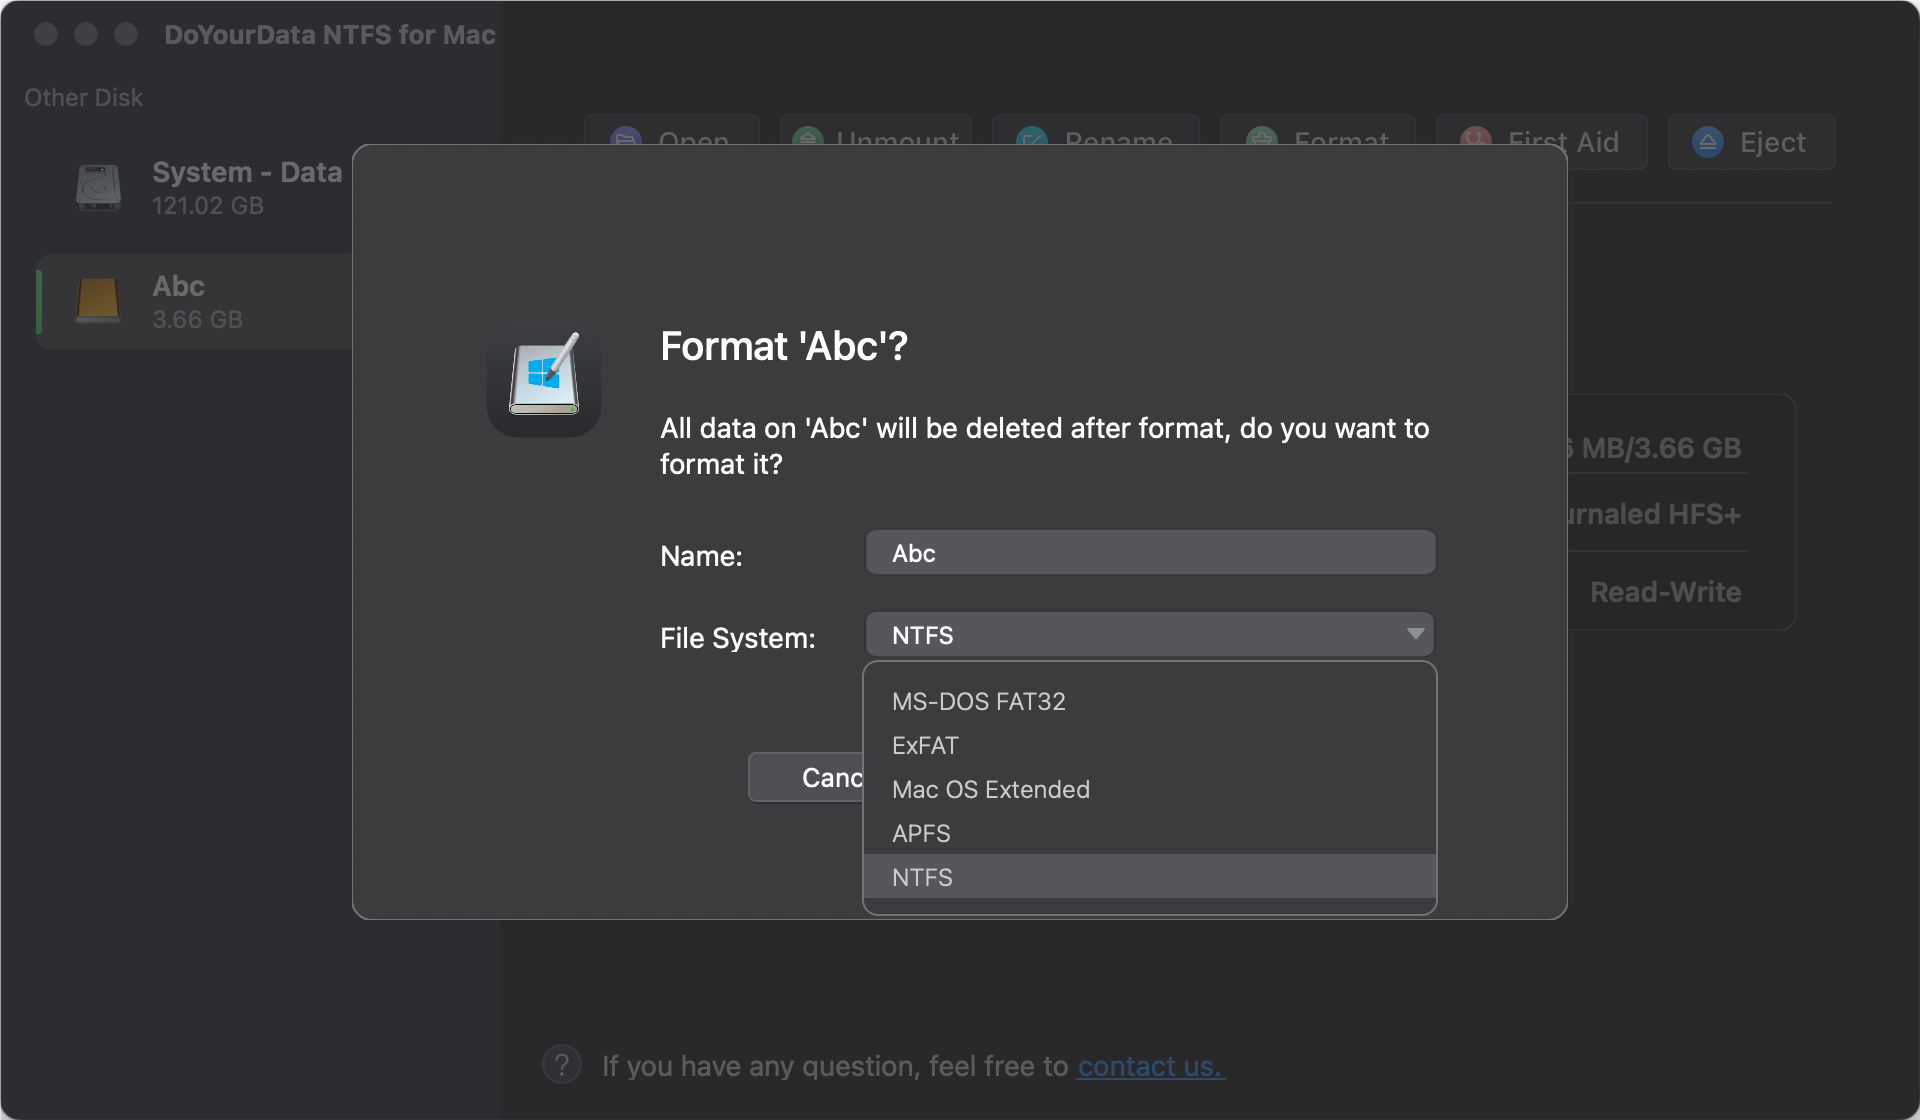
You can use NTFS for Mac tool to force format your Buffalo external hard drive or other drives to NTFS file system on your Mac.
Quick Navigation:
It is important to format a Buffalo external hard drive on a Mac to ensure it works with the computer and runs at its best. The formatting process ensures the drive is compatible with macOS, whether preparing a new drive for use, reusing an old one, or fixing a problem.

This guide shows you step-by-step how to format your Buffalo drive thoroughly. Following these steps, you can use your portable hard drive for general storage or time machine backups. Learning how to format and care for your drive will help you get the most out of it and ensure it lasts as long as possible. That will make managing your data easier and your Mac run more smoothly.
There are some important things you need to do before you start formatting:
1. Backup Your Data
When you format a drive, everything on it is erased. Before moving on, back up any important files on the Buffalo portable hard drive to another storage device or the cloud.
2. Check Compatibility
Make sure that your Mac can connect to your Buffalo external drive. It's best to check, especially if you're using an older model, but most Buffalo drives will work with newer ones.
3. Choose the Right File System
macOS has several different file systems, each good for a different task. Take a quick look at this:
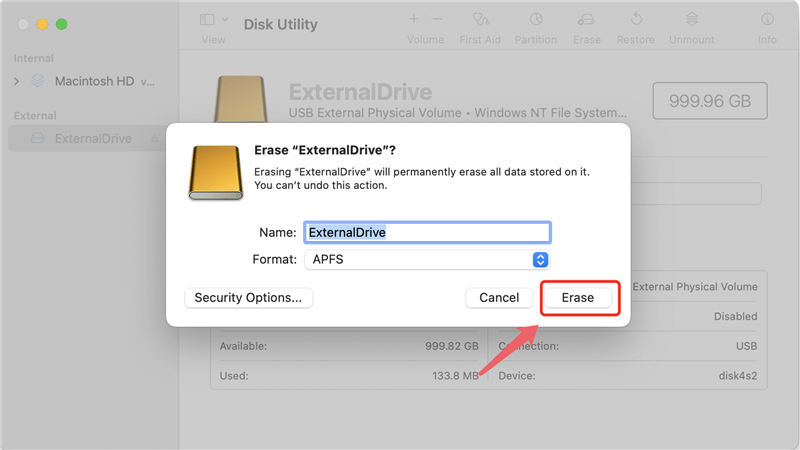
Note: The lost data which is erased by Disk Utility can be recovered by data recovery software. It means you can recover deleted, formatted or lost data from your Buffalo external hard drive.
It's usually easy to reset a Buffalo external drive on a Mac, but sometimes things go wrong. Here are some usual issues and how to fix them:
1. Drive Not Recognized
If the portable hard drive from Buffalo doesn't show up on your Mac, try these things:
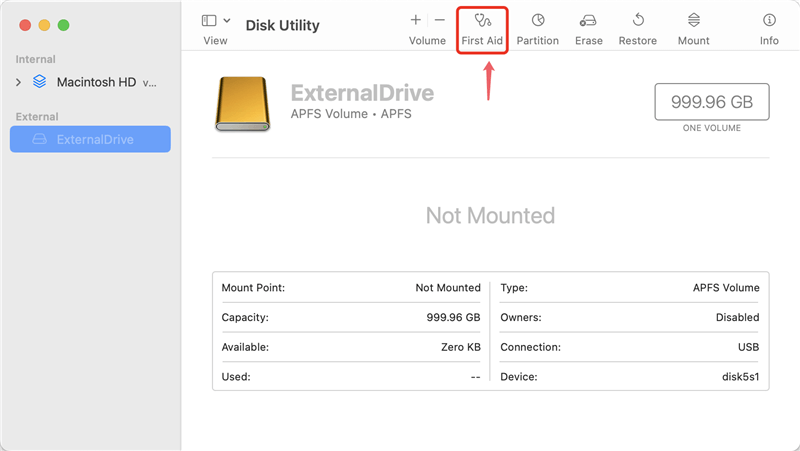
2. Disk Utility Errors
If Disk Utility shows an error message when it tries to format the drive:
3. Slow Performance After Formatting
If the speed of your Buffalo portable hard drive is slow after formatting it:
Note: You may not format the Buffalo external hard drive to NTFS file system with Disk Utility. If you want to format a Buffalo external hard drive to NTFS, you can try NTFS for Mac tool.
Format a Drive to NTFS on Mac
You can use NTFS for Mac tool to force format your Buffalo external hard drive or other drives to NTFS file system on your Mac.
Before you sell, donate or dispose of your Buffalo external hard drive, you should permanently erase all data from it, ensure no data is recoverable.
DoYourData Super Eraser for Mac is a powerful disk software for Mac. It can help you format and wipe your Buffalo external hard drive. All data stored on the Buffalo external hard drive will be permanently erased.
Step 1. Download and install DoYourData Super Eraser for Mac on your Mac and connect the Buffalo external hard drive to your Mac.
Step 2. Open Buffalo external hard drive, choose Wipe Hard Drive mode, then select the Buffalo external hard drive, click on Wipe Now button.

Step 3. Select a data erasure standard, then click on Continue button.

Step 4. It will format and wipe all the data from your Buffalo external hard drive.
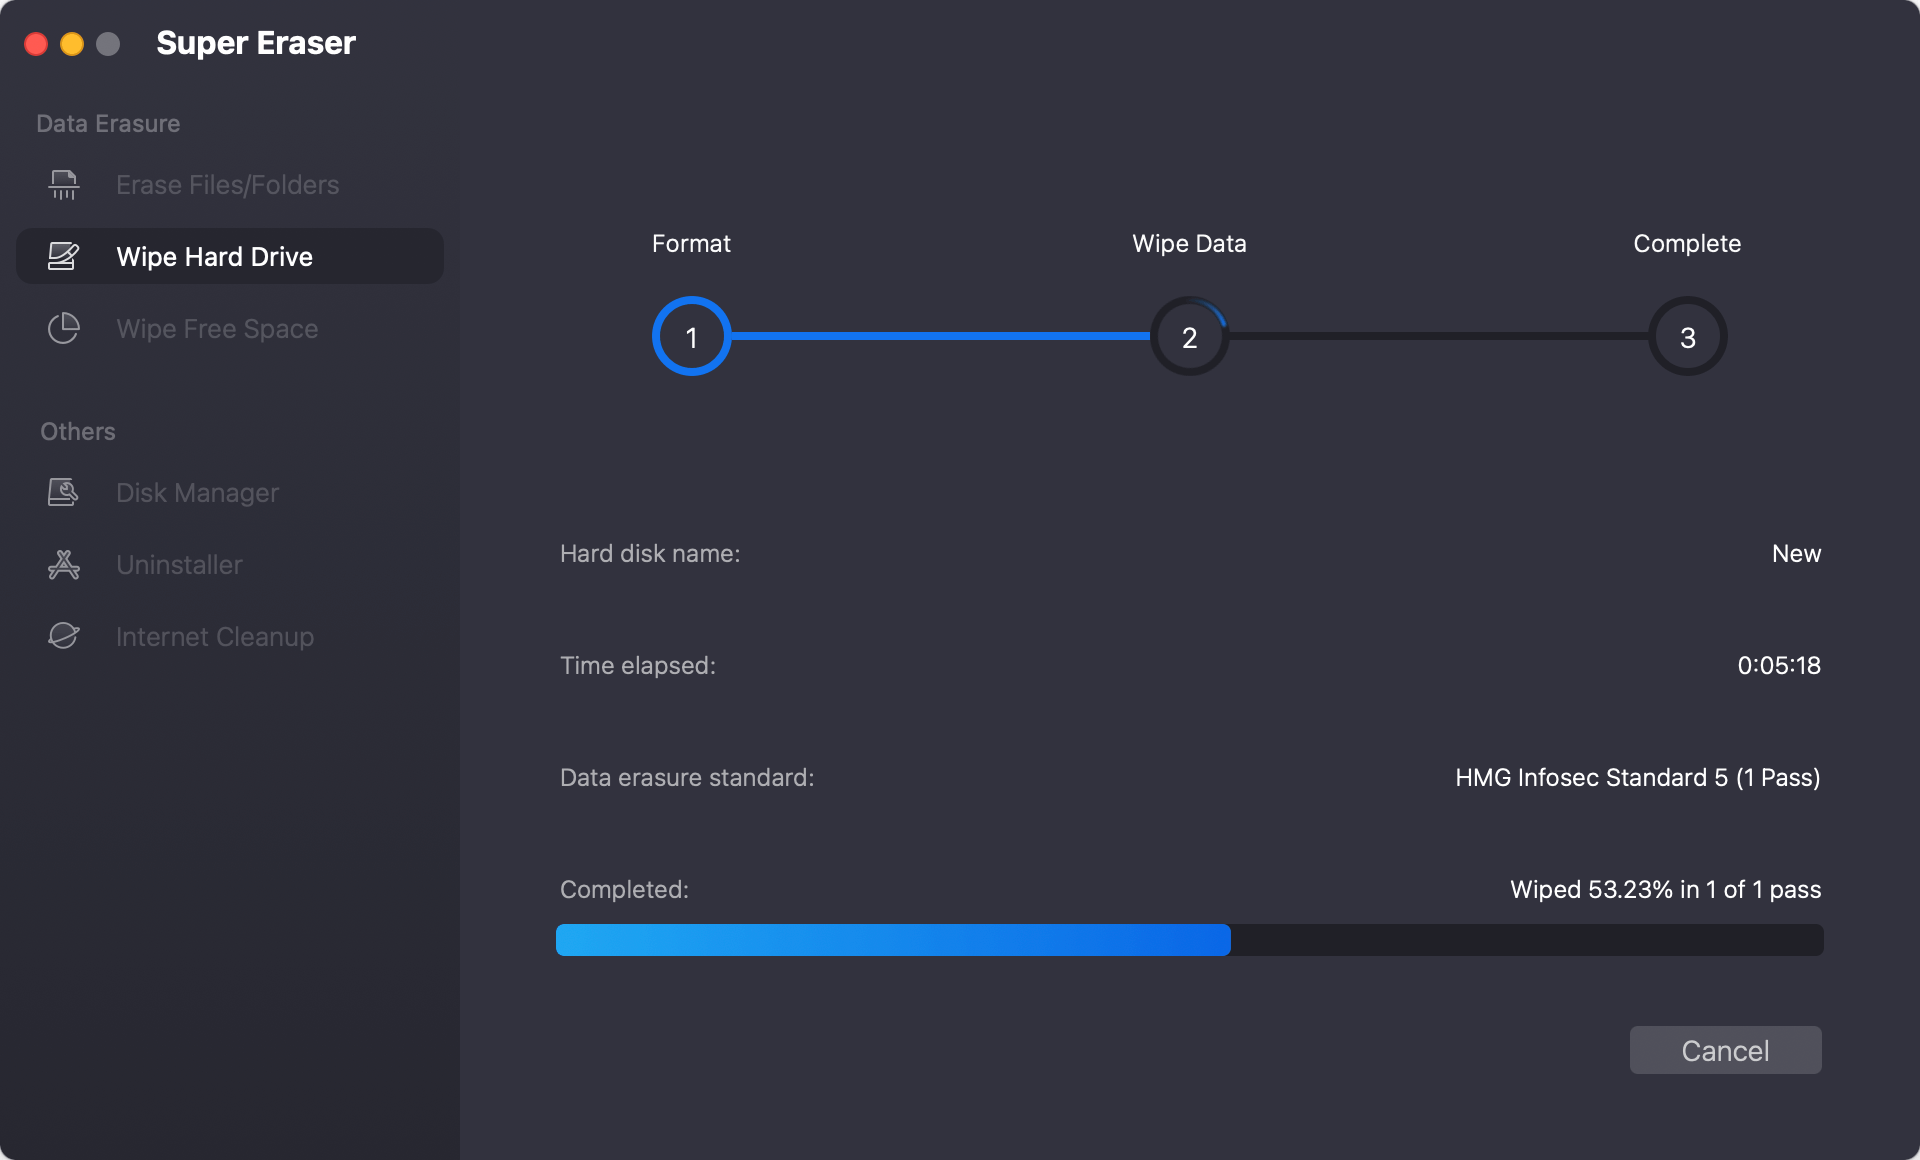
Step 5. Once the process gets finished, all data stored on the Buffalo external hard drive is lost for good, cannot be recovered by any method.

More Features of DoYourData Super Eraser for Mac:
After you reset your Buffalo external drive, it's important to keep it in excellent condition so it lasts and works well. Here are some ideas:
1. Regular Backups
Always save a copy of your important files somewhere else, like on a hard drive or in the cloud. Even well-maintained drives can fail at any time.
2. Safely Eject Your Drive
To prevent your data from getting lost, always safely eject your Buffalo external drive before unplugging it from your Mac. Drag the icon to the Trash on the drive in Finder and choose "Eject."
3. Keep Firmware and Software Updated
Buffalo changes the firmware on their drives from time to time. Check the Buffalo website for any updates for your model, then follow the on-screen directions to install them.
4. Monitor Drive Health
Use Disk Utility's "First Aid" tool often to find and fix problems with your drive. You could also use a third-party tool like Do Your Data Recovery for Mac to monitor the health of your Buffalo external drive.
It is important to format your Buffalo external drive on a Mac so that it works properly and quickly with Mac OS. If you follow the steps, setting up your drive with the right file system and partition scheme will be easy, whether you're using it for general storage or specific jobs like Time Machine backups.
Safe ejection and checking the drive's health as part of regular care will make it work better and last longer. Following these tips, you can keep your external hard drive in good condition, protect your files, and maximize your Mac's storage space.
If you will sell or donate your old Buffalo external hard drive, you can use disk wipe software, such as DoYourData Super Eraser for Mac to wipe the drive and permanently erase all data from it.
1. How to format a Buffalo external hard drive on Mac?
Disk Utility can help you format a Buffalo external hard drive on Mac:
If you have lost data due to formatting the Buffalo external hard drive, you can use data recovery software - such as Do Your Data Recovery for Mac to scan the Buffalo external hard drive and get all lost data back.
2. How to wipe a Buffalo external hard drive on Mac before selling or donating?
Mac disk wipe software can help you wipe the Buffalo external hard drive:
3. How to format a Buffalo external hard drive to NTFS on Mac?
First of all, you can try to format the Buffalo external hard drive using Disk Utility. If NTFS is not available in Disk Utility, you can use NTFS for Mac tool to help you force the Buffalo external hard drive to NTFS.

DoYourData Super Eraser for Mac
DoYourData Super Eraser for Mac is a 100% safe, powerful and easy-to-use data erasure program. It offers certified data erasure standards including Peter Gutmann, U.S. Army AR380-19, DoD 5220.22-M ECE to permanently erase data from Macs and external devices, making data recovery be impossible.
