How to Recover Deleted Files?
Data recovery software can help you recover deleted files even the recycle bin has been emptied.
If you want to permanently delete files from a hard drive, you can use file shredder software to delete the files and overwrite the disk space of the deleted files with random data or ones or zeros. Once the files are deleted, they are lost for good, cannot be recovered by data recovery software. Before you sell, donate or dispose of your old hard drive, just use a file shredder to permanently delete your files which contain sensitive information.
![]() Updated by Shirly Chen on September 13, 2024
Updated by Shirly Chen on September 13, 2024
Quick Navigation:
In today's digital age, our hard drives store a vast array of personal, financial, and professional information. From confidential documents and private photographs to sensitive work files, the data we keep on our hard drives is incredibly valuable. However, there are times when we need to erase files from a hard drive, whether to free up space, protect our privacy, or prepare a computer for sale. Simply deleting files is not enough; for data to be truly erased, it must be removed in a way that prevents any possibility of recovery. In this guide we will explore various methods to securely erase files from a hard drive, ensuring your data is completely and irretrievably gone.
When you delete a file from your computer, it seems to disappear from view. In reality, it remains there and is not removed from the hard drive. However, the OS simply marks the space that the file occupied as available for new data. This means that while the file is no longer visible in your folders or directories, the data itself remains on the drive until it is overwritten by new files. As a result, deleted files can often be recovered using data recovery software, posing a risk if the data is sensitive or confidential.
How to Recover Deleted Files?
Data recovery software can help you recover deleted files even the recycle bin has been emptied.
File erasure is a more secure method of removing data. Unlike simple deletion, which only removes references to the file, erasure involves overwriting the file's data with random information or patterns. This process ensures that the original data is rendered unreadable and unrecoverable. Erasure methods are crucial when dealing with sensitive information that you want to protect from unauthorized access.
Simple Deletion
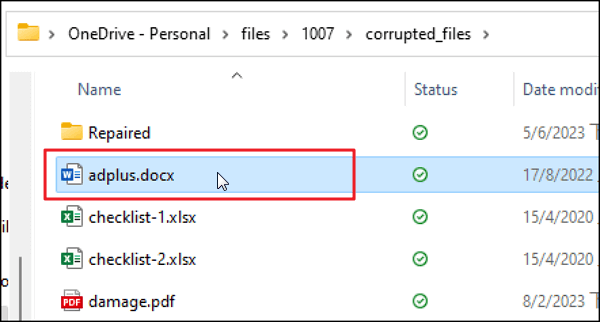
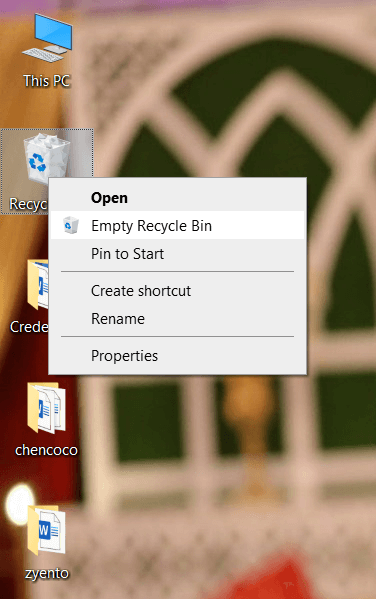
The most basic method of file removal is simply deleting files and emptying the Recycle Bin (Windows) or Trash (macOS). While this method removes the files from view, it does not make them truly unrecoverable. The data still exists on the hard drive until it is overwritten. To perform this method:
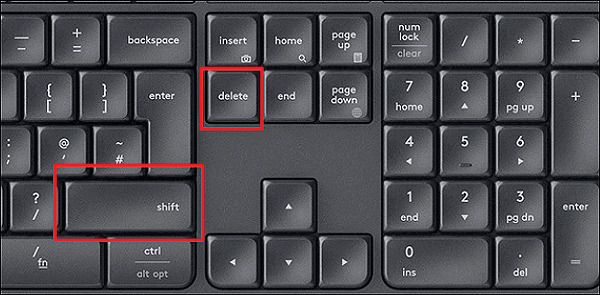
Using Shift + Delete
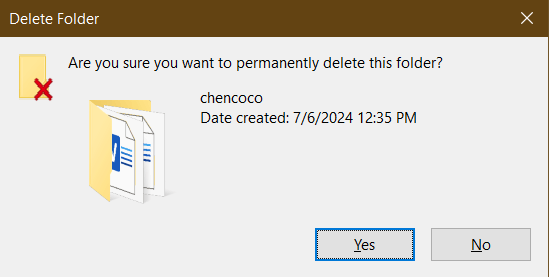
To bypass the Recycle Bin and delete files immediately, you can use the Shift + Delete keyboard shortcut. This method removes the file directly from the hard drive, but it still does not overwrite the data:
Using Built-in Tools
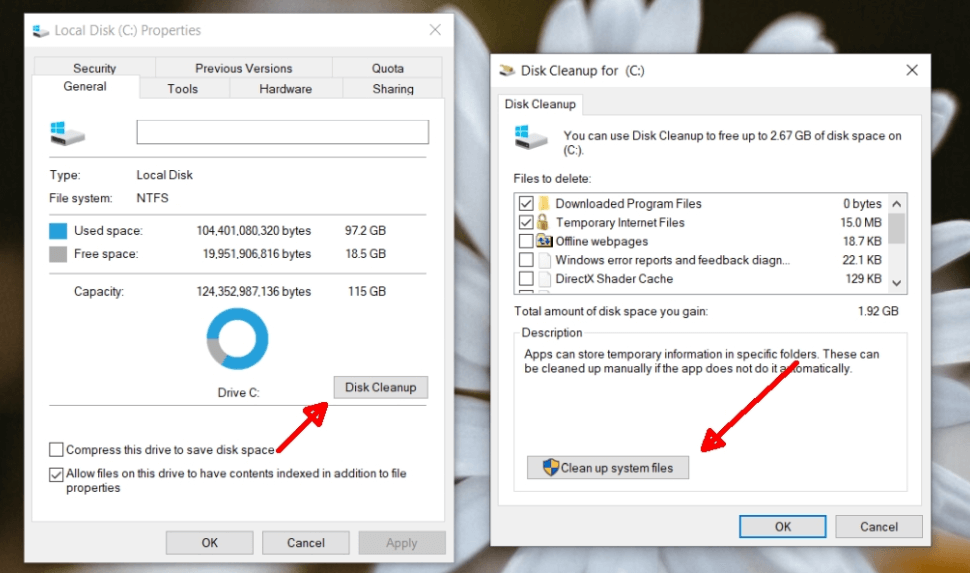
Windows Disk Cleanup
Windows provides a built-in Disk Cleanup tool that can help you remove unnecessary files and free up space. While Disk Cleanup is not specifically designed for secure file erasure, it can assist in removing temporary files and system files that are no longer needed:
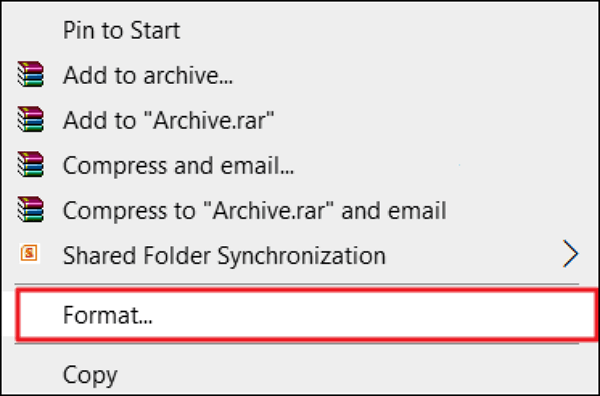
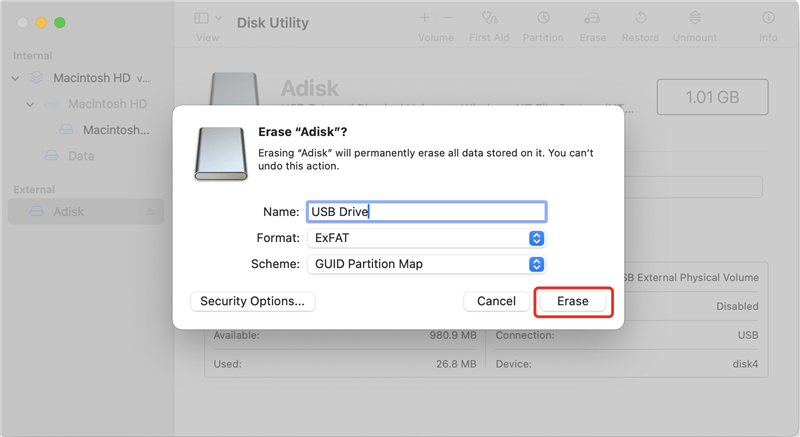
macOS Disk Utility
On macOS, Disk Utility can be used to erase a hard drive, which helps to ensure that deleted files are overwritten:
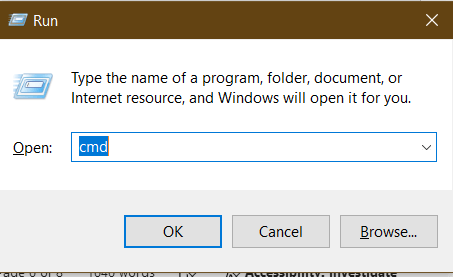
For Windows:
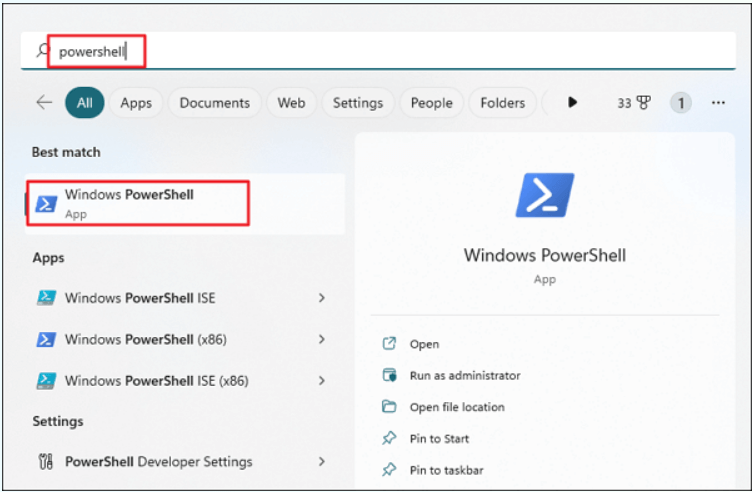
For macOS:
cd path\to\directory
Delete Files: Use del to remove files:
del filename.ext
For multiple files, use wildcards:
del *.txt
To delete directories, use:
rd /s /q foldername
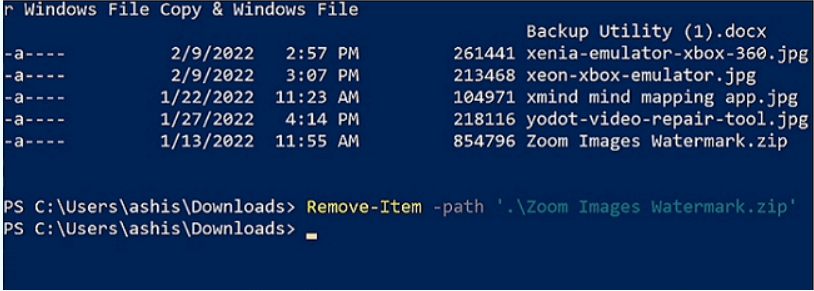
Remove-Item -Path "filename.ext"
For multiple files, use wildcards:
Remove-Item -Path "*.txt"
To delete directories, use:
Remove-Item -Path "foldername" -Recurse
For a more thorough approach to file erasure, specialized data erasure software is highly recommended. These tools are designed to overwrite files with random data, ensuring that the original content is completely destroyed:
Overview of Software Options:
How to Use Data Erasure Tool to Permanently Delete Files from a Hard Drive:
Step 1. Download the data erasure tool of your choice from its official website and install it on your computer.
Here, you can download and install DoYourData Super Eraser on your Mac and use it to permanently delete files from a hard drive, SSD, USB flash drive, SD card, digital camera, etc.
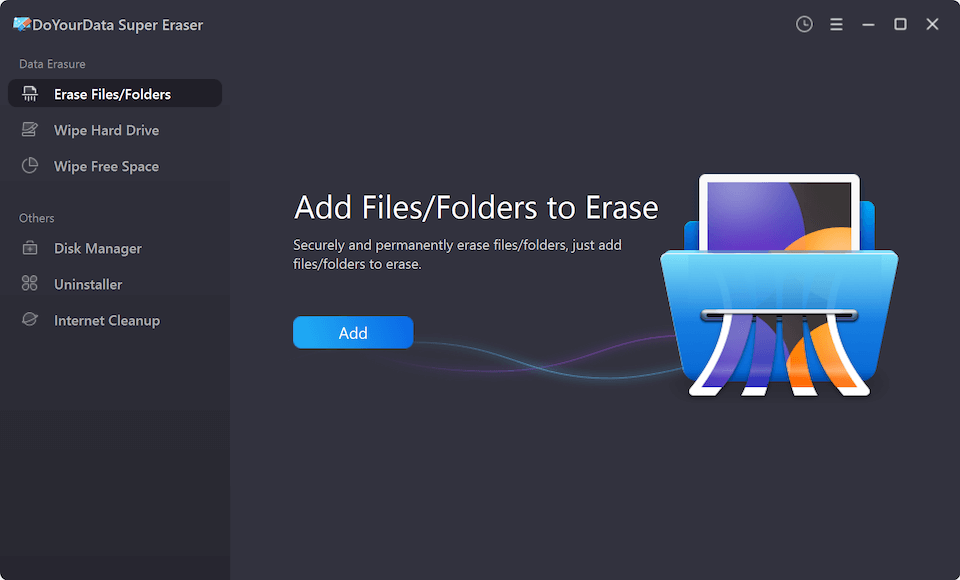
Step 2. Open DoYourData Super Eraser, choose Erase Files/Folders mode, then click Add to select files/folders to erase.
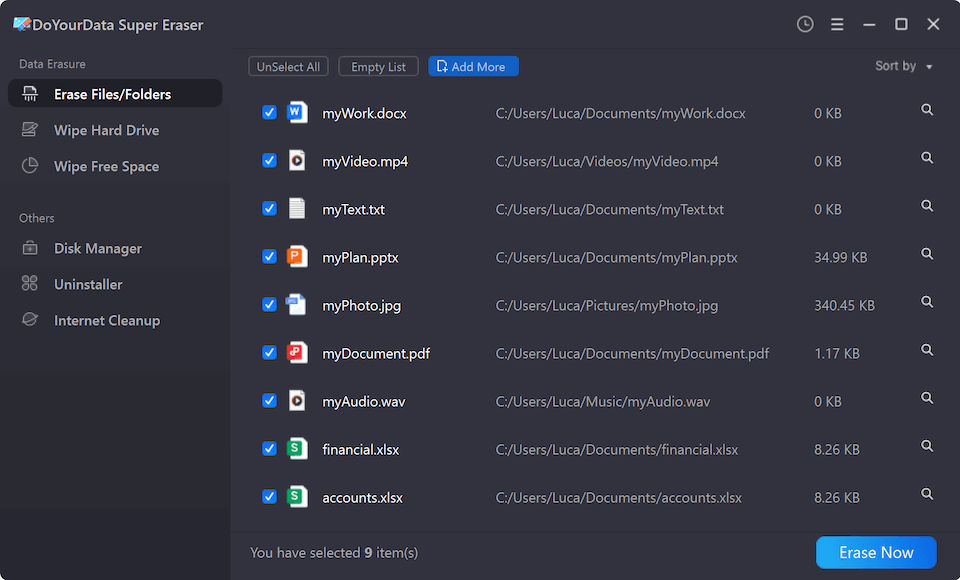
Step 3. After selecting the files/folders, click on Erase Now button to securely and permanently erase the selected files/folders.
More tips:
Multiple Passes:
Using multiple overwrite passes is a best practice for secure file erasure. Many data erasure tools offer options to overwrite files multiple times with random data. The more passes used, the more secure the erasure. The U.S. Department of Defense recommends a three-pass method, but more passes can provide greater security.
Verifying Erasure:
After erasing files, it's important to verify that they are truly gone. Use data recovery software to check if any files can still be recovered. If the software fails to find any recoverable data, you can be confident that your files are securely erased.
Regular Maintenance:
Incorporate regular file erasure into your routine to maintain data privacy and security. Set up a schedule to review and securely delete sensitive files, particularly if you work with confidential information. Regular maintenance helps prevent accidental data recovery and keeps your hard drive free of unnecessary files.
Common Pitfalls and How to Avoid Them:
Securely erasing files from a hard drive is essential for protecting your privacy and ensuring that sensitive information does not fall into the wrong hands. By understanding the difference between simple deletion and secure erasure, and employing methods such as manual deletion, built-in tools, data erasure software, encryption, and physical destruction, you can effectively remove files from your hard drive. Regular maintenance and careful consideration of the specific type of hard drive you are using will further enhance your data security. Whether you're preparing a computer for sale or simply managing your data privacy, these practices will help you ensure that your files are truly erased and irrecoverable.
DoYourData Super Eraser
DoYourData Super Eraser, the award-winning data erasure software, offers certified data erasure standards including U.S. Army AR380-19, DoD 5220.22-M ECE to help you securely and permanently erase data from PC, Mac, HDD, SSD, USB drive, memory card or other device, make data be lost forever, unrecoverable!
Written & Updated by Shirly Chen
Shirly Chen has been writing data recovery, data erasure articles for DoYourData over 4 years. She has been working as a professional website content writer & editor for quite a long time. She also writes articles about disk clone, Mac optimization, disk backup, etc.