Quick Navigation:
- #1 Why you need to reset your Windows 11 to factory settings?
- #2 How to reset Windows 11 PC to its factory settings?
- #3 How to recover lost data after resetting Windows 11?
- #4 How to permanently erase data on Windows 11 PC?
- #5 About Windows 11 data recovery & data erasure
Why you need to reset your Windows 11 to factory settings?
If your Windows 11 gets infected by virus software or is running slow, you can reset it to its factory settings to solve common issues. And in most cases, before you sell, donate or dispose of your Windows 11 PC, you’d better reset your PC to its factory settings and wipe everything from it to avoid data leakage.
How to reset Windows 11 PC to its factory settings?
Step 1. Press Windows + I keys.
Step 2. Click to open Settings.
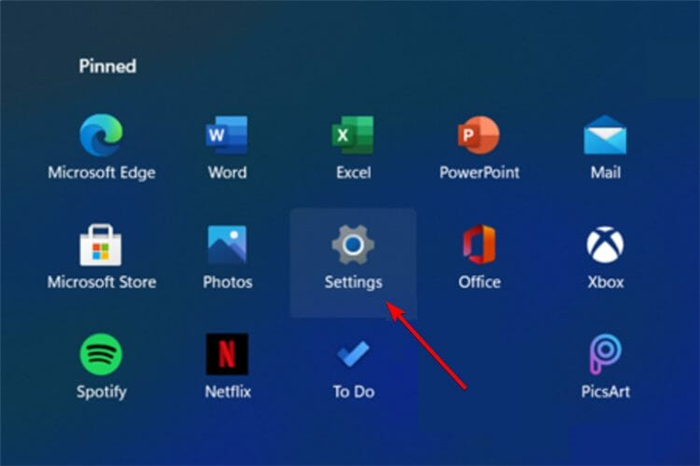
Step 3. Go to Update & Security.
Step 4. In the left window pane, select Recovery.
Step 5. Click on Reset PC, from the right side.
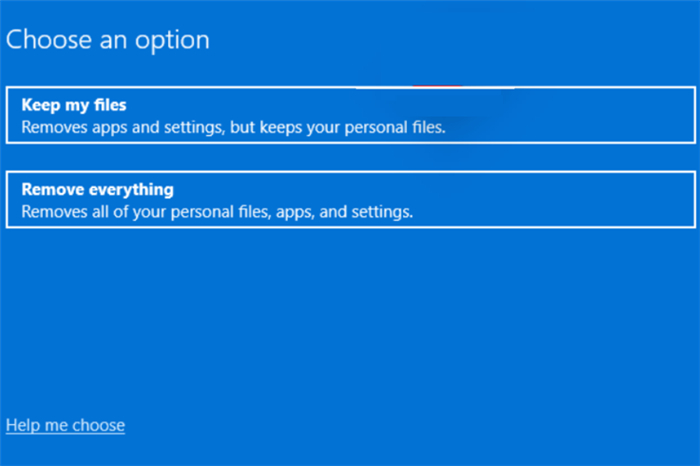
Step 6. Choose the type of factory reset you need.
Step 7. Select the option you want to reinstall Windows.
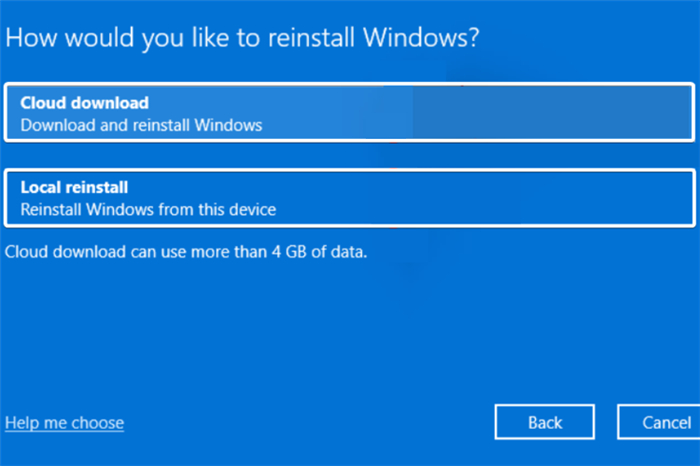
Step 8. Click on Next.
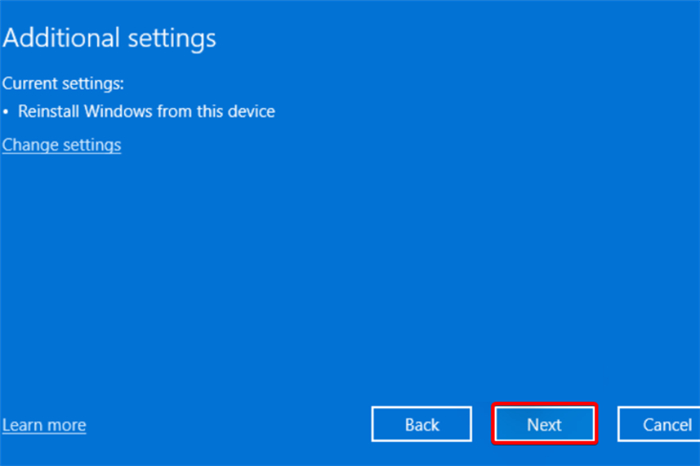
Step 9. Click on Reset.
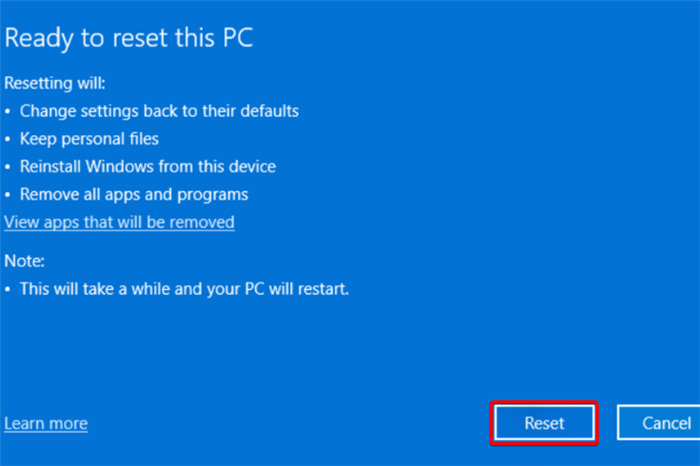
Now, your operating system will start the reset process. Note that, during this action, your computer might restart on its own a few times. Please note that your data may be erased depending on which reset type you choose.
How to recover lost data after resetting Windows 11?
As you’ve seen, resetting Windows 11 PC may erase most of data on your computer hard drive. If the erased data is important to you and you need to find a solution to get it back, just try Windows 11 data recovery software.
Do Your Data Recovery is one of the best Windows 11 data recovery software. It supports to recover all types of lost files from HDD, SSD, memory card, digital camera, USB flash drive, etc. Download it here:
If you lose important data due to resetting your Windows 11 PC, just follow the steps below to recover your lost data.
Step 1. Open Do Your Data Recovery on your computer and then choose the hard drive where you lose your data.

Step 2. Click on Scan button.
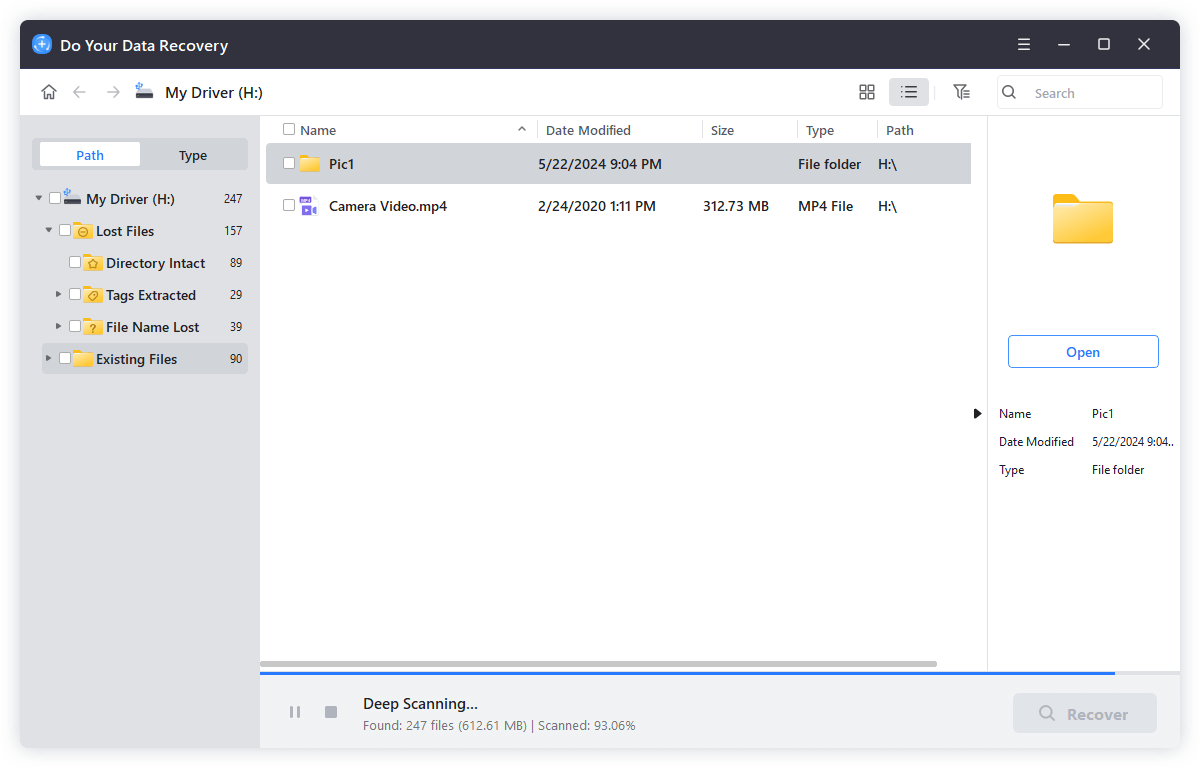
Step 3. Once the scan is completed, you can preview all recoverable files. Then select the wanted files and save them.

Do Your Data Recovery offers two data recovery modes: quick recovery and advanced recovery. If the quick scan can’t find all lost files, just click Advanced Recovery to deeply scan your hard drive and find much more lost files.
How to permanently erase data on Windows 11 PC?
Before you sell, donate or trade in your Windows 11 PC, you should reset it to factory settings and permanently erase all sensitive data on it. As you’ve seen, the deleted or formatted data can be easily recovered by data recovery software even you’ve reset the OS to factory settings. Is it possible to permanently erase data on Windows 11 PC? Yes, just try Windows 11 data erasure software - DoYourData Super Eraser.
DoYourData Super Eraser is one of the most powerful data erasure programs which offers certified data erasure standards to help Windows users securely and permanently shred data to prevent potential data recovery. After you reset your Windows 11 to factory settings, you can use Wipe Free Space mode to securely wipe all deleted/lost data on the Windows 11 PC so that the data can’t be recovered by any data recovery software. Follow the steps below:
Step 1. Download and install DoYourData Super Eraser on your Windows 11.
Step 2. Run DoYourData Super Eraser on your computer. Click to choose data erasure mode - Wipe Free Space. This mode will permanently erase deleted/lost data on the Windows 11 hard drive.
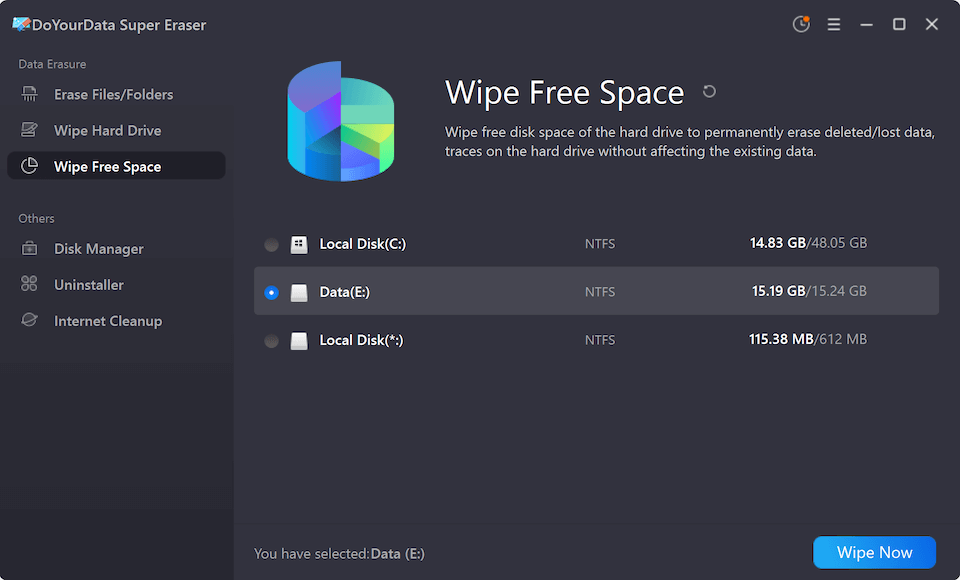
Step 3. Click on Wipe Now button to start wiping free disk space.
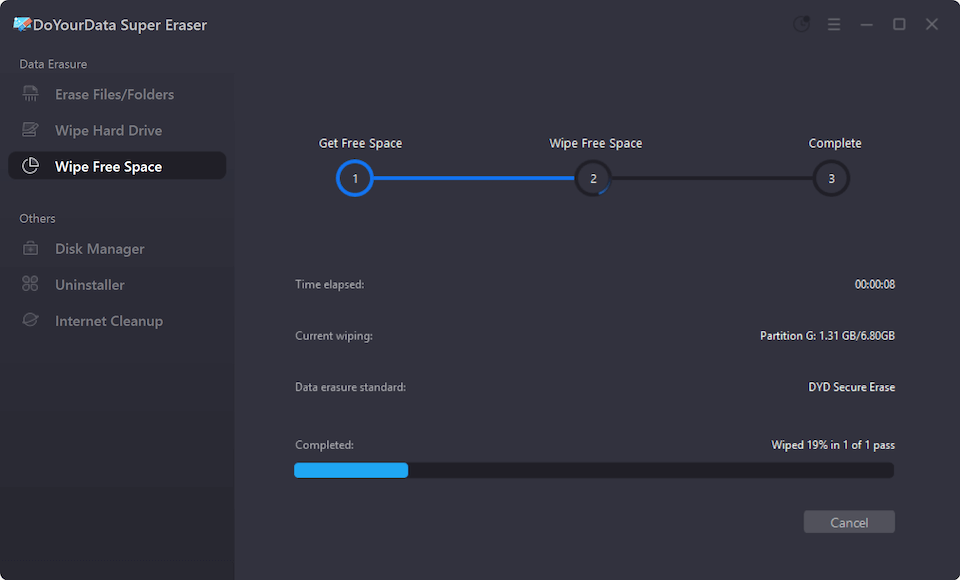
DoYourData Super Eraser also offers other data erasure modes to help you permanently erase data on Windows 11 PC.
Wipe Hard Drive - select a hard drive and wipe it. All data on the hard drive will be permanently erased.

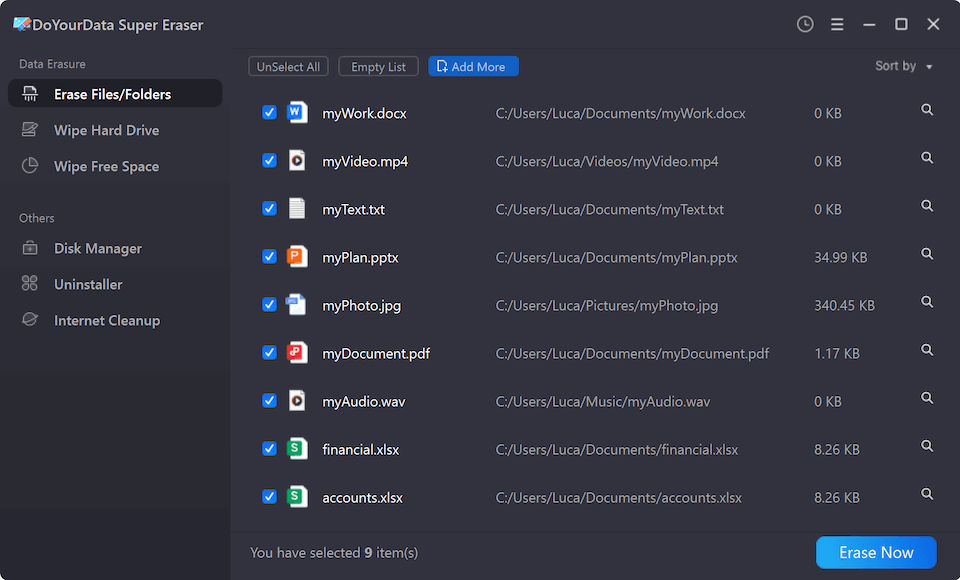
Erase Files/Folders - selectively shred files and folders.
