Create Full Backup for macOS
Clone the Mac drive with DoYourClone for Mac to create a full and bootable copy of the macOS.
Quick Navigation:
Boot Camp Assistant is a built-in feature of macOS that lets users install and run Microsoft Windows on their Mac. That creates a dual-boot environment that lets users access both operating systems. This feature is especially useful for coders, gamers, and people who need only Windows apps. Stick to this guide, and you'll learn how to use Boot Camp Assistant to put Windows on your Mac.
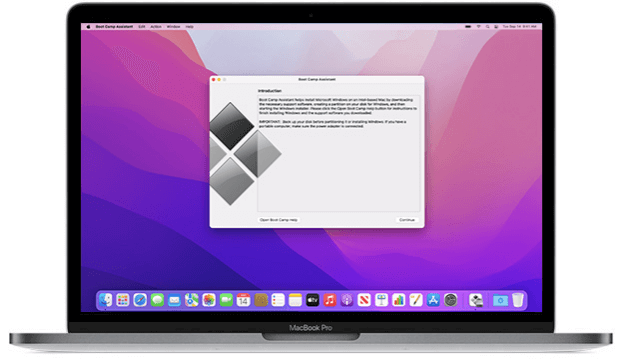
This guide will help you set up your computer to work smoothly, whether you want to run both macOS and Windows on the same device for more options or because you need tools that are only available in Windows. Make sure your Mac can handle it that you have enough space on your hard drive, download the Windows ISO, and then make a copy of your data. Now that these things are ready, you can start the specific steps of the installation process.
 Boot Camp Assistant is a program that makes putting Windows on your Mac easier. To make room for Windows, divide your hard drive into sections. This tool also gives you the drivers to ensure Windows works well with your Mac hardware.
System Requirements
Before you start, make sure these things are true about your Mac:
Supported Windows Versions
Boot Camp Assistant works with both Windows 10 and Windows 11. Make sure you have a legal Windows installation disc or ISO file. You can download the Windows OS installation setup file from the official website of Microsoft.
Backing Up Your Data
It is important to back up your information before making any system changes. To make a full backup of your macOS, use Time Machine or another backup tool. It will keep your information safe if something goes wrong during the installation.
Create Full Backup for macOS
Clone the Mac drive with DoYourClone for Mac to create a full and bootable copy of the macOS.
Updating macOS
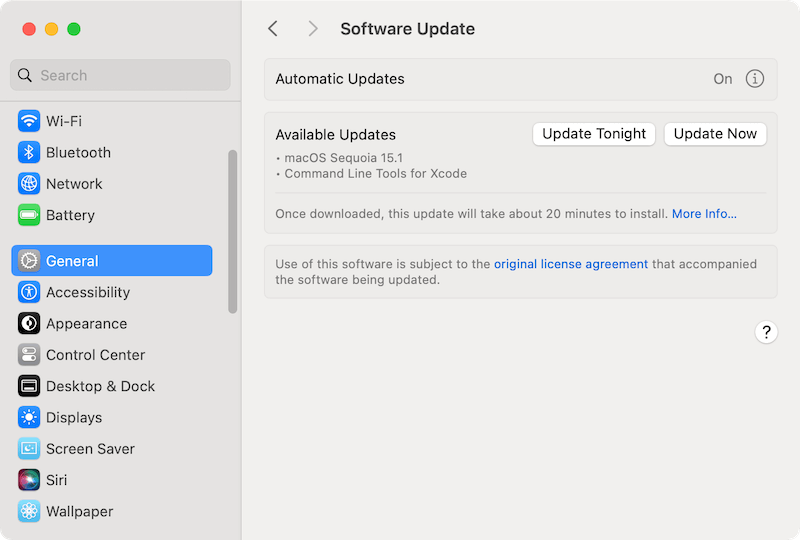
Make sure that macOS is up to date. After going to the Apple menu and choosing "System Settings" (or "System Preferences"), "General," click "Software Update." Installing the latest updates gives you the newest features and better protection.
Downloading Windows ISO
You can download a Windows ISO file from the Microsoft website if you don't already have one. Pick the Windows version you want to install, then follow the on-screen steps to get the ISO file.
Step 1: Launch Boot Camp Assistant
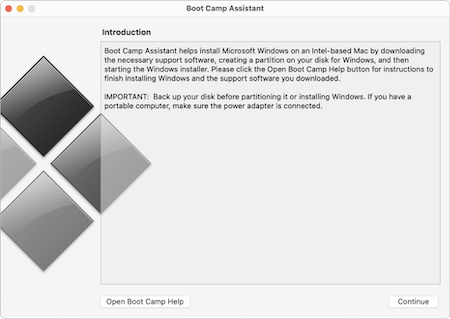
Step 2: Create a Partition for Windows
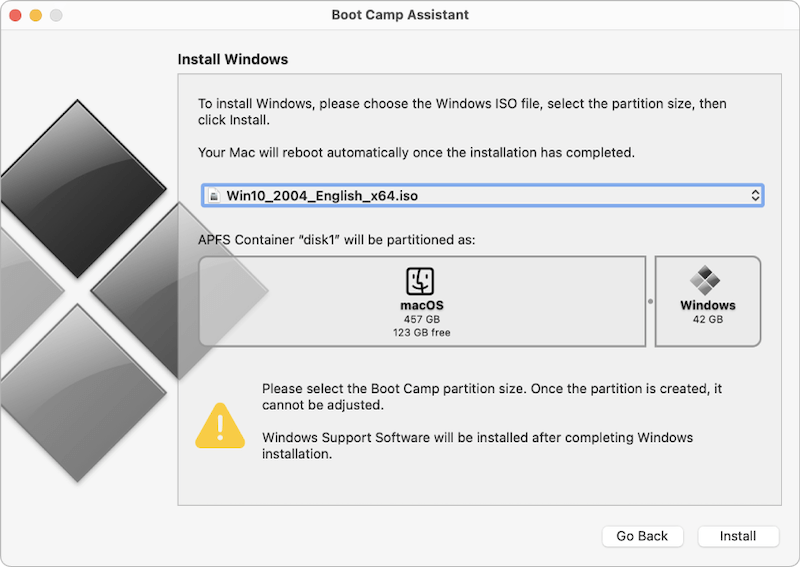
Step 3: Install Windows
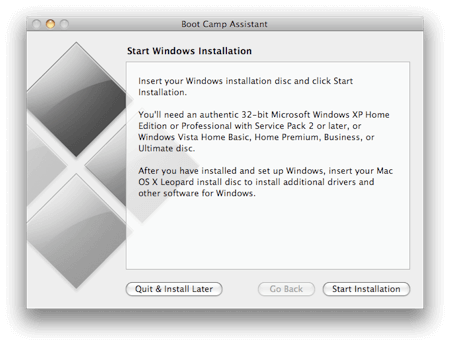
Step 4: Install Boot Camp Drivers
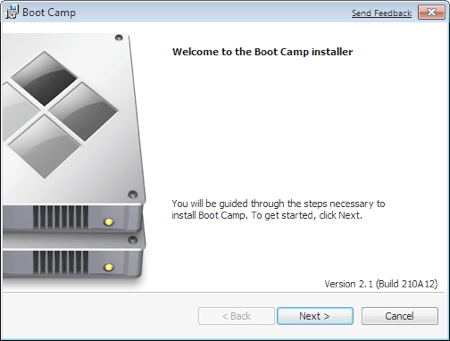
After Windows is installed, your Mac will start up in Windows. The Boot Camp installer will start independently, giving your Mac hardware the tools to work properly in Windows.
Restarting Your Mac
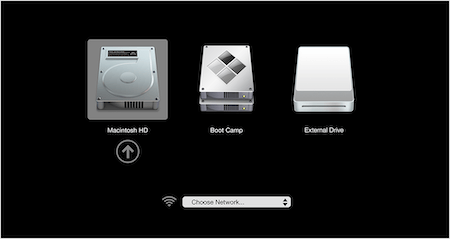
Once you start up your Mac, hold down the "Option" key while it starts up. It will let you switch between macOS and Windows. A boot screen will allow you to pick between macOS and Windows.
Setting the Default Operating System
Updating Boot Camp Drivers
Apple occasionally releases changes for Boot Camp drivers. To get the best results, check for updates often.
Insufficient Disk Space
If you get an error message about insufficient disk space, you should make more room on your Mac. You can try again and partition the disk to gain more space for the Windows partition. Or you can consider installing Windows on an external drive.
Installation Errors
If you install Windows, and if it fails, ensure that your Mac meets the system requirements and that the ISO file is not damaged. If you need to, check if your computer meets the system requirements, download a new Windows installation ISO file and start the process with Boot Camp Assistant again.
Driver Issues
If some hardware parts don't work right in Windows, update the Boot Camp drivers. If necessary, reinstall the drivers. You can check and find the latest version of the hardware on the official website of the hardware manufacturer.
Removing the Windows Partition
Deleting Boot Camp Files
Some Boot Camp files may still be on your Mac after you remove the Windows drive. To get rid of these files:
If you find it's hard or complex to set up a Windows system with Boot Camp on Mac, or you are using Apple Silicon Mac which doesn't support Boot Camp, you can try other methods, like virtual machine tools.
There are some virtual machine tools which can be used to set up Windows operating systems on Mac easily. With the virtual machine software, it will be easy to install Windows system on Mac and there are advanced features provided:
Parallels: This tool is stable with full of features and support the new Apple Silicon Mac. You can use the Trial version for 14 days and if you want to continue using it, you need to pay for it.
VMware Fusion: The application is another strong and highly suggested virtual machine tool. It offers comprehensive options to set up Windows systems on Mac. What's more, the software is now totally free for home users.
Also, there are some other free or paid virtual machine tools, like VirtualBox, Wine, Windows 365 Cloud PC, UTM Virtual Machines, Whisky, CrossOver, etc.
When you use Boot Camp Assistant to run Windows on your Mac, you can use both of them at the same time. After reading this guide, you should be able to set up a dual-boot machine that lets you use both macOS and Windows.
Boot Camp Assistant makes using Windows on your Mac easier, whether you want to work, play games, or run certain apps. To ensure everything goes smoothly, you should always back up your info and ensure your software is up to date. Enjoy the flexibility and extra features that your dual-boot Mac gives you!
Recover deleted, formatted or corrupted data from hard drive or external device.
Free TrialPermanently delete data from any device or disk to prevent data recovery.
Free Trial