Quick Navigation:
- Symptoms of a Damaged USB Flash Drive
- Preparing to Wipe the USB Flash Drive on Mac
- Using Disk Utility to Erase a Damaged USB Flash Drive on Mac
- Wiping a Damaged USB Flash Drive on Mac with Mac Disk Wipe Software
- Conclusion
USB flash drives are the best option for saving and sending data because they are portable and easy to use. However, they can still get damaged or corrupted, which can be frustrating when you can't access your files.
If you're a Mac user having this problem, don't give up! Your system might not recognize your USB flash drive, it may disconnect often, or its files might be damaged. There is a way to erase it and start over.
This guide will show you how to find a broken USB flash drive, prepare for the wipe, and use macOS tools or disk wipe software to get your drive working again. By the end, you'll know how to fix this common issue and ensure your storage is again reliable and effective. Let's get your USB flash drive running again!

Symptoms of a Damaged USB Flash Drive
It is important to ensure your USB flash drive is broken before you try to erase it. Some common signs that a USB flash drive is broken are:
- Unrecognized by the Mac: When you plug in the USB flash drive, your Mac doesn't see or show up in Finder or Disk Utility.
- Frequent Disconnections: The USB flash drive keeps disconnecting and rejoining, making it hard to get to or send files.
- Corrupted Files: When you try to open files on the USB flash drive, they either look damaged or can't be read.
- Slow Performance: The USB flash drive works very slowly, and moving files takes much longer than expected.
- Error Messages: When you insert a disk, you may see error messages like "The disk you inserted was not readable" or "Disk needs to be repaired."
Preparing to Wipe the USB Flash Drive on Mac
Before wiping your damaged USB flash drive, it is important to take a few preparatory steps to ensure everything goes smoothly.
Recover Important Data
If you can only access part of your USB flash drive with important files, you should make a copy of any files that can be recovered before you wipe the drive. If some files are damaged or can't be opened, you might want to use data recovery tools to regain as much data as possible.
Data recovery software looks through your USB flash drive for files that can be recovered and lets you save them somewhere else. This step is very important if the data on your USB flash drive is important and can't be replaced.
Follow the steps below to export or recover data from a damaged USB flash drive and save the data to your Mac.
Step 1. Download and install the reliable Mac data recovery software - Do Your Data Recovery for Mac.
Step 2. Open Mac data recovery software, make sure the damaged USB flash drive has been connected to your Mac. Then select the USB flash drive to start data recovery.

Step 3. Click on Scan button to deeply scan the USB flash drive and find all recoverable files including existing files, deleted/formatted or lost files.

Step 4. Once the scan is completed, selected the wanted files, click on Recover button to save these files to your Mac.

Ensure the USB Flash Drive is Connected
For the wipe to work, your USB flash drive must be safely connected to your Mac. Do not use USB hubs or extensions, which could interfere with the connection. A straight connection between your Mac and the USB flash drive ensures the link is stable and reliable, which is important for wiping.
In some cases, a broken USB flash drive might not be seen right away. If this happens, connect the drive again or restart your Mac to make a new link. Sometimes, software changes can fix problems with how external devices work with your Mac.
Note the USB Flash Drive Identifier
Before deleting everything from your USB flash drive, you must know its identifier. Your Mac gives each connected drive a unique identity. Use tools for macOS, such as Disk Utility or Terminal, to find this identifier.
- Start Disk Utility by going to Applications > Utilities > Disk Utility. Then, select your USB flash drive from the list of available drives. The number, commonly called "disk2" or "disk3," will be shown in the information panel.
- You can also use Terminal to find the USB flash drive number. Go to Applications > Utilities > Terminal to open Terminal. Type the command diskutil list and press Enter. This statement will list all the connected drives and their names.
Pick the USB drive from the list and write down its name so you can use it later. This number is important for wiping because it helps you aim at the right drive and avoid accidentally losing data on other devices.
Using Disk Utility to Erase a Damaged USB Flash Drive on Mac
Disk Utility is an easy-to-use function on macOS that lets you delete data from and organize USB flash drives. To delete files from a broken USB flash drive using Disk Utility, do the following:
- Open Disk Utility: Find Disk Utility by going to Applications > Utilities > Disk Utility. It will bring up the Disk Utility window to see all the linked drives.
- Select the USB Flash Drive: One of the drives you can use is shown in the left corner. When you find it, pick up your USB flash drive. It's important to pick the drive itself, not just a section on it.
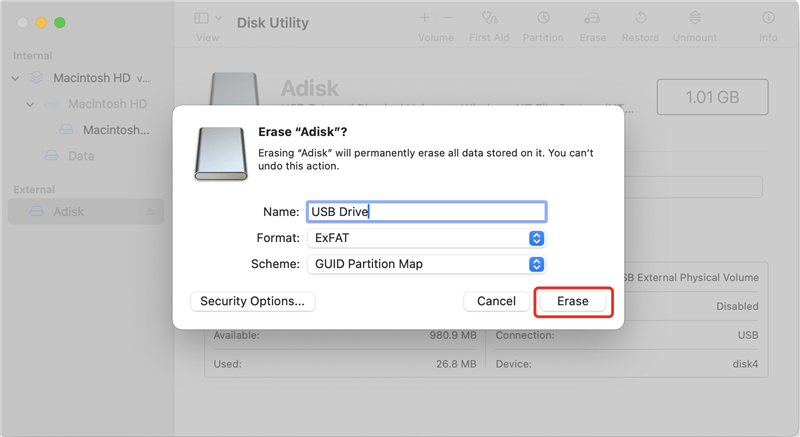
- Erase the Drive: At the top of the box, click the "Erase" button. It will show you a box where you can enter the information needed to erase the drive.
- Choose Format and Scheme: In the box that comes up, pick a file system type for your drive. If you need to be able to use it on multiple platforms, Mac OS Extended (Journaled), APFS, or exFAT are all common choices. If you use the drive mostly with a Mac, choose GUID Partition Map for the scheme.
- Name the Drive: In the "Name" area, give your USB flash drive a name. When you connect the drive to your Mac, this name will show up.
- Erase: When you're done typing the requested information, click the "Erase" button. Now, Disk Utility will delete the drive and format it again. The time this takes will depend on how big and fast the drive is.
- Verify the Drive: Disk Utility will show a proof message when the job is done. Now that you've ensured the drive works properly, you can copy some files to check its condition.

More Tips:
- The lost data which is erased from your USB flash drive is not lost for good and can be recovered by data recovery software.
- If the Erase button is grayed out, click on First Aid button to repair the damaged USB flash drive.
- Click on Mount button to mount the USB flash drive.
Wiping a Damaged USB Flash Drive on Mac with Mac Disk Wipe Software
If you will throw out the damaged USB flash drive or want to fix it and give it to other people, you can use Mac disk wipe software to securely wipe the damaged USB flash drive.
Although Mac OS has a Disk Utility that is a built-in application that allows data to be deleted in storage device, it is often not effective to eliminate them correctly, because as we mentioned there is a probability of recovering that data with data recovery software. So we present DoYourData Super Eraser for Mac that is a powerful disk wipe tool specially designed to destroy information permanently even in damaged USB flash drive.
DoYourData Super Eraser for Mac is a very simple tool to use. You just have to follow a few steps to be able to permanently wipe data on a damaged USB flash drive under Mac OS.
Step 1. Download and install the reliable Mac disk wipe software - DoYourData Super Eraser for Mac and then open it from Launchpad.
DoYourData Super Eraser for Mac
- Securely wipe USB flash drive on Mac and permanently erase data from it.
- Fix damaged USB flash drive on Mac.
- 100% safe and easy-to-use disk wipe program.
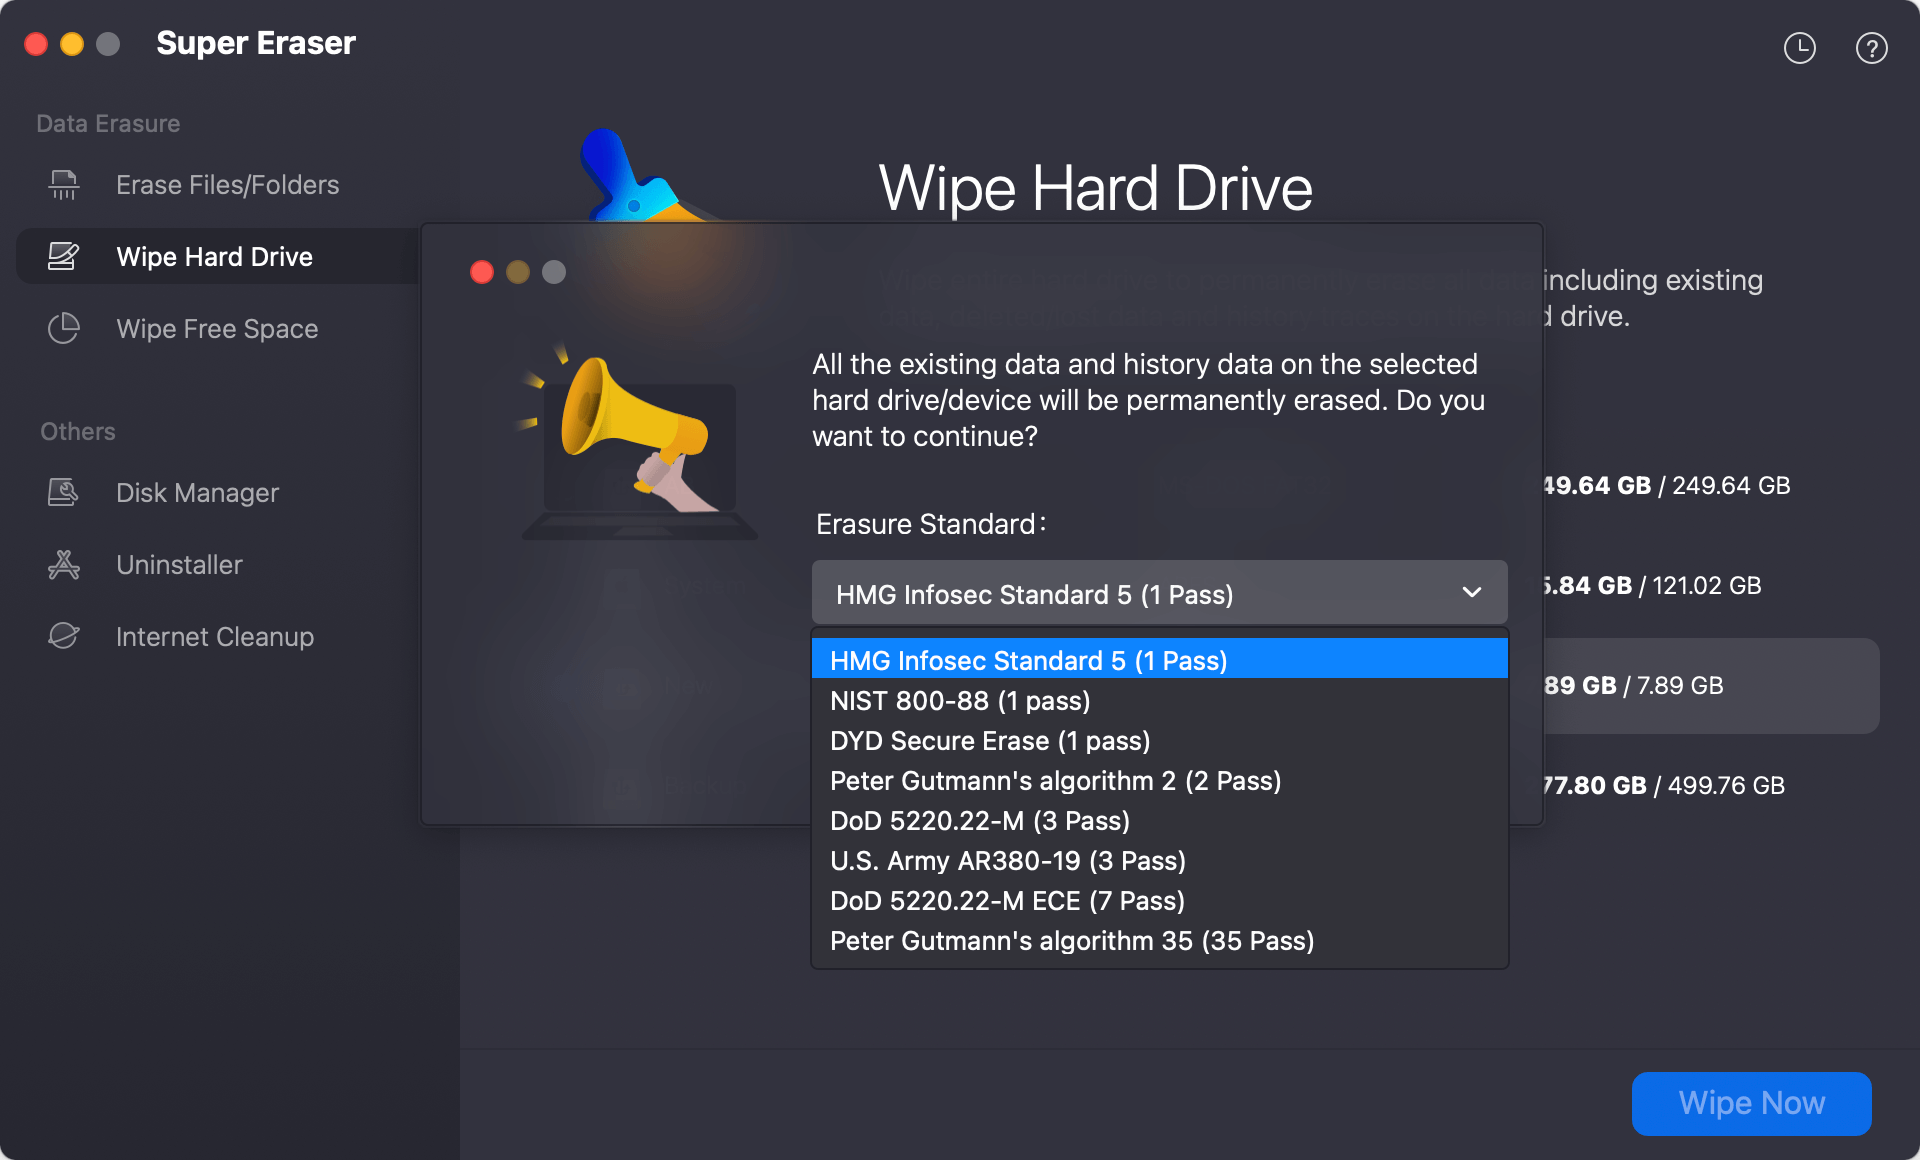
Step 2. Open DoYourData Super Eraser for Mac, then choose Wipe Hard Drive mode. This mode will help you fix damaged USB flash drive and permanently erase all data (including existing data, deleted/formatted/lost data, etc) from the drive.

Step 3. Select the USB flash drive and click on Wipe Now button.

Step 4. Select a data erasure standard, then click on Continue button.

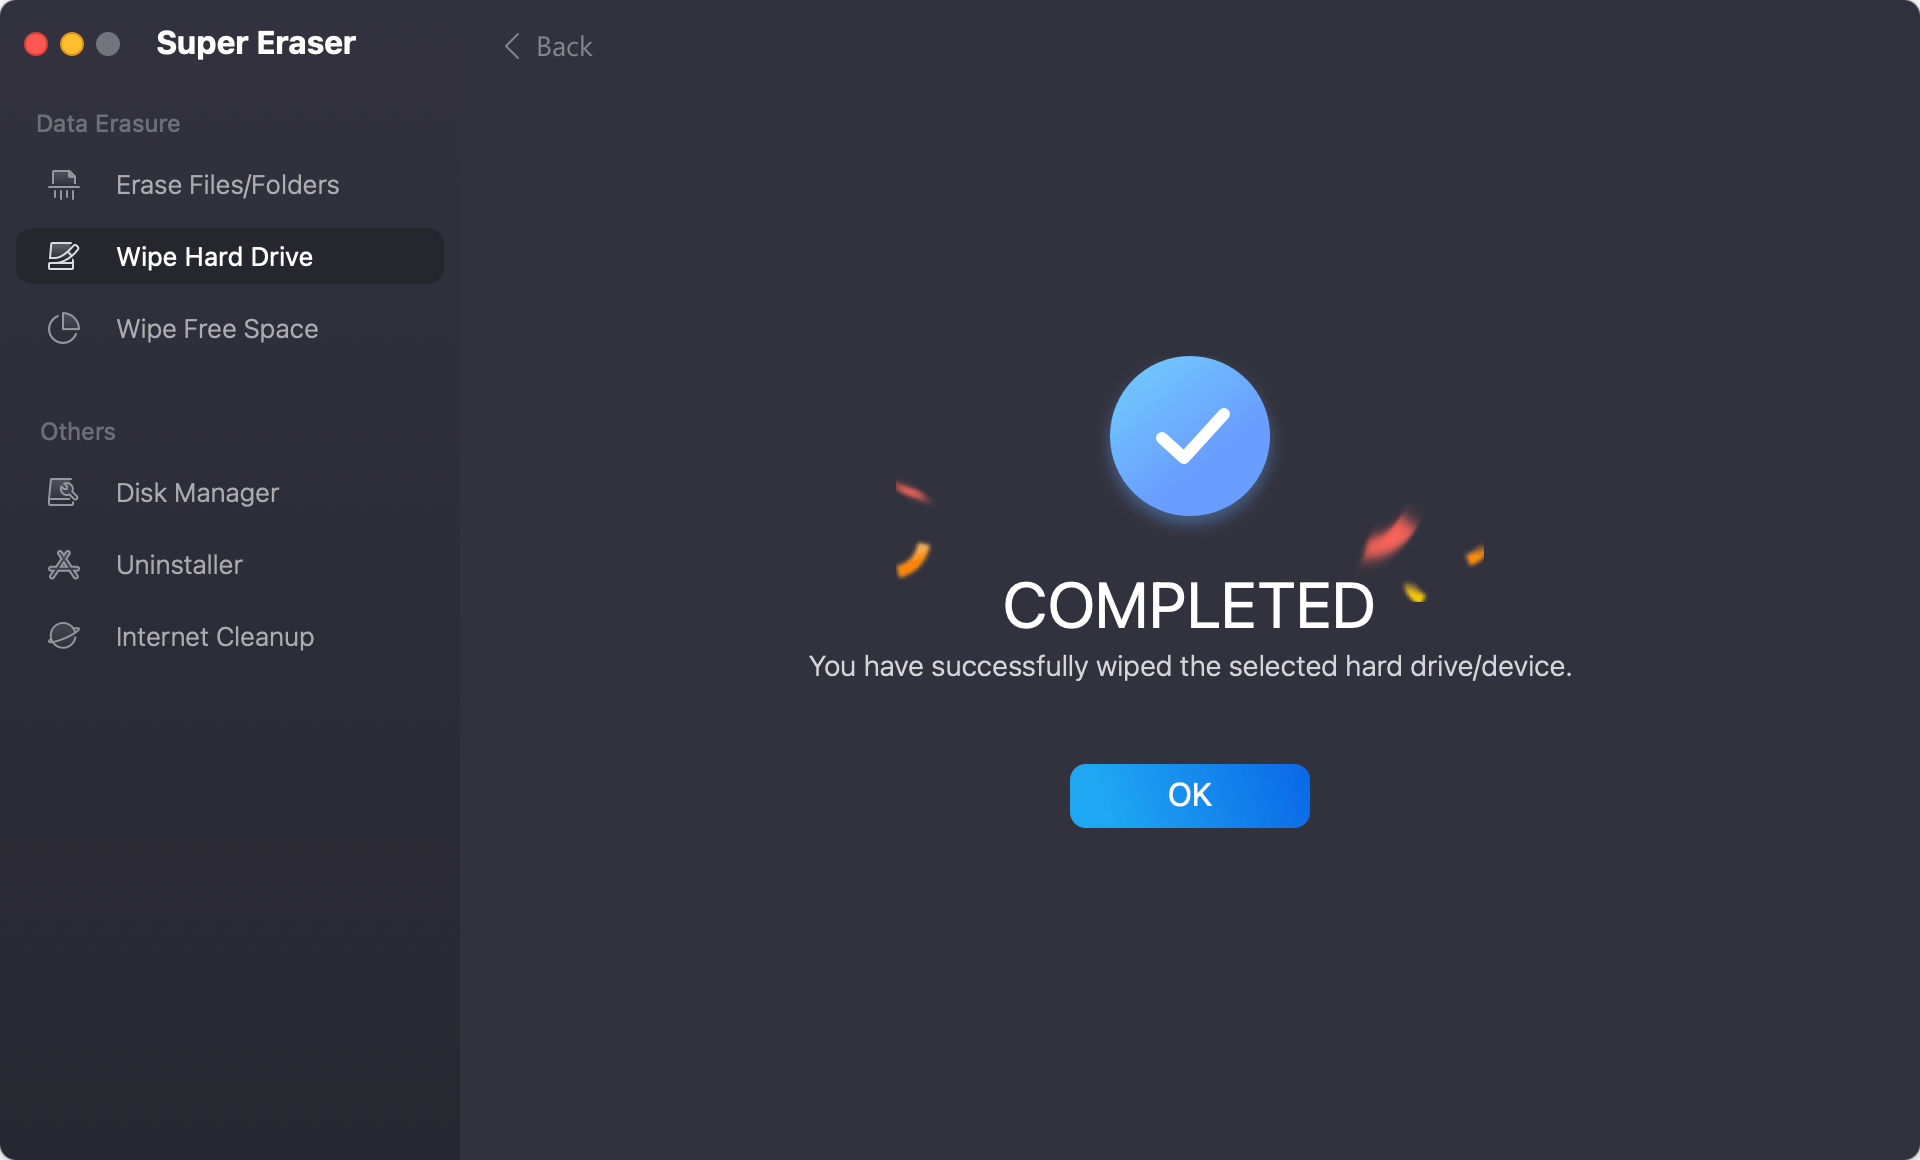
Step 5. Format and wipe the damaged USB flash drive, permanently erasing all data from the drive.

Note: Once the data is erased by DoYourData Super Eraser for Mac, the data is lost for good, cannot be recovered by any method.
Conclusion:
Wiping a broken USB flash drive on a Mac might seem hard, but it can be done quickly with the right tools and steps. You can get your USB flash drive running again by recognizing the signs of a damaged drive, backing up data that can be recovered, making sure the connection is safe, and using either Disk Utility or Mac disk wipe software.
Doing these things can ensure that your data storage stays reliable and effective, saving you time and trouble in the future. You can also prevent problems like this from happening again by backing up your important files regularly and being careful with your USB flash drives. Now that you know how to wipe and reset a USB flash drive, you can trust that you can handle any data storage problems that come your way.
If you will sell, donate or dispose of a damaged USB flash drive, you can use disk wipe software - such as DoYourData Super Eraser for Mac to fix and wipe the drive, making data recovery be impossible.

DoYourData Super Eraser for Mac
DoYourData Super Eraser for Mac is a 100% safe, powerful and easy-to-use data erasure program. It offers certified data erasure standards including Peter Gutmann, U.S. Army AR380-19, DoD 5220.22-M ECE to permanently erase data from Macs and external devices, making data recovery be impossible.