How to Recover Lost Data after Upgrading to macOS 10.14.2/10.14.3/10.14.4?
![]() Updated by Justin Kenny on 2019-03-27
Updated by Justin Kenny on 2019-03-27
“Is there any method to recover the lost files after upgrading to macOS Mojave 10.14.2/10.14.3/10.14.4? Yesterday I upgraded my Mac OS system to the latest 10.14.4 version. However, after that I found that all my files on the desktop had disappeared, including some very important files for my work. It is really driving me crazy, as it took me a lot of time to prepare them. What should I do in order to get all my lost files back?”– Nick Brian
Apple released the latest macOS Mojave 10.14.2/10.14.3/10.14.4 in 2018 - 2019. These updates improve the security, stability, and compatibility of the Mac, and quite a lot of users choose to immediately upgrade their system after it was published. However, it is reported that some users may have the problem of losing files after upgrading to macOS 10.14.2/10.14.3/10.14.4. Whenever it happens, it is very disappointing and annoying. But you do not have to be worried. In the following article, we will be teaching you the most efficient way to recover your lost Mac data after macOS 10.14.2/10.14.3/10.14.4 upgrade.
How to recover lost data after upgrading to macOS 10.14.2/10.14.3/10.14.4?
In order to get back the files you have lost, you need the help of a Mac data recovery software. The one we will introduce here is called Do Your Data Recovery for Mac, which is one of the most popular and efficient data recovery software in the market. You just need a few steps before you retrieve all your lost data. And many users are very happy and satisfied with it. Here please find the following easy guide to restore missing data after upgrading to macOS 10.14.2/10.14.3/10.14.4.
Step 1: Download DoYourData Recovery and install it on your Mac.
First of all, please feel free to click below button in order to download Do Your Data Recovery for Mac for a free trial. Then run the application and install it on your Mac right away.
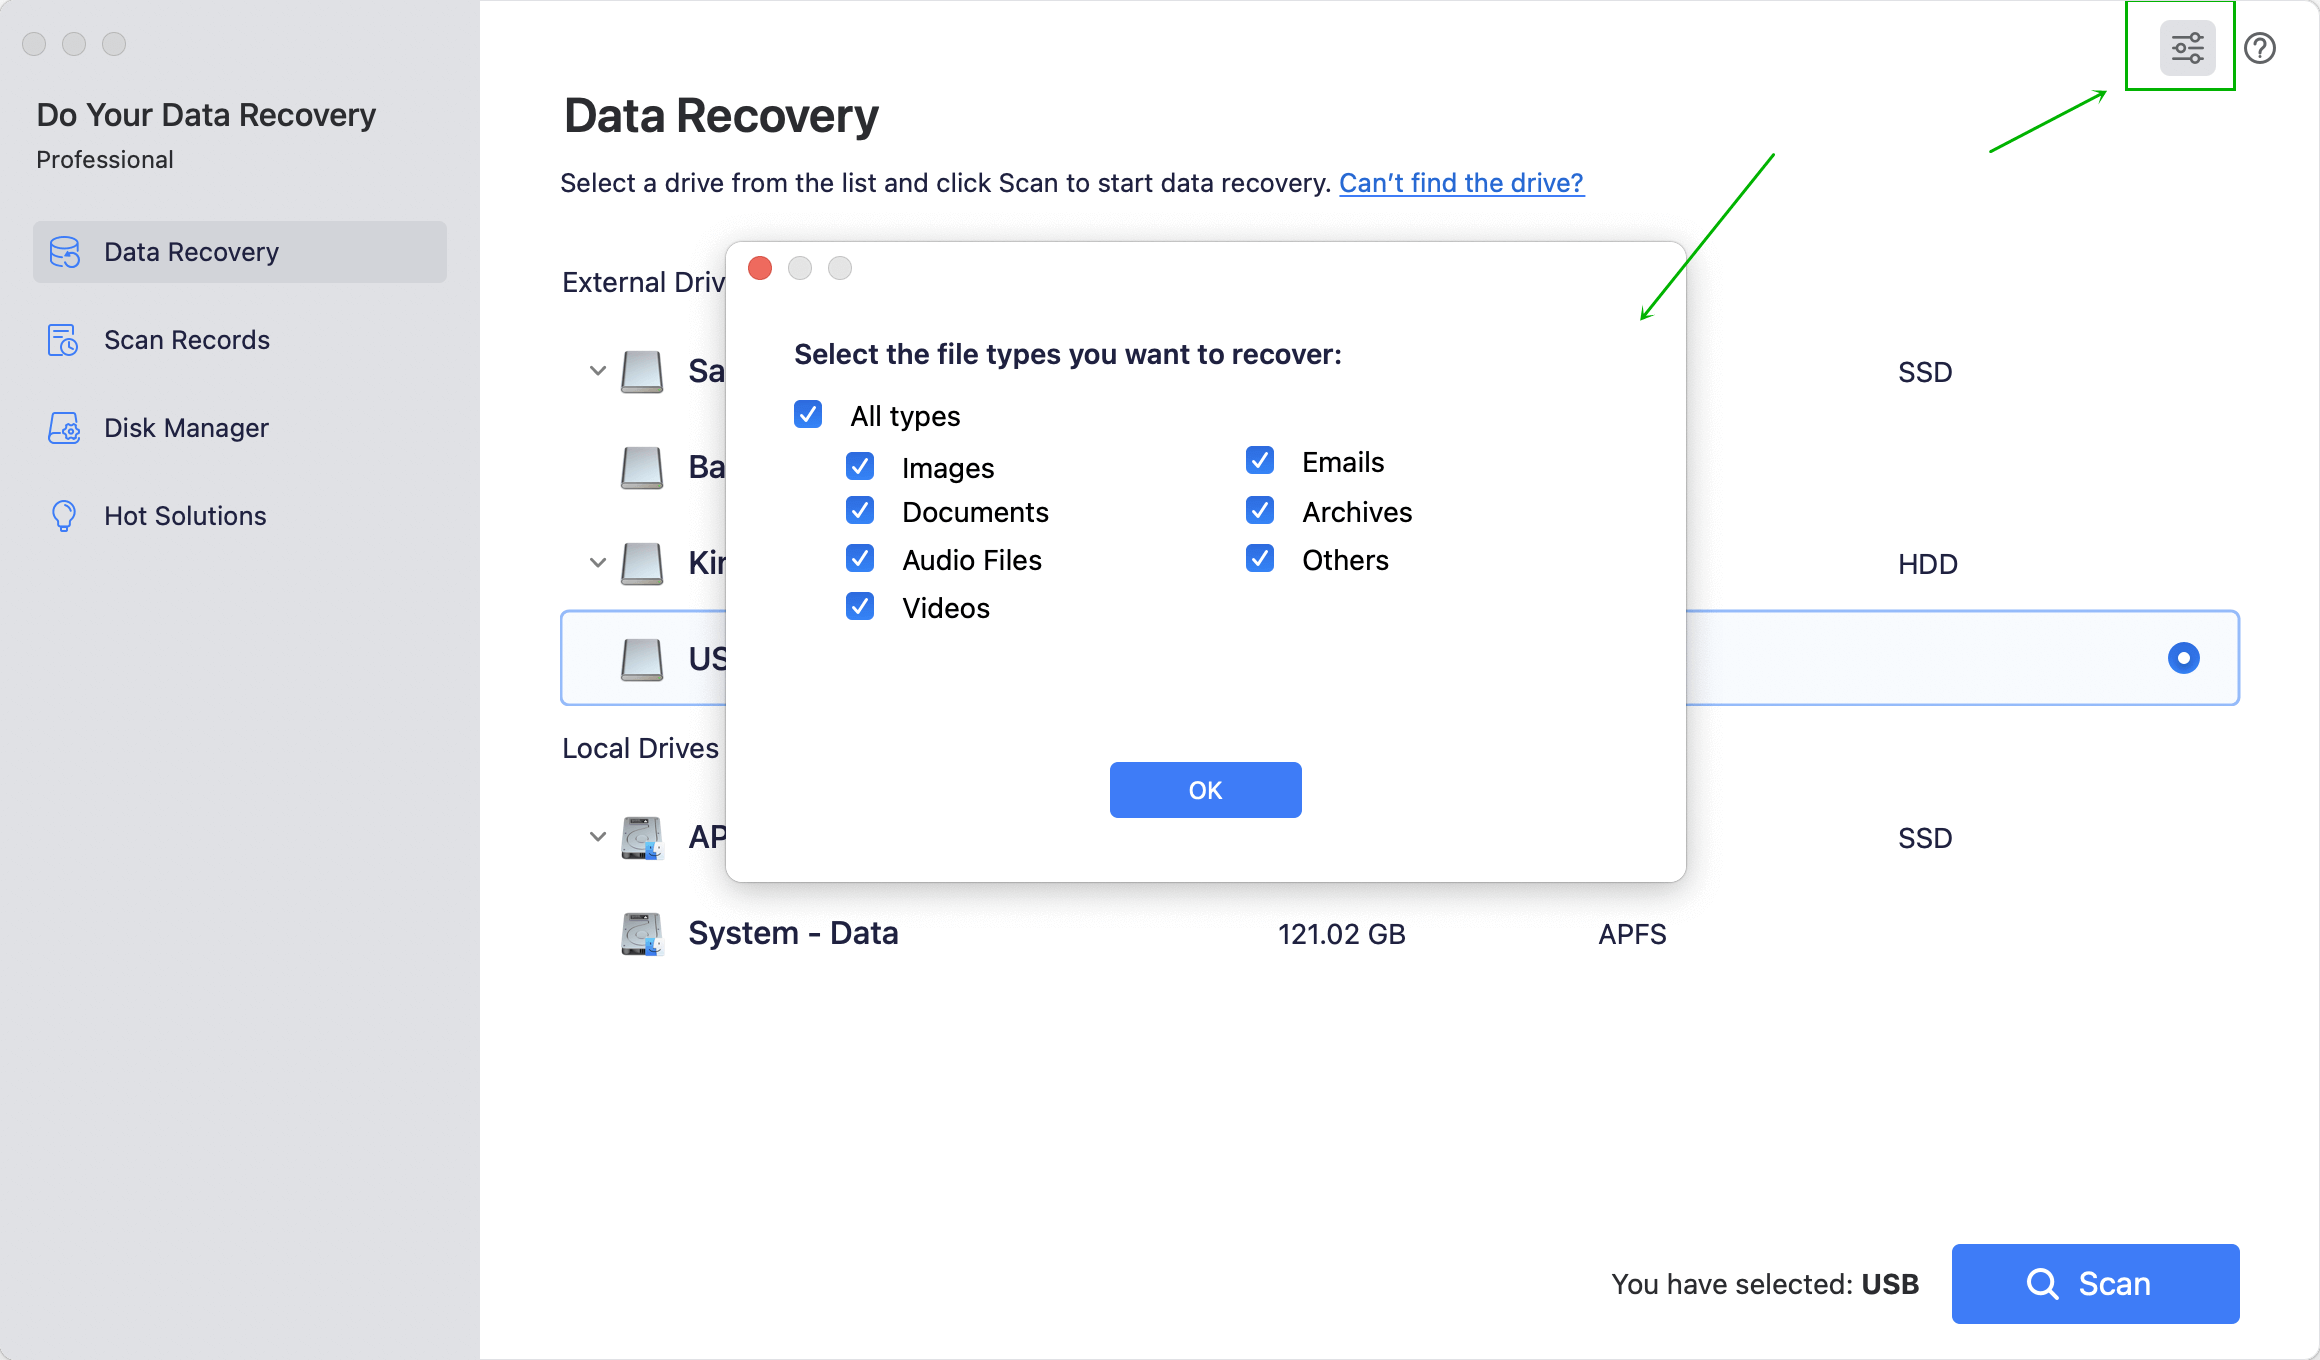
Step 2: Open Do Your Data Recovery and select the file type to recover.
After installation of Do Your Data Recovery for Mac on your Mac, you can double click the icon to launch it. Then the software will pop out a window where you can choose the file types to recover, which can help you to find the target files very quickly.
Step 3: Choose the Mac hard drive to scan.
Please select the hard drive where you lost your data, and click the “Scan” button to generate the scanning process. Then just wait for a moment as the scanning process may take a while.

Step 4: Preview the results and retrieve the lost files.
Once the scanning process is finished, all the recoverable files will be listed in the right pane. You can have a preview first and then save what you want to a safe location. If you cannot find your target files after quick scan, you can also try “Advanced Recovery” for a better result.

Whenever you lose your important files during or after upgrading your MacOS system, please do not hesitate to turn to Do Your Data Recovery for Mac. It is a very useful and powerful Mac data recovery software, which can restore almost all types of files, including documents, videos, images, Audio, and so on. Once you try Do Your Data Recovery for Mac, you will surely fall in love with it.
Written & Updated by Justin Kenny
Justin Kenny is a writer & editor of DoYourData. He joined DoYourData in 2016 and focuses on writing articles about Windows data recovery, Mac data recovery, external device data recovery, hard drive clone, data erasure, Mac cleanup, computer issue fixes, etc. He is a super fan of Apple devices and is big on testing new digital device and system utility software.