Home > Hard Drive Solutions for Mac
How to Install NTFS Driver on Mac?
NTFS driver for Mac can help you enable full NTFS read-write support on Mac. After installing NTFS driver on Mac, you can use it to enable writable for NTFS drives so that your Mac can write data to the NTFS drives. And it also can help you mount NTFS drives, format NTFS drives, repair damaged NFTS drives on Mac. Check how to download and install NTFS driver on your Mac.
![]() Updated by Justin Kenny on December 30, 2025
Updated by Justin Kenny on December 30, 2025
Quick Navigation:
Are you sick of running into problems when sharing files between your Mac and Windows computers? Imagine editing papers, moving media, and managing files on NTFS drives without any problems from your Mac.
You no longer have to be frustrated about NTFS files being read-only. This guide shows you how to install NTFS driver on Mac and use NTFS driver to add NTFS read-write support on Mac. Say goodbye to limits and hello to a world where you can share files with anyone you want.
This solution lets you work easily on different platforms, whether a student, worker, or casual user. Come with us to break down barriers and maximize your Mac experience. We will look at how to get the most out of your Mac quickly and easily.
What Is NTFS?
NTFS (New Technology File System) is the main Windows file system. It replaced FAT (File Allocation Table). Microsoft created NTFS, which has many advanced features necessary for current computers.
It can handle big file sizes, make data safer with file encryption and permissions, make data more reliable with journaling, and make good use of storage space with compression and disk quotas. Not only that, but NTFS also lets you make symbolic links, compress files and folders, and set disk limits. Because it is so reliable, it is the best choice for Windows-based computers.
It makes managing and organizing data across multiple storage devices easier. In macOS, NTFS drives can be read by default but can't be written to without third-party drivers. These drivers connect Windows and macOS, allowing for easy file sharing.
Choosing the Right NTFS Driver for Mac
Choosing the right NTFS driver for your Mac ensures everything works well together. There are many choices on the market, so it's important to consider things like dependability, usefulness, and user experience before making a choice.
👍 Reliability
Reliability is an important thing to think about. An NTFS driver that is stable and doesn't mess up your files is what you'll need. When looking for drivers, ensure they come from a reputable company with a history of making good software.
⚙️ Functionality
Another important thing to look at is how functional something is. Your chosen NTFS driver should let you read and write to NTFS-formatted drives without problems. This way, you can do important things like editing, moving, and deleting files without problems. Features like automatically mounting drives and working with the newest macOS updates can also improve the general user experience.
🙍 User Reviews
User reviews and suggestions can also tell you how easy it is to use different NTFS drivers. Research and read reviews from other Mac users to understand what they think and find the best driver.
DoYourData NTFS for Mac is the Mac NTFS driver that can meet all your needs. It can help you quickly enable writable for NTFS drives, repair damaged NTFS drives, mount NTFS drives or format NTFS drives, etc.
How to Install NTFS Driver on Mac?
Installing DoYourData NTFS for Mac opens up a world of options for Mac users who want to view and change NTFS-formatted drives easily. Here is a full list of all the steps that need to be taken to install:
1. Download DoYourData NTFS for Mac
You can start the process by going to the DoYourData Software website. Head over to the DoYourData NTFS for Mac product page. You can do this quickly by searching or going to the site. After going to the product page, find the part that says "Download."
You can download the most recent version of the software from this page. Making sure you download the version that works with your macOS version is very important if you don't want to have any problems in the future. Click on the offered download link to start the download once you've found the right version.
Here, you can click the Download button below to download DoYourData NTFS for Mac.
DoYourData NTFS for Mac
- Best and most reliable Microsoft NTFS driver for Mac.
- 100% safe and enable best performance of NTFS drive on Mac.
- Quickly allow Mac read-write NTFS drives without limitation.
2. Install DoYourData NTFS for Mac
It's time to start the process now that the download is done. Find the place where the downloaded file is saved (such as Download folder). On a Mac, this is usually the Downloads folder - Double-click on the .dmg file to start the installing process.

Drag the software icon to the Applications folder, then open the software from Launchpad.

3. Mount NTFS Drives
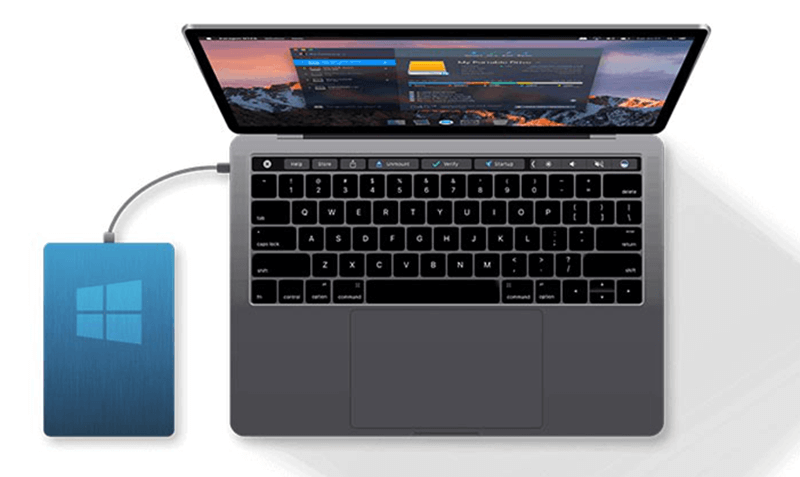
You can connect the NTFS drives you want to use. You can plug the NTFS drives into a USB port or use another way that works to connect them to your Mac.
When you connect the drives, DoYourData NTFS for Mac should find them and mount them immediately. To ensure this, go to Finder and look at the list of available drives. The NTFS-formatted drives should show up with the other connected drives and be ready to be used.
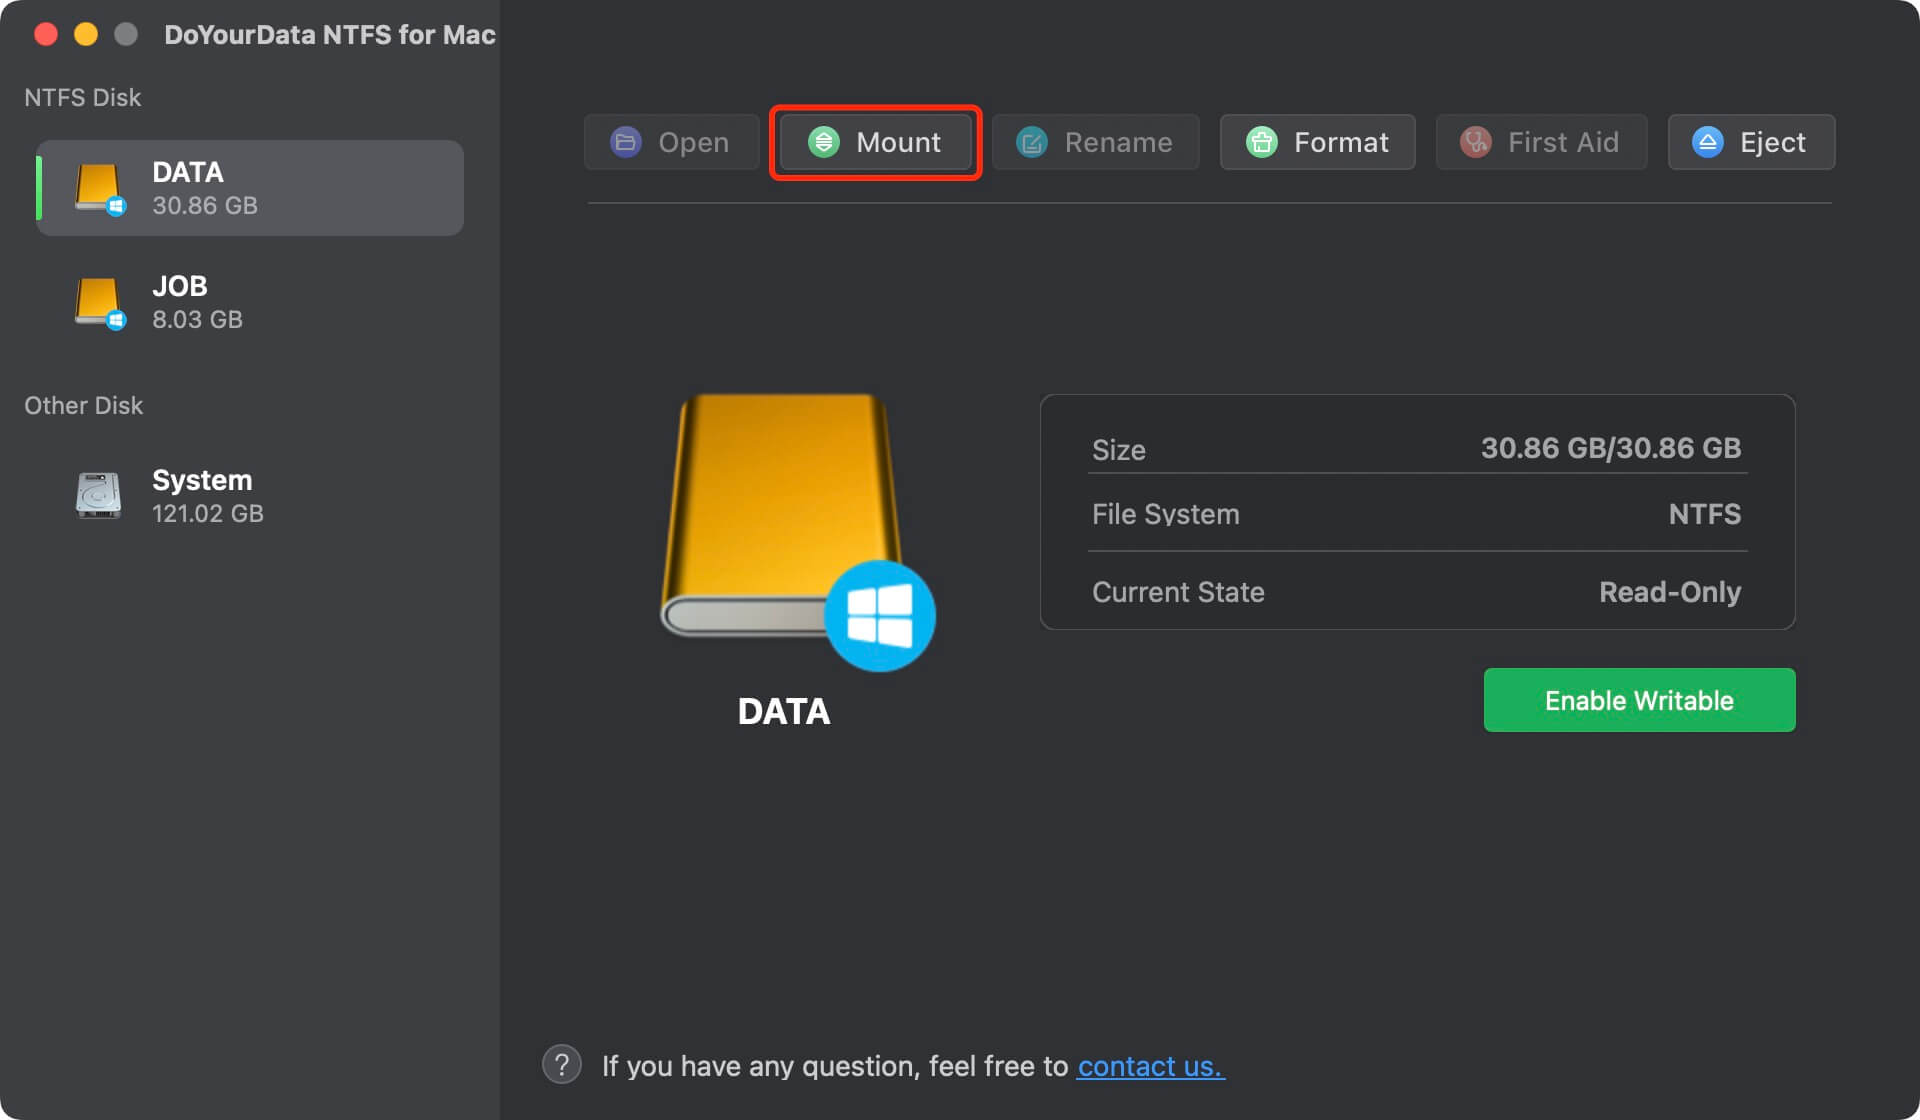
If the NTFS drives are not mounted, open DoYourData NTFS for Mac, select the target NTFS drive, click on Mount button.
4. Write to NTFS Drives
The NTFS drives have been mounted, use DoYourData NTFS for Mac to add NTFS read-write support by clicking on Enable Writable button. (Follow the onscreen instructions to allow your Mac to read-write NTFS drives on your Mac.)

5. Eject NTFS Drives
When you're done with your work and don't need to use the NTFS files anymore, you should properly eject them to keep the data from getting damaged. All you have to do to eject a drive is find its icon in Finder, right-click on it, and choose "Eject" from the menu that appears.
You can also drag the drive's icon to the Trash icon in the Dock. The Trash icon will turn into an eject image after you do this. Once they are out, you can safely remove the NTFS drives from your Mac.
Conclusion:
In conclusion, installing an NTFS driver on your Mac makes it possible to share and handle files between macOS and Windows easily. Following the steps in this guide for installing a reliable driver like DoYourData NTFS for Mac will make it easy for you to access, read, and write NTFS-formatted files.
Get rid of the pain of being able only to read and welcome a world where you can fully use your Mac's abilities. Now that the hurdles between Mac and Windows systems are down, you can be more productive and get more done in less time.
DoYourData NTFS for Mac
DoYourData NTFS for Mac is a safe, powerful and easy-to-use NTFS for Mac tool. It allows macOS to read & write files on NTFS drives without any limitation. It is also a comprehensive disk management tool for Mac to mount/unmount disk, format disk, repair disk, read-write disk...on Mac.
Written & Updated by Justin Kenny
Justin Kenny is a writer & editor of DoYourData. He joined DoYourData in 2016 and focuses on writing articles about Windows data recovery, Mac data recovery, external device data recovery, hard drive clone, data erasure, Mac cleanup, computer issue fixes, etc. He is a super fan of Apple devices and is big on testing new digital device and system utility software.