Quick Navigation:
- #1 macOS Monterey can't install on Mac
- #2 Update Stuck On macOS Monterey
- #3 VPN Applications Aren't Operating Properly
- #4 Airplay Not Working Properly
- #5 Issues With Battery Life After Installing macOS Monterey
- #6 Lose Data after Installing macOS Monterey
On July 1, Apple published Monterey, the first public beta of macOS 12. A redesigned tab bar and tab groups in Safari, Focus mode, Quick Note, and greater synergy between Mac and iPad are just a few of the new macOS improvements.
Apple took the opportunity to show off two new macOS capabilities: Universal Control and AirPlay to Mac. One of the most significant changes is Universal Control, which allows a single mouse, trackpad, and keyboard to utilize numerous Macs and the iPad for content transfer.
Aside from Universal Control, Apple also introduced a new function called AirPlay to Mac, which accomplishes its claims. Whether it's a movie or music, you can now play it on your Mac from other devices. AirPlay to Mac allows you to stream movies, games, pictures, and more from your iPhone or iPad to your Mac, as well as utilize the Mac as a multiroom audio speaker.
The macOS Monterey beta has several issues and performance concerns. In this article, we'll show you how to fix macOS Monterey difficulties, including downloading, installing, and booting, as well as how to cope with Mac misbehavior following the update.
macOS Monterey Issues and their fixes
macOS Monterey is a major new release that we've all been expecting. The Shortcuts app, Universal Control, a revamped Safari, enhancements to FaceTime, and other essential changes were included.
New upgrades, however, hardly go smoothly, and macOS Monterey is no anomaly. Fortunately, virtually every problem has a solution; in this article, we'll go through some of the most frequent macOS Monterey issues and how to solve them.
#1 macOS Monterey can't install on Mac
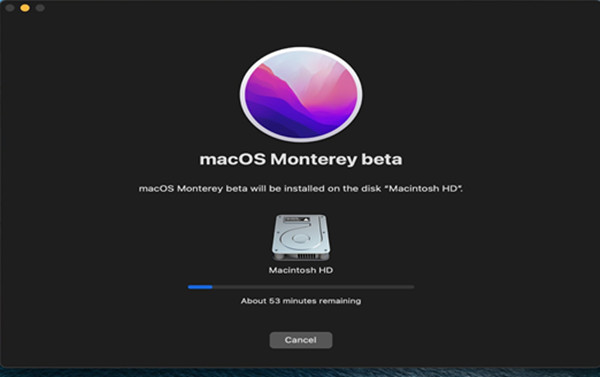
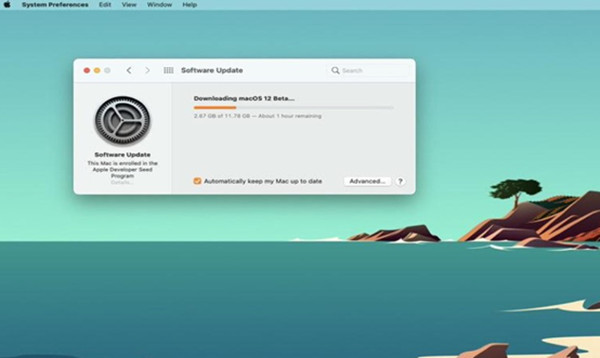
You may download and install macOS Monterey 12 by signing up for an Apple APP Store account. However, there are chances that you will face difficulties while downloading or installing it.

How to fix:
If you're having trouble installing something, check to see if you have enough space on your hard disc or volume. The overall size of the macOS Monterey update is more than 4.9 GB. If the Macintosh HD is not mounted when installing macOS Monterey, you should verify your startup disk in Disk Utility.
Even if there is enough space, the macOS installation cannot be completed? You may put your Mac in Safe Mode and reinstall macOS 12 from there. Here we will show you how to boot your Mac in Safe Mode.
i. When your Mac starts up, hold down the Shift key.
ii. Reinstall macOS 12 Monterey when your Mac boots into Safe Mode.
iii. Restart your Mac.
Additionally, even after clearing your content caching and re-downloading for times, you may be unable to upgrade to macOS Monterey due to the error "macOS Monterey could not be validated" below.
i. From the upper left corner, click the Apple logo, then select System Preferences.
ii. Locate and open Date & Time.
iii. Click on the lock located in the lower-left corner of the Date & Time panel to make adjustments.
iv. Uncheck the option of "Set date and time automatically" and recheck it, then click the lock to preserve your changes.
#2 Update Stuck On macOS Monterey
Many users have reported that their macOS Monterey is stuck on "Setting Up Your Mac," "Screen Time," or other procedures.

How To Fix:
If you've been waiting a long time and nothing has happened, try backing up your files and restarting your Mac while holding down the power button. Hopefully, this will restore your Mac to its previous state.
#3 VPN Applications Aren't Operating Properly
A new Apple feature called iCloud Private Relay is why VPN applications aren't operating correctly after upgrading to Monterey. When you join, this option shields your actual IP address and provides you a new one. It can also conflict with VPN programs, according to some users.
How To Fix:
So, here's how to turn it off
i. Select System Preferences from the Apple menu.
ii. Then select Apple ID.
iii. From the left-hand menu, Select iCloud.
iv. Select Private Relay from the drop-down menu and then select Options.
v. To turn it off, click Turn off.
Hopefully, the problem has been resolved.
#4 Airplay Not Working Properly
There were several complaints. AirPlay will either freeze, operate slowly, or not work at all. We don't know why, but there are a few things you can do to solve it.
How To Fix:
To ensure the firewall settings on your Mac:
i. Go to Access System Preferences, then click on Security & Privacy, then Firewall.
ii. Select the Firewall option.
iii. Select "Automatically allow built-in software for receiving incoming connections" and deselect "Block all incoming connections."
#5 Issues With Battery Life After Installing macOS Monterey
Have you noticed that you can't work at the park for as long as you used to? Monterey might be placing a load on your battery. Here are some of the finest battery-life extension tips.
How To Fix:
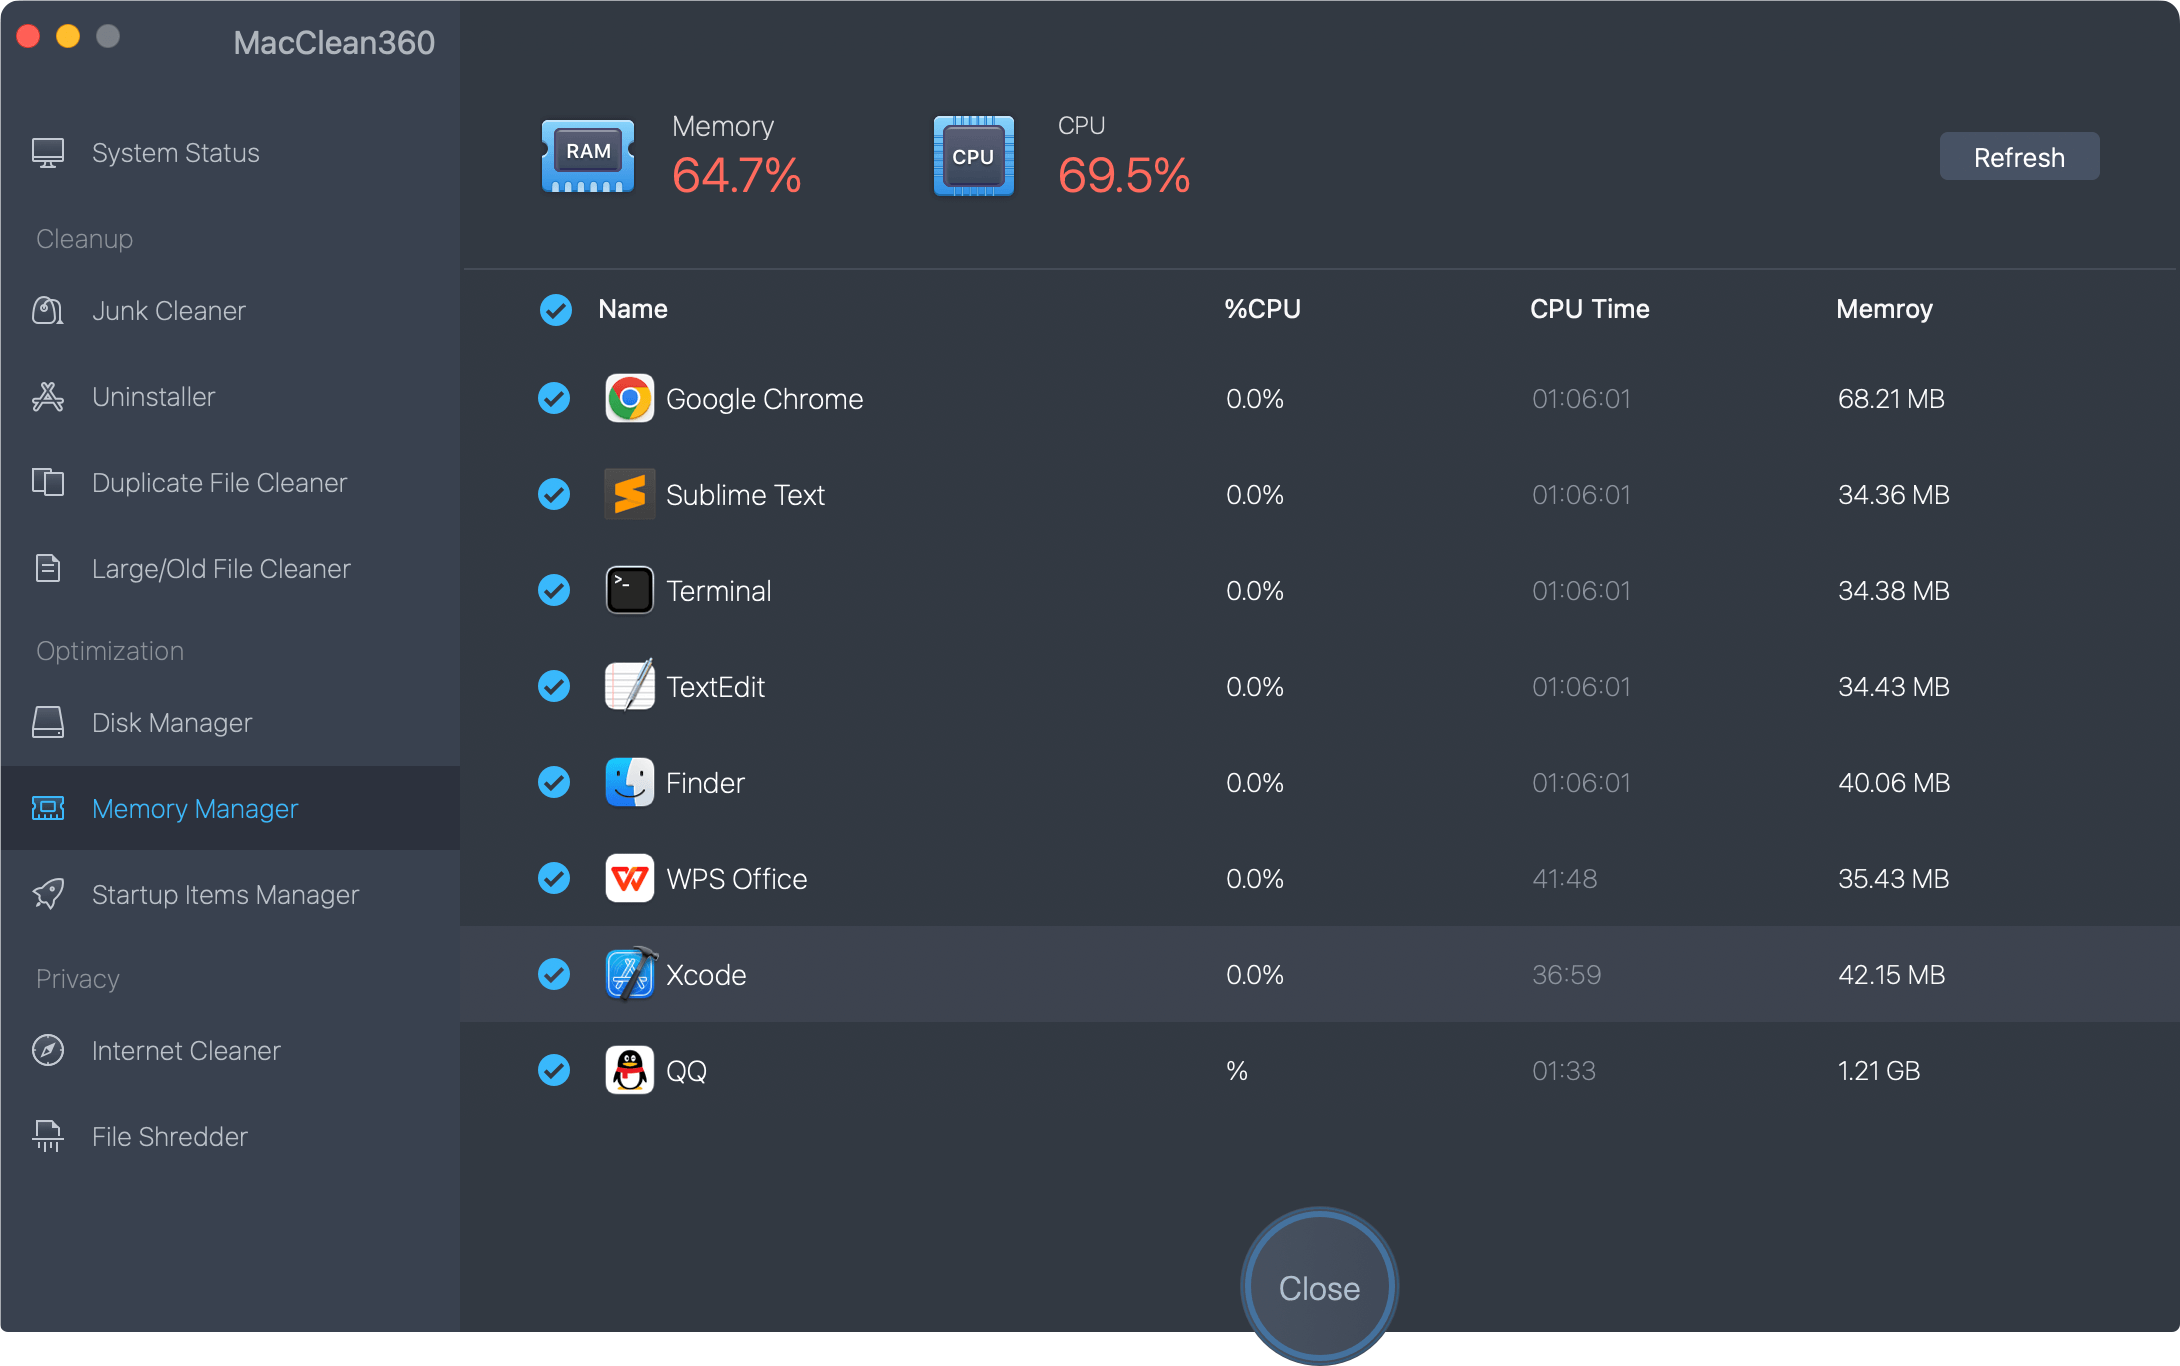
DoYourData MacClean360 is a program that monitors and manages the overall performance of your Mac. It has several modules for monitoring the CPU, sensors, batteries, and other things.

We recommend installing them all since they all contribute to keeping your Mac in excellent working order. But, most significantly, there's the battery. It will show you which applications consume a lot of energy, track the battery's health, and how quickly it empties.
After going through the data, you can decide whether to remove particular programs or terminate specific processes to improve your battery life.
#6 Lose Data after Installing macOS Monterey
If you lose important data after upgrading to macOS Monterey, just try data recovery software to help you easily and quickly recover lost files. Do Your Data Recovery for Mac is a powerful macOS Monterey data recovery application.
- Recover permanently deleted files, recover trash bin on macOS Monterey.
- Recover formatted or erased disk on macOS Monterey.
- Recover lost data due to virus infection macOS Monterey update, logical error, volume loss, etc.
Follow the steps below to recover lost data after upgrading to macOS Monterey:
Step 1. Download and install Do Your Data Recovery for Mac on your Mac computer. This software supports to recover lost data from Mac-based HDD/SSD, external hard drive, memory card, USB flash drive, digital camera, etc.
Step 2. Run Do Your Data Recovery for Mac on your computer, then select the hard drive where you delete or lose your files.

Step 3. Click on Scan button. If the quick scan can not find all lost files, just try advanced recovery mode to deeply scan the hard drive.

Step 4. Once the scan is completed, you can preview all recoverable files.

Step 5. Select the files you want to recover, then click on Recover button to save the files.
Conclusion
It's inconvenient when your Mac fails to finish an operating system update, especially when you want to try new features or upgrade your macOS to make it compatible with new programs. A macOS upgrade can sometimes corrupt your existing operating system, leaving you with an unbootable Mac.
In this scenario, you'll need to restore your Mac files with macOS Recovery's DoYourData Mac data recovery program. Backing up your data is also a brilliant idea by using Time Machine before upgrading to macOS Monterey.
All-in-one Mac tool - MacClean360
- The best junk cleaner to help you clean up all junk data, duplicate files, old files after upgrading to macOS Monterey.
- Uninstall useless applications and remove all leftovers.
- Manage disk drives on macOS Monterey.
- Speed up slow Mac with 1 click.