Quick Navigation:
- Choosing the Right SSD for Samsung Galaxy Book
- Before the Samsung Galaxy Book SSD Upgrade
- HUpgrading the Samsung Galaxy Book SSD
- Post-Upgrade Steps after Upgrading the SSD
- Final Words
Upgrading your Samsung Galaxy Book's solid-state drive (SSD) can make it run faster, respond to apps more quickly, and hold more data. The speed and dependability of a modern SSD are great for the Galaxy Book series, which is known for its sleek style and strong performance.

This guide will show you how to upgrade Samsung Galaxy Book SSD, from choosing the right SSD to setting it up and moving your data without any problems. This improvement will make your device faster and better, whether you're a tech fan who wants to make your laptop more powerful or a businessperson who needs more storage space and speed. Find out how to change your Galaxy Book with a new SSD to meet all your working needs quickly and easily.
Choosing the Right SSD for Samsung Galaxy Book
There are a few things you should think about when choosing an SSD for your Samsung Galaxy Book:
- Form Factor: Most Galaxy Books use M.2 SSDs, but ensuring your model supports that form factor is important. Look at your laptop's specs or the user guide for more information.
- Interface: Each M.2 SSD has a unique port, such as SATA or NVMe (PCIe). It's important to ensure your laptop supports NVMe because NVMe SSDs are faster than SATA SSDs.
- Capacity: Pick an SSD that has enough storage space for your wants. Most have sizes between 256GB and 2TB.
- Brand and Warranty: Choose well-known names like Kingston, Samsung, Crucial, or Western Digital. Make sure your investment is safe by reading the guarantee terms.
Before the Samsung Galaxy Book SSD Upgrade
First, moving your files from the old SSD to the new one is part of upgrading your SSD. Normally, there should be no problem. However, to avoid any issues while replacing the old SSD with the new SSD, we suggest you back up your important files to a portable hard drive or a cloud storage service so you don't lose them.
Clone Your Existing Drive
Before you upgrading the Samsung Galaxy Book's SSD, you can first clone the old SSD to the new one with a reliable SSD clone tool. Then you can replace the SSD without reinstalling the operating system, applications, reconfiguring the system settings, etc.
Here are the steps to clone the old SSD to the new SSD with the disk cloning software:
Step 1: Install the disk cloning software.
To clone the old SSD, ensure to search and choose a reliable disk cloning software. We suggest you use the tool DoYourClone. The software is excellent at cloning SSD. As you need to replace the system drive, the software can ensure the cloned SSD is bootable.
You can first download the software and install it on your computer.
DoYourClone - Reliable Disk Clone Software
- Best disk cloning software for Samsung Galaxy Book SSD and other drives.
- Clone the system drive effective and guarantee bootable.
- Copy all the data and create an exact copy of the drive data.
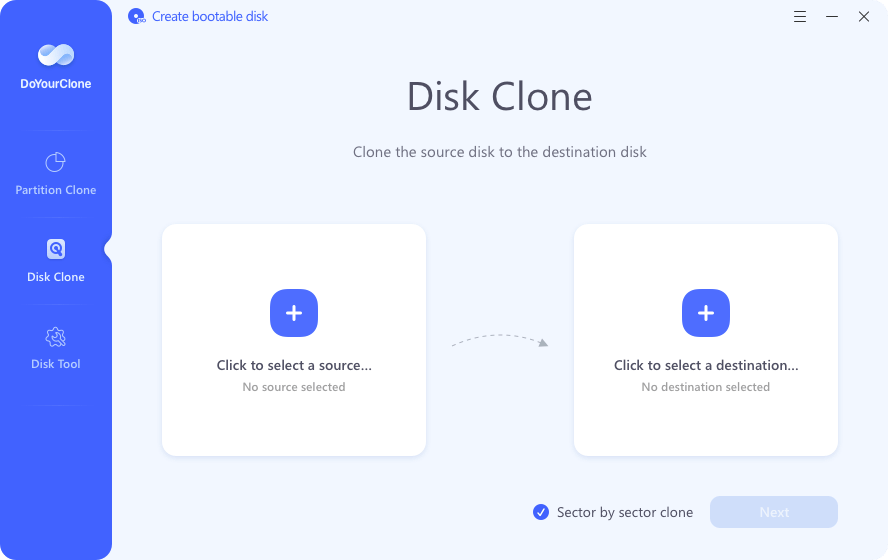
Step 2: Choose the Disk Clone option
When you start up DoYourClone on your PC, a graph showing a few options. To make an exact copy of your Samsung Galaxy Book SSD, go to Disk Clone.
Step 3: Choose the source and destination disk
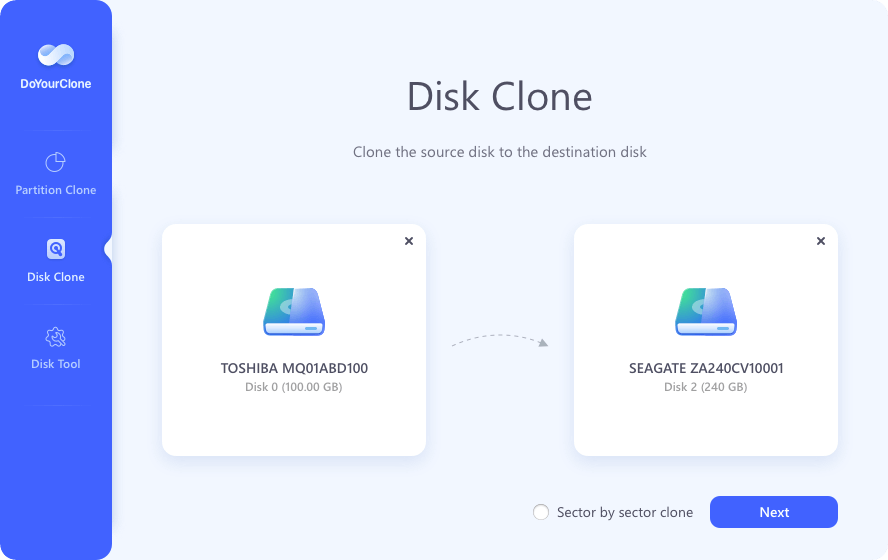
Now you have to pick which drive to clone and store the copy. Pick the old SSD as the source disk you want to copy. Pick the new SSD as the target disk where your new files will live. Be careful which one you pick because this will delete and overwrite everything on the target disk.
Note: Check the Sector by sector copy option if you need a sector level clone.
Step 4: Manage disk partitions layout
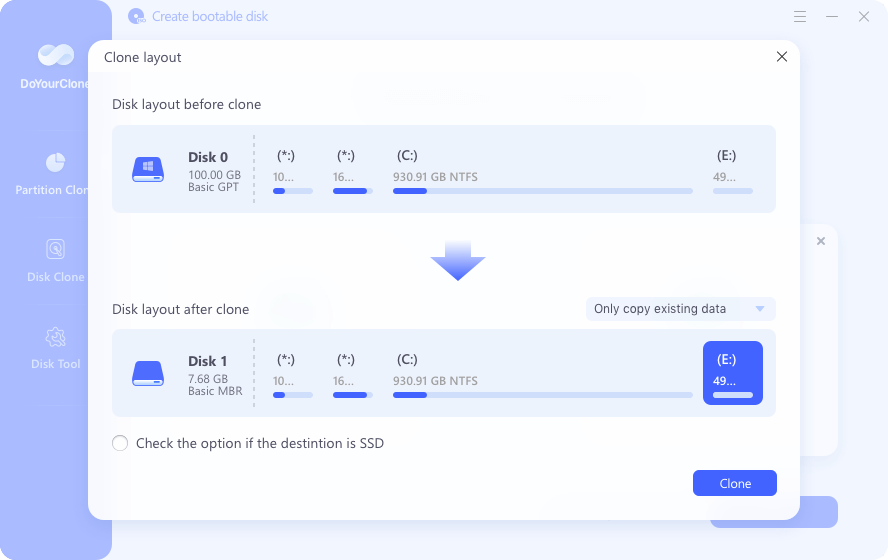
After that, you can take care of your disk sections. Here you can edit the partitions layout on the destination disk. There are some options you can choose from the drop-down list:
- "Only clone existing data" - only copy existing data from the source SSD to the destination SSD.
- "Autofit the disk" - resize the layout on destination SSD depending on the size of it to make the SSD as the best status.
- "Copy as the source" - do not change partitions on destination SSDand the layout is same as source SSD.
- "Edit disk layout" - allows you to manually resize/move layout on this destination SSD.
Also, ensure to enable the option "Check the option if the destination is SSD."
Step 5: Start disk copying for the SSD
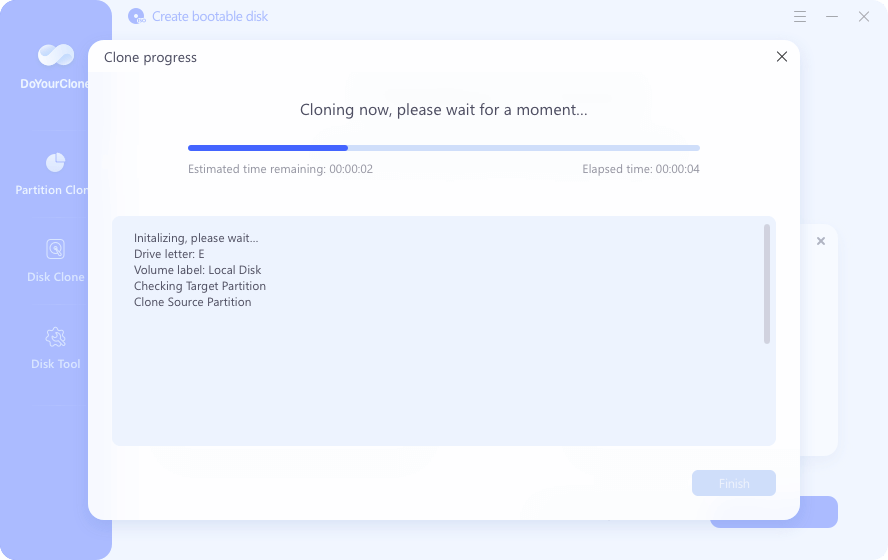
Click the Clone button at the bottom when you're ready to go. One last warning from DoYourClone will appear, saying that all data on the target disk will be erased moving forward. Click OK to continue. It may take some time to finish the process depending on the size of the SSD and performance of the computer.
Step 6. Finish the disk cloning process
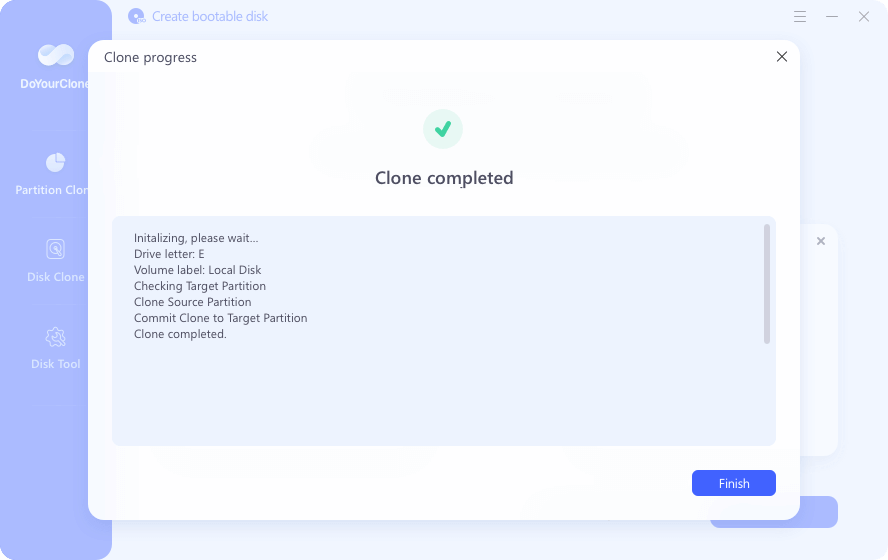
Once the disk cloning process is finished, the software will pop up a window to inform you it's done. Then just click Finish button and all is done.
Upgrading the Samsung Galaxy Book SSD
You can now change the SSD in your Samsung Galaxy Book since you have copied your system and files. Do these things:
Step 1: Power off and unplug
Take your Galaxy Book off the power source and fully turn it off. Take out any peripherals that are attached.
Step 2: Open the Laptop
- Find the screws that hold the back cover on your laptop by turning it over. Each model has a different number and arrangement of screws.
- To take out the screws, use the right tool. You'll need them later, so keep them safe.
- Use a plastic opening tool or a guitar pick to pry the back cover carefully. Watch out not to break the clips that hold the cover in place.
Step 3: Locate the SSD
Once the back cover is off, find the SSD that is already there. With just one screw, an M.2 SSD will be attached to the processor.
Step 4: Remove the Old SSD
The SSD is held in place by a screw. Use a small screwdriver to take it out. Pull the SSD out of the M.2 slot slowly and slightly to the side. Watch out not to hurt the slot or the SSD.
Step 5: Install the New SSD
Place the new SSD in the M.2 slot so the connector lines up with it. Do this at a small angle. Once the SSD is in, slowly push it down and put the screw you took out earlier back in place.

Step 6: Reassemble the Laptop
Carefully line up the back cover with the laptop's frame and press it until it snaps shut. To keep the back cover in place, put back all the screws you took out earlier.
Step 7: Power On and Verify
Turn on your laptop and plug it in. Check if the system notices the new SSD after your Galaxy Book starts. You can use disk control tools or check the storage settings.
Post-Upgrade Steps after Upgrading the SSD
Once the SSD has been upgraded, there are a few more things that need to be done to make sure everything works well:
- Update Firmware and Drivers: Ensure all new SSD drivers are current and check for any firmware changes. That can help improve speed and compatibility.
- Optimize Your SSD: Use SSD tuning tools to ensure your new drive works well. For example, Samsung's Magician program has a set of tools for making Samsung SSDs work better.
- Reinstall or Reconfigure Software: Most apps and settings should still exist if you cloned your old drive. But it's still a good idea to see if any software needs reinstalling or reconfiguring.
Final Words
Changing the SSD in your Samsung Galaxy Book is a pretty easy process that can make it run much faster and give your device a new lease on life. You can give your Galaxy Book more power to handle everyday jobs and apps more quickly and efficiently by following this complete guide, carefully checking for compatibility, and picking the right SSD, then clone the old SSD to new one with DoYourClone to upgrade.
If unsure about any step, ask a professional or look online for more information relevant to your Galaxy Book model. Enjoy the pleasure of a refreshed laptop and the extra work you can get done with an SSD upgrade!

DoYourClone - Best Disk Clone Software
DoYourClone is a 100% safe, powerful and easy-to-use disk cloning program. It supports to clone any hard drive, clone HDD to SSD, upgrade old drive to new drive, create bootable clone backup for Windows and macOS. With this program, you can easily clone any hard drive. It supports sector by sector clone, SSD upgrade clone, etc.