Quick Navigation:
No matter how careful you are in maintaining your computer, accidents can happen. Is it feasible to retrieve data from a deleted partition? In Windows 11, some people may wonder if it is possible to get back a lost partition of their computer. When a partition is deleted, the system doesn't keep its information in the partition table, so it doesn't show up.
If the partition table and the boot sector are correct, the partition may be recognized. When you see those awful error messages, there is a potential that you may restore lost partitions. Even so, there's some good news: It is feasible to recover deleted partitions in Windows 11, and the process is straightforward.
See whether you can recover the partition and follow a step-by-step guide for using a recovery tool to locate and restore your lost partition. Let's look at what could have occurred.
What Causes A Partition to Disappear in Windows 11?
First, you may want to find out why a partition is missing before attempting to recover it.
- There was an issue with the partition table. A virus or human mistake may cause the partition table to be destroyed or corrupted, resulting in the loss of partitions.
- Repartition the hard disk. If you reorganize the hard disk, all current partitions will be erased.
- An unallocated space may be seen in a damaged partition since the computer may not recognize the hard drive.
- Mistakes by the user, such as improper DiskPart clean commands.
- The disappearance of a previously assigned drive letter or partition name.
- The power went off. An update to the hard disk has resulted in this.
How to Recovering Lost Partition on Windows 11?
In certain cases, partition loss may be caused by several distinct factors. Hopefully, one of the following ways will work for you!
Method 1: Using CMD
We may undo the Diskpart clean command to restore a deleted partition. However, not all partition loss concerns can be solved using this strategy. When the volume letter of the partition is incompatible, it is only applicable.
Follow the steps to restore partition:
Step 1. To locate the missing partition, open Disk Management.
Step 2. Disk Management may be accessed by right-clicking the Start menu and choosing it. It means that the disk space is free if a partition is eliminated. Keep a note of the partition's dimensions.
Step 3. Then, open Command Prompt as an administrator, type Diskpart in the Command Prompt window, and hit the Enter key.
Step 4. Type the command list disk and hit the Enter key to examine all of the computer's storage devices.

Step 5. Press Enter after typing command select disk z. Replace z with the hard disk's number on which the missing partition needs to be recovered.
Step 6. Press Enter after typing assign letter=G.
Step 7. Diskpart has successfully allocated the drive letter or mount point, and you may close Command Prompt now.
Method 2: Assigning A Drive Letter
File Explorer may deny the existence of a particular partition on rare occasions; however, this is rare. Disk Management, on the other hand, may have a different opinion. Check Disk Management to see whether the partition is using space. This problem occurs when Disk Management doesn't assign a letter to the partition.
Assigning a drive letter is as simple as this:
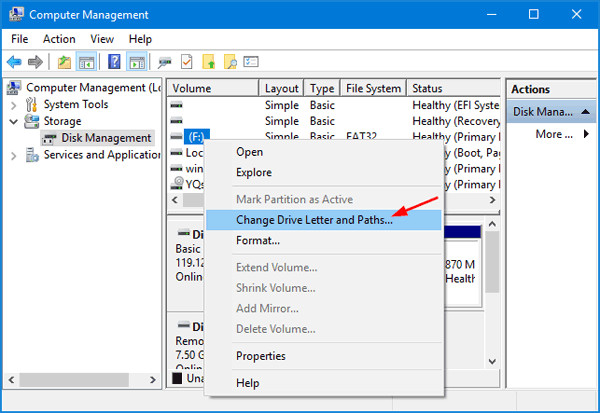
Step 1. To assign a drive letter to a partition, open Disk Management and right-click on the partition.
Step 2. Choose "Change Drive Letter and Paths".

Step 3. Then choose the Change option.
Step 4. "Assign the following drive letter" should be selected." Pick a letter now.
Step 5. Select okay > okay from the menu options.
Method 3: Unallocated Space to Partition
It's possible that the system partition has become an unallocated space if you still can't see it in File Explorer. Fix an unallocated disk in Disk Management by following the recommended steps:
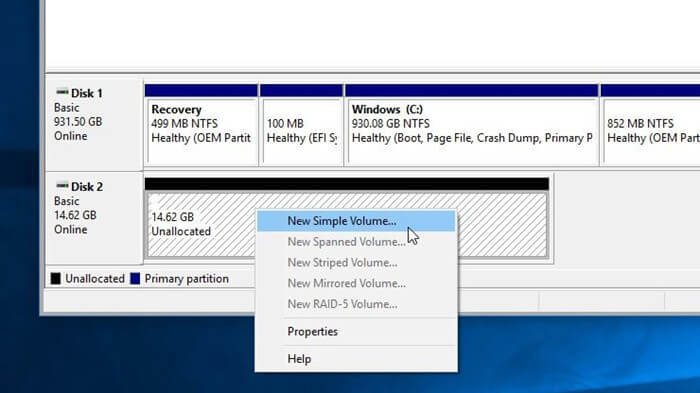
Step 1. Open Disk Management by right-clicking on the Unallocated volume.
Step 2. Add a new volume by selecting New Simple Volume and then pressing Next> Next.

Step 3. To set the size of the volume, go to the New Simple Volume Wizard and click Next > Next. Make sure to choose to Assign a drive letter from the drop-down menu and select the letter of your choice.
Step 4. Select 'Do not format this volume' after clicking Next and providing the files system (NTFS) for the space.
Step 5. Finish by pressing the Next button and then the Finish button. A RAW partition will be created on the disk when this procedure is completed.
Method 4: Using Do Your Data Recovery
If you want to recover lost data from deleted/lost hard drive partition on Windows 11 PC, Do Your Data Recovery is a good choice. This easy-to-use data recovery tool will find deleted/lost hard drive partition and help you get lost data back.
Do Your Data Recovery
- Recover deleted or lost hard drive partition on Windows 11.
- Recover permanently deleted files on Windows 11.
- Recover formatted or erased hard drive on Windows 11.
Now follow the steps below to recover Windows 11 partition data:
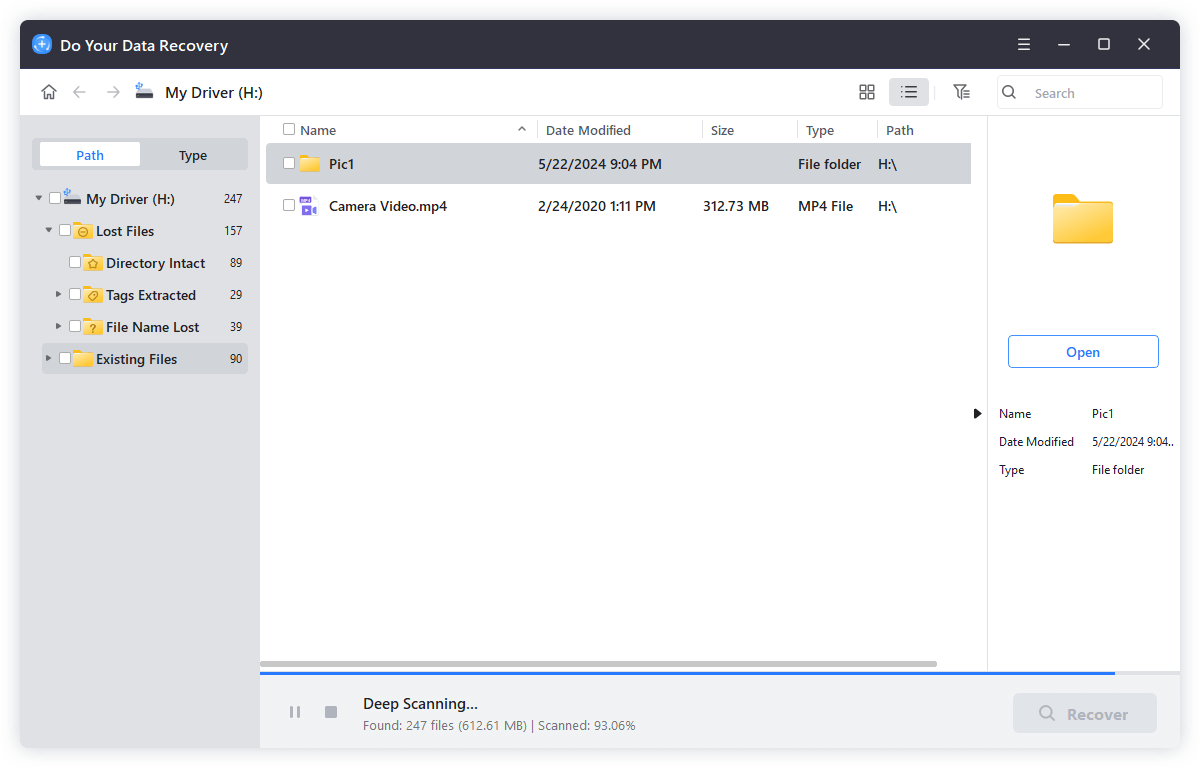
Step 1. Run Do Your Data Recovery on your Windows 11 PC. It will show all existing hard drive partitions and lost hard drive partitions.

Step 2. Select the lost hard drive partition. And then click on Scan button.

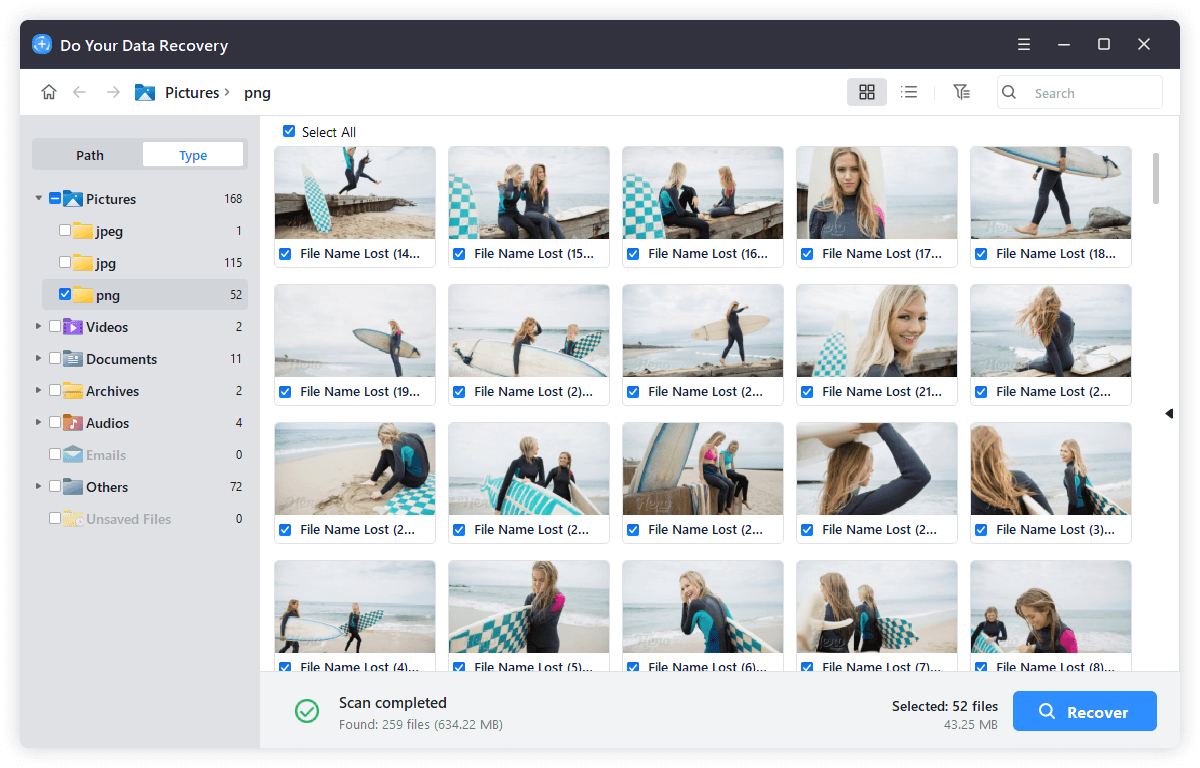
Step 3. Once the scan is completed, you can select the files you want to recover and click on Recover button to save them.
