The reliable Mac data recovery software to recover deleted or lost files.
Free TrialHow to hide folders on Mac using Terminal
There’s additionally some way to cover folders on Mac, however, it involves using the Terminal. Don’t worry; it’s simply one or two command lines. Nothing too fancy or complicated. So, here’s the way to hide files/folders using Terminal.
Step 1. Click on Finder.
Step 2. From the left panel, choose Applications.
Step 3. Scroll down till you see Utilities. Double-click to enter the utility menu.
Step 4. Double-click on Terminal.
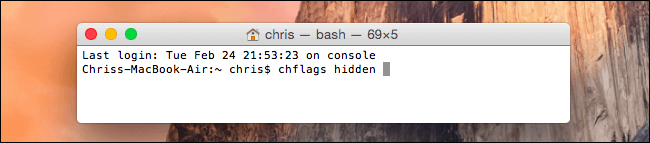
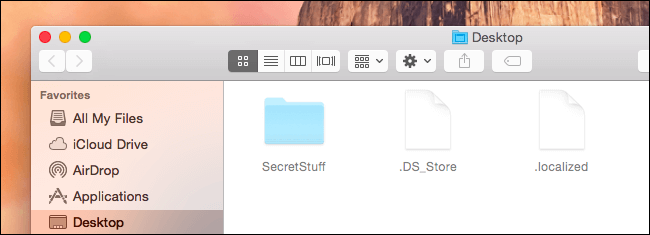
Step 5. kind within the following line: chflags hidden.
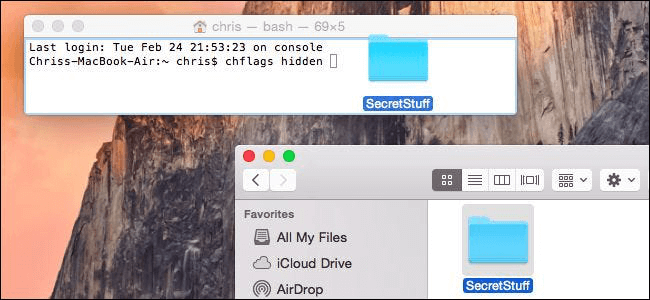
Step 6. Produce a replacement folder on your desktop. Fill it with stuff that you simply need to cover.
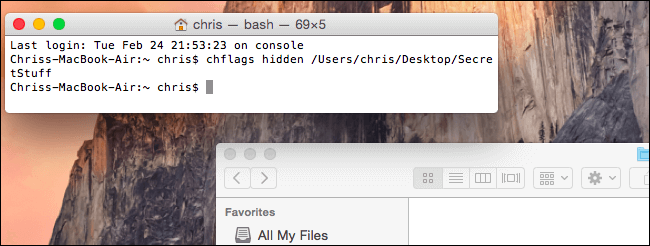
Step 7. Drag-and-drop the folder onto the Terminal window.
Step 8. Press come back to hide the folder.
The way to hide folders on your Macintosh by using Terminal Aliases
Aliases are macros or shortcuts to numerous commands. Albeit temporary, we will simply turn this into an additional permanent solution. Again, you'll got to fiddle around with the Terminal. So, here’s what you’ll need to do:
Step 1. Open the Terminal.
Step 2. kind in or paste the subsequent line: sudo nano ~/.bash_profile
Step 3. Once prompted, type within the username and password related to your active admin account.
Step 4. Press come back to continue.
Step 5. Scroll all the way down to the top of the open .bash_profile.
Step 6. kind in or paste the following line:
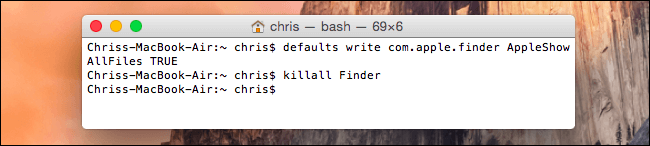
alias showFiles='defaults write com.apple.finder AppleShowAllFiles YES; killall Finder /System/Library/CoreServices/Finder.app
Step 7. Navigate to the following line and kind in or paste the following: Alias hideFiles='defaults write com.apple.finder AppleShowAllFiles NO; killall Finder /System/Library/CoreServices/Finder.app.
Step 8. Save the file.
Step 9. Exit Terminal. That’s regarding it. Now, the consequent time you'll launch Finder, all desired folders are hidden.
The way to Hide Folders on mac using File Vault
If you actually don’t need to bother yourself with code, there’s a really simple and very quick way to hide your folders on Mac, by using the File Vault.
Basically, it turns your disk drive into a Fort Knox-like vault that can't be opened while not the right cipher, that during this case is that the username and password related to your admin account.
Yes, I do know it’s like setting the wellness by killing the patient, however, I did say that it’s the simplest thanks to act hiding your folders. Anyway, here’s what you’ll get to do, do you have to value more highly to use File Vault for masking your files, folders, and everything in between.
Step 1. Click on the Apple icon situated within the upper-left corner of your screen.
Step 2. Click on System Preferences.
Step 3. Click on Security & Privacy.
Step 4. Head to the File Vault tab (its right next to the overall tab).
Step 5. Click on the padlock icon to create changes.
Step 6. Click on the activate File Vault button.
Step 7. Within the next panel, choose the recovery method. You’ll choose from iCloud and generate an area recovery key. I, for one, would keep company with the later version since it’s safer (no use compromising 2 accounts if your password gets stolen). Here’s what’s progressing to happen if you utilize the local recovery key method: you'll be taken to a different dialog box wherever you will be going to see a system-generated code. It’s pretty much sort of a Windows or antivirus activation key. Place this code in an exceedingly new document or something. That’s the recovery key you’ll be using just in case you don’t bear in mind the password.
Step 8. Click on Continue.
Step 9. Click once more on the Continue button to end the method.
That’s it! Currently, File Vault can begin encrypting all the info on your drive. Counting on your specs, this process will take anyplace from one or two hours to a few days.
Don’t worry about an excessive amount of concern ending up with a potato computer; you’ll still be ready to surf the web, watch movies, or play games as a result of everything happening within the background.
An added thing: don’t forget to attach your mac to the facility outlet. You actually wouldn’t need to run out of juice in the middle of a procedure involving the drive on that your entire knowledge is stored.
If you want to find hidden files on Mac, check this guide: quickly unhide files on Mac.
DoYourData Products
DoYourData Super Eraser for Mac
Permanently shred files or wipe hard drive to prevent data recovery on Mac.
Free TrialClone HDD, SSD, Mac OS, external disk, USB drive, and more under Mac OS.
Free TrialWritten & Updated by Ricky Lin
Ricky Lin is an senior editor of DoYourData who lives in Adelaide, Australia. He is interested in writing technology articles related with data recovery, computer issue fixes, disk clone, iPhone data recovery, video edit, Mac optimization, etc. He Joined DoYourData in 2019 and have written 500+ articles to help both Windows users and Mac users to solve data or computer problems.