How to Display and Show Hidden Files and Folders on Windows 11?
![]() Updated by Justin Kenny on 2022-02-17
Updated by Justin Kenny on 2022-02-17
Quick Navigation:
- Show Hidden Files on Windows 11
- Showing The Protected Files Of Operating System In Windows 11
- Recover hidden or missing files on Windows 11
Hidden files are files that are not visible in the file explorer. These files are usually hidden by the user on purpose. Hidden files can be very useful if you want to hide sensitive data or folders on your computer. They can also be used to store backup copies of your documents and pictures, which is a very complicated process if you ever need to restore them. Hidden files and folders are not visible by default.
They are used to hide important files from the public eye. These files can be confidential or personal. In Windows, hidden files and folders are usually denoted by a dot (.) in front of their name. The dot is usually on the left side of a file's name, but some systems may put it on the right side. You can find them by opening your computer's "My Computer" folder and looking for a file having a dot in front of its name.
Show Hidden Files on Windows 11
Windows 11 has been designed to make it easier for people to see and manage their files. It manages the files just like that of previous versions of Windows. With the release of Windows 11, Microsoft has improved the hidden file flag system. This article will show you how to see your hidden files back in Windows 11.

Step 1: The first step to show the hidden files on your desktop is to open the File Explorer, which can be done in two ways. One way is by opening Start and typing in "File Explorer," and the second way is by clicking the File Explorer icon if it's pinned in your taskbar.

Step 2: File Explorer opens in no time and displays your personal folders like Desktop, Documents, Downloads, and Pictures. If you click on any of these folders, File Explorer will display all the files inside them. Every time you open File Explorer in Windows 11, you'll see the three dots button near the top of this window. Tap it and select "Options."

Step 3: Go to the "Options Folder" in the list of options and select it. A new window will open. You need to tap the view option there.

Step 4: This section will show you how to locate and activate the "Hidden Files and Folders" option. The first step is to open up the "Advanced Settings" list and then find the "Hidden Files, Folders and Drives" option near the bottom of the list. Once you find it, click on it with your mouse. You can use the radio buttons to select it. Now you can tap the "OK" option at the bottom.

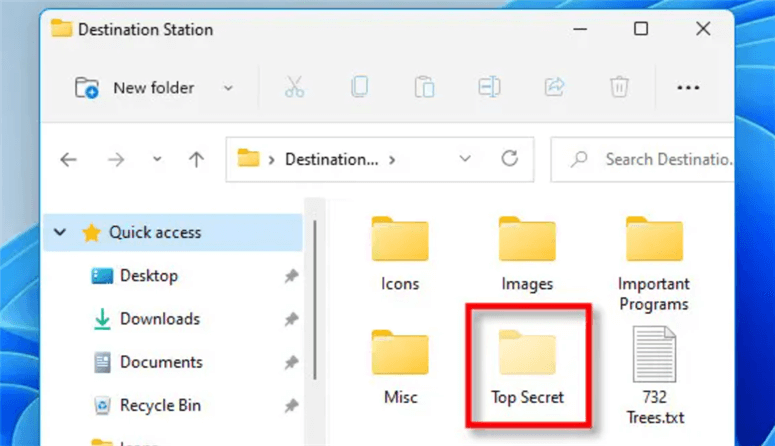
Step 5: When you tap OK, it will show all of your hidden files and folders. They'll appear slightly translucent or faded to differentiate them from the typical desktop items.
If you want to hide the hidden files again later, use "Options" in File Explorer to open Folder Options again, click "View," select "Don't show hidden files, folders, or drives," and click "OK."
You can again hide and unhide hidden files and folders on your computer with just a few clicks. You can use Options Folder once you gain it. By clicking the View option, you can select the option of "Don't show the hidden files, folders, and drives. Then you can click OK to hide the files.
Showing The Protected Files Of Operating System In Windows 11
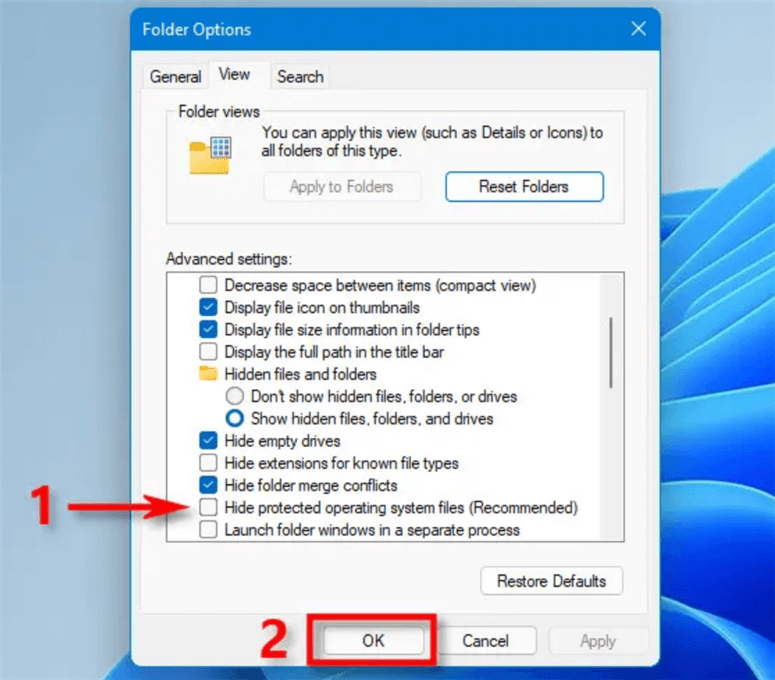
Windows has another specific hidden file that is not visible by default. This file is a system file that is necessary to keep the operating system working properly. To see this type of hidden file, go to "Tools" and then "Folder Options" and click the tab labeled "View." Then you need to scroll down, and there will be a list of "Advance Settings." You need to uncheck the "Hide protected operating system files" option in this list. When you uncheck this option, a specific dialogue window will pop up showing the message about revealed operating system files.
Recover hidden or missing files on Windows 11
If your files are hidden due to virus infection or by third-party software or lost due to some reasons, you can use data recovery software to help you get them back. Do Your Data Recovery is a powerful data recovery program, it can find every recoverable file on your Windows 11 PC.
Do Your Data Recovery
- Recover deleted, formatted or lost files.
- Recover hidden, missing or inaccessible files.
- Recover lost hard drive partition.
Now, follow the steps below to recover lost files or hidden files on Windows 11:
Step 1. Open Do Your Data Recovery on your Windows 11 PC, then select the hard drive where you you hide or lose your files.

Step 2. Click on Scan button. If the quick scan can’t find the files you want to recover, just try advanced recovery mode to find much more files.
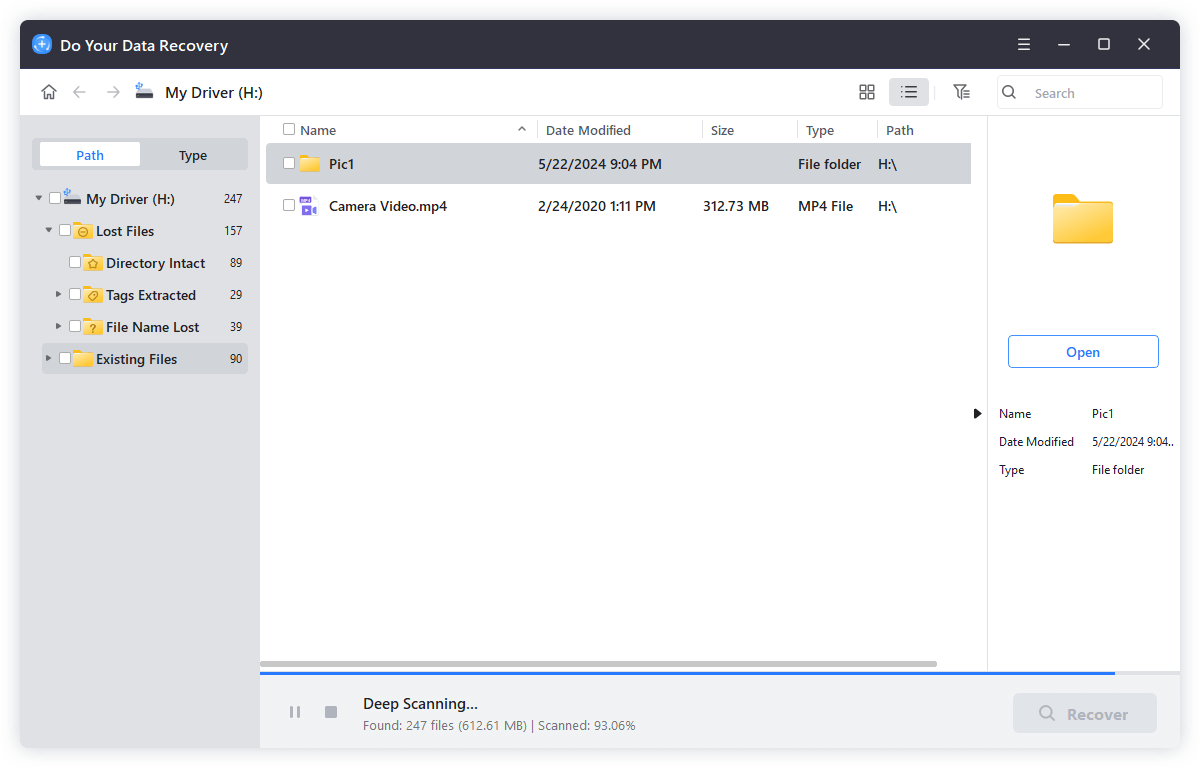
Step 3. Once the scan is completed, you can preview all recoverable files. Then select the wanted files and save them.

Final Thoughts:
A lot of people don't know that Windows has an option that hides certain files. These files are hidden for a reason, but those reasons can change as computers become more complicated. If you're not sure what's causing the problem, you're usually told to show hidden files and folders.
One of the most popular reasons for hiding files is to protect them from viruses and malware that may try to access them. However, there are other reasons for hiding files that are related to the operating system. Many other features have been added over time that has made it more difficult to keep certain file types hidden. This article has walked you through the process of showing hidden files in Windows11. For more related articles, please keep visiting our website.
Written & Updated by Justin Kenny
Justin Kenny is a writer & editor of DoYourData. He joined DoYourData in 2016 and focuses on writing articles about Windows data recovery, Mac data recovery, external device data recovery, hard drive clone, data erasure, Mac cleanup, computer issue fixes, etc. He is a super fan of Apple devices and is big on testing new digital device and system utility software.