Summary:
How to recover lost data from Gateway Notebook? Don’t worry, here is easy and powerful Gateway Notebook data recovery solution. Download Do Your Data Recovery, the powerful Gateway Notebook data recovery software, to easily and completely recover deleted or lost data from Gateway Notebook or other storage media device.
How to recover lost data from Gateway Notebook, one of the best laptops in the world? Don’t worry, the deleted or lost data is not lost forever even your Gateway Notebook gets damaged or corrupted. With right data recovery software, you can completely and easily recover your lost data.
Gateway Notebook data recovery software
DIY data recovery software is the best solution to recover deleted/lost data from Gateway Notebook. But, where to find the reliable software for Gateway Notebook data recovery? If you are reading this article, you can easily find the best Gateway Notebook data recovery software.

We strongly recommend Do Your Data Recovery. This is the safe and efficient data recovery software which can help you easily and completely recover deleted/lost data from Gateway Notebook. Main features:
- Recover deleted or erased data from Gateway Notebook after emptying recycle bin.
- Recover lost data from formatted or inaccessible hard drive on Gateway Notebook.
- Recover deleted/lost hard drive partition on Gateway Notebook.
- Recover corrupted files on Gateway Notebook.
- Recover raw or inaccessible data on Gateway Notebook.
Easy steps to recover lost data from Gateway Notebook
Do Your Data Recovery is complete DIY data recovery software. So you can easily recover lost data with this Gateway Notebook data recovery software.
Here, you can follow these steps to recover lost data from Gateway Notebook with Do Your Data Recovery.
Step 1: Run Do Your Data Recovery on your computer.
Now, run this Gateway Notebook data recovery software on your Gateway Notebook. It supports for both Windows OS and Mac OS.
Step 2: Select the hard drive on your Gateway Notebook.
Where you lose your data? Just select the hard drive or location where your data is lost.

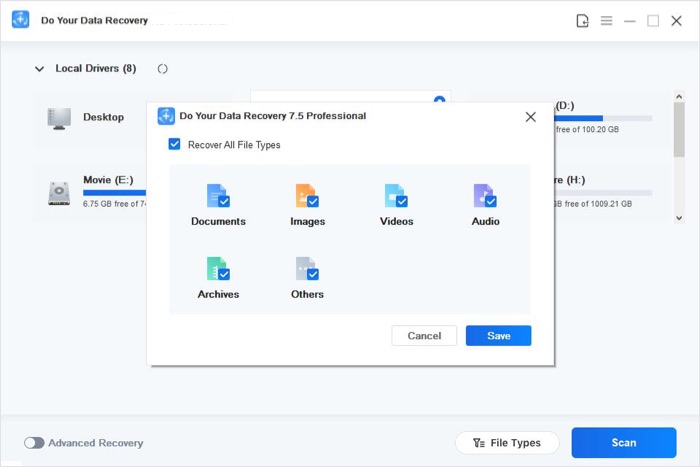
Step 3: Select file types you want to recover.
Gateway Notebook data recovery software can recover all types of lost files. You also can selected wanted file types before it scans your hard drive. Then scan your hard drive.
Step 4: Scan the hard drive to find your lost data on Gateway Notebook.
Click on Scan button. Do Your Data Recovery offers two scanning modes: quick scan and deep scan. If you can’t find all lost files after quick scan, just try deep scan mode. The deep scan will find much more lost files from your Gateway Notebook.
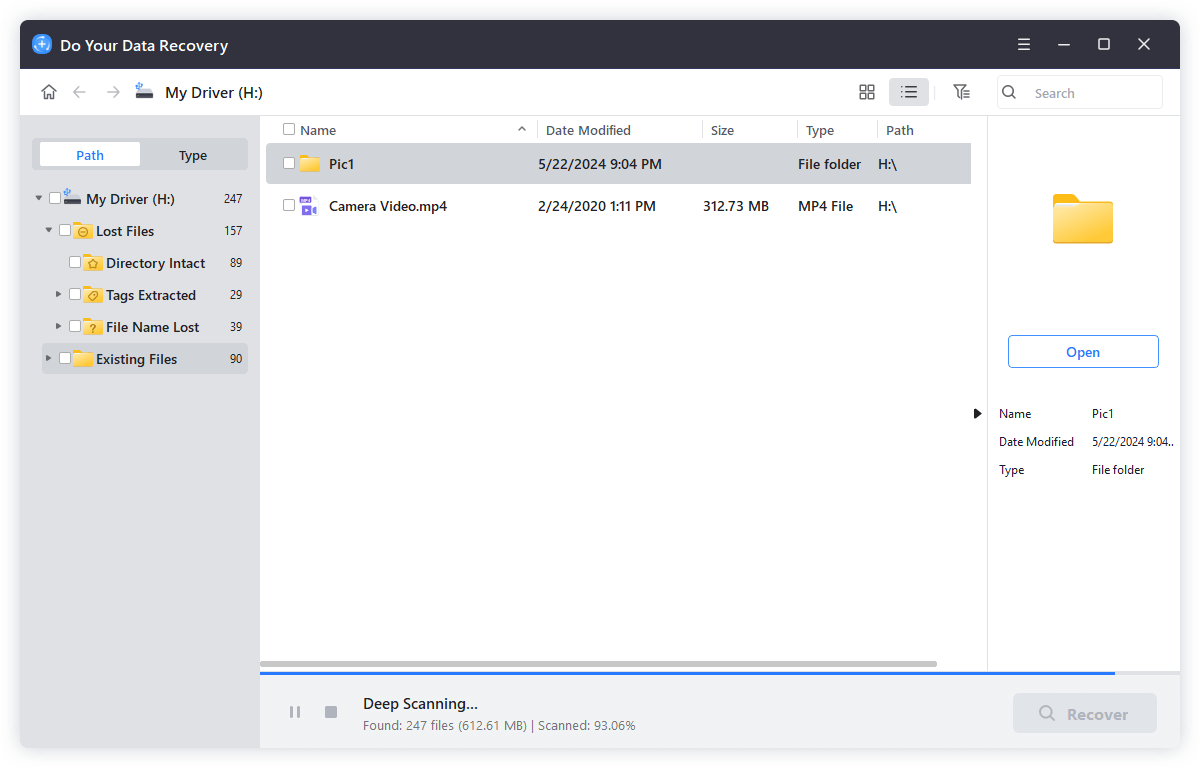
Step 5: Preview and recover lost files after scanning.
After scanning, you can preview and recover your lost files. It is very simple. Just select the desirable files and click on “Recover” button. If you can’t find your lost files, just click Advanced Recovery button to enter deep scan mode.

This is how to recover lost data from Gateway Notebook with DIY data recovery software. Do Your Data Recovery is very easy-to-use and powerful. You can recover deleted, formatted or lost data by yourself. It even can help you recover lost data from corrupted or damaged Gateway Notebook. Just download and install it on your Gateway Notebook.
Written & Updated by Justin Kenny
Justin Kenny is a writer & editor of DoYourData. He joined DoYourData in 2016 and focuses on writing articles about Windows data recovery, Mac data recovery, external device data recovery, hard drive clone, data erasure, Mac cleanup, computer issue fixes, etc. He is a super fan of Apple devices and is big on testing new digital device and system utility software.